Yellow Cake Recipe
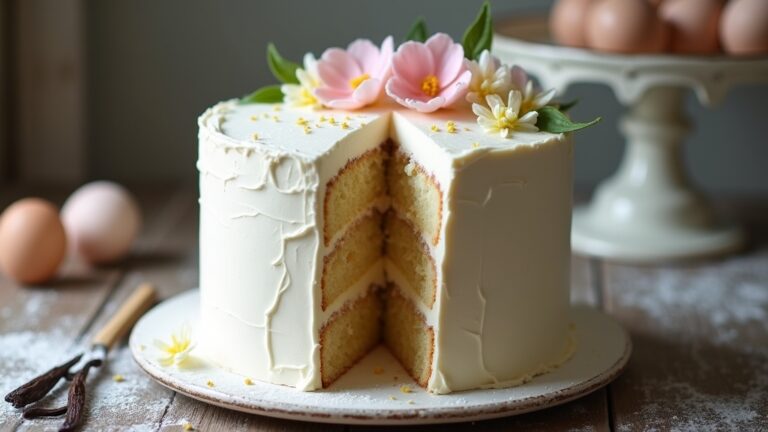
Yellow cake is a delightful treat you can whip up for any occasion. With its rich, buttery flavor and tender crumb, it’s an ideal base for frostings or can stand alone. Start by creaming butter and sugar, then add eggs and alternate dry ingredients with milk. Bake for 25-30 minutes, and you’ll have a cake that’s perfect for celebrations or sweet indulgence. If you’re curious about variations and tips to elevate your baking, there’s more to explore!
Contents
History
When you think about yellow cake, you’re not just savoring a delightful dessert; you’re also tasting a slice of history. This cake’s origins trace back to the early 19th century, when bakers experimented with ingredients, resulting in the rich, buttery flavor we adore today. The inclusion of egg yolks gives it that signature yellow hue, symbolizing warmth and celebration. As you indulge, you’re connecting with generations who’ve passed down baking traditions, each adding their own twist. From family gatherings to birthdays, yellow cake has become a staple, embodying community and joy. So, as you enjoy each bite, remember you’re part of a delicious legacy, where freedom and creativity blend seamlessly in the art of baking.
Recipe
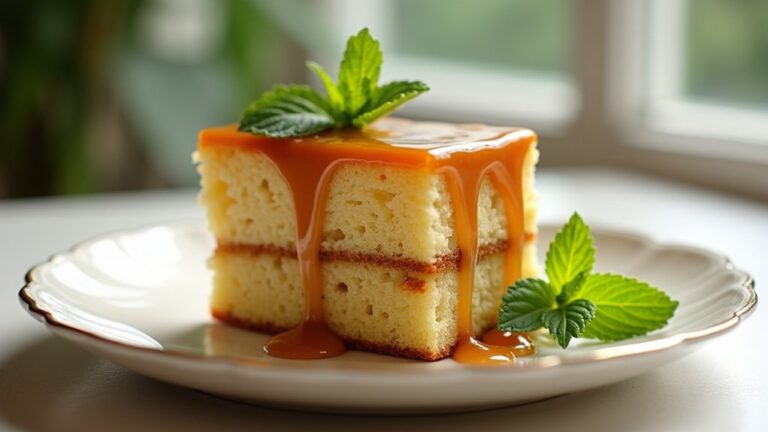
Yellow cake is a classic dessert that has delighted taste buds for generations. It boasts a rich, buttery flavor and a tender crumb, making it the perfect base for a variety of frostings or as a standalone treat. This versatile cake can be enjoyed at birthdays, celebrations, or simply as a sweet indulgence any day of the week. With its simple ingredients and straightforward process, anyone can whip up this delightful treat in no time.
To make the perfect yellow cake, it’s important to have all your ingredients ready and at room temperature. This will guarantee that the cake bakes evenly and achieves that light, fluffy texture we all love. Once you have everything together, you’ll find that the steps are straightforward, allowing you to create a deliciously moist cake that can be dressed up or enjoyed plain. Let’s get started on this delightful yellow cake recipe!
Ingredients:
- 2 1/2 cups all-purpose flour
- 2 1/2 tsp baking powder
- 1/2 tsp salt
- 1 cup unsalted butter, softened
- 2 cups granulated sugar
- 4 large eggs
- 1 tbsp vanilla extract
- 1 cup whole milk
Cooking Instructions:
Preheat your oven to 350°F (175°C) and grease two 9-inch round cake pans. In a bowl, whisk together the flour, baking powder, and salt, then set it aside. In a large mixing bowl, beat the softened butter and sugar together until light and fluffy. Add the eggs one at a time, mixing well after each addition, then stir in the vanilla extract. Gradually add the dry ingredients to the wet ingredients, alternating with the milk, and mix until just combined. Pour the batter evenly into the prepared cake pans and bake for 25-30 minutes or until a toothpick inserted in the center comes out clean. Let the cakes cool in the pans for 10 minutes before transferring them to a wire rack to cool completely.
Extra Tips:
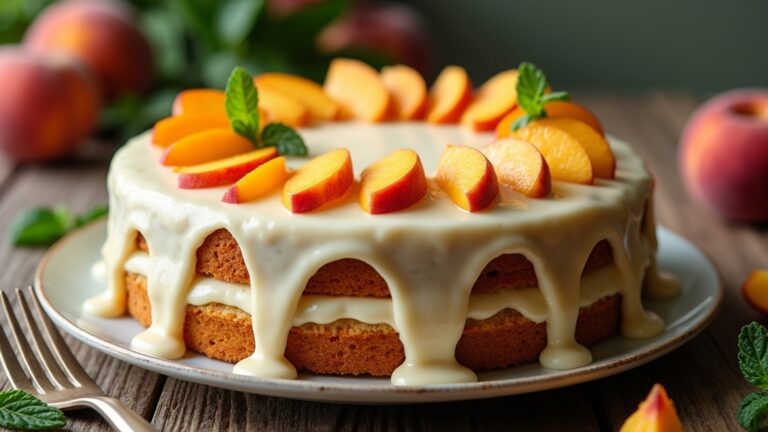
For an even more flavorful cake, consider adding a teaspoon of almond extract or citrus zest to the batter. Make sure to check the cakes a few minutes before the suggested baking time to avoid overbaking. If you want to frost the cake, allow it to cool completely before applying the frosting to prevent it from melting. You can also store any leftover cake in an airtight container at room temperature for up to three days or in the refrigerator for up to a week. Enjoy your yellow cake with your favorite frosting or fresh fruit for an extra special touch!
Cooking Steps
To start your yellow cake, you’ll want to preheat your oven to 350°F, setting the stage for that perfect bake. Next, gather your dry ingredients and mix them together to create a solid foundation for flavor. As you add the wet ingredients gradually, you’ll see the batter come together beautifully, ready to fold in those delightful chocolate chips.
Step 1. Preheat Oven to 350°F
Getting your oven ready is an important step in baking the perfect yellow cake. Preheating your oven to 350°F guarantees that your cake rises beautifully and bakes evenly. It’s one of those baking essentials that can’t be overlooked. While your oven heats up, you can gather your ingredients, knowing that the right oven temperature is vital for achieving that delightful, golden-brown crust. Don’t rush this step; a properly preheated oven creates the ideal environment for your cake to reach its full potential. You want that warm embrace to coax out the flavors and textures you crave. So, turn that dial, set your timer, and let your oven do its magic while you prepare for the deliciousness to come!
Step 2. Mix Dry Ingredients Together
With your oven now preheated, it’s time to focus on combining the dry ingredients that will form the foundation of your yellow cake. Start by measuring out your flour, sugar, baking powder, and salt. These dry ingredient combinations are essential, so be precise! In a large mixing bowl, whisk them together using a gentle mixing technique to guarantee they’re evenly distributed. This not only helps the cake rise evenly but also enhances its flavor. Feel free to add a touch of vanilla powder or lemon zest for a little extra zing. Once everything’s well mixed, you’ll have a solid base ready to support the sweet, buttery goodness that’s coming next. Enjoy the process—freedom in baking is all about creativity!
Step 3. Add Wet Ingredients Gradually
As you prepare to elevate your cake batter, gradually adding the wet ingredients is key to achieving that perfect texture. Start by combining your eggs, milk, and vanilla extract in a separate bowl, allowing their flavors to meld harmoniously. Instead of dumping everything in at once, pour the mixture slowly into your dry ingredients. This mixing technique guarantees even distribution, preventing clumps and creating a smooth batter. As you stir, feel the ingredients combine, transforming into a creamy delight. If you notice any lumps, don’t fret; just keep mixing until everything’s incorporated. Remember, patience is essential here—the more care you take, the fluffier your cake will be, giving you the freedom to release your culinary creativity!
Step 4. Fold in Chocolate Chips
Gently fold in the chocolate chips, letting their rich sweetness mingle with the cake batter. Choose from various chocolate varieties—dark, semi-sweet, or even white chocolate—to elevate your cake’s flavor profile. Using a spatula, lift the batter from the bottom and fold it over the chips, ensuring even distribution without overmixing. Overmixing can result in a dense cake, so embrace the freedom of a light hand here! Remember, the chocolate chips should remain intact, adding delightful pockets of melted goodness in each bite. As a baking tip, measure your chocolate chips by weight for precision and a perfect balance. Enjoy the creative process; you’re just moments away from a deliciously indulgent yellow cake!
Step 5. Pour Batter Into Pan
Now that the chocolate chips are beautifully folded into the batter, it’s time to pour it into your prepared pan. Choose a pan that suits your baking style; a round or rectangular shape works perfectly for a classic yellow cake. Make sure it’s greased or lined with parchment paper to guarantee easy removal later. As you pour, let the batter flow gently, filling the pan evenly. This is where your baking techniques come into play—tap the pan lightly on the counter to eliminate any air bubbles. You’ll want a smooth, even surface, as this helps the cake rise beautifully. Once you’ve poured it all in, give it a little shake to settle the batter, and you’re ready for the oven!
Nutritional Guide
Understanding the nutritional aspects of your yellow cake can enhance your baking experience and help you make informed choices. Knowing the caloric content and ingredient benefits allows you to enjoy your treat while considering your dietary needs. Here’s a quick guide to the key components:
| Ingredient | Caloric Content (per serving) | Benefits |
|---|---|---|
| All-purpose flour | 100 | Provides energy |
| Sugar | 50 | Enhances flavor |
| Eggs | 70 | Rich in protein and nutrients |
| Butter | 100 | Adds moisture and richness |
| Milk | 80 | Contributes calcium and creaminess |
Final Thoughts
As you savor the deliciousness of your yellow cake, it’s important to reflect on the joy it brings to your gatherings and celebrations. This classic treat is more than just dessert; it’s a canvas for your creativity. With simple baking tips, you can elevate your cake to new heights. Experiment with cake variations by adding flavors like lemon zest or almond extract, or layer it with rich ganache or fresh fruit. The beauty of yellow cake lies in its versatility, allowing you to tailor it to any occasion. So, whether it’s a birthday or a casual get-together, embrace the freedom of baking and make it your own. Enjoy every bite, knowing you’ve created something truly special!
Frequently Asked Questions
Can I Substitute Ingredients in the Yellow Cake Recipe?
Absolutely, you can substitute ingredients! Just remember, ingredient alternatives may require baking adjustments. Experimenting can lead to delightful surprises in flavor and texture. Enjoy the freedom to create your perfect cake without restrictions!
How Should I Store Leftover Yellow Cake?
Wondering how to keep your cake fresh? For storing tips, wrap it tightly in plastic wrap or aluminum foil. If you want to save it longer, use freezing methods—just make sure it’s well sealed!
What Frosting Pairs Best With Yellow Cake?
When you’re choosing frosting, vanilla buttercream adds a classic touch, enhancing your cake’s flavor beautifully. If you crave something richer, chocolate ganache brings indulgence, creating a delightful contrast that’ll elevate your dessert experience. Enjoy!
How Do I Know When the Cake Is Done Baking?
To know when your cake’s done baking, check the baking time specified in the recipe. For a foolproof method, use the toothpick test; insert a toothpick in the center—if it comes out clean, you’re golden!
Can I Make Yellow Cake in Advance?
“Don’t put off ’til tomorrow what you can do today.’ Yes, you can prepare yellow cake in advance! Use cake freezing methods and make ahead tips to savor every bite whenever you’re ready to indulge.
Conclusion
To sum up, baking yellow cake isn’t just about mixing ingredients; it’s a delicious journey through time. Imagine whipping up a treat that’s graced the tables of countless celebrations, from quaint tea parties to modern-day birthday bashes, as if you’re live-streaming the process! With its rich flavor and fluffy texture, this classic dessert brings joy to every bite. So, grab your apron, crank up that oven, and let the sweet aroma of nostalgia fill your kitchen!

