Birthday Cake Recipe
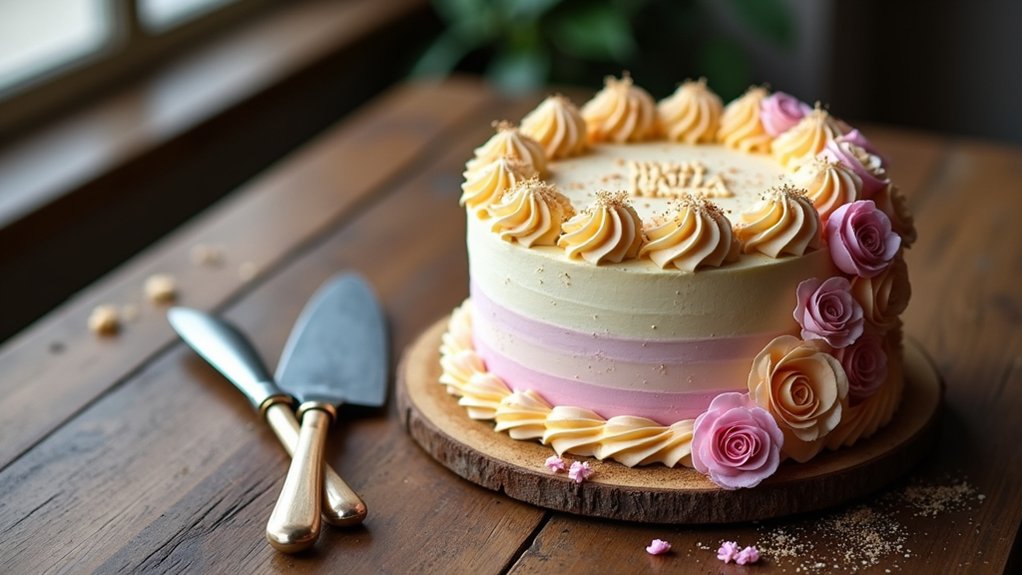
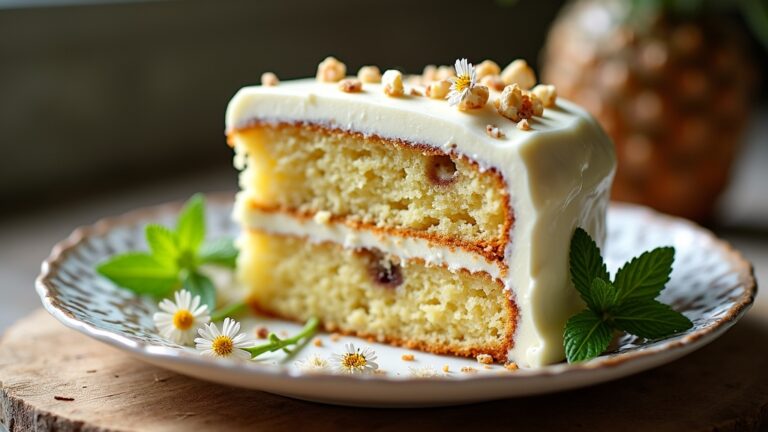
I’ve got a fantastic birthday cake recipe for you that’s bound to make any celebration special! Start with 2 ½ cups flour, 1 cup softened butter, and 2 cups sugar for a moist, fluffy vanilla cake. Follow simple steps to cream the butter and sugar, then bake it to perfection. Don’t forget the delicious frosting and fun decorations afterward! Keep going to discover creative variations and decorating tips that’ll take your cake to the next level.
Contents
History
When we think about birthday cakes today, it’s hard to imagine a celebration without them, but their origins are surprisingly rich and varied. In ancient celebrations, cakes were often made as offerings to gods, symbolizing prosperity and good fortune. The Greeks, for example, baked moon-shaped cakes for Artemis, while the Romans crafted sweet breads to honor their loved ones. As cultures evolved, so did the cake itself, with each society adding its unique flavors and traditions. In Germany, the Kinderfest introduced the concept of a cake specifically for children’s birthdays, showcasing cultural variations that reflect our shared joy in marking life’s milestones. Today, we continue to innovate, blending these ancient practices with modern flair in our birthday celebrations.
Recipe
Creating the perfect birthday cake is a delightful way to celebrate someone’s special day. This recipe yields a moist and fluffy vanilla cake that serves as a fantastic base for any birthday celebration. Topped with creamy frosting and your choice of decorations, this cake will not only look stunning but also taste incredible, making it the star of the party.
To achieve the best results, make sure to use fresh ingredients and follow the instructions carefully. The key to a light and airy cake is properly creaming the butter and sugar, which incorporates air into the batter. Additionally, allow the cake to cool completely before frosting to prevent melting and sliding. With a little patience and attention to detail, you’ll create a birthday cake that will be remembered for years to come.
Ingredients:
- 2 ½ cups all-purpose flour
- 2 ½ teaspoons baking powder
- ½ teaspoon salt
- 1 cup unsalted butter, softened
- 2 cups granulated sugar
- 4 large eggs
- 1 tablespoon vanilla extract
- 1 cup whole milk
Cooking Instructions:
Preheat your oven to 350°F (175°C) and grease and flour two 9-inch round cake pans. In a medium bowl, whisk together the flour, baking powder, and salt. In a large mixing bowl, cream the softened butter and sugar together until light and fluffy. Add the eggs one at a time, mixing well after each addition, then stir in the vanilla extract. Gradually add the dry ingredients to the wet mixture, alternating with the milk, and mix until just combined. Divide the batter equally between the prepared pans and bake for 25-30 minutes, or until a toothpick inserted into the center comes out clean. Allow the cakes to cool in the pans for 10 minutes before transferring them to a wire rack to cool completely.
Extra Tips:
For an added burst of flavor, consider incorporating lemon zest or almond extract into the batter. When it comes to frosting, a simple buttercream or cream cheese frosting works beautifully, but don’t hesitate to get creative with flavors like chocolate or fruit. If you’re decorating with fondant, make sure your cake is chilled to help the fondant adhere better. Ultimately, remember that the cake can be made a day in advance; just wrap the cooled layers in plastic wrap and store them in the refrigerator until you’re ready to frost and serve. Enjoy the process and have fun customizing your cake!
Cooking Steps
Let’s get started with the cooking steps that will bring your birthday cake to life! First, I preheat my oven to 350°F, setting the stage for that perfect bake. Then, I mix the dry ingredients thoroughly before adding the wet ones gradually, creating a smooth, delightful batter.
Step 1. Preheat Oven to 350°F
Preheating the oven to 350°F is an essential step in baking the perfect birthday cake. This precise oven temperature guarantees that your cake rises evenly and achieves that delightful golden crust we all love. As I set my oven to this ideal heat, I feel a sense of anticipation—knowing that it’s the foundation for successful baking techniques. This process allows the batter to transform beautifully, ensuring a light and fluffy texture. I always make sure to give my oven enough time to reach 350°F before I pour in my batter. Trust me, skipping this step can lead to uneven baking, and we definitely don’t want that! So, let’s embrace this pivotal moment and get our celebration started!
Step 2. Mix Dry Ingredients Thoroughly
With the oven warmed up and ready, it’s time to focus on the dry ingredients. The importance of mixing these components thoroughly cannot be overstated; it’s the foundation for a light and fluffy cake. I start by sifting the flour, baking powder, and salt together, which not only aerates them but also eliminates any lumps. Next, I employ a whisk to blend everything seamlessly, ensuring an even distribution of leavening agents. This step is vital, as it prevents pockets of dense batter from forming. I also like to add a touch of creativity, sometimes incorporating spices or cocoa powder for an innovative twist. Remember, mastering these mixing techniques is key to achieving that perfect rise and texture in your birthday cake!
Step 3. Add Wet Ingredients Gradually
As I begin to incorporate the wet ingredients, I make sure to do so gradually, which helps create a smoother batter. I start by adding the liquid ingredients—like milk and eggs—slowly, allowing them to blend seamlessly with the dry mix. This mixing technique is essential for achieving the perfect ingredient ratios; too much wet too quickly can lead to clumps. I gently stir the mixture, watching as it transforms into a velvety consistency. It’s almost like magic, as the dry ingredients absorb the moisture, creating a harmonious blend. I take my time, ensuring each addition is fully incorporated before moving on. This careful approach not only elevates the texture but also enhances the overall flavor of my birthday cake.
Step 4. Fold in Cake Batter
Gently lifting the batter with a spatula, I begin the important step of folding in the cake mixture. This technique is fundamental for achieving the perfect cake texture. I carefully introduce the dry ingredients into the wet, ensuring I maintain a light hand to preserve the airiness. As I scoop and turn, I watch the batter consistency transform, becoming a harmonious blend of colors and flavors. It’s essential to fold rather than stir, allowing the ingredients to unite without deflating the batter. With each gentle motion, I feel the anticipation build—the promise of a moist, fluffy cake. This process not only elevates the flavor but also creates a delightful cake that will impress anyone celebrating their special day.
Step 5. Bake for 25 Minutes
Setting the oven to 350°F (175°C) is my next crucial step before sliding the cake into its warm embrace. As the heat envelops the batter, I can already envision the final masterpiece. I carefully place the cake pans in the center of the oven, ensuring even heat distribution—a critical baking technique for achieving that perfect rise. I set my timer for 25 minutes, using this time to clean up my workspace and brainstorm innovative cake decoration ideas. The tantalizing aroma soon fills my kitchen, a reminder of the delightful treat awaiting me. Once the timer dings, I’ll perform the toothpick test, ensuring my cake bakes to perfection before moving on to the exciting decorating phase.
Nutritional Guide
While many of us indulge in a slice of birthday cake without a second thought, understanding its nutritional content can help us make more informed choices. I’ve found that knowing the caloric content and being aware of dietary restrictions is essential for everyone, especially when celebrating with friends and family. Here’s a quick guide to the nutritional aspects of a standard birthday cake:
| Nutrient | Amount per Slice |
|---|---|
| Calories | 250 |
| Total Fat | 10g |
| Sugar | 20g |
| Protein | 3g |
| Dietary Fiber | 1g |
Final Thoughts
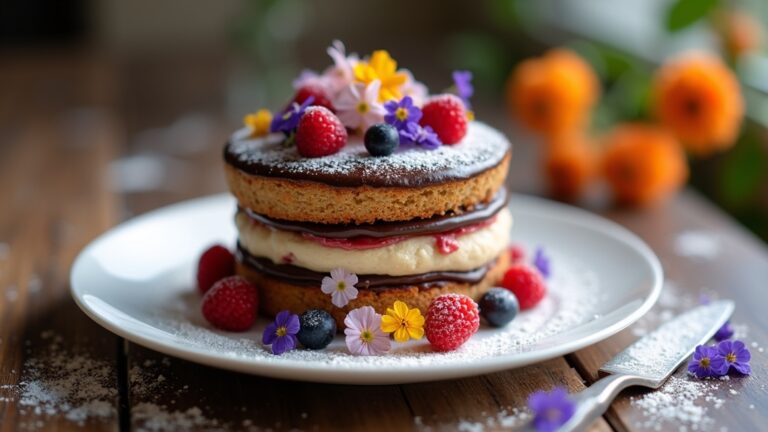
As we wrap up our exploration of birthday cake, it’s clear that this beloved dessert holds a special place in celebrations. The joy of baking a cake goes beyond the ingredients; it’s about the memories we create and the people we share it with. With endless flavor variations, from rich chocolate to zesty lemon, you’re bound to find a combination that excites your palate. Don’t forget the cake decoration—this is where your creativity truly shines. Whether you opt for elegant fondant, playful sprinkles, or fresh fruit, the presentation can transform a simple cake into a stunning centerpiece. Embrace your inner innovator, and let your birthday cake reflect your unique style. Happy baking, and may your celebrations be sweet and unforgettable!
Frequently Asked Questions
Can I Use Gluten-Free Flour for This Cake?
Absolutely, I’ve used gluten-free flour in my baking! Did you know 1 in 100 people has celiac disease? Using gluten-free substitutes can create a delightful texture, ensuring everyone enjoys the cake without worry.
What Type of Frosting Pairs Best With Birthday Cake?
When choosing frosting, I love rich buttercream for its creamy texture and versatility. A tangy cream cheese frosting adds a delightful zing, while a light whipped cream offers a revitalizing touch—each flavor elevates the cake beautifully!
How Can I Make a Vegan Birthday Cake?
To make a vegan birthday cake, I use plant-based substitutes like flaxseed for eggs and almond milk for moisture, creating delightful cake textures. It’s surprisingly simple, and the results are always deliciously satisfying!
How Long Can I Store Leftover Birthday Cake?
They say, “Waste not, want not.” When it comes to storing leftover cake, I’ve found it stays fresh for about three to four days. Use airtight containers for best results—those storing tips really make a difference!
Can I Freeze the Birthday Cake for Later?
I’ve found that using proper freezing techniques is key. Wrap the cake tightly in plastic wrap, then foil. It’s the best storage method to preserve flavor and moisture for future enjoyment. Enjoy your cake later!
Conclusion
As I wrap up this delightful birthday cake journey, I can’t help but share that over 350 million cakes are baked each year just in the U.S. alone! It’s incredible how such a simple treat can bring people together to celebrate life’s milestones. Whether you choose to follow my recipe or add your own twist, I hope your cake becomes a cherished centerpiece at your next celebration. Happy baking, and may your cake be as sweet as your memories!
