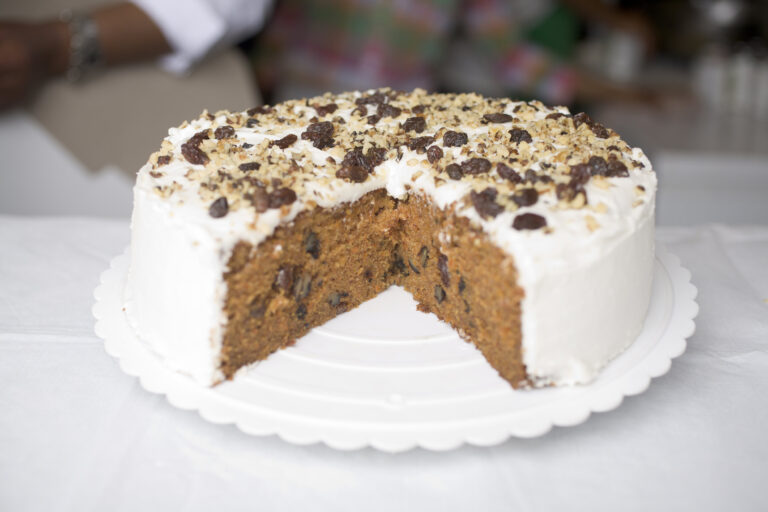
Marble Cake Recipe
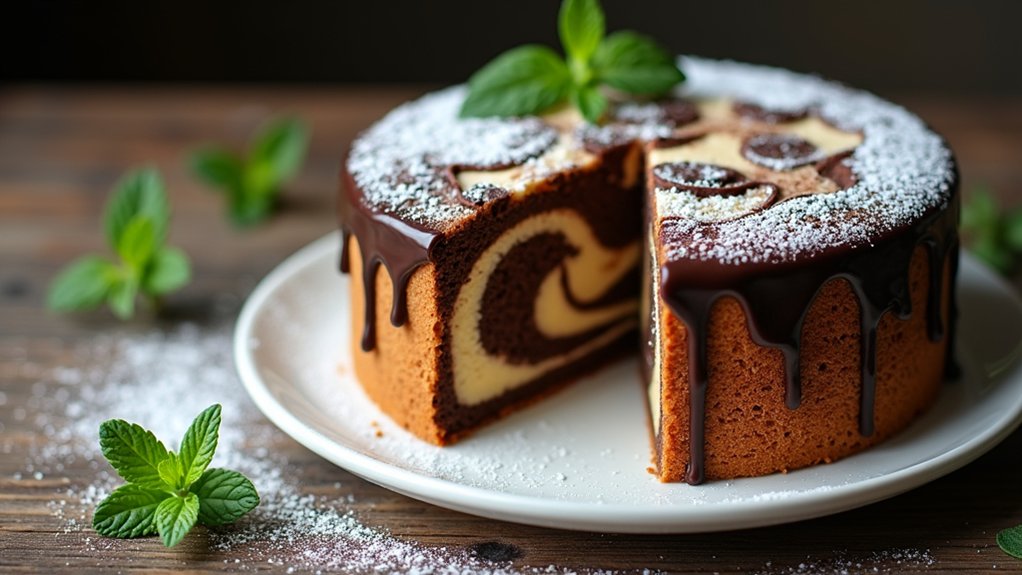
I love marble cake for its rich blend of chocolate and vanilla flavors. To make it, I combine 2 cups of flour, 1 cup of softened butter, baking powder, and a touch of salt. I cream the butter and sugar until fluffy, then alternate adding the flour mix and buttermilk. Dividing the batter, I mix cocoa into one half and layer them in a pan before baking. Trust me, there’s so much more to discover about this delightful treat!
Contents
History
When I think about marble cake, I can’t help but appreciate its rich history that dates back to the early 19th century. This delightful dessert emerged as bakers experimented with combining different cake batters, creating a stunning visual effect that mimicked the veining of marble. Its cake origins are rooted in the desire to innovate, blending flavors like chocolate and vanilla, which brought a new dimension to traditional cakes. Over the years, flavor variations have flourished, from matcha and red velvet to lemon and almond, making each marble cake a unique creation. This adaptability not only highlights the cake’s historical significance but also inspires us to explore new combinations and elevate our baking game. Isn’t that exciting?
Recipe
Marble cake is a delightful dessert that combines the rich flavors of chocolate and vanilla in a visually stunning swirl. This classic cake is perfect for any occasion, whether it’s a birthday celebration, a family gathering, or simply an afternoon treat with a cup of coffee. The contrast between the light and dark batter not only creates an appealing appearance but also offers a delicious blend of flavors that will satisfy any sweet tooth.
Making marble cake is easier than you might think. With a few simple ingredients and straightforward steps, you can whip up a moist and flavorful cake that will impress your friends and family. The key to achieving that beautiful marbled effect lies in the technique of layering the batters and swirling them together, so don’t be afraid to have a little fun with it!
Creating a marble cake is simple and fun, blending flavors and techniques for a delightful treat that impresses everyone.
Ingredients:
- 2 cups all-purpose flour
- 1 ½ teaspoons baking powder
- ½ teaspoon baking soda
- ½ teaspoon salt
- 1 cup unsalted butter, softened
- 2 cups granulated sugar
- 4 large eggs
- 2 teaspoons vanilla extract
- 1 cup buttermilk
- ½ cup unsweetened cocoa powder
- ¼ cup hot water
Cooking Instructions:
Preheat your oven to 350°F (175°C) and grease a 10-inch bundt pan or a 9×13 inch baking dish. In a medium bowl, whisk together the flour, baking powder, baking soda, and salt. In a large mixing bowl, cream the butter and sugar together until light and fluffy. Beat in the eggs one at a time, then stir in the vanilla extract. Alternately add the flour mixture and buttermilk to the creamed mixture, starting and ending with the flour. Divide the batter in half; stir cocoa powder and hot water into one half until well combined. Take turns spooning the vanilla and chocolate batters into the prepared pan, then use a knife to swirl the two together gently. Bake for 50-60 minutes or until a toothpick inserted in the center comes out clean. Allow the cake to cool in the pan for about 10 minutes before transferring it to a wire rack to cool completely.
Extra Tips:
To enhance the flavor of your marble cake, consider adding a teaspoon of almond extract or a pinch of espresso powder to the vanilla batter for a deeper taste. Make sure not to over-swirl the batters; you want to achieve a marbled look without completely blending the two flavors together. For added decoration, you can dust the cooled cake with powdered sugar or drizzle it with a simple glaze made from powdered sugar and milk. Enjoy your baking experience, and don’t forget to share your delicious creations!
Cooking Steps
Now that we have our ingredients ready, let’s get cooking! First, I always make sure to preheat my oven to 350°F to get that perfect bake. Then, we’ll mix our chocolate and vanilla batters, creating that stunning marbled effect when we swirl them together in the pan.
Step 1. Preheat Oven to 350°F
Before diving into the delightful world of baking a marble cake, I always make sure to preheat my oven to 350°F. This essential step sets the perfect oven temperature for a beautifully baked cake, ensuring that my marble masterpiece rises evenly and develops that enticing golden crust. While I wait for the oven to reach the right heat, I can focus on mixing my batters without any distractions. Preheating isn’t just about timing; it’s a key element of baking safety, preventing undercooked centers or burnt edges. Trust me, there’s nothing worse than an uneven bake! So, take a moment to set that oven, and let’s get ready for a deliciously swirled adventure in flavor.
Step 2. Mix Chocolate and Vanilla Batter
With the oven preheated and ready, it’s time to mix the chocolate and vanilla batters that will create the beautiful swirls in our marble cake. I start by taking my vanilla batter, ensuring its creamy texture is just right for a perfect batter consistency. Then, I gently fold in the rich chocolate batter, making sure to maintain that delightful flavor balance between the two. The contrasting colors are mesmerizing, and I can’t help but feel excited! As I stir, I focus on achieving a smooth mixture, avoiding overmixing to keep those lovely swirls intact. This is where the magic happens, blending the two flavors that will make every bite a delightful surprise. Let’s embrace this creative process!
Step 3. Swirl Batters in Pan
It’s time to swirl the batters together, and this step is where the fun really begins! With my spatula in hand, I scoop a dollop of chocolate batter and place it right in the center of the vanilla. I repeat this, alternating colors, creating a beautiful canvas for my cake design. Now, using a skewer or knife, I gently swirl through the batters, ensuring not to overmix—just enough to create that stunning marbled effect. This batter technique is all about balance; you want distinct swirls, not a blended color. As I watch the patterns emerge, I can’t help but feel excited about how this cake will look once baked, transforming my kitchen into a delightful masterpiece.
Step 4. Bake for 30 Minutes
After swirling the batters to perfection, it’s time to slide the cake into the oven. I set the temperature to 350°F, an essential step in applying effective baking techniques. As I close the oven door, I can already imagine the delightful aroma filling my kitchen. For the next 30 minutes, I’ll let the magic happen. This is where the cake transforms, developing a moist, tender cake texture that’s irresistibly inviting. I recommend keeping an eye on it during the last few minutes; every oven behaves differently. When a toothpick inserted into the center comes out clean, I know it’s done. The anticipation builds as I wait for this masterpiece to bake to golden perfection.
Step 5. Cool Before Serving
As the timer dings, signaling the end of baking, I carefully remove the marble cake from the oven, allowing the warm, sweet scents to linger in the air. Now comes the vital step: cooling. I transfer the cake to a wire rack, letting it rest for at least 30 minutes. This allows the flavors to meld beautifully, enhancing that rich chocolate and vanilla swirl.
While it cools, I think about serving suggestions. A dusting of powdered sugar or a drizzle of ganache can elevate its charm. For flavor enhancements, consider pairing it with fresh berries or a dollop of whipped cream. Once fully cooled, this marble cake is ready to dazzle both the eyes and the palate. Enjoy!
Nutritional Guide
When indulging in a slice of marble cake, understanding its nutritional profile can enhance your enjoyment and help you make informed choices. This delightful treat has a mix of flavors, but it’s essential to take into account the caloric content and ingredient benefits.
Here’s a quick guide to the nutritional aspects:
| Nutrient | Per Slice (1/12 of cake) | Ingredient Benefits |
|---|---|---|
| Calories | 250 | Provides energy for your day |
| Sugar | 15g | Quick energy boost |
| Fat | 10g | Supports nutrient absorption |
| Protein | 3g | Aids in muscle repair and growth |
Final Thoughts
While enjoying a slice of marble cake, I can’t help but appreciate how its rich flavors and textures come together to create a truly delightful experience. This cake isn’t just a feast for the taste buds; it’s an opportunity for creativity. Experimenting with flavor variations like orange zest or espresso can elevate your baking game. Don’t hesitate to mix in spices or add a swirl of jam for a unique twist. Remember these baking tips: make sure your ingredients are at room temperature for a smoother batter, and be gentle when marbling to achieve those beautiful swirls. So, whether you’re baking for a special occasion or simply indulging yourself, marble cake is a versatile canvas for your culinary innovations. Happy baking!
Frequently Asked Questions
Can I Use Gluten-Free Flour for Marble Cake?
Absolutely, I’ve experimented with gluten-free substitutes in baking. Just remember to blend different flours for texture, and add extra moisture. Trust me, with the right baking tips, your creation will be deliciously satisfying!
How Can I Store Leftover Marble Cake?
Did you know that properly stored cake can last up to a week? For leftover storage, I wrap it tightly in plastic wrap and place it in an airtight container for ideal cake preservation. Enjoy every bite!
Can I Make Marble Cake in Advance?
I love to make ahead by baking my cake in advance. Once cooled, I wrap it tightly for cake freezing. It stays fresh, and I can enjoy it whenever I want. Perfect for busy days!
What Is a Good Frosting for Marble Cake?
When it comes to frosting, I adore the creamy embrace of cream cheese or the luscious drizzle of chocolate ganache. Both elevate the cake’s charm, making each slice a delightful experience that’s simply irresistible!
Can I Add Other Flavors to the Marble Cake?
I love experimenting with flavor combinations. You can easily incorporate ingredient substitutions like almond extract or citrus zest to elevate your marble cake. Just remember to balance flavors for a deliciously unique twist!
Conclusion
As I savored each slice of my homemade marble cake, I couldn’t help but appreciate its rich history and delightful flavors. Did you know that marble cake dates back to the 19th century, originally created to showcase both chocolate and vanilla batters? This charming dessert not only tantalizes the taste buds but also brings a slice of culinary heritage to our tables. So, whether you’re baking for a special occasion or just a cozy afternoon, this cake is sure to impress!
