Bread Bowl Recipe
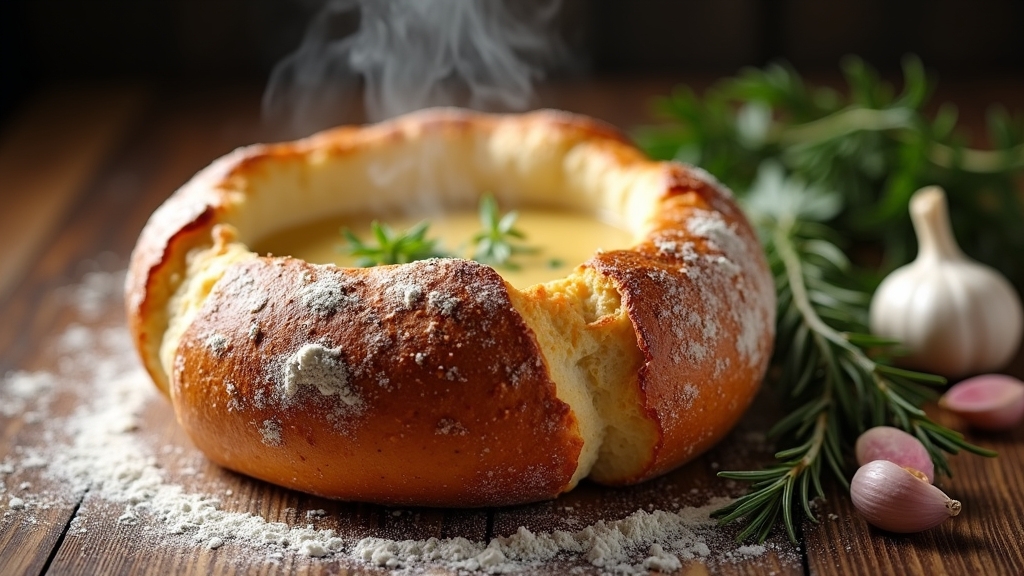
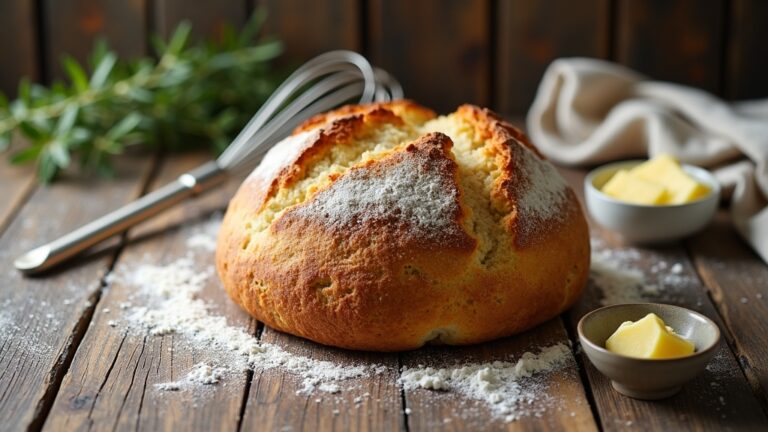
I love making bread bowls because they add a fun twist to meals. You’ll need flour, yeast, salt, and warm water to create the dough. After kneading it to a smooth texture, let it rise until doubled. Shape it into bowls, bake them until golden, and then fill them with your favorite soup or salad. It’s a cozy, communal dining experience that brings everyone together. Want to discover more about creative fillings and serving tips?
Contents
History
When I think about the history of bread bowls, I can’t help but imagine the ancient bakers who first shaped dough into vessels for soups and stews. These ingenious creations transformed simple ingredients into something extraordinary, allowing cultures to savor both flavor and functionality. Ancient breads served not just as sustenance but as symbols of community and innovation. In various civilizations, the bread bowl held cultural significance, often representing hospitality and warmth. It’s fascinating to reflect on how these culinary vessels have evolved over centuries, adapting to local ingredients and flavors while retaining their essence. Today, we blend tradition with modern creativity, continuing the legacy of those early bakers who dared to think outside the loaf.
Recipe
Bread bowls are not only a fun and creative way to serve soups and salads, but they also add an extra layer of flavor to your meal. The warm, crusty bread encases your favorite fillings, making every bite a delight. Plus, they are perfect for gatherings and parties, allowing guests to enjoy their meal while savoring the delicious bread. With a few simple ingredients and steps, you can create your very own bread bowls that are sure to impress.
Making bread bowls is easier than it sounds. You can use a variety of bread types, but a crusty white or sourdough bread works best for this recipe. You can also customize the size of your bread bowls based on your needs, from mini versions for appetizers to larger ones for hearty servings. Once you master this recipe, you can experiment with different fillings and toppings, making it a versatile dish for any occasion.
Making bread bowls is simple and customizable, perfect for any occasion with endless filling possibilities.
Ingredients:
- 4 cups all-purpose flour
- 2 teaspoons salt
- 2 teaspoons sugar
- 2 ¼ teaspoons active dry yeast (1 packet)
- 1 ½ cups warm water (110°F)
- 2 tablespoons olive oil
- Cornmeal (for dusting)
Instructions:
In a large mixing bowl, dissolve the sugar and yeast in warm water and let it sit for about 5 minutes until frothy. Add the flour, salt, and olive oil, mixing until a dough forms. Knead the dough on a floured surface for about 8-10 minutes until smooth and elastic. Place the dough in a greased bowl, cover with a clean cloth, and let it rise in a warm place for about 1 hour or until doubled in size. Preheat your oven to 375°F (190°C). Once the dough has risen, punch it down and divide it into 4 equal portions for large bowls or 8 for smaller ones. Shape each portion into a ball and place them on a baking sheet dusted with cornmeal. Cover and let them rise for another 30 minutes. Bake for 25-30 minutes or until golden brown. Let them cool slightly, then hollow out the centers to create your bowls.
Extra Tips:
For a more flavorful bread bowl, consider adding herbs or garlic powder to the dough before kneading. You can also brush the outside of the bowls with melted butter or olive oil before baking for a shinier crust. If you want a softer inside, wrap the baked bread bowls in a clean kitchen towel as they cool. Remember to save the bread you hollowed out; it can be used as croutons or blended into a bread pudding! Enjoy your delicious bread bowls filled with your favorite soups or salads.
Cooking Steps
Now that we’ve gathered our ingredients, it’s time to bring our bread bowls to life. I’ll guide you through each step, starting with mixing warm water and yeast to kick off the magic of fermentation. Once we knead the dough to perfection, we’ll let it rise and transform into something truly special.
Step 1. Mix Warm Water and Yeast
As I start mixing the warm water with the yeast, the anticipation of freshly baked bread fills the air. I carefully measure out the water, ensuring it’s around 110°F—this is the ideal water temperature for yeast activation. Too hot, and I risk killing the yeast; too cold, and it won’t activate properly. As I stir, I watch the yeast dissolve, tiny bubbles forming, signaling that it’s coming to life. It’s a fascinating moment, knowing that this simple mixture will be the foundation for my bread bowls. I can almost taste the warm, fluffy bread that awaits. Patience is key here; I let it sit for about five minutes, allowing the yeast to bloom fully before moving on to the next step.
Step 2. Knead Dough Until Smooth
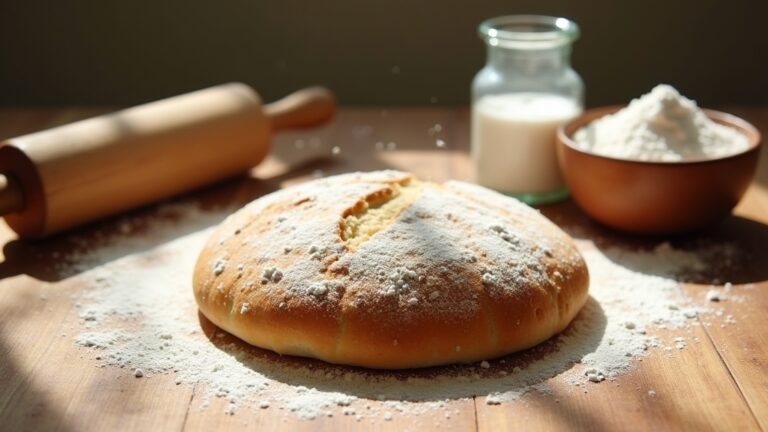
With the yeast fully activated, it’s time to combine it with the other ingredients and start working the dough. I pour the mixture onto a floured surface, feeling the coolness of the flour against my palms. Using my fingers, I begin to incorporate the flour, and soon, I’m ready to knead. I employ various kneading techniques, pressing, folding, and turning the dough. Each motion helps develop a smooth, elastic dough texture. I love how it transforms under my hands, going from sticky to silky. After about 8 to 10 minutes of kneading, I can see and feel the difference—it’s no longer rough but soft and pliable. This is the moment when dough becomes something extraordinary, laying the foundation for my bread bowls.
Step 3. Let Dough Rise Until Doubled
After kneading the dough to perfection, I place it in a lightly greased bowl, covering it with a damp cloth to create a warm environment. This is where the magic happens—dough fermentation begins. I let the dough rise for about one to two hours, or until it has doubled in size. During this time, I often check on it, marveling at how the yeast works its wonders. Using rising techniques like keeping the bowl in a slightly warm oven can speed things up. The dough transforms, becoming airy and full of promise. When it’s ready, I gently poke it; if it springs back slowly, it’s perfect. Now, I can’t wait to shape it into my bread bowls!
Step 4. Shape Dough Into Bowls
Now that the dough has risen beautifully, I’m ready to shape it into bowls. This is where the fun begins! Using a few simple dough shaping techniques, I can create perfect bowls in various sizes. Here’s how I do it:
- Divide the dough: I cut it into equal portions, depending on my desired bowl sizes.
- Shape each piece: Rolling each portion into a smooth ball helps create an even texture.
- Flatten gently: I gently press down the center to form a well, making room for whatever delicious filling I plan to use.
- Create the rim: Finally, I pinch the edges to form a nice, defined rim.
With these steps, I’m one step closer to enjoying my tasty creations!
Step 5. Bake Until Golden Brown
As I preheat the oven, anticipation builds for that moment when my bread bowls transform into golden, crusty delights. Once the dough has risen and I’ve shaped it into bowls, I carefully place them on a baking sheet lined with parchment paper. To achieve that perfect golden crust, I brush the tops with a mixture of melted butter and a sprinkle of sea salt—this little touch enhances flavor and texture. I bake them at 375°F for about 20-25 minutes, keeping a watchful eye. The aroma fills my kitchen, and I know they’re almost ready when they turn a beautiful amber hue. Remember, the secret baking tip is to let them cool slightly before serving; this allows the crust to set perfectly!
Nutritional Guide
While bread bowls are often seen as a delicious vessel for soups and stews, they also pack a nutritional punch that’s worth exploring. When I immerse myself in one of these creations, I appreciate not just the flavor but also the ingredient benefits that elevate my meal. The caloric content varies, but each bite offers potential health perks, especially when made with whole grains.
Here’s a quick look at the nutritional aspects:
| Ingredient | Benefits |
|---|---|
| Whole Wheat Flour | High in fiber, promotes digestion |
| Olive Oil | Heart-healthy fats, antioxidants |
| Yeast | Supports gut health, B vitamins |
| Salt | Enhances flavor, retains moisture |
Understanding these elements makes my bread bowl experience even more rewarding!
Final Thoughts
Although I’ve shared the joys and benefits of bread bowls, the experience goes beyond just their nutritional value; it’s about the moments they create. Bread bowls invite creativity and connection, bringing people together over a shared meal. Here are some culinary tips and serving suggestions to elevate your bread bowl experience:
- Experiment with a variety of fillings—think savory stews or fresh salads.
- Pair your bread bowl with complementary sides like roasted vegetables or artisan cheeses.
- Consider adding a sprinkle of fresh herbs for a pop of flavor.
- Use different types of bread for unique textures and tastes, such as sourdough or whole grain.
Embrace the innovation of bread bowls, and you’ll find they’re perfect for any occasion!
Frequently Asked Questions
Can I Use Gluten-Free Flour for the Bread Bowl?
I’ve experimented with gluten-free options, and I can say gluten-free flour alternatives work surprisingly well. Just remember to adjust liquids and binders for the best texture. It’s a fun twist on traditional baking!
How Long Can I Store Leftover Bread Bowls?
Storing scrumptious leftovers is simple! I usually keep my bread bowls in an airtight container for up to three days. For ideal bread freshness, consider freezing them; just thaw when you’re ready for a delightful treat!
What Types of Fillings Work Best in Bread Bowls?
When I think about fillings, hearty soup options like creamy tomato or savory chili really shine. For a fresh twist, I love adding vibrant salad ideas, combining crisp greens and tangy dressings that elevate every bite!
Can I Freeze the Bread Bowls After Baking?
Did you know that about 40% of baked goods get wasted? I freeze my bread bowls using simple freezing techniques. Just wrap them tightly and follow storage tips to keep them fresh for future delicious meals!
How Do I Reheat a Filled Bread Bowl?
When I reheat a filled bread bowl, I prefer the oven reheating method for crispy edges. If I’m short on time, the microwave method works too—just cover it to keep the filling warm and moist.
Conclusion
As I savor the last spoonful from my warm, crusty bread bowl, I can’t help but think about how this simple recipe can transform a meal into a cozy experience. It’s like wrapping yourself in a warm blanket on a chilly day. I hope you plunge into this delightful adventure in your kitchen and enjoy every comforting bite. Remember, cooking’s not just about the food; it’s about the memories we create around it. Bon appétit!
