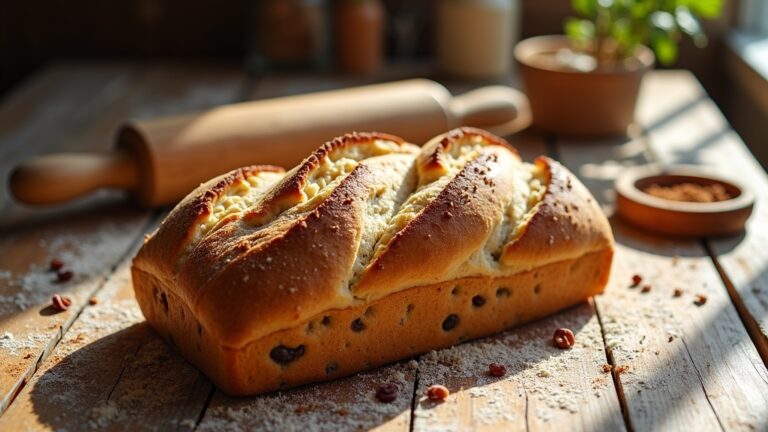
Crusty Bread Recipe
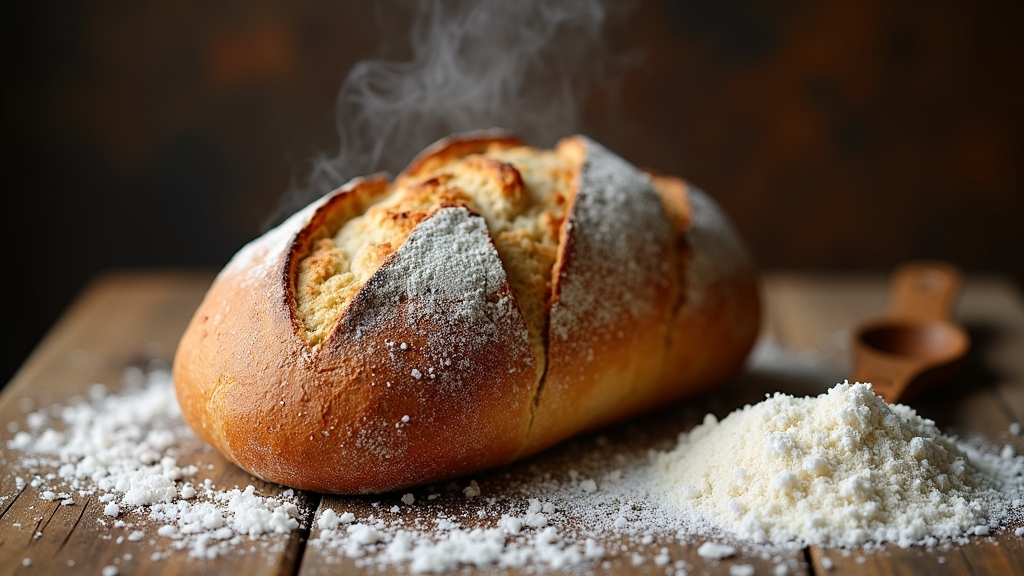
I’ve perfected a crusty bread recipe that marries ancient techniques with modern flavors. Start by mixing flour and water to form a slightly tacky dough, then knead it until elastic. Let it rise overnight for depth of flavor before shaping and resting it again. Bake in a preheated oven at 450°F to achieve that golden, crunchy crust. Each loaf is a delight, perfect for any meal. Stick around, and I’ll share more tips and variations!
Contents
History
When I think about the history of crusty bread, I can’t help but feel a connection to the countless generations who’ve baked it before us. This humble loaf has roots in ancient baking traditions, where the art of bread-making was often a communal activity, bringing people together. Each region infused their unique flavors and techniques, reflecting their cultural significance.
From the rustic loaves of ancient Egypt to the artisan methods of Europe, crusty bread has always symbolized sustenance and tradition. It’s fascinating how this simple food has evolved yet remained a staple, embodying innovation in every crust and crumb. Today, as we experiment with grains and fermentation, we honor those who paved the way, blending history with modern culinary creativity.
Recipe
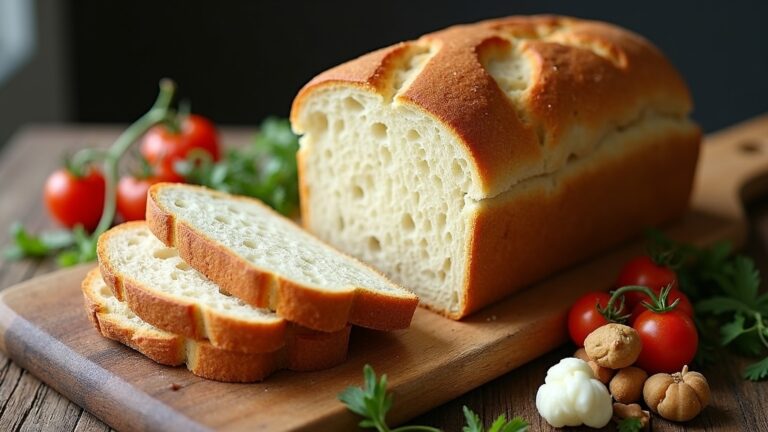
Crusty bread is a beloved staple in many households, cherished for its crunchy exterior and soft, airy interior. This rustic bread can elevate any meal, from a simple soup to a gourmet dinner, making it a versatile addition to your culinary repertoire. With just a few basic ingredients, this recipe will guide you through the process of crafting a loaf that not only looks impressive but also tastes divine.
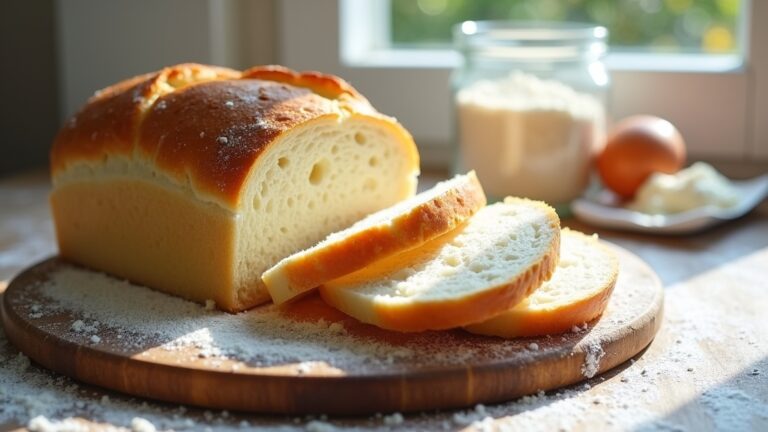
The beauty of making crusty bread lies in its simplicity and the satisfaction of creating something from scratch. The dough requires minimal handling, allowing it to develop flavor through fermentation. With a little patience and some time, you’ll be rewarded with a beautifully risen loaf that boasts a golden-brown crust and a delightful aroma that will fill your kitchen.
Ingredients:
- 3 cups all-purpose flour
- 1 ½ teaspoons salt
- ½ teaspoon instant yeast
- 1 ½ cups warm water
To make the bread, start by combining the flour, salt, and instant yeast in a large mixing bowl. Gradually add the warm water, stirring until a shaggy dough forms. Cover the bowl with plastic wrap or a kitchen towel and let it rest for 12 to 18 hours at room temperature until the surface is dotted with bubbles and the dough has doubled in size. After the resting period, turn the dough out onto a well-floured surface, shape it into a ball, and let it rise for another 1 to 2 hours. Preheat your oven to 450°F (230°C) and place a Dutch oven inside to heat. Once the dough is ready, carefully transfer it into the hot Dutch oven, cover it, and bake for 30 minutes. Remove the lid and bake for an additional 15 minutes until the crust is deep golden brown. Ultimately, let the bread cool on a wire rack before slicing.
When making crusty bread, patience is key. Allowing the dough to ferment overnight enhances the flavor and texture greatly, so don’t rush this step. Additionally, for an extra crispy crust, consider placing a tray of water in the oven alongside your bread to create steam. This not only helps to develop a beautiful crust but also keeps the interior moist. Finally, using a kitchen scale to measure your ingredients can lead to more consistent results, especially with bread baking where precision is essential. Enjoy the process and the delightful aroma of fresh bread wafting through your home!
Cooking Steps
Now that we have our ingredients ready, let’s jump into the cooking steps that will transform those simple components into a crusty loaf. I’ll guide you through mixing the flour and water, kneading the dough, and letting it rise overnight for that perfect texture. Get ready to shape your dough into a loaf and preheat your oven to 450°F for that amazing crust!
Step 1. Mix Flour and Water
As I gather my ingredients, the transformation begins with the simple yet essential act of mixing flour and water. I choose a blend of flour types—bread flour for its high protein content and all-purpose flour for added versatility. The key to a great dough lies in the water temperature; I always opt for lukewarm water, around 110°F, which activates the yeast and helps create that perfect rise. I pour the flour into a large bowl and slowly add the water, mixing until they come together. The texture should be slightly tacky but not overly sticky. Each swirl of the spoon feels like a promise of the crusty masterpiece to come, setting the stage for the next exciting step in this baking adventure.
Step 2. Knead the Dough Thoroughly
With enthusiastic hands, I plunge into the dough, ready to knead it into a silky, elastic texture. The transformation is magical; I can feel the dough responding to my touch. Here’s how I perfect my kneading techniques:
- Push and Fold: I push the dough away and fold it back, developing strength.
- Rotate: I turn the dough a quarter turn after each fold for even texture.
- Feel the Resistance: I know I’ve achieved the right dough texture when it springs back to my touch.
- Use Flour Wisely: I sprinkle just enough flour to prevent sticking, keeping it soft and pliable.
Kneading not only builds gluten but also enhances the flavor, ensuring my crusty bread is utterly irresistible!
Step 3. Let Dough Rise Overnight
After kneading the dough to perfection, I set it aside to rise overnight, allowing it to develop complex flavors and a delightful texture. This overnight fermentation is essential; it’s like giving the dough a chance to breathe and awaken. As I cover the bowl with a damp cloth, I can almost feel the anticipation. The slow rise enriches the dough’s flavor profile, transforming simple ingredients into something extraordinary. When morning comes, I peek under the cloth to find a beautifully puffed dough, its texture velvety and airy, promising a crusty exterior and a soft, chewy interior. Trust me, letting the dough rise overnight is a game-changer that elevates your bread-making experience to new heights.
Step 4. Shape the Dough Into Loaf
Peeking under the damp cloth, I’m greeted by the sight of my dough, risen and ready for the next step. It’s time to shape the dough into a loaf, and I can’t wait to bring it to life! Using various dough shaping techniques, I gently turn my dough onto a floured surface, ensuring it retains that airy texture. I fold it, tucking the edges in, creating a beautiful shape. Here are some loaf presentation tips to elevate your bread-making game:
- Aim for a tight surface for a great crust.
- Use flour sparingly to avoid a sticky mess.
- Experiment with different shapes—try round or oval!
- Dust with flour or seeds for a rustic finish.
With each fold, I imagine the delicious crust that awaits!
Step 5. Preheat the Oven to 450°F
To achieve that perfect crust, I always start by preheating my oven to 450°F. This oven temperature is essential for creating that golden, crispy exterior that makes crusty bread irresistible. While the oven heats, I take a moment to reflect on my favorite baking techniques, like using steam to enhance the bread’s texture. I often place a pan filled with hot water at the bottom of the oven, which generates steam and helps develop that delightful crust. As the oven reaches the desired temperature, the anticipation builds—this is where the magic happens. With the right heat and a few innovative techniques, I know my loaf will emerge beautifully baked, with a crust that crackles and a soft interior waiting to be enjoyed.
Nutritional Guide
When it comes to enjoying crusty bread, understanding its nutritional profile can enhance your experience and help you make informed choices. This bread is not just a delightful treat; it also offers an array of ingredient benefits.
Here’s a quick glance at the caloric content and benefits:
| Ingredient | Caloric Content (per slice) | Benefits |
|---|---|---|
| Whole Wheat Flour | 80 calories | High in fiber, vitamins |
| Yeast | 10 calories | Probiotic properties |
| Salt | 0 calories | Enhances flavor |
Final Thoughts
As I reflect on the nutritional benefits of crusty bread, it’s clear that this delightful staple can be both satisfying and nourishing. By exploring various baking techniques and crust variations, I’ve discovered that crusty bread is not only versatile but also an innovative canvas for flavors and textures. Each loaf brings a unique experience, offering the perfect crunch paired with a soft interior.
Here are some key takeaways:
- Experiment with different flours for diverse tastes.
- Adjust hydration levels to achieve desired crust thickness.
- Try incorporating seeds or herbs for added nutrition and flavor.
- Don’t shy away from using a baking stone for an artisan touch.
Frequently Asked Questions
Can I Use Whole Wheat Flour Instead of All-Purpose Flour?
I love using whole wheat flour for its health benefits. When I substitute it for all-purpose flour, I find my recipes become heartier and more flavorful—perfect for those seeking innovative, nutritious options in their baking!
How Do I Store Leftover Crusty Bread?
When I think of treasure, I think of leftover crusty bread. To keep it fresh, I store it in a paper bag for short-term or freeze it for longer-lasting delights. Trust me, these storing tips work wonders!
What Is the Best Way to Reheat Crusty Bread?
To reheat crusty bread, I preheat the oven to 375°F. This temperature revives the bread’s texture perfectly, ensuring it’s crispy outside and warm inside. Just 10 minutes brings back that delightful freshness I love!
Can I Add Herbs or Spices to the Dough?
I love experimenting with herb combinations and spice variations in dough. It transforms the flavor profile, making every loaf unique. Just remember, balance is key to guarantee the herbs and spices shine without overwhelming.
How Long Does Crusty Bread Stay Fresh?
I’ve found that crusty bread maintains its freshness for about two to three days. After that, it loses its delightful crusty texture. To extend its life, I often freeze leftovers for later enjoyment.
Conclusion
As I reflect on the journey of baking crusty bread, I’m reminded that nearly 50% of households in the U.S. bake bread at home at least once a year. This simple act connects us to centuries of tradition and creativity. Whether you savor it fresh from the oven or toast it for breakfast, there’s something magical about crusty bread. So, roll up your sleeves and give this recipe a try—your taste buds will thank you!
