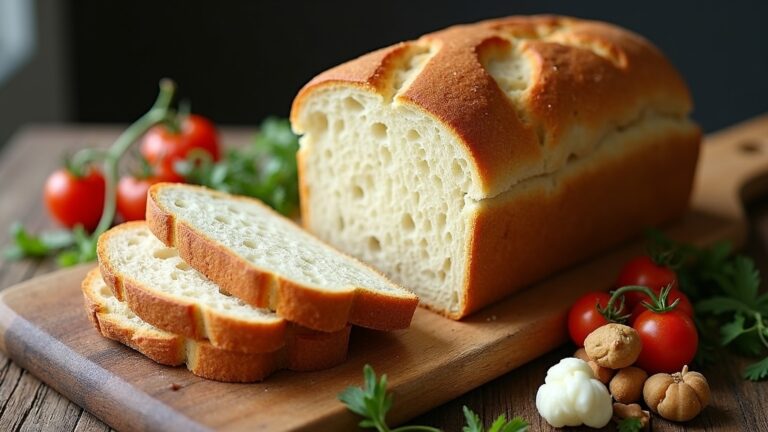
Cheese Bread Recipe
I’m excited to share my favorite cheese bread recipe, a delicious blend of fluffy texture and cheesy goodness. You’ll mix tapioca flour with your choice of cheese, then add eggs and milk to create a rich batter. After kneading the dough to a perfect elasticity, shape it into bite-sized balls and bake them until golden brown. These savory treats are customizable and versatile, perfect for any occasion. Stick around to discover tips on enhancing flavors and nutrition!
Contents
History
When I think about the history of cheese bread, I can’t help but marvel at its rich cultural roots that span across continents. Originating in Brazil, this delightful treat is a showcase of the country’s culinary creativity. Brazilian cheese bread, or pão de queijo, beautifully combines tapioca flour with various cheese varieties, like Minas cheese, which contributes to its unique flavor and chewy texture. As I explore its evolution, I discover how immigrant influences shaped this dish, infusing it with diverse ingredients and techniques. Today, cheese bread not only represents Brazil but has also captured the hearts of food lovers worldwide, inspiring innovative twists that continue to celebrate its heritage while inviting new experiences.
Recipe
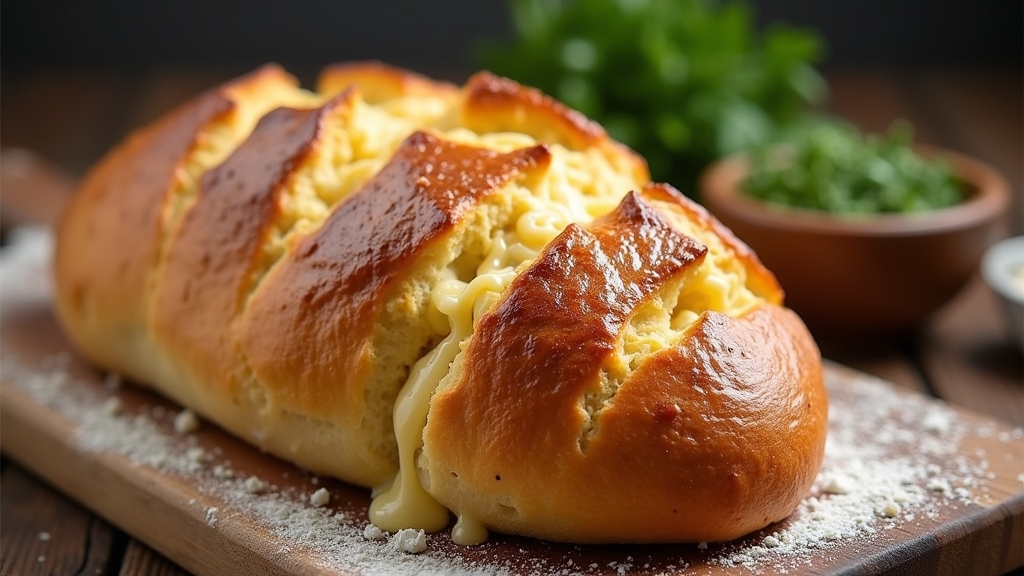
Cheese bread is a delightful and savory treat that is perfect for breakfast, snacks, or as a side dish to accompany meals. This fluffy and cheesy bread is commonly enjoyed in various cultures, with each region adding its unique twist to the basic recipe. Its warm, gooey cheese and soft texture make it irresistible, and it can be customized with different types of cheese or herbs to suit your taste.
Making cheese bread is not only easy but also a fun activity to share with family or friends. The aroma of baking bread fills the kitchen, creating an inviting atmosphere. Whether you are an experienced baker or a beginner, this recipe will guide you through each step to guarantee you achieve the perfect cheese bread that is sure to impress everyone at the table.
Ingredients:
- 2 cups all-purpose flour
- 1 tablespoon baking powder
- 1 teaspoon salt
- 1 cup shredded cheese (cheddar, mozzarella, or your choice)
- 1 cup milk
- 1/4 cup melted butter
- 1 large egg
- Optional: herbs (such as rosemary or thyme) or spices (like garlic powder)
To make the cheese bread, preheat your oven to 350°F (175°C). In a large mixing bowl, combine the flour, baking powder, and salt. Mix in the shredded cheese until evenly distributed. In a separate bowl, whisk together the milk, melted butter, and egg until well combined. Gradually pour the wet ingredients into the dry mixture, stirring gently until just combined. Be careful not to overmix, as this can lead to a dense bread. Transfer the batter to a greased loaf pan, smoothing the top, and bake for 30-35 minutes or until the bread is golden brown and a toothpick inserted into the center comes out clean.
When baking cheese bread, it’s important to keep an eye on the oven to prevent over-browning. If the top starts to darken too quickly, loosely cover it with aluminum foil. For extra flavor, experiment with different cheese varieties or add ingredients like chopped jalapeños for a spicy kick or herbs for an aromatic touch. Allow the bread to cool for a few minutes before slicing to guarantee clean cuts, and serve warm for the best experience!
Cooking Steps
Now that we have our ingredients ready, let’s get started on the cooking steps that will bring this cheese bread to life. First, I’ll preheat the oven to 350°F, creating the perfect environment for our delicious bread. From mixing the cheese and flour to shaping the dough into balls, each step is simple yet essential for achieving that perfect cheesy goodness.
Step 1. Preheat the Oven to 350°F
To kick off this delicious cheese bread recipe, I recommend preheating the oven to 350°F. This oven temperature is ideal for achieving that perfect balance of a crispy crust and a soft, chewy interior. While the oven warms up, it’s a great time to gather your ingredients and mentally prepare for the deliciousness that’s about to unfold. A few baking tips: make sure your oven is fully preheated before sliding in the bread; this guarantees even cooking. You might want to use an oven thermometer for accuracy, as some ovens can be off. Trust me, starting with the right temperature is key to elevating your cheese bread to a whole new level. Happy baking!
Step 2. Mix Cheese and Flour
Start by combining the cheese and flour in a large mixing bowl, creating a wonderful base for your bread. I love using a variety of cheese to enhance flavor—think about trying different cheese varieties like sharp cheddar, creamy mozzarella, or tangy feta. For the flour, consider your options; each flour type will contribute uniquely to the texture.
Here are some tips to elevate your mixture:
- Use finely grated cheese for better incorporation.
- Experiment with whole wheat flour for added nutrition.
- Add herbs for extra flavor—thyme or rosemary work wonders.
- Incorporate some grated Parmesan for a delightful crust.
- Mix thoroughly to guarantee an even blend of ingredients.
This step sets the stage for an incredible cheese bread experience!
Step 3. Add Eggs and Milk
Adding eggs and milk transforms the mixture into a rich, cohesive batter that binds all the ingredients together. I love cracking the eggs into the bowl; their protein not only improves the texture but also boosts the nutritional value with essential vitamins. If you’re looking for egg benefits like stronger hair and skin, this is your chance. Next, I pour in the milk, which adds moisture and creaminess. If you prefer milk alternatives, almond or oat milk work beautifully, creating a unique flavor profile. The combination of eggs and milk or their substitutes guarantees your cheese bread will rise perfectly, providing that delightful pull when you take a bite. Trust me, your taste buds will thank you!
Step 4. Knead the Dough Thoroughly
Kneading the dough is where the magic truly happens, turning the mixture into a smooth, elastic masterpiece. It’s all about achieving that perfect dough texture that’ll elevate your cheese bread to new heights. I find that using a few kneading techniques really makes a difference:
- Use your palms to push the dough away and fold it back.
- Knead for 8-10 minutes until it feels stretchy and soft.
- Add flour gradually if it feels too sticky.
- Incorporate air by folding and pressing, enhancing the flavor.
- Feel for readiness; it should spring back when poked.
Don’t rush this step; the right kneading transforms your ingredients into a cohesive, delightful dough that’s ready for the next stage. Enjoy the process!
Step 5. Shape the Dough Into Balls
After the dough has risen beautifully, it’s time to shape it into balls that will become the delightful individual servings of cheese bread. First, I lightly flour my work surface to prevent sticking. I take a portion of the dough, appreciating its soft and elastic dough consistency. Using my fingertips, I gently stretch and fold the edges toward the center, creating a smooth top. This shaping technique not only looks professional but also helps to create a uniform size for even baking. Once I have a nice round ball, I place it on a baking sheet lined with parchment paper, making sure to leave some space for expansion. With each ball, I can’t help but feel excited about the cheesy goodness ahead!
Nutritional Guide
When it comes to enjoying cheese bread, understanding its nutritional profile can enhance your experience. This delicious treat not only satisfies your taste buds but also offers several nutritional benefits. By exploring ingredient alternatives, you can tailor the recipe to fit your dietary needs.
Here’s a quick overview of the nutritional content:
| Nutrient | Amount per Serving |
|---|---|
| Calories | 200 |
| Protein | 8g |
| Carbohydrates | 30g |
Feel free to experiment with whole wheat flour or low-fat cheese as ingredient alternatives, which can elevate the dish’s health quotient. Embracing these changes can make your cheese bread a delightful, guilt-free indulgence!
Final Thoughts
Enjoying cheese bread is more than just a delicious experience; it’s about savoring a treat that can be tailored to fit your nutritional preferences. I love experimenting with different cheeses and spices to create unique flavors that excite my palate. Here are some innovative serving suggestions to elevate your cheese bread:
- Pair it with a zesty tomato salsa for a burst of freshness.
- Serve alongside a creamy garlic dip to enhance the savory notes.
- Use it as a base for a gourmet grilled cheese sandwich.
- Top with avocado and microgreens for a nutritious twist.
- Enjoy it with a warm bowl of soup for a comforting meal.
Each bite invites you to explore new flavor combinations, making cheese bread a versatile delight.
Frequently Asked Questions
Can I Use Gluten-Free Flour for Cheese Bread?
I’ve experimented with gluten-free options and found that flour alternatives like almond or coconut flour can create delicious results. Just remember, adjusting liquid ratios might be necessary to achieve that perfect texture.
How Should I Store Leftover Cheese Bread?
You’d think leftover cheese bread would vanish, but I store mine at room temperature, wrapped tightly. For longer freshness, I use freezing techniques—cut into portions first. It’s like saving a piece of heaven for later!
What Types of Cheese Work Best in Cheese Bread?
When I experiment with cheese varieties in bread, I love combining sharp cheddar for zest and creamy mozzarella for texture. Each cheese brings unique flavor profiles, creating a delightful taste adventure that keeps everyone coming back for more!
Can I Add Herbs or Spices to the Recipe?
Did you know that 70% of home cooks love experimenting with flavors? I often add herb blends and spice combinations to my recipes, enhancing the taste and elevating my culinary creations. Don’t hesitate to get creative!
How Long Does Cheese Bread Typically Last?
Cheese bread’s shelf life usually lasts about three to five days at room temperature. I’ve noticed it starts the staling process quickly, so I recommend enjoying it fresh or freezing for later deliciousness!
Conclusion
As I take that first bite of warm, cheesy bread, I’m reminded of how this simple delight has traveled through time, much like a smartphone has transformed our kitchens. It’s incredible to think that generations before us savored this treat, yet it still brings joy today. So, whether you’re baking for a cozy night in or a gathering with friends, this cheese bread recipe is sure to create delicious memories that’ll linger long after the last crumb is gone.
