Sourdough Bread Recipe With Starter
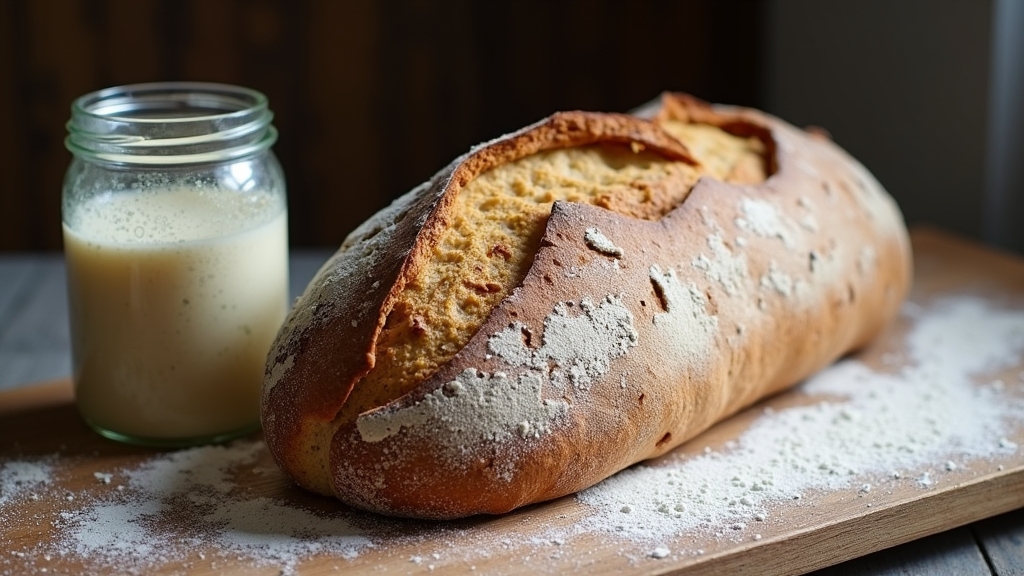
To make sourdough bread with a starter, I mix 500g bread flour and 350g water, letting it rest for 30-60 minutes. Then, I add 100g active sourdough starter and 10g salt, kneading for 10 minutes. After a 4-6 hour rise, I shape the dough into a round loaf and proof it for 2-3 hours. Finally, I bake at 450°F (232°C) for 30 minutes covered, then 15-20 minutes uncovered. You’ll discover more tips and insights along the way.
Contents
History
When I explore the history of sourdough bread, I’m often fascinated by its ancient roots, stretching back thousands of years to the dawn of agriculture. This bread represents a culinary evolution, emerging from the use of ancient grains like einkorn and spelt, which were staples in early societies. The fermentation techniques developed by our ancestors were revolutionary; they harnessed wild yeast and lactic acid bacteria to create a leavening process that not only enhanced flavor but also improved digestibility. By experimenting with different grain varieties and fermentation methods, bakers learned to produce bread that could sustain communities. This deep-rooted tradition of sourdough continues to inspire innovative approaches, blending ancient practices with modern techniques to create exceptional loaves today.
Recipe
Sourdough bread is a beloved staple known for its tangy flavor and chewy texture, created through the natural fermentation process of wild yeast and bacteria. This recipe will guide you through the steps to make your own sourdough bread from scratch, using just a few simple ingredients. The process may take time and patience, but the results are incredibly rewarding, yielding a loaf that’s perfect for toasting, sandwiches, or enjoying with your favorite spread.
Discover the art of sourdough bread, a delightful fusion of tangy flavor and chewy texture crafted through natural fermentation.
To begin, you’ll need to cultivate a sourdough starter if you don’t already have one. This is done by combining equal parts of flour and water and allowing it to ferment over several days, during which wild yeast will develop. Once your starter is bubbly and active, you’re ready to bake. The beauty of sourdough lies in its simplicity, with the long fermentation process enhancing the flavor and texture of the bread, making it a truly artisanal experience.
Ingredients:
- 500g bread flour
- 350g water (room temperature)
- 100g active sourdough starter
- 10g salt
Cooking Instructions:
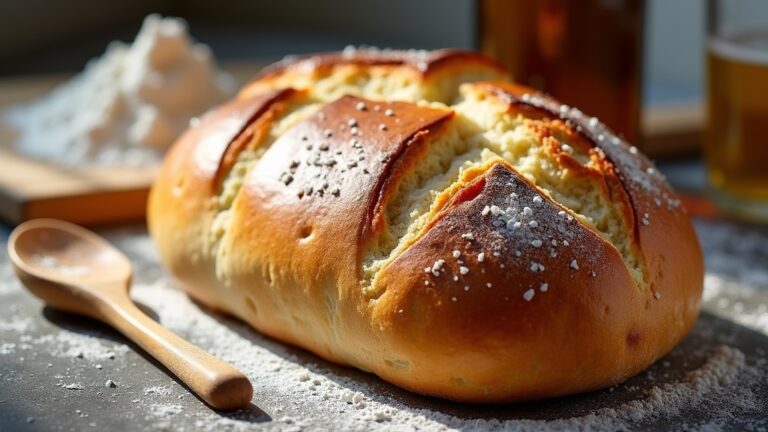
In a large mixing bowl, combine the bread flour and water, mixing until there are no dry bits of flour. Let this mixture sit for about 30 minutes to an hour, allowing the flour to fully hydrate. After this autolyse period, add the active sourdough starter and salt, mixing well to incorporate. Knead the dough for about 10 minutes until it becomes smooth and elastic. Place the dough in a lightly greased bowl, cover it, and let it rise at room temperature for 4-6 hours, or until it has doubled in size. Shape the dough into a round loaf and place it into a floured proofing basket. Allow it to rise again for another 2-3 hours. Preheat your oven to 450°F (232°C) with a Dutch oven inside. Once the dough has risen, carefully transfer it to the hot Dutch oven, score the top, then cover and bake for 30 minutes. Remove the lid and bake for an additional 15-20 minutes until the crust is golden brown. Cool on a wire rack before slicing.
Extra Tips:
For the best sourdough bread, verify your sourdough starter is active and bubbly before using it. The temperature of your kitchen can affect fermentation times, so adjust accordingly; a warmer environment will speed up the process, while a cooler one will slow it down. Experiment with different types of flour, such as whole wheat or rye, to add unique flavors to your bread. Additionally, don’t rush the cooling process; allowing the bread to cool completely will enhance its texture and flavor, making for a more enjoyable eating experience.
Cooking Steps
Let’s get started with the cooking steps that will transform your sourdough starter into a delicious loaf. First, I’ll guide you through preparing your starter and then walk you through the autolyse process, where we combine flour and water. Once we have that base, we’ll move on to the bulk fermentation, shaping the dough, and preheating the baking surface for the perfect bake.
Step 1. Prepare Your Sourdough Starter
Although preparing your sourdough starter may seem challenging, it’s a straightforward process that can yield delicious results. First, I mix equal parts of flour and water—typically a 1:1 ratio—into a clean jar. I prefer using whole grain flour for its higher nutrient content, enhancing sourdough benefits. After combining, I cover the jar loosely to allow airflow and let it sit at room temperature. Each day, I discard half of the starter and feed it with fresh flour and water, ensuring proper starter maintenance. This routine helps develop the natural yeast and bacteria essential for my starter’s health. In about five to seven days, I’ll have a bubbly, active starter ready for baking, bursting with flavor and character.
Step 2. Autolyse the Flour Mixture
Once I’ve gathered my ingredients, I begin the autolyse process by mixing the flour and water together in a large bowl, ensuring all dry particles are fully hydrated. This step is essential for maximizing flour hydration, which enhances gluten development and improves the dough’s extensibility. Here’s how I do it:
- Combine the desired flour with the appropriate amount of water in a large bowl.
- Mix gently with my hands or a spatula until no dry bits remain.
- Cover the bowl with a damp cloth to prevent drying out.
- Let the mixture rest for 30 minutes to an hour.
The autolyse benefits are evident in the final bread, yielding a more flavorful, airy crumb and a beautifully chewy crust.
Step 3. Bulk Fermentation Process
After the autolyse, I move on to the bulk fermentation process, which is essential for developing flavor and structure in the dough. I gently incorporate my active sourdough starter into the autolysed mixture, ensuring it’s evenly distributed. Then, I cover the bowl and let it rest at room temperature for 3 to 4 hours. During this period, I perform stretch and folds every 30 minutes, which enhances gluten development and incorporates air, vital for a light, airy crumb. I keep an eye on the dough’s volume; it should rise noticeably but not double. This phase is all about patience and observation, as the dough transforms, developing its unique sourdough character. Embrace the process, and you’ll be rewarded with exceptional bread!
Step 4. Shape the Dough
With the bulk fermentation complete, it’s time to shape the dough for its final rise. This step is vital to develop the bread’s structure and enhance its texture. Here are some effective dough techniques and shaping methods I recommend:
- Pre-shape: Gently turn the dough onto a floured surface and form it into a loose round. Cover it and let it rest for 20 minutes.
- Final shape: Flatten the dough slightly, then fold in the edges towards the center, creating tension on the surface.
- Tighten: Flip the dough seam-side down and use your hands to rotate and pull towards you, tightening the shape.
- Proofing basket: Place the shaped dough seam-side up in a well-floured proofing basket, ready for the final rise.
Enjoy the process!
Step 5. Preheat the Baking Surface
To guarantee your sourdough bakes evenly and develops a beautiful crust, I always preheat the baking surface effectively. I recommend using a baking stone or steel, as these materials retain heat well, enhancing the baking techniques. Start by placing the stone or steel in the oven and preheat it to a high oven temperature—around 475°F (245°C)—for at least 45 minutes. This duration guarantees the surface reaches ideal heat, essential for a perfect rise and crust formation. Once preheated, I like to introduce steam by placing a pan of hot water at the bottom of the oven. This step helps create that desirable crunchy exterior. Remember, a well-preheated baking surface is key to elevating your sourdough game!
Nutritional Guide
When I analyze the nutritional profile of sourdough bread, I find that it’s a remarkable option for those seeking healthier bread alternatives. The fermentation process enhances digestibility and offers several health benefits, including improved gut health. Let’s break down the key ingredients and their nutritional advantages:
| Ingredient | Nutritional Value (per slice) |
|---|---|
| Whole Wheat Flour | 80 calories, 3g protein |
| Water | 0 calories |
| Salt | Negligible calories |
| Sourdough Starter | 10 calories, probiotics |
| Optional Add-ins | Varies (e.g., seeds, nuts) |
Final Thoughts
Sourdough bread stands out not just for its unique flavor and texture but also for its impressive nutritional profile. Through experimenting with sourdough variations, I’ve discovered endless possibilities that elevate both taste and health. Here are some baking tips to enhance your sourdough journey:
- Experiment with Flours: Try whole wheat or spelt for added nutrients.
- Add Seeds or Nuts: Incorporating flaxseeds or walnuts increases fiber and healthy fats.
- Adjust Hydration Levels: A wetter dough can lead to an airy crumb.
- Flavor Enhancements: Infuse your dough with herbs or spices to create a signature loaf.
Embrace the process, and don’t hesitate to innovate. Each loaf is a step toward mastering the art of sourdough baking!
Frequently Asked Questions
How Do I Know My Starter Is Ready to Use?
I check for key sourdough signs: my starter should double in size, be bubbly, and have a pleasant, tangy aroma. If it’s active and rising consistently, I know it’s ready to use.
Can I Use All-Purpose Flour Instead of Bread Flour?
Sure, I’ve used all-purpose flour instead of bread flour. All-purpose offers unique benefits, like a softer texture, which can yield a different crumb. Just expect a slightly denser loaf, but it’ll still be delicious!
How Long Does Sourdough Starter Last?
I’ve found my sourdough starter can last indefinitely if I know how to store it properly. Watch for signs of spoilage, like off smells or discoloration. Regular feeding keeps it vibrant and ready for baking adventures!
What Should I Do if My Bread Doesn’T Rise?
If my bread doesn’t rise, I troubleshoot by ensuring my yeast activation’s ideal. I check the temperature, feed my starter, and allow adequate fermentation time. Consistent practice leads to perfecting my sourdough skills.
Can I Refrigerate My Dough During Fermentation?
Refrigerating my dough during fermentation feels like a culinary miracle! It slows fermentation time, helping control dough temperature. Just remember, longer cold fermentation enhances flavor, so embrace the chill for remarkable results.
Conclusion
Baking sourdough bread with a starter feels like bridging the past and present. As I mix the dough, I’m reminded of generations before me, yet I get to infuse my own twist into every loaf. The aroma wafting through my kitchen is a comforting hug, contrasting the bustling world outside. Each bite delivers a crunchy crust and chewy interior, a delightful reward for my patience. So, why not embrace this age-old craft and create your own delicious memories?
