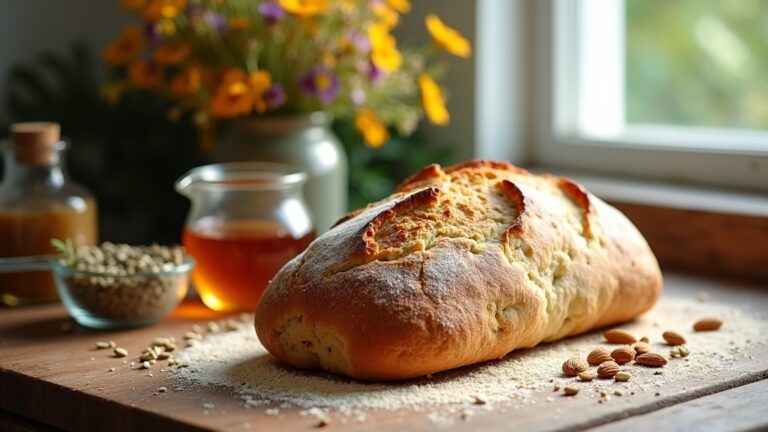
Unleavened Bread Recipe
If you’re looking to make unleavened bread, it’s super easy! I combine 2 cups of all-purpose flour and a teaspoon of salt, then create a well to add 2 tablespoons of olive oil and 3/4 cup of water. After kneading the dough until smooth, I roll it into thin discs and cook them on a skillet for a couple of minutes on each side. This simple recipe has a rich history and versatile uses; let’s explore more together!
Contents
History
When I think about the history of unleavened bread, I can’t help but feel a deep connection to ancient traditions. This simple yet profound food dates back thousands of years, often symbolizing purity and simplicity in various cultures. Its cultural significance stretches from the Passover celebrations in Judaism, where it commemorates the Exodus, to its presence in Christian rituals, reflecting Jesus’ Last Supper. I find it fascinating how unleavened bread embodies resilience and sustenance, transcending time and geography. As I explore its roots, I’m inspired by the innovative ways contemporary bakers are reinterpreting this ancient staple while honoring its legacy. Unleavened bread isn’t just food; it’s a tangible link to our shared human experience and history.
Recipe
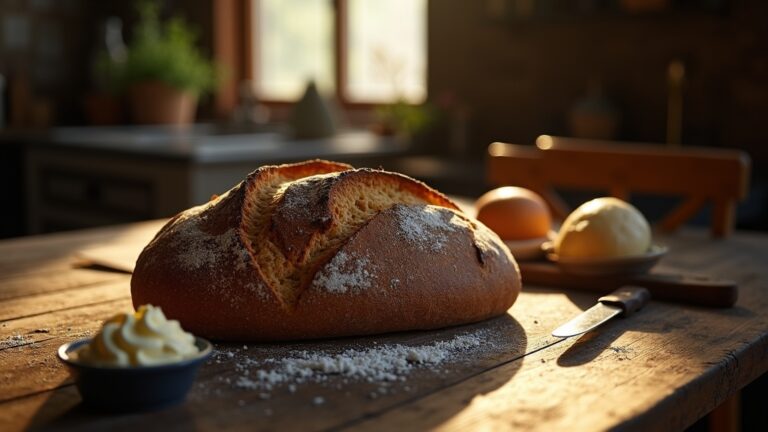
Unleavened bread is a simple yet delicious bread that has been enjoyed for centuries across various cultures. This bread is made without yeast, resulting in a flat and crisp texture that pairs well with a variety of dishes. Traditionally, unleavened bread is associated with religious observances, particularly during Passover, but it can be enjoyed any time of year. Its straightforward preparation makes it an excellent option for both novice and experienced bakers alike.
Unleavened bread, a centuries-old delight, is a versatile, yeast-free option perfect for any occasion.
To make unleavened bread, you only need a few basic ingredients, which are likely already in your pantry. The absence of yeast means that the preparation is quick, and the baking time is minimal. Whether you’re using it as a wrap, a side to your favorite stew, or simply enjoying it with a bit of butter, this unleavened bread recipe is sure to satisfy your cravings.
Ingredients:
- 2 cups all-purpose flour
- 1 teaspoon salt
- 2 tablespoons olive oil
- 3/4 cup water (adjust as needed)
Cooking Instructions:
In a large mixing bowl, combine the all-purpose flour and salt. Make a well in the center and add the olive oil and water. Mix the ingredients until a dough forms. Knead the dough on a lightly floured surface for about 5 minutes, until it becomes smooth and elastic. Divide the dough into small balls, then roll each ball out into thin discs, about 1/8 inch thick. Preheat a skillet over medium-high heat and cook each disc for about 1-2 minutes on each side, or until they are lightly browned and cooked through. Remove from the skillet and let cool before serving.
Extra Tips:
For a bit of flavor, consider adding herbs or spices to the dough, such as garlic powder, onion powder, or dried oregano. If you prefer a softer texture, you can adjust the water slightly or cover the cooked bread with a clean kitchen towel while it cools, which will help retain moisture. Unleavened bread is best enjoyed fresh but can be stored in an airtight container for a couple of days. Reheat in a skillet or microwave before serving to regain some of its original texture.
Cooking Steps
Now that we’ve gathered all our ingredients, it’s time to bring this unleavened bread to life through a few simple steps. I’ll guide you through mixing the flour and water, kneading the dough, and rolling it out to perfection. Then, we’ll bake it in a preheated oven and let it cool on a wire rack, creating a delicious aroma that fills the kitchen!
Step 1. Mix Flour and Water
To create the perfect base for your unleavened bread, I begin by combining flour and water in a mixing bowl. Choosing the right flour types can elevate your bread, whether it’s all-purpose, whole wheat, or a gluten-free option. The water ratios play a significant role, as too much can make the dough sticky, while too little results in a dry mixture.
Here’s what I focus on during this step:
- Texture: Aim for a smooth, pliable dough.
- Consistency: Adjust flour or water gradually for the desired thickness.
- Flavor: Consider adding a pinch of salt for depth.
- Experimentation: Try different flour blends for unique results.
This foundational mix sets the stage for creating delicious unleavened bread!
Step 2. Knead the Dough
Kneading the dough transforms your mixture into a cohesive ball that’s ready for baking. I start by turning the dough onto a lightly floured surface, feeling its texture and evaluating the dough consistency. Using the heel of my hand, I push the dough away, then fold it back over itself. This kneading technique develops the gluten, giving the bread its structure. I repeat this process for about 8-10 minutes, adding a sprinkle of flour if the dough feels too sticky. As I knead, I can sense the dough becoming smoother and more elastic. It’s a satisfying experience, knowing that each fold and press is a step closer to creating delicious unleavened bread. Trust me, this is where the magic happens!
Step 3. Roll Out Dough
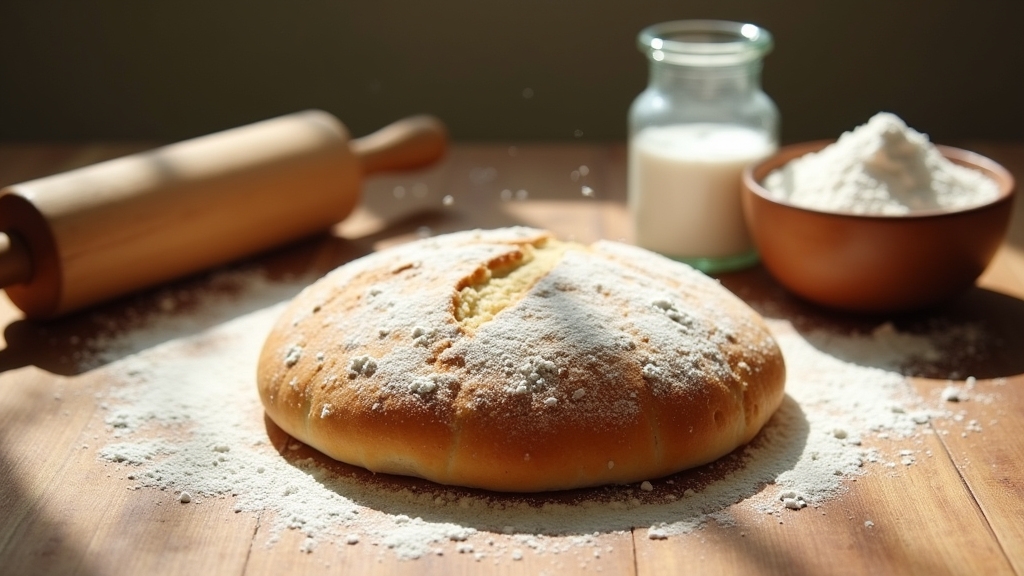
With my dough ready, I dust a clean surface with flour and place the ball of dough in the center. Using my rolling pin, I apply even pressure as I roll out the dough, ensuring I achieve the perfect dough thickness. This rolling technique is essential for creating an ideal base for my unleavened bread.
- Keep the surface lightly floured to prevent sticking.
- Roll from the center outward for even distribution.
- Adjust pressure based on desired thickness; thinner for crispness, thicker for a more substantial bite.
- Rotate the dough occasionally to maintain a round shape.
I take my time, savoring the process, as each roll brings me closer to that warm, homemade goodness.
Step 4. Bake in Preheated Oven
Once I’ve rolled out the dough to the desired thickness, I preheat my oven to 475°F (245°C) to guarantee it’s hot enough for baking the unleavened bread. This high oven temperature is essential; it helps the bread to crisp up beautifully while keeping the inside tender. Once the oven is preheated, I carefully place the rolled dough directly onto the baking sheet. I usually bake it for about 5 to 7 minutes, keeping a close eye on it. I want to achieve that perfect golden-brown color without overbaking, which can lead to dryness. The aroma wafting through my kitchen is absolutely delightful, igniting my anticipation for that first bite of fresh, warm unleavened bread!
Step 5. Cool on Wire Rack
After removing the golden-brown unleavened bread from the oven, I carefully transfer it to a wire rack to cool. This cooling technique is vital for achieving that perfect texture. As the steam escapes, the crust remains crisp, while the inside stays soft. Here are some baking tips to guarantee your bread cools effectively:
- Air Circulation: Elevate the bread on a rack for ideal airflow.
- Avoid Covering: Don’t rush to cover it; let it breathe to prevent sogginess.
- Timing Matters: Allow it to cool for at least 20 minutes for the best flavor.
- Check for Doneness: Gently tap the bottom; it should sound hollow when fully cooked.
This step is fundamental for enjoying your unleavened bread at its finest!
Nutritional Guide
While many people enjoy unleavened bread for its simplicity and historical significance, it also offers a variety of nutritional benefits that make it a worthy addition to any diet. Its lack of yeast means fewer calories and carbs, which can be a great dietary consideration for those watching their intake. Here’s a quick look at its nutritional profile:
| Nutrient | Amount per serving |
|---|---|
| Calories | 100 |
| Carbohydrates | 20g |
| Protein | 3g |
| Fiber | 1g |
Incorporating unleavened bread into your meals can enhance your diet by providing essential nutrients while keeping it light. Plus, it’s versatile enough to pair with various dishes, making it a delightful and innovative choice!
Final Thoughts
As I reflect on the many benefits of unleavened bread, it’s clear that this simple yet nutritious option deserves a place in our daily meals. Its versatility and rich history offer both health benefits and cultural significance that resonate deeply with many of us.
- Packed with essential nutrients
- Low in calories and gluten-free
- A symbol of various cultural traditions
- Easy to customize with herbs and spices
Incorporating unleavened bread into my diet has not only enhanced my meals but also connected me to a tapestry of culinary heritage. Whether you’re exploring new recipes or honoring traditions, unleavened bread is a delightful innovation that bridges the past with a healthier future. Give it a try, and you might just find a new favorite!
Frequently Asked Questions
Can I Use Gluten-Free Flour for Unleavened Bread?
I’ve experimented with gluten-free options in my baking techniques, and they work beautifully. Just choose a good blend, adjust the water slightly, and you’ll create a tasty, satisfying unleavened bread that everyone can enjoy!
How Long Can I Store Unleavened Bread?
Storing unleavened bread’s like tucking a secret treasure away. I recommend keeping it in an airtight container. Freshness indicators include a soft texture and pleasant aroma; it can last about a week if stored properly.
What Are Common Variations of Unleavened Bread?
When exploring unleavened bread, I’ve discovered sweet unleavened variations like honey and cinnamon, alongside savory unleavened adaptations featuring herbs and spices. These twists elevate the classic, making each bite an exciting culinary experience!
Is Unleavened Bread Suitable for Vegan Diets?
Absolutely, I’ve found that unleavened bread, made with vegan ingredients, fits perfectly into a vegan diet. Its simplicity offers nutritional benefits, providing a wholesome source of energy while being versatile for innovative meal pairings.
Can I Add Flavors or Herbs to the Dough?
Absolutely, I love experimenting with flavors! For a delightful flavor infusion, I often mix herb combinations like rosemary and thyme into the dough. It transforms the bread, adding a unique twist that’s simply irresistible!
Conclusion
As I reflect on this simple yet profound unleavened bread recipe, I can’t help but wonder how such a humble creation has woven itself into the fabric of so many cultures and traditions. Each bite is a reminder of history and connection, inviting us to savor not just the taste but the stories behind it. So, why not gather your loved ones, roll up your sleeves, and create your own delicious memories with this timeless bread?
