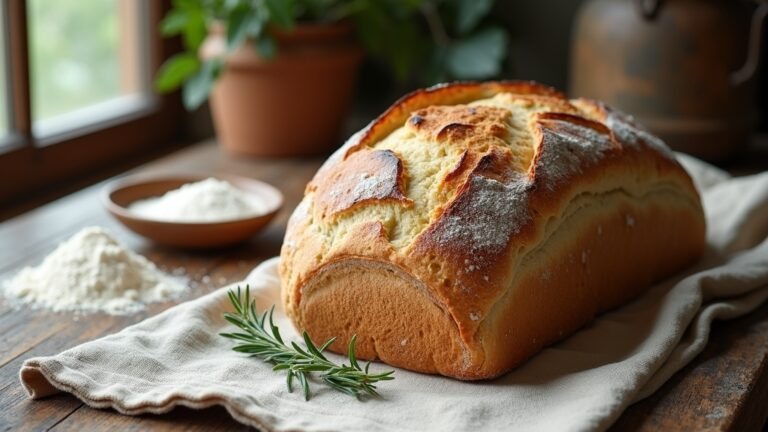
Easy Banana Nut Bread Recipe
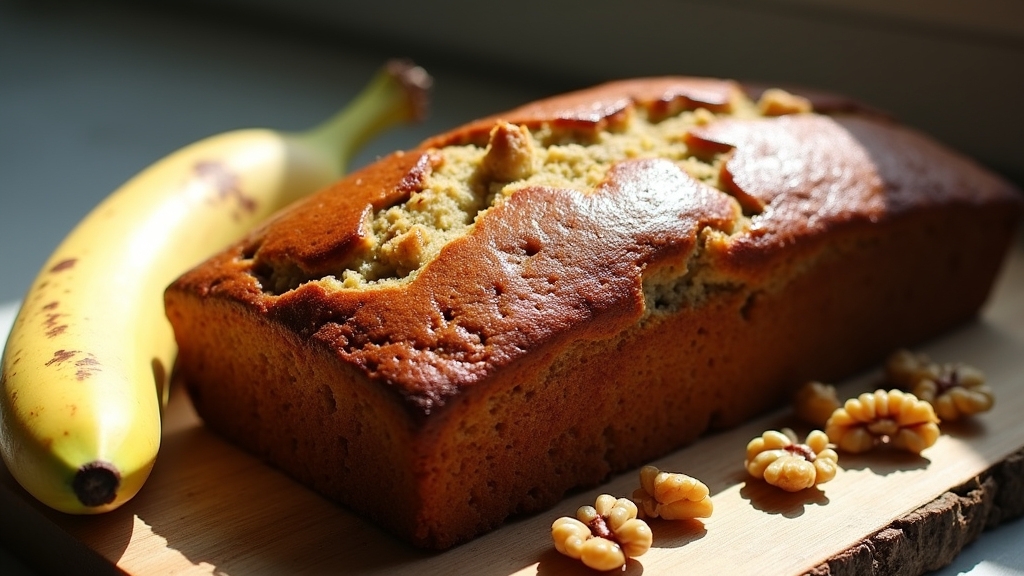
I’ve got a simple and delicious banana nut bread recipe that’s perfect for using up overripe bananas! Just mash three ripe bananas, mix in melted butter, sugar, an egg, and vanilla. Add flour, baking soda, salt, and your choice of nuts, then pour the batter into a greased loaf pan. Bake at 350°F for about an hour until golden brown. Enjoy warm with butter or coffee. There’s so much more about this timeless treat I can’t wait to share!
Contents
History
Banana nut bread has a fascinating history that dates back to the Great Depression era in the 1930s. During this time, resourcefulness became essential, and people turned to baking as a way to stretch their ingredients. The origins of bananas as a staple fruit in America contributed considerably to this trend. With their sweet flavor and soft texture, overripe bananas found new life in baked goods. As families experimented, they combined bananas with nuts, creating a deliciously innovative treat. This blend of banana origins and baking traditions not only provided nourishment but also offered comfort during tough times. Today, banana nut bread stands as a reflection of creativity and resilience, reminding us of the importance of making the most of what we have.
Recipe
Banana nut bread is a timeless classic that offers a delightful combination of flavors and textures. This moist and flavorful bread is perfect for breakfast, a snack, or even a dessert. With its rich aroma of ripe bananas and crunchy nuts, it’s no wonder this recipe has been passed down through generations. Making banana nut bread is not only simple but also a great way to use up overripe bananas that might otherwise go to waste.
Banana nut bread combines delightful flavors and textures, making it a cherished recipe perfect for any occasion.
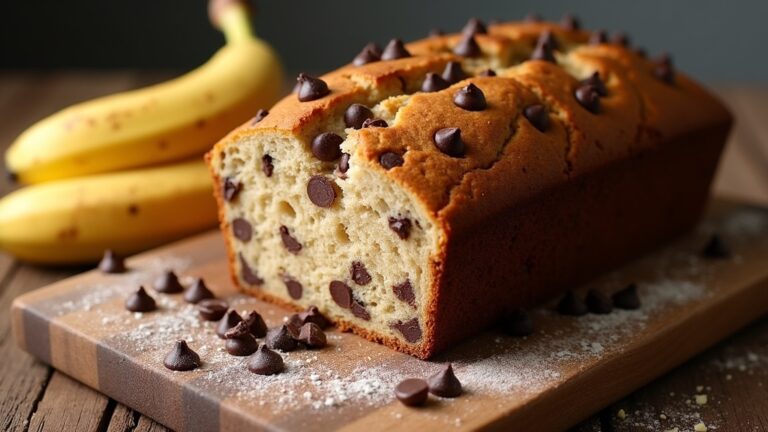
The beauty of this recipe lies in its versatility. You can customize it by adding chocolate chips, spices, or different types of nuts according to your preference. Whether you enjoy it warm out of the oven or toasted with a pat of butter, banana nut bread is sure to become a favorite in your household. Follow the straightforward steps below to create your own delicious loaf.
Ingredients:
- 3 ripe bananas, mashed
- 1/3 cup melted butter
- 1 teaspoon baking soda
- Pinch of salt
- 3/4 cup sugar
- 1 large egg, beaten
- 1 teaspoon vanilla extract
- 1 cup all-purpose flour
- 1/2 cup chopped walnuts (or any nuts of your choice)
Instructions:
Preheat your oven to 350°F (175°C) and grease a 4×8 inch loaf pan. In a mixing bowl, combine the mashed bananas and melted butter. Stir in the baking soda and salt. Mix in the sugar, beaten egg, and vanilla extract until well combined. Finally, fold in the flour and nuts until just incorporated. Pour the batter into the prepared loaf pan and spread it evenly. Bake for 60-65 minutes, or until a toothpick inserted into the center comes out clean. Allow the bread to cool in the pan for a few minutes before transferring it to a wire rack to cool completely.
Extra Tips:
For the best flavor, use very ripe bananas with plenty of brown spots. If you want to enhance the nutty flavor, consider toasting the walnuts before adding them to the batter. Additionally, feel free to experiment by incorporating spices like cinnamon or nutmeg for added warmth and depth. If you have leftover bread, wrap it tightly and store it at room temperature for up to three days or freeze it for longer storage. Enjoy your homemade banana nut bread!
Cooking Steps
Let’s get started on making that delicious banana nut bread! First, I always preheat my oven to 350°F to guarantee everything bakes evenly. Then, I mash the bananas thoroughly, setting the stage for that rich, sweet flavor we all love.
Step 1. Preheat the Oven to 350°F
Before diving into mixing the ingredients, I always make it a priority to preheat the oven to 350°F. This essential step sets the perfect oven temperature for my banana nut bread, ensuring a delightful rise and golden crust. Here are some baking tips to keep in mind while preheating:
- Check Your Oven: Make sure your oven is calibrated correctly; an inaccurate oven can lead to disaster.
- Use the Right Bake Mode: Opt for the standard bake setting to achieve even heat distribution.
- Give It Time: Allow at least 15-20 minutes for the oven to reach the desired temperature before sliding in your batter.
Step 2. Mash the Bananas Thoroughly
To create the perfect texture in my banana nut bread, I always make certain to mash the bananas thoroughly. I prefer using ripe Cavendish bananas, but experimenting with other banana varieties like red bananas can add a unique flavor twist. I start by peeling the bananas and placing them in a bowl. Using a fork or a potato masher, I apply firm pressure, breaking them down until they’re smooth with just a few small lumps left. This mashing technique guarantees that the natural sweetness blends seamlessly into the batter, enhancing the overall taste. Remember, the more thoroughly you mash, the creamier your bread will be, so don’t rush this step! Enjoy the process—your banana nut bread will thank you!
Step 3. Add Chopped Nuts Next
Now that the bananas are perfectly mashed, it’s time to fold in the chopped nuts. This is where you can get creative! Choosing the right nuts not only enhances flavor but also adds texture to the bread. Here are some nut variations you might consider:
- Walnuts – A classic choice that provides a rich, buttery flavor and a good dose of omega-3 fatty acids.
- Pecans – These offer a slightly sweet taste and are packed with antioxidants, giving your bread a delightful crunch.
- Almonds – Sliced or chopped, almonds bring a subtle nuttiness and extra fiber, making your banana nut bread even more nutritious.
Step 4. Mix in Dry Ingredients
With the nuts folded in, I’m ready to take the next step and mix in the dry ingredients. I start by measuring out my flour, baking soda, and a pinch of salt, ensuring I maintain the right dry ingredient ratios for that perfect rise. Using a whisk, I gently combine these elements, making sure there are no lumps. This method not only aerates the mixture but also evenly distributes the baking soda, which is essential for a light, fluffy bread. I’m careful not to overmix; I want just enough incorporation so that when I fold in the wet ingredients later, it creates that delightful harmony of flavors. It’s all about technique—precision transforms a good recipe into an exceptional one!
Step 5. Pour Batter Into Loaf Pan
Carefully ladling the thick, fragrant batter into the prepared loaf pan is one of my favorite moments in baking. The rich aroma wafts through the kitchen, promising deliciousness ahead. To guarantee perfect results, I follow these essential baking techniques:
- Use a greased or lined loaf pan to prevent sticking and achieve a golden crust.
- Spoon the batter in slowly to avoid splatters, keeping the batter evenly distributed for uniform baking.
- Tap the pan gently on the counter to eliminate air bubbles, ensuring a smooth texture.
Once I’ve completed these steps, I can’t help but feel excited as I slide the pan into the oven, knowing that my banana nut bread is on its way to perfection!
Nutritional Guide
As I explore the delightful world of banana nut bread, I can’t help but appreciate its nutritional profile, which balances indulgence with wholesome ingredients. This bread not only satisfies your sweet tooth but also offers several dietary benefits. Packed with potassium from bananas and healthy fats from nuts, it’s an innovative treat that fits into a balanced diet. Here’s a quick overview of its caloric content and nutritional highlights:
| Nutrient | Per Slice (60g) | Daily Value (%) |
|---|---|---|
| Calories | 150 | 8% |
| Protein | 3g | 6% |
| Fiber | 2g | 8% |
| Sugars | 8g | – |
Savoring banana nut bread can be both delicious and nutritious!
Final Thoughts
Although I’ve enjoyed sharing the delightful aspects of banana nut bread, it’s the blend of flavor and nutrition that truly makes this recipe a standout. As you commence your baking adventure, remember these tips to elevate your experience:
The harmonious blend of flavor and nutrition makes banana nut bread a delightful baking adventure. Enjoy the process!
- Experiment with ingredient substitutions: Swap out nuts for seeds or use applesauce instead of oil for a lighter version.
- Incorporate spices: A dash of cinnamon or nutmeg can add a warm complexity to each bite.
- Storage hacks: Keep your banana bread fresh by wrapping it tightly in plastic wrap and storing it in the freezer for later enjoyment.
With these baking tips and a sprinkle of creativity, you’ll create a banana nut bread that’s uniquely yours. Happy baking!
Frequently Asked Questions
Can I Substitute Walnuts With Another Type of Nut?
I’ve swapped walnuts for pecans before, and I loved the result. The pecan substitution brought a delightful crunch, while the almond flavor added an unexpected twist. It’s a fun way to innovate your recipe!
How Ripe Should the Bananas Be for Best Results?
Imagine those speckled, golden bananas—just right for baking! I’ve found that the riper they are, the sweeter the flavor. Aim for deep yellow with brown spots; that’s where true banana sweetness comes alive!
Can I Make This Recipe Gluten-Free?
Absolutely, I’ve experimented with gluten-free options! Using flour substitutes like almond or coconut flour works wonders. Just adjust the liquid slightly for the best texture, and you’ll have a delicious, gluten-free treat that everyone loves.
How Should I Store Leftover Banana Nut Bread?
To store leftover banana nut bread, I wrap it tightly in plastic wrap or foil for ideal bread preservation. Alternatively, I use an airtight container. These storage tips keep it fresh and delicious for days!
Can I Freeze Banana Nut Bread, and for How Long?
Absolutely, I freeze banana nut bread! For freezing tips, wrap it tightly in plastic wrap, then aluminum foil. Thaw it overnight in the fridge, and enjoy its freshness like it was just baked!
Conclusion
As I pull the warm banana nut bread from the oven, the sweet aroma wraps around me like a cozy blanket, inviting me to take a bite. This simple recipe not only fills my kitchen with delightful scents but also brings back cherished memories of family gatherings. I hope you’ll find joy in baking this treat as I have. So, grab those ripe bananas and let your kitchen become a haven of warmth and flavor! Happy baking!
