Smash Cake Recipe
Looking for a smash cake recipe? I’ve got you covered! You only need simple ingredients: flour, applesauce, honey, baking powder, and salt. Just mix the wet and dry ingredients, bake at 350°F for about 20-25 minutes, and you’re set! This fun-sized cake is perfect for your toddler’s first birthday, allowing them to explore and enjoy without any harmful ingredients. Keep going, and you’ll discover more tips for a memorable celebration!
Contents
History
When I think about the history of smash cakes, I can’t help but smile at how this delightful tradition has evolved over the years. The celebration origins of smash cakes trace back to the idea of marking a child’s first birthday with joy and sweetness. Initially, cakes were meant for adult consumption, but innovators began creating smaller, individual cakes for little ones to explore. This shift not only added a playful flair to cake traditions but also encouraged sensory experiences for toddlers. I find it fascinating how these cakes, often whimsically decorated, symbolize carefree moments filled with laughter. Today, smash cakes are a staple at birthday parties, representing a unique blend of creativity and joy that continues to inspire parents everywhere.
Recipe
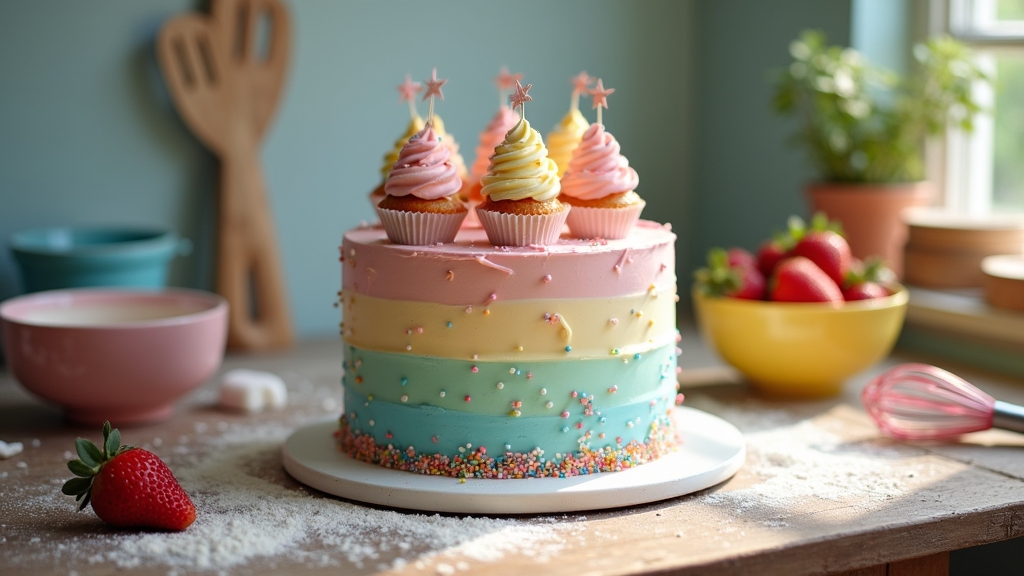
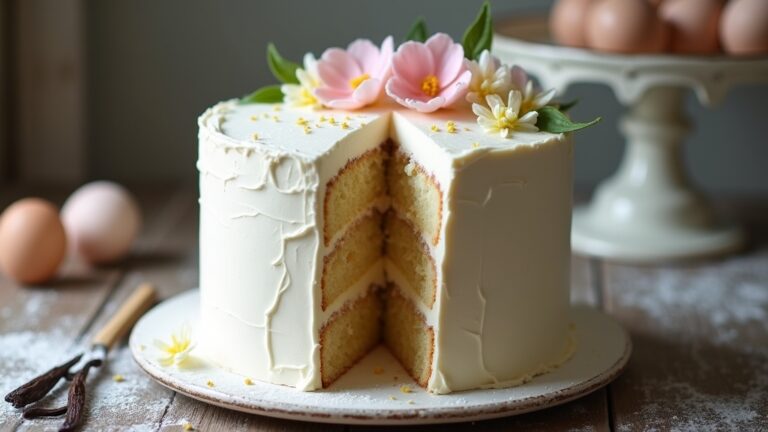
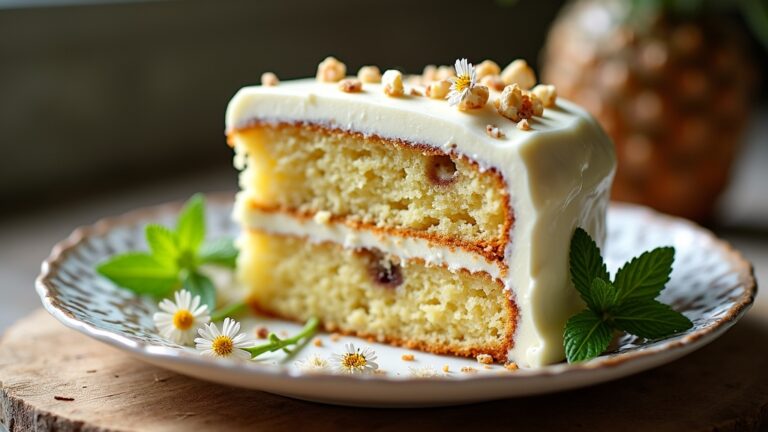
A smash cake is a delightful treat designed specifically for little ones to enjoy at their first birthday celebrations. This small, single-layer cake is made with simple, wholesome ingredients, guaranteeing that it’s safe for toddlers and free from any harmful additives or excessive sugars. The idea is for the birthday child to dig in, smash, and enjoy the cake with their hands, creating a memorable and adorable photo opportunity for parents.
Creating a smash cake is not only fun and easy, but it also allows for creativity regarding flavors and decorations. You can customize the cake by using different fruit purees or flavors to suit your child’s palate. Whether you choose to frost it with a light cream cheese frosting or leave it unfrosted for a more rustic look, a smash cake is sure to be a hit at any birthday party.
Ingredients:
- 1 cup all-purpose flour
- 1/2 cup unsweetened applesauce
- 1/4 cup honey (or maple syrup)
- 1/2 teaspoon baking powder
- 1/2 teaspoon vanilla extract
- 1/4 teaspoon salt
- 1/4 cup milk (or plant-based milk)
Cooking Instructions:
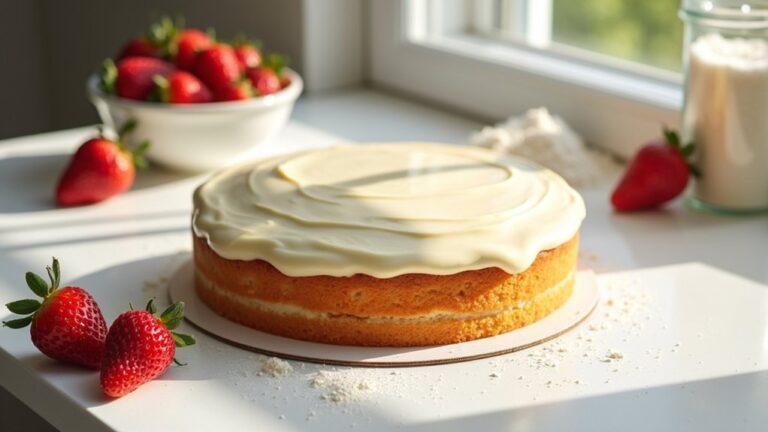
Preheat your oven to 350°F (175°C) and grease a small cake pan (6-inch round works well) with cooking spray or butter. In a mixing bowl, combine the flour, baking powder, and salt. In another bowl, mix together the applesauce, honey, vanilla extract, and milk until well blended. Gradually add the dry ingredients to the wet mixture, stirring until just combined. Pour the batter into the prepared pan and bake for approximately 20-25 minutes or until a toothpick inserted into the center comes out clean. Allow the cake to cool completely before serving.
Extra Tips:
When making a smash cake, feel free to experiment with different flavors or add-ins, such as mashed bananas or pureed carrots, to enhance the taste and nutrition. If you want to frost the cake, consider using a light cream cheese frosting made with minimal sugar, or simply top it with a layer of whipped cream and fresh fruit for a healthier option. Remember to keep an eye on your little one while they enjoy their cake to guarantee a safe and enjoyable experience!
Cooking Steps
Now that we have our ingredients ready, let’s get cooking! First, I preheat the oven to 350°F, setting the stage for our delicious smash cake. Then, it’s time to mix the dry ingredients together before adding the wet ones gradually—this is where the magic starts to happen!
Step 1. Preheat Oven to 350°F
Preheating the oven to 350°F is an essential step that sets the stage for baking a perfect smash cake. This specific oven temperature guarantees even baking, helping your cake rise beautifully and achieve a delightful texture. I always take a moment to double-check that my oven is properly preheated before I start mixing my ingredients. A little patience goes a long way here! If the oven isn’t hot enough when your batter goes in, it can lead to a dense, undercooked cake—a common baking mishap. So, remember this key baking tip: allow your oven to reach that ideal heat level. Trust me, it’ll make all the difference in the outcome of your smash cake masterpiece!
Step 2. Mix Dry Ingredients Together
Gathering the dry ingredients is an essential step that lays the foundation for your smash cake’s flavor and texture. I start by sifting together flour, baking powder, and a pinch of salt, using this baking technique to guarantee a light and airy cake. If you’re looking for ingredient substitutions, consider almond flour for a nutty twist or coconut sugar for a caramel-like sweetness. Next, I whisk in a bit of baking soda—it’s a game changer for leavening! As I mix everything together, I can almost envision the delightful layers of flavor that’ll come together. This process not only enhances the cake’s structure but also allows for creativity. So, let’s get those dry ingredients perfectly blended before we move on!
Step 3. Add Wet Ingredients Gradually
With the dry ingredients ready, it’s time to bring everything to life by adding the wet ingredients gradually. Start by measuring out your eggs, milk, and vanilla extract. I like to whisk them together in a separate bowl for a smooth blend. Next, pour this mixture into the dry ingredients slowly, stirring gently as you go. This gradual addition is key, allowing the flour to absorb the moisture without clumping. You’ll notice the batter transforming into a silky texture that promises a delightful cake. Don’t rush this step; savor the process as the aroma of vanilla fills the air. Trust me, this method elevates your smash cake, ensuring it’s both moist and bursting with flavor. Happy baking!
Step 4. Fold in Chocolate Chips
Now, it’s time to add a touch of magic to your batter by folding in the chocolate chips. I love experimenting with different chocolate varieties—dark, milk, or even white chocolate can elevate your smash cake to new heights. Gently, I scoop the batter with a spatula, sliding it under the chocolate chips, and carefully lift it back over. This folding technique preserves the airiness of the batter, ensuring a light and fluffy cake. I can almost taste the rich bursts of chocolate that’ll melt into each bite. Remember, don’t overmix; we want those delightful pockets of chocolate to remain intact. Trust me, this step transforms your cake into a decadent masterpiece that’s sure to impress!
Step 5. Pour Batter Into Pans
Once those chocolate chips are beautifully folded into the batter, it’s time to get that mixture into the pans. This step is essential, as proper pouring can make all the difference in your cake types. I like to use these baking techniques to guarantee an even bake:
- Grease the pans generously to prevent sticking.
- Use a spatula to scrape every bit of batter out of the bowl.
- Gently tap the pans on the counter to eliminate air bubbles.
- Fill each pan evenly, aiming for about two-thirds full.
- Level the batter with a spatula for a uniform rise.
With these tips, you’re set for a delightful smash cake that’s sure to impress. Let’s get baking!
Nutritional Guide
While planning a smash cake for a special celebration, it’s essential to take into account the nutritional aspects to guarantee a balanced treat. By exploring ingredient alternatives, I can enhance the cake’s health benefits without compromising flavor. For instance, using whole wheat flour instead of all-purpose flour can boost fiber content, while natural sweeteners like honey or maple syrup offer a healthier option compared to refined sugar.
| Ingredient | Alternative |
|---|---|
| All-purpose flour | Whole wheat flour |
| Refined sugar | Honey or maple syrup |
| Butter | Coconut oil |
These simple swaps not only elevate the nutritional profile of your smash cake but also introduce exciting new flavors. Your little one will enjoy a delightful treat that’s better for them!
Final Thoughts
Creating a smash cake isn’t just about the ingredients; it’s about crafting a memorable experience for your little one. As you prepare for this special moment, consider how you can elevate the celebration with unique touches. Here are some ideas to inspire you:
- Choose celebration themes that resonate with your child’s interests.
- Experiment with creative cake decorations — think vibrant colors and fun shapes.
- Incorporate flavors that your child loves for added excitement.
- Capture the moment with photos; it’s a milestone worth remembering.
- Invite family and friends to share in the joy and laughter.
With these tips, your smash cake will not only be delicious but also a highlight of the day, creating lasting memories for everyone involved.
Frequently Asked Questions
What Is the Best Age for a Smash Cake?
I believe the best age for a smash cake is during a child’s first birthday. At this age, they’re curious and enthusiastic to explore different cake flavors, making the experience delightful and memorable for everyone involved.
Can I Make a Gluten-Free Smash Cake?
Absolutely, I can make a gluten-free smash cake! I love using gluten-free flours like almond or coconut, combined with baby-friendly ingredients like mashed bananas or applesauce. It’s delicious and perfect for little ones’ celebrations!
How Do I Store Leftover Smash Cake?
After enjoying your cake, I store leftover pieces in an airtight container, ensuring freshness. For longer preservation, I freeze individual slices. This way, I savor the deliciousness later, keeping my cake experience innovative and delightful!
Is a Smash Cake Safe for Babies?
Did you know about 8% of children have food allergies? When considering smash cake safety, always check ingredients for common allergens. I guarantee my baby’s cake is allergen-free to make their celebration worry-free and fun!
Can I Use Dairy Alternatives in the Recipe?
I love experimenting with dairy substitutes. For my recipe modifications, I’ve used almond milk and coconut yogurt, creating deliciously creamy textures. They add a unique twist while keeping things safe and enjoyable for everyone!
Conclusion
As I look back on my daughter’s first birthday, the joy of watching her smash her cake brought such laughter and delight. It wasn’t just a dessert; it became a cherished memory. Just like little Emily, who smeared frosting everywhere at her party, your smash cake can create a beautiful mess and unforgettable moments. So, don’t hesitate to whip up this recipe and let the celebration unfold—after all, it’s all about joy and sweet memories!
