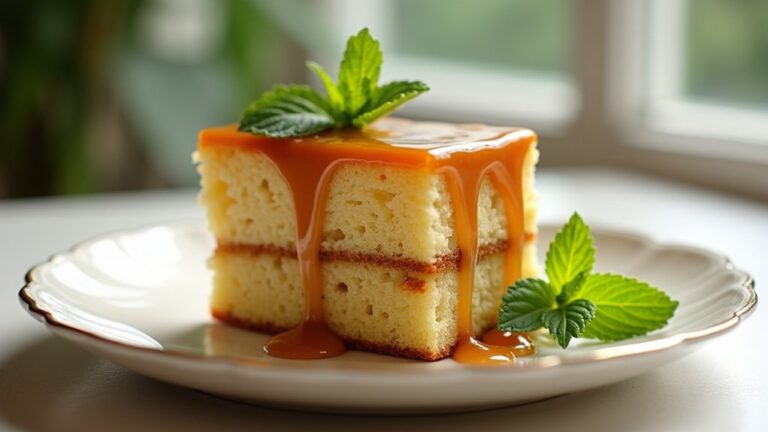
7 up Pound Cake Recipe
If you’re looking for a delicious twist on the classic pound cake, try the 7 Up Pound Cake! It combines the buttery richness of traditional pound cake with the invigorating citrus notes from 7 Up. You’ll love its moist, airy texture, perfect for any gathering. Plus, it’s simple to make! Just mix your ingredients and let the fizz work its magic. Stick around, and I’ll share more about how to make this delightful dessert and some helpful tips!
Contents
History
When I plunge into the history of pound cake, I can’t help but feel a connection to its rich tradition that dates back centuries. The origins of pound cake trace back to the early 18th century in Europe, where it was a staple in many households. Named for its original recipe—one pound each of flour, butter, sugar, and eggs—this cake symbolized abundance and hospitality. Its historical significance lies in its simplicity and ease of preparation, making it a beloved choice for gatherings. Over time, bakers have innovated, adding flavors and ingredients, but the essence remains the same. I find it fascinating how this cake has evolved while still honoring its roots, connecting generations through shared culinary experiences.
Recipe
Pound cake is a classic dessert known for its rich, buttery flavor and dense yet tender texture. Originating from Europe, this cake gets its name from the traditional recipe that called for a pound each of butter, sugar, eggs, and flour. Over the years, variations have emerged, incorporating different flavors and add-ins, but the essence of the pound cake remains the same: simplicity and satisfaction. It’s perfect for any occasion, whether served plain, with a dusting of powdered sugar, or dressed up with fresh fruit and whipped cream.
Making a pound cake is a straightforward process that requires minimal ingredients and equipment. With just a few steps, you can create a beautifully baked cake that is sure to impress your family and friends. This recipe is ideal for both novice and experienced bakers alike, as it allows for customization with various flavors such as lemon, almond, or chocolate. So, roll up your sleeves and get ready to enjoy a slice of homemade goodness!
Ingredients:
- 1 pound unsalted butter, softened
- 1 pound granulated sugar
- 1 pound eggs (approximately 8 large eggs)
- 1 pound all-purpose flour
- 1 teaspoon vanilla extract
- 1/2 teaspoon salt
Instructions:
Preheat your oven to 325°F (163°C) and grease a 10-inch bundt pan or two 9-inch loaf pans. In a large mixing bowl, cream together the softened butter and sugar until light and fluffy. Gradually add the eggs, one at a time, mixing well after each addition. Stir in the vanilla extract. In a separate bowl, whisk together the flour and salt. Gradually add the dry ingredients to the wet mixture, mixing until just combined. Pour the batter into the prepared pan(s) and smooth the top. Bake for 60-75 minutes or until a toothpick inserted in the center comes out clean. Let the cake cool in the pan for 10 minutes before transferring it to a wire rack to cool completely.
Extra Tips:
For the best results, make sure all your ingredients are at room temperature before starting. This helps create a smooth, even batter that bakes evenly. Feel free to experiment with flavors; adding citrus zest, spices, or even chocolate chips can elevate your pound cake. If you’re using a bundt pan, be sure to thoroughly grease all the crevices to prevent sticking. Finally, pound cake can be stored in an airtight container for several days and also freezes well, making it a great make-ahead dessert!
Cooking Steps
Now that we have our ingredients ready, let’s get started on the cooking steps that’ll make our pound cake truly delightful. First, I always preheat my oven to 350°F to guarantee it’s just right for baking. Then, I’ll mix the dry ingredients thoroughly before adding the wet ones gradually, creating a smooth, luscious batter.
Step 1. Preheat Oven to 350°F
To kick off this delicious pound cake recipe, let’s preheat the oven to 350°F. This oven temperature is essential for achieving that perfect, golden crust while maintaining a moist interior. While the oven warms up, here are a few baking tips to keep in mind:
- Use an oven thermometer: It guarantees accuracy, as not all ovens heat uniformly.
- Position your rack: Place it in the center to promote even baking.
- Avoid opening the door: This can cause temperature fluctuations, affecting the rise of your cake.
Once the oven reaches 350°F, you’re set to start mixing your ingredients. Trust me, this step is critical for the perfect pound cake experience!
Step 2. Mix Dry Ingredients Thoroughly
Before diving into mixing, it’s essential to gather your dry ingredients and guarantee they’re combined thoroughly. I start by sifting together flour, baking powder, and a pinch of salt, using a whisk to aerate the mixture. This mixing technique not only eliminates lumps but also promotes even distribution of the leavening agents. Ensuring the right ingredient ratios is vital; too much flour can lead to a dense cake, while too little may cause it to collapse. I love to add a hint of nutmeg or vanilla powder for a creative twist, enhancing the flavor profile. Once everything’s well-mixed, I can confidently move on, knowing my dry ingredients are perfectly prepared for the next exciting step in this pound cake journey.
Step 3. Add Wet Ingredients Gradually
With the dry ingredients prepped and ready, it’s time to introduce the wet components into the mix. I recommend adding them gradually to guarantee a smooth and cohesive batter. This method not only enhances the texture but also allows the flavors to meld beautifully. Pay attention to the wet ingredient ratios; they’re key to achieving that perfect pound cake consistency.
Here’s how I do it:
- Start with the eggs, whisking them in one at a time.
- Next, pour in the vanilla extract for a fragrant infusion.
- Finally, slowly blend in the melted butter, using gradual mixing techniques to avoid clumps.
Step 4. Fold in the Batter
Gently folding in the batter is an essential step that guarantees your pound cake achieves that light, airy texture we all love. I take my spatula and scoop beneath the mixture, lifting it up and over itself in a smooth, deliberate motion. The goal is to maintain that perfect batter consistency while incorporating the ingredients without deflating the air I’ve worked so hard to whip into the eggs. As I fold, I pay close attention to the texture; it should be silky and cohesive. Using the right folding techniques, I make sure to scrape the sides and bottom of the bowl, ensuring every bit of flour is blended in. This careful process elevates my pound cake, making it truly exceptional.
Step 5. Pour Batter Into Pan
Now that the batter is perfectly folded and ready, it’s time to pour it into the prepared pan. I love this moment because the rich aroma of the ingredients fills the air, promising a delightful treat. As I gently pour the batter, I guarantee a smooth flow, maintaining that ideal batter consistency. It’s essential to watch for any air bubbles; a quick tap on the counter eliminates them, resulting in an even bake.
- Make certain the pan is greased and floured for easy release.
- Use a spatula to scrape every last bit of that delicious batter.
- Level the surface with a spatula to guarantee even cooking.
This step is critical for achieving that perfect pound cake texture!
Nutritional Guide
When it comes to enjoying a slice of pound cake, understanding its nutritional profile can enhance your baking experience. While traditional recipes boast rich flavors, they can also be high in calories and sugar. By exploring ingredient alternatives, I can create a lighter version without sacrificing taste. Here’s a quick table to illustrate key nutritional components:
| Nutrient | Traditional (per slice) | Healthier Alternative (per slice) |
|---|---|---|
| Calories | 350 | 250 |
| Sugar | 30g | 10g |
| Fat | 18g | 8g |
| Protein | 4g | 5g |
With these alternatives, I not only enjoy a delightful treat but also gain health benefits. So, let’s innovate our pound cake recipes together!
Final Thoughts
As I reflect on the delightful journey of baking pound cake, I realize how a few thoughtful adjustments can transform this classic dessert into a healthier indulgence. With a touch of creativity, you can elevate your pound cake experience while staying mindful of nutrition. Here are some baking tips and flavor variations to contemplate:
- Swap out butter for Greek yogurt or applesauce for a lighter texture.
- Experiment with citrus zest or spices like cinnamon to create exciting flavor variations.
- Add nuts or dried fruits for added texture and nutritional benefits.
Frequently Asked Questions
Can I Use Gluten-Free Flour for Pound Cake?
Absolutely, I’ve used gluten-free options in my baking. Just remember to mix in a gluten-free flour blend that includes xanthan gum for the best texture. It’s all about experimenting with different ingredients to achieve perfection!
How Should I Store Leftover Pound Cake?
I store leftover cake in an airtight container at room temperature for up to three days. If I want it to last longer, I freeze slices wrapped tightly in plastic wrap. That’s my go-to pound cake storage method!
Can I Freeze Pound Cake?
Absolutely, I freeze pound cake using airtight wrapping for ideal freshness. For thawing, I suggest placing it in the fridge overnight. This way, the cake retains its moisture and flavor, making each slice delightful!
What Are Common Variations of Pound Cake?
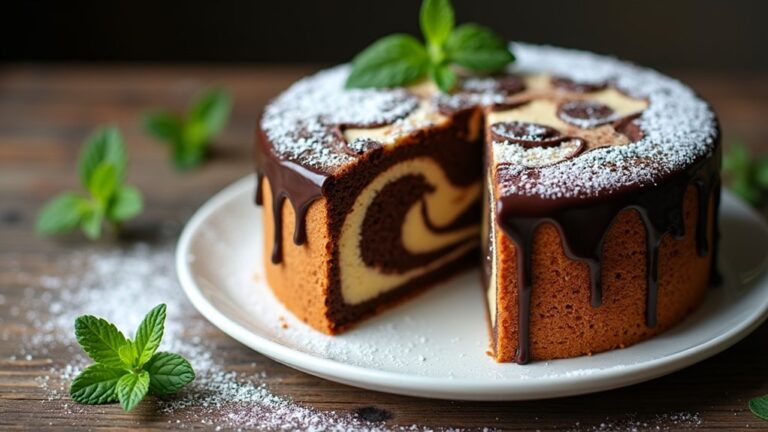
When it comes to variations of pound cake, I love experimenting! Chocolate swirl adds richness, while lemon zest brings a bright zing. Each twist transforms the classic into a delightful, innovative treat that surprises every time.
How Can I Add Flavor to My Pound Cake?
To add flavor to my pound cake, I love incorporating spice blends like cinnamon or nutmeg and brightening it up with citrus zest. These ingredients elevate the cake, creating a deliciously unique twist everyone will enjoy!
Conclusion
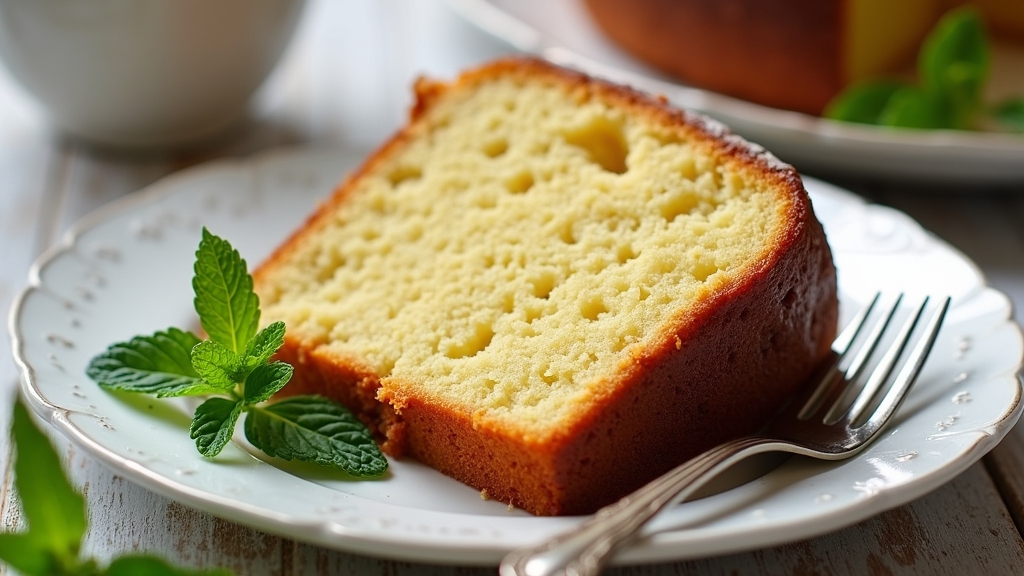
As I slice into this golden 7 Up pound cake, I can’t help but marvel at how a simple mix of ingredients can create such joy. The moistness dances on my tongue, while the zesty hint of lemon awakens my senses. It’s not just a dessert; it’s a slice of nostalgia that brings back cherished memories. So, why not treat yourself? After all, life’s too short to skip dessert, especially when it’s this delightful!
