Oreo Cake Recipe Homemade
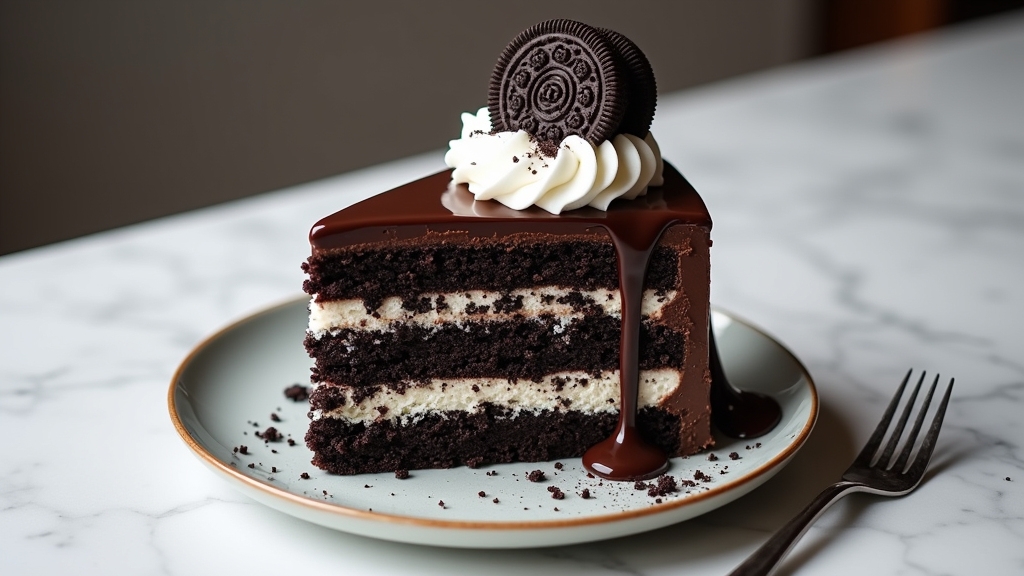
I’m excited to share my homemade Oreo cake recipe that turns those beloved cookies into a rich dessert. It combines moist chocolate cake layers with crushed Oreo crumbles and a creamy frosting that’s simply irresistible. With classic ingredients like flour, cocoa powder, and heavy cream, it’s perfect for any celebration or cozy night in. Plus, I’ve included some creative baking ideas to elevate your cake. Let’s explore more about this delightful treat together!
Contents
History
When I think about the Oreo cake, I can’t help but be fascinated by its rich history that dates back to the creation of the Oreo cookie itself in 1912. The Oreo origins are rooted in a time when cookies were evolving from simple treats to complex confections. Initially, it was just a chocolate wafer filling with a sweet cream center, but it quickly captured hearts. Over the decades, the cookie evolved, inspiring endless variations and creative uses. This transformation paved the way for innovations like the Oreo cake, where the classic cookie’s flavors and textures meld into something extraordinary. Each bite tells a story of creativity and culinary exploration, bridging tradition with modern baking trends.
Recipe
Oreo cake is a delightful dessert that combines the rich, creamy flavor of Oreos with the moistness of a classic chocolate cake. This indulgent treat is perfect for any occasion, whether it be a birthday party, a family gathering, or simply a night in with friends. With its layers of Oreo-infused cake and cream, it’s a reliable way to satisfy any sweet tooth.
Oreo cake combines rich Oreo flavor with moist chocolate cake, making it the perfect indulgent treat for any occasion.
Making an Oreo cake is not as complicated as it may seem. With just a few simple ingredients and steps, you can create a show-stopping dessert that will impress your guests. The combination of crushed Oreos in the batter and as a topping adds a unique texture and flavor that elevates this cake to a whole new level. Let’s gather our ingredients and get started on this delicious recipe.
Ingredients:
- 2 cups all-purpose flour
- 2 cups granulated sugar
- ¾ cup unsweetened cocoa powder
- 1 ½ teaspoons baking powder
- 1 ½ teaspoons baking soda
- 1 teaspoon salt
- 2 large eggs
- 1 cup whole milk
- ½ cup vegetable oil
- 2 teaspoons vanilla extract
- 1 cup boiling water
- 15 Oreo cookies, crushed (plus more for garnish)
- 1 cup heavy cream
- 1 cup powdered sugar
- 1 teaspoon vanilla extract (for frosting)
To make the Oreo cake, preheat your oven to 350°F (175°C). Grease and flour two 9-inch round cake pans. In a large mixing bowl, combine the flour, sugar, cocoa powder, baking powder, baking soda, and salt. Mix well. Then, add the eggs, milk, vegetable oil, and vanilla extract to the dry ingredients, and mix until smooth. Gradually stir in the boiling water until well combined. Fold in the crushed Oreo cookies, then pour the batter evenly into the prepared cake pans. Bake for 30-35 minutes or until a toothpick inserted into the center comes out clean. Let the cakes cool in the pans for 10 minutes before transferring them to wire racks to cool completely.
For an extra touch, when making the frosting, beat the heavy cream, powdered sugar, and vanilla extract until stiff peaks form. Place one layer of cake on a serving plate and spread a generous amount of frosting on top. Add the second layer of cake and frost the top and sides. Finally, sprinkle crushed Oreos on top for garnish. Store the cake in the refrigerator until ready to serve.
When making your Oreo cake, verify that all ingredients are at room temperature for the best results. Additionally, don’t skip the boiling water step, as it helps to create a moist cake. If you want to enhance the Oreo flavor, consider adding more crushed Oreos to the frosting or layering them between the cake layers. For a fun twist, you can also experiment by adding a layer of chocolate ganache or chocolate chips for extra richness. Enjoy your baking!
Cooking Steps
Now that we’ve got our ingredients ready, let’s get started on the cooking steps that will bring our Oreo cake to life. First, I always preheat the oven to 350°F to guarantee even baking. Then, it’s all about mixing the dry ingredients thoroughly before we combine everything else for that perfect, rich batter.
Step 1. Preheat Oven to 350°F
Before diving into the delightful world of baking, I always make sure to preheat my oven to 350°F. This baking temperature is essential for achieving that perfect Oreo cake texture—neither too dense nor too airy. By setting my oven to this temperature, I’m ensuring that my cake bakes evenly, creating a moist and delectable treat. I often take a moment to double-check my oven settings, making sure it’s calibrated correctly. It’s a simple step, but trust me, it makes all the difference. While the oven warms up, I can gather my ingredients, letting that anticipation build. So, don’t skip this important step; preheating sets the stage for a baking experience that’s sure to impress!
Step 2. Mix Dry Ingredients Thoroughly
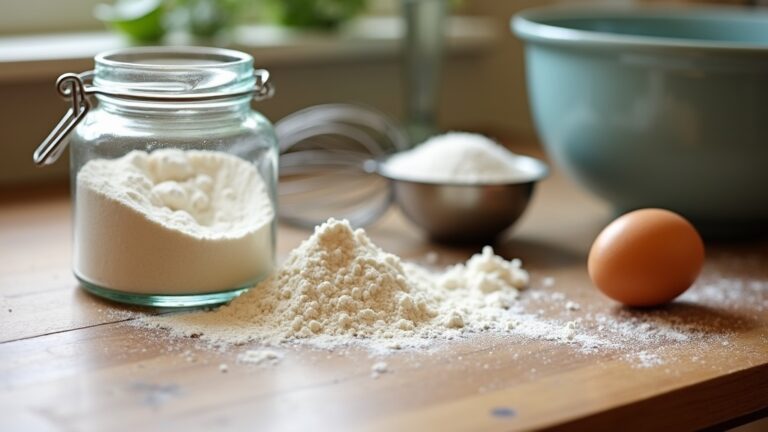
As I gather my dry ingredients, I can’t help but feel excited about the rich flavors that are about to come together. The importance of mixing dry ingredients thoroughly cannot be overstated; it guarantees a uniform distribution of flavors and leavening agents. I start by whisking together flour, cocoa powder, baking soda, and sugar, using a gentle folding technique to avoid clumps. This mixing technique not only aerates the flour but also enhances the cake’s texture. I make sure every grain is incorporated, creating a seamless blend. I can almost taste the chocolatey goodness already! By taking this time to mix well, I’m setting the foundation for a moist, indulgent Oreo cake that will impress everyone.
Step 3. Combine Wet Ingredients Well
With the dry ingredients perfectly blended, it’s time to turn my attention to the wet components that will bring the cake to life. I begin by carefully measuring each ingredient to maintain the right ingredient ratios for ideal flavor. Using a whisk, I incorporate my wet ingredients, employing gentle mixing techniques to guarantee a smooth, homogenous batter. I combine:
- Eggs for richness and moisture
- Milk for a tender crumb
- Vanilla extract for that warm, enticing aroma
- Melted butter for irresistible flavor
As I mix, I can feel the transformation happening, each component melding together beautifully. This phase is essential; it sets the stage for a moist, decadent Oreo cake that’s sure to impress. Let’s keep the momentum going!
Step 4. Fold in Oreo Crumbles
Now, it’s time to fold in the crushed Oreo crumbles, and this is where the magic truly begins. Gently, I scoop the fluffy batter and add those delightful chocolatey crumbs. With a careful hand, I turn the mixture over, ensuring each morsel is evenly distributed. This is an essential step—too much stirring can deflate the batter. Incorporating these crumbles not only adds texture but also infuses the cake with that unmistakable Oreo flavor. If you’re feeling adventurous, consider trying Oreo variations like mint or peanut butter for a unique twist. Remember, patience is key here; take your time to blend without overmixing. Trust me, these baking tips will elevate your cake from good to unforgettable!
Step 5. Pour Batter Into Pan
Lifting the bowl of batter, I can already feel the excitement building as I prepare to pour it into the pan. This step is essential for achieving that perfect cake layering; the way you pour can make all the difference. I tilt the bowl at just the right angle, letting the rich, velvety batter cascade smoothly into the greased pan.
- Make sure your pan is evenly greased to prevent sticking.
- Tap the pan gently to release any air bubbles.
- Consider using parchment paper for easy removal.
- Maintain an even pour to promote uniform baking.
Using these baking techniques, I create a solid foundation for my Oreo cake. I can’t wait to see how beautifully it layers up in the oven!
Nutritional Guide
While indulging in a delicious Oreo cake can be a delightful experience, it’s important to contemplate its nutritional aspects. Understanding the caloric content and ingredient benefits helps me enjoy it without guilt. Here’s a quick breakdown of the nutritional components:
| Nutrient | Amount per Slice | Ingredient Benefits |
|---|---|---|
| Calories | 350 | Oreos provide energy and satisfaction. |
| Sugar | 25g | Adds sweetness but should be consumed in moderation. |
| Protein | 5g | Supports muscle repair and growth. |
| Fat | 15g | Essential for flavor and satiety. |
Keeping these factors in mind allows me to appreciate my Oreo cake while balancing my dietary choices. Let’s savor every bite responsibly!
Final Thoughts
As I reflect on the joy of indulging in a homemade Oreo cake, I’m reminded that it’s not just about the sweet treat itself, but also the experience it brings. Baking this cake invites creativity and provides an opportunity to share delightful moments with family and friends. Here are some baking tips and serving suggestions to elevate your creation:
- Experiment with flavors: Try adding mint or peanut butter for a unique twist.
- Layer creatively: Alternate layers of chocolate cake and Oreo cream for visual appeal.
- Garnish wisely: Top with crushed Oreos or a drizzle of chocolate ganache.
- Serve cool: Chill the cake before serving to enhance its rich flavors.
Let’s make every bite memorable!
Frequently Asked Questions
Can I Use Gluten-Free Oreos for This Recipe?
I’ve experimented with gluten-free Oreos and loved the results. They’re perfect gluten-free substitutions, allowing me to enjoy baking with Oreos while still satisfying my cravings. Don’t hesitate to try them in your recipes!
How Can I Store Leftover Oreo Cake?
To store leftover cake and maintain its freshness, I recommend wrapping it tightly in plastic wrap and placing it in an airtight container. This method is the best storage technique, keeping every bite deliciously moist and flavorful!
Can I Freeze the Oreo Cake?
Absolutely, I can freeze the cake! For freezing tips, wrap it tightly in plastic, then foil. When I’m ready to enjoy it, I simply thaw it in the fridge overnight. It’s that easy!
What Toppings Pair Well With Oreo Cake?
While chocolate ganache offers rich indulgence, whipped cream adds lightness. Crushed nuts provide crunch, while caramel drizzle brings sweetness. For a fresh twist, consider fruit toppings or cookie crumbs for delightful contrasts and textures.
How Long Does It Take to Bake the Cake?
When I bake the cake, I usually set my oven temperature to 350°F. The baking time typically ranges from 25 to 30 minutes, ensuring it’s perfectly fluffy and delicious by the time it’s done!
Conclusion
As I take a bite of this rich Oreo cake, I can’t help but wonder: isn’t there something magical about homemade desserts that bring us together? The creamy layers and crunchy bits of Oreo create a delightful harmony that’s hard to resist. Whether it’s for a special occasion or just a cozy night in, this cake is sure to make memories that linger long after the last slice is gone. So, why not treat yourself to a slice of happiness?
