Best Cake Recipe
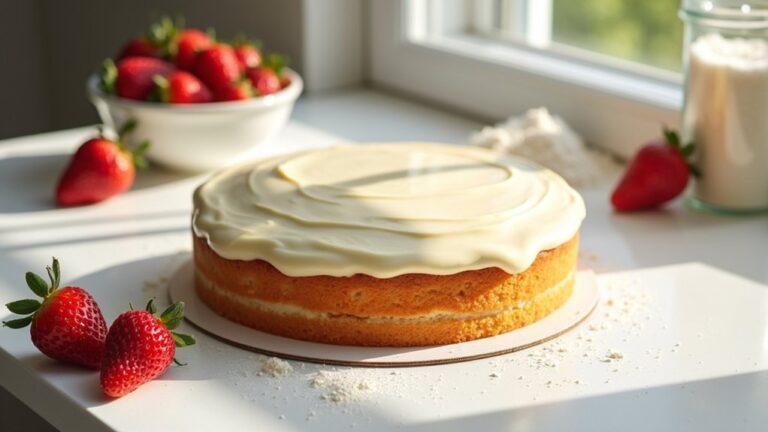
I’ve discovered the best cake recipe that combines simple ingredients like flour, butter, and eggs, creating a moist and fluffy delight. The magic happens when you mix the dry ingredients with wet ones, resulting in a rich batter. I love enhancing the cake with flavors like vanilla or chocolate. Whether enjoyed plain or dressed with fruits, it’s perfect for any celebration. Stick around, and you’ll uncover more tips and tricks to elevate your baking experience!
Contents
History
When I think about the history of cake, I’m amazed at how this beloved dessert has evolved over centuries. Its origins can be traced back to ancient civilizations, where simple mixtures of flour, water, and honey were baked over hot stones. As baking traditions progressed, cakes transformed into delightful confections, incorporating refined ingredients and innovative techniques. In medieval Europe, cakes became symbols of celebration, often flavored with spices and adorned with fruits. Fast forward to the 19th century, and we see the rise of the modern cake, thanks to advancements like baking powder. Today, we’re experimenting with flavors, textures, and even plant-based alternatives, pushing the boundaries of traditional cake-making. It’s thrilling to witness this dessert’s journey and its endless possibilities!
Recipe
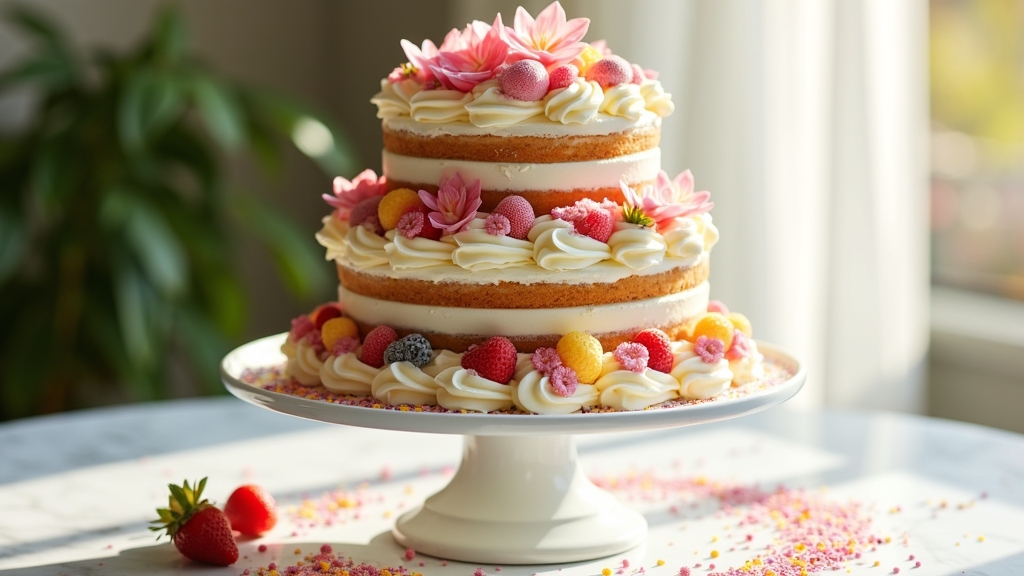
Baking a cake can be a delightful and rewarding experience, whether you’re preparing for a special occasion or simply indulging in a sweet treat. This recipe is designed to help you create a classic vanilla cake that is moist, fluffy, and ideal for any celebration. With simple ingredients and straightforward instructions, you can impress your family and friends with your baking skills.
The beauty of this cake lies in its versatility. You can serve it plain, dusted with powdered sugar, or adorned with your favorite frosting and decorations. Pair it with fresh fruits or ice cream for a delightful dessert that everyone will love. Let’s get started on creating this scrumptious cake!
Ingredients:
- 2 cups all-purpose flour
- 1 ½ cups granulated sugar
- ½ cup unsalted butter, softened
- 1 cup milk
- 3 ½ teaspoons baking powder
- 1 teaspoon vanilla extract
- ½ teaspoon salt
- 3 large eggs
Instructions:
Preheat your oven to 350°F (175°C) and grease two 9-inch round cake pans. In a large mixing bowl, cream together the softened butter and granulated sugar until light and fluffy. Add in the eggs one at a time, mixing well after each addition. Stir in the vanilla extract. In a separate bowl, combine the flour, baking powder, and salt. Gradually add the dry ingredients to the wet mixture, alternating with the milk, and mix until just combined. Pour the batter evenly into the prepared cake pans and bake for 25-30 minutes, or until a toothpick inserted in the center comes out clean. Allow the cakes to cool in the pans for 10 minutes before transferring them to a wire rack to cool completely.
Extra Tips:
For best results, make sure all your ingredients are at room temperature before starting. This helps create a smoother batter and results in a fluffier cake. You can also experiment with different flavors by adding cocoa powder for a chocolate cake or lemon zest for a citrus twist. If you want to make the cake ahead of time, it freezes well; just wrap it tightly in plastic wrap and place it in an airtight container. Remember to let it cool completely before freezing for ideal texture!
Cooking Steps
Now that we have our ingredients ready, I can’t wait to guide you through the cooking steps that’ll bring this cake to life. We’ll start by preheating the oven to 350°F, ensuring it’s just right for our creation. Together, we’ll mix the dry ingredients thoroughly and layer in the wet ones for a batter that’s bursting with flavor!
Step 1. Preheat the Oven to 350°F
Preheating the oven to 350°F is an essential step in achieving that perfect cake. This oven temperature is the sweet spot for most cake recipes, ensuring even baking and a delightful rise. As I prepare my batter, I make it a habit to set the oven right away. It’s a vital baking tip that saves time and keeps my momentum going in the kitchen. Once the oven reaches that magic number, it creates an environment where the cake can develop its texture and flavor beautifully. The anticipation builds as I visualize the golden crust forming. Remember, patience is key; a properly preheated oven transforms your cake from ordinary to extraordinary. Let’s get baking!
Step 2. Mix Dry Ingredients Thoroughly
Mixing dry ingredients thoroughly is an essential step that can’t be overlooked if you want your cake to rise evenly and have a consistent flavor. I always start by sifting my flour, cocoa, or any dry ingredients together. This mixing technique not only combines them but also aerates the mixture, which is key for a light cake. I pay close attention to ingredient ratios, ensuring that baking powder or soda is evenly distributed. Using a whisk or a fork works wonders, helping break up any clumps and ensuring a uniform blend. Trust me, this step sets the foundation for your cake’s success. So, embrace the art of mixing, and your cake will thank you later!
Step 3. Add Wet Ingredients Gradually
Adding wet ingredients gradually is vital for achieving a perfectly blended batter. As I pour in the liquids, I make sure to do it slowly, allowing the dry ingredients to absorb the moisture without clumping. This method really highlights the importance of texture; a smooth batter guarantees even baking and a delightful crumb. I also pay attention to consistency factors—too much liquid at once can lead to a runny mixture, while too little can make it too thick. By incorporating the wet ingredients bit by bit, I create a luscious, well-mixed batter that bakes up beautifully. Trust me, this small step makes a big difference in the final result, transforming an ordinary cake into something extraordinary!
Step 4. Fold in Chocolate Chips
Once the batter is smooth and well-combined, it’s time to fold in the chocolate chips, and this step is all about preserving the texture we’ve worked hard to achieve. I gently scoop a spatula into the batter, bringing it up from the bottom and over the top, ensuring those delightful chocolate chip variations—like dark chocolate, white chocolate, or even peanut butter chips—are evenly distributed. Using folding techniques, I avoid overmixing, which could deflate the airiness we’ve created. I can feel the excitement building as the chips nestle into the batter, promising pockets of melty goodness in every slice. This is where innovation meets tradition, and I can’t wait to see the final result!
Step 5. Pour Batter Into Pan
With a steady hand, I carefully pour the luscious batter into the prepared pan, watching it flow like molten silk. The batter consistency should be smooth and slightly thick, allowing it to settle evenly in every corner of the pan. I prefer using a non-stick or silicone pan for easy release, ensuring my creation emerges intact and beautiful. As I tilt the pan gently, I make sure the batter spreads evenly, creating a perfect canvas for baking. If you’re using a traditional metal pan, a light greasing is essential. Once I’ve smoothed the top with a spatula, I can’t help but admire the vibrant swirls of chocolate chips blending throughout. Now, it’s time for the magic of baking to begin!
Nutritional Guide
Although many people indulge in cake as a delightful treat, understanding its nutritional aspects can help you make informed choices. By examining the caloric content and ingredient benefits, we can enjoy cake without guilt. Here’s a quick guide to some common cake ingredients:
| Ingredient | Caloric Content (per 100g) | Ingredient Benefits |
|---|---|---|
| All-purpose flour | 364 | Provides structure and texture |
| Sugar | 387 | Adds sweetness, quick energy source |
| Butter | 717 | Contributes richness, flavor |
| Eggs | 155 | Adds moisture, protein |
| Baking powder | 53 | Helps with leavening, lightens texture |
Final Thoughts
As I reflect on the joy that a delicious cake can bring, it’s clear that baking is not just about the finished product, but also about the experience and love infused into each layer. Embracing cake variations allows us to get creative and cater to diverse tastes. Here are a few serving suggestions to elevate your cake experience:
- Pair your cake with a scoop of homemade ice cream for a delightful contrast in textures.
- Drizzle a complementary sauce, like raspberry or caramel, to enhance the flavors.
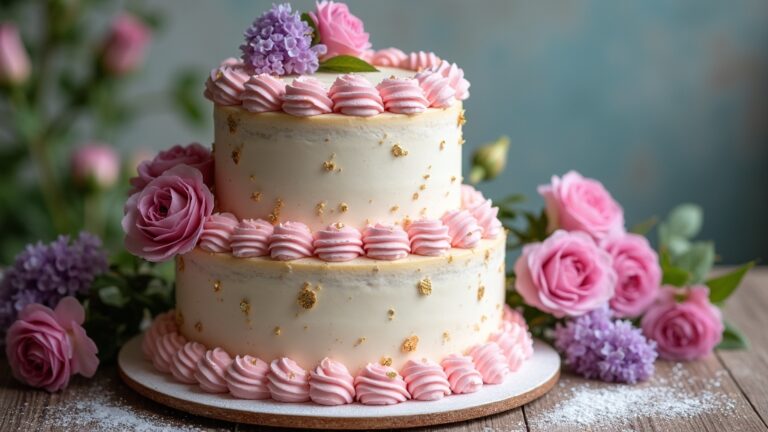
- Garnish with fresh fruits or edible flowers for a stunning presentation.
Ultimately, the magic lies in experimenting and sharing your creations with others. So, let your imagination run wild and enjoy the process as much as the delectable results!
Frequently Asked Questions
Can I Substitute Eggs in This Cake Recipe?
I’ve successfully used egg alternatives like applesauce or flaxseed meal in my baking. If you’re exploring vegan options, try mashed bananas or silken tofu. They add moisture and flavor while keeping your cake delightful!
How Can I Make the Cake Gluten-Free?
When I think of culinary magic, gluten-free flours transform cake texture wonderfully. I’ve found that almond or coconut flour works brilliantly. Just remember to adjust the moisture, and you’ll create a delightful masterpiece!
What Is the Best Way to Store Leftover Cake?
I’ve found that the best way to store leftover cake is in an airtight container. Proper cake storage guarantees freshness and flavor, while effective cake preservation keeps it moist for days, allowing you to savor every bite.
Can I Freeze the Cake? if So, How?
Cake freezing’s a fantastic way to preserve your sweet creation. Just wrap it tightly in plastic, then foil, and store in the freezer. For cake thawing, simply let it sit in the fridge overnight.
How Do I Prevent My Cake From Sinking?
To prevent my cake from sinking, I guarantee the batter’s mixed well and maintain the right baking temperature. A solid cake structure depends on proper leavening, so I carefully follow the recipe and avoid overmixing.
Conclusion
As I savor the last bite of this delightful cake, I can’t help but feel it’s a warm hug on a chilly day. This recipe isn’t just a collection of ingredients; it’s a journey through flavors and memories. I hope you find joy in baking it as much as I did. So, grab your mixing bowl and let your creativity rise—because every slice tells a story waiting to be shared with those you love.
