Easy Cake Recipe
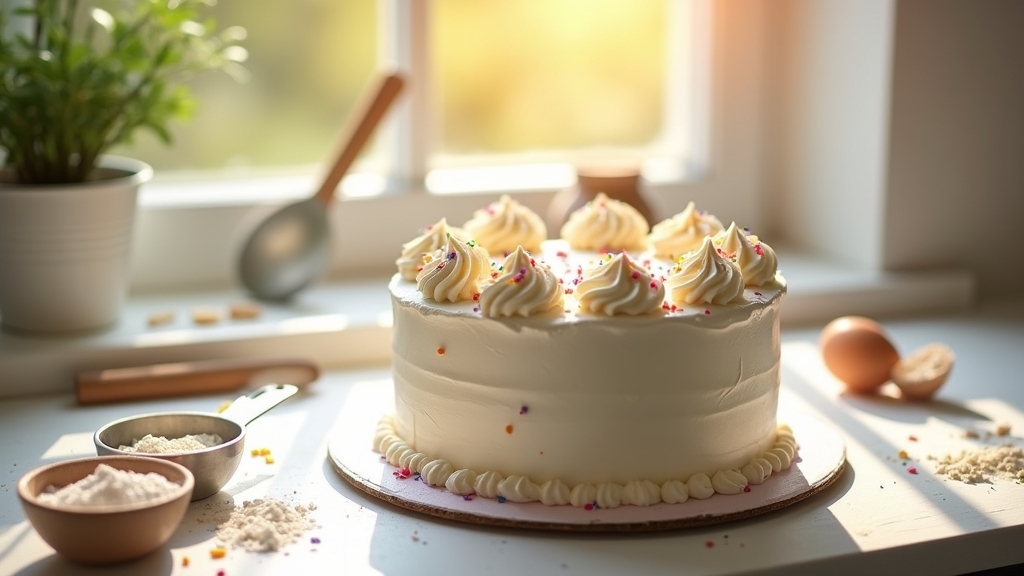
If you want to bake an easy cake from scratch, you’re in for a treat! I love mixing simple ingredients like flour, sugar, butter, and eggs. You just blend them together, pour the batter, and bake until golden. The aromatic scent fills the kitchen, making it feel celebratory. You can customize flavors with extracts or seasonal fruits to make it uniquely yours. Stick around, and I’ll share more tips to elevate your cake experience even further!
Contents
History
When I think about the history of cake, I can’t help but feel fascinated by how it has evolved over centuries. The cake’s origins trace back to ancient civilizations where it began as a simple mixture of grains and honey, baked over hot stones. Fast forward to the Middle Ages, and you’ll find baking traditions blossoming in Europe, with cakes becoming more refined, incorporating spices and dried fruits. Each region brought its flair, turning cakes into symbols of celebration and status. As sugar became more accessible, the art of cake-making transformed dramatically, leading to the diverse, innovative creations we enjoy today. It’s incredible to realize that every slice carries centuries of history and cultural significance, all baked into one delicious treat.
Recipe
Baking a cake can be a delightful experience, and this easy cake recipe is perfect for both beginners and seasoned bakers alike. With its simple ingredients and straightforward steps, you can create a delicious cake that can be enjoyed for any occasion. Whether you’re celebrating a birthday, hosting a gathering, or just want to indulge in a sweet treat, this cake will surely impress your family and friends.
This recipe allows you to customize the flavor by adding your favorite extracts or mix-ins. You can enjoy it plain, top it with frosting, or serve it with fresh fruits. The versatility of this cake makes it a staple in any kitchen, and you’ll find it becomes a go-to recipe for many of your baking needs.
Ingredients:
- 1 ½ cups all-purpose flour
- 1 cup granulated sugar
- ½ cup unsalted butter, softened
- 2 large eggs
- ½ cup milk
- 2 teaspoons baking powder
- 1 teaspoon vanilla extract
- ¼ teaspoon salt
Instructions:
Preheat your oven to 350°F (175°C) and grease a 9-inch round cake pan. In a large mixing bowl, cream together the softened butter and sugar until light and fluffy. Add the eggs one at a time, mixing well after each addition. Stir in the vanilla extract. In a separate bowl, combine the flour, baking powder, and salt. Gradually add the dry ingredients to the wet mixture, alternating with the milk, and mix until just combined. Pour the batter into the prepared cake pan and smooth the top. Bake for 25-30 minutes, or until a toothpick inserted in the center comes out clean. Let it cool in the pan for a few minutes before transferring it to a wire rack to cool completely.
Extra Tips:
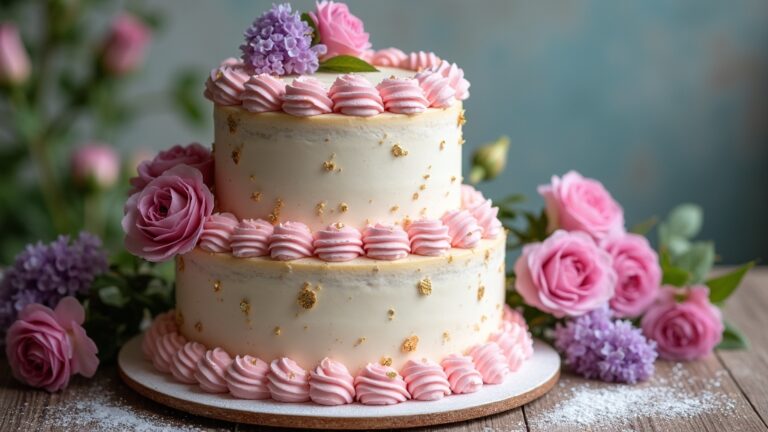
For a more flavorful cake, consider adding a tablespoon of lemon or orange zest to the batter. You can also substitute the milk with buttermilk for a richer taste. If you’d like to create a layered cake, simply double the recipe and bake in two pans. Don’t forget to let the cake cool completely before frosting to avoid melting the frosting. Enjoy experimenting with different toppings and flavors to make this cake your own!
Cooking Steps
Now that we have the ingredients ready, let’s get started on the cooking steps that will turn those components into a delicious cake. First, I’ll preheat the oven to 350°F to guarantee it’s just right for baking. Then, I’ll show you how to mix the dry and wet ingredients perfectly for a smooth batter.
Step 1. Preheat Your Oven to 350°F
To kick off this easy cake recipe, preheating your oven to a perfect 350°F is essential. This specific oven temperature guarantees that your cake rises evenly and bakes to perfection. I always give my oven a good 10-15 minutes to reach that sweet spot before I start mixing my ingredients. This baking tip is significant because starting with a properly heated oven prevents the dreaded undercooked center or burnt edges. As the heat envelops your batter, it activates the leavening agents, creating that delightful fluffiness we all crave. So, set your oven, grab a thermometer if needed, and let that anticipation build. Trust me, your cake will thank you for this simple yet important step!
Step 2. Mix Dry Ingredients Together
Gathering your dry ingredients is an important step that sets the foundation for a delicious cake. Start by selecting your flour types; for a lighter texture, I often use cake flour, while all-purpose flour offers versatility. Next, I measure out the right ingredient ratios, typically combining two cups of flour with baking powder and a pinch of salt. Mixing these together in a bowl not only guarantees even distribution but also adds air, which helps the cake rise beautifully. I love to add a twist by experimenting with unique flour blends, like almond or coconut flour, to create innovative flavors. This simple yet vital step transforms ordinary ingredients into a harmonious blend, ready for the magic to happen!
Step 3. Add Wet Ingredients Gradually
With the dry ingredients mixed and ready, it’s time to bring in the wet components that will bring moisture and flavor to your cake. I find it essential to add the wet ingredients gradually, ensuring each element blends seamlessly into the mixture. This gradual incorporation allows me to maintain the perfect wet ingredient ratios, preventing any clumps or unevenness. Start by pouring in a bit of your liquid, stirring gently to combine. I often alternate between adding liquid and any eggs or flavorings, which keeps the batter smooth and creamy. As I continue this process, I watch the batter transform, becoming richer and more inviting. Trust me, this careful approach elevates your cake’s texture and taste!
Step 4. Pour Batter Into Pan
Lifting the bowl of batter, I can’t help but admire its silky texture before pouring it into the prepared pan. With each gentle tilt, I let the batter flow, watching it settle smoothly into the corners. This part of the process is essential; using the right baking techniques guarantees that our cake will rise evenly, creating that perfect airy texture we all crave. I take a spatula and scrape the sides of the bowl, making certain to capture every bit of that luscious mixture. It’s fascinating how the blending of ingredients transforms into something so delightful. As I finish pouring, I can already imagine the warm aroma wafting through my kitchen, signaling a delicious dessert is on the way!
Step 5. Bake for 30 Minutes
After pouring the batter into the pan, it’s time to pop it into the oven. I set the timer for 30 minutes, an essential moment in my baking journey. As the cake bakes, I can almost taste the anticipation; the aroma fills my kitchen, hinting at the delightful creation to come. I pay close attention to the cake timing, understanding that even a minute too long can alter the texture. Using innovative baking techniques, I recommend checking for doneness by inserting a toothpick; it should come out clean. This isn’t just about patience; it’s an art. When the timer dings, I can’t wait to reveal my masterpiece—golden, fluffy, and ready for frosting. Happy baking!
Nutritional Guide
When it comes to baking, understanding the nutritional aspects of your cake can make a significant difference in how you enjoy your treat. By focusing on caloric content and ingredient benefits, you can create a delightful balance between indulgence and health. Here’s a quick guide to help you visualize what you’re baking:
| Ingredient | Benefits |
|---|---|
| Whole Wheat Flour | High in fiber, aids digestion |
| Greek Yogurt | Protein-rich, creamy texture |
| Coconut Oil | Healthy fats, boosts metabolism |
| Maple Syrup | Natural sweetener, lower GI |
Being aware of these elements not only enhances your baking experience but also allows you to enjoy your cake guilt-free. Happy baking!
Final Thoughts
Baking a cake is as much about the experience as it is about the final product. Each time I whip up a cake, I discover new flavors and innovative twists that bring joy to my kitchen. Here are some thoughts to reflect on:
- Explore cake variations: Try chocolate, lemon, or even carrot cake for unique flavors.
- Experiment with textures: Add nuts or fruit for a delightful crunch.
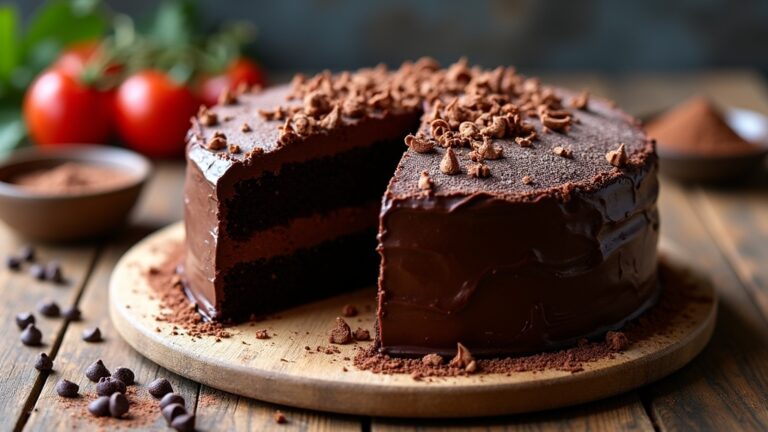
- Contemplate serving suggestions: Pair your cake with fresh berries, whipped cream, or a drizzle of chocolate sauce.
- Make it seasonal: Incorporate ingredients like pumpkin in fall or fresh strawberries in summer.
Embrace your creativity, and remember that each cake is a canvas waiting for your personal touch. Happy baking!
Frequently Asked Questions
Can I Substitute Ingredients in the Cake Recipe?
I love experimenting with ingredient alternatives. Just remember, baking adjustments are key. Swap sugars for honey or almond flour for all-purpose flour—each change adds a unique twist and keeps the creativity flowing!
How Do I Store Leftover Cake Properly?
Storing leftover cake is like wrapping a precious gift. I seal it tightly in plastic wrap or an airtight container, keeping it fresh. For extra flavor, I suggest refrigerating it—those leftover tips will delight your taste buds!
What Equipment Do I Need for Baking a Cake?
When I bake a cake, I always grab essential baking tools like mixing bowls, measuring cups, and a whisk. These items guarantee precision and creativity, helping me craft delicious treats that surprise and delight everyone.
Can I Make the Cake Ahead of Time?
Did you know that 80% of bakers freeze their cakes ahead of time? I often freeze my cakes before decorating; it keeps them moist and makes decorating easier. Planning ahead really elevates the final result!
How Can I Tell When the Cake Is Done Baking?
I always check my cake by inserting a toothpick in the center. If it comes out clean, it’s done! This baking tip guarantees a perfectly baked cake, and trust me, cake testing is essential for success.
Conclusion
Baking this easy cake recipe is like planting a seed; with just a little care, it blossoms into something delightful. I hope you’ve enjoyed this journey as much as I have. Whether you’re sharing it with loved ones or savoring a slice alone, each bite holds a story. So roll up your sleeves, embrace the joy of baking, and let the sweet aroma fill your home. Happy baking, and may your cake always rise to the occasion!
