Honey Wheat Bread Recipe
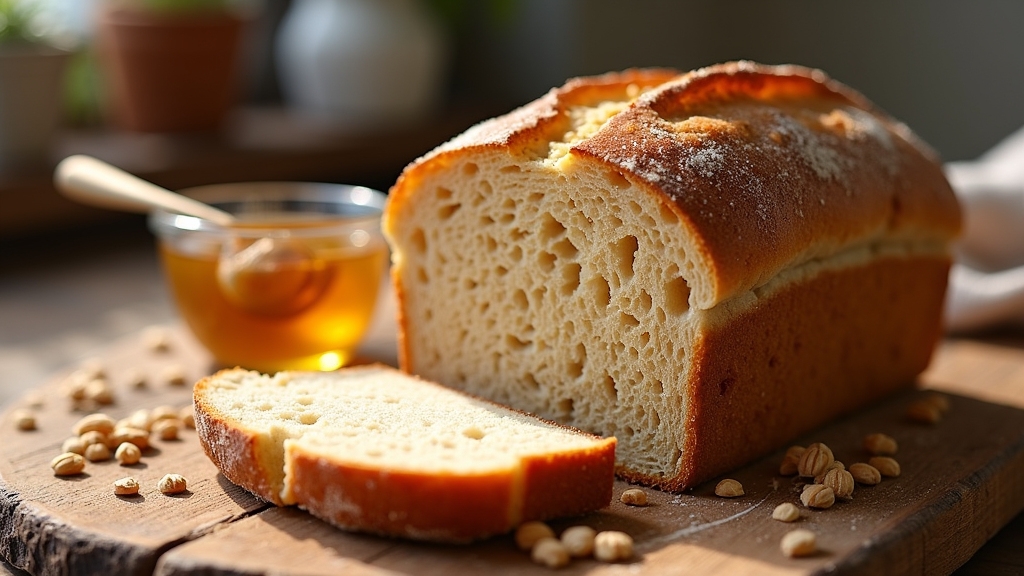
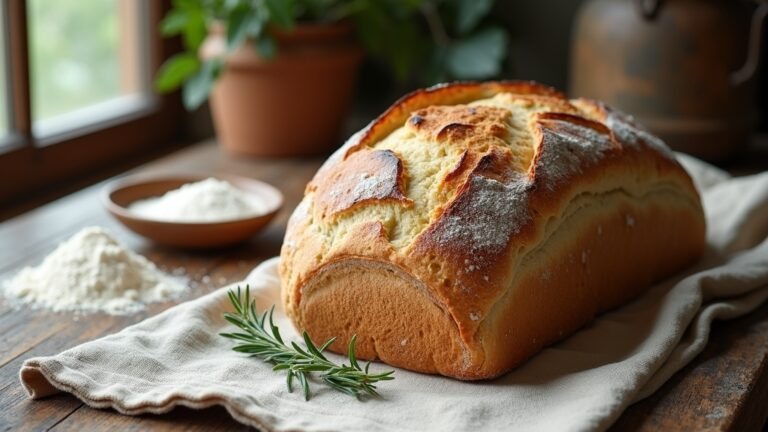
I’ve created a delicious honey wheat bread that’s perfect for breakfast or sandwiches. This recipe uses whole wheat flour for a nutty flavor and honey for natural sweetness, making each loaf a healthy treat. I mix warm water with yeast, add honey and salt, knead the dough until smooth, and let it rise. The aroma while baking is simply irresistible! If you’re curious about the nutritional benefits and baking tips, let me share more with you.
Contents
History
When I think about the history of honey wheat bread, I can’t help but marvel at how this simple loaf we love today has deep roots stretching back centuries. It all began with ancient grains, cultivated by early civilizations who recognized the magic of wheat. These grains became the foundation of their diets and sparked innovative baking traditions that have evolved over time. Imagine the aroma of freshly baked bread wafting through ancient kitchens, where each loaf told a story of culture and community. As we blend these timeless recipes with modern techniques, we honor that rich heritage while pushing the boundaries of flavor. Honey adds a touch of sweetness, creating a perfect harmony that connects us to the past while celebrating the future of bread-making.
Recipe
Honey Wheat Bread is a delicious and wholesome option for those looking to enjoy a homemade bread that combines the nutty flavor of whole wheat flour with the natural sweetness of honey. This recipe is perfect for breakfast toast, sandwiches, or simply enjoyed with a pat of butter. The soft texture and slightly sweet taste make it a favorite among families, and best of all, it’s easy to make at home with just a few simple ingredients.
To achieve the perfect rise and texture, it’s crucial to use the right type of yeast and let the dough rest adequately. This bread is not only nutritious but also provides a delightful aroma that will fill your kitchen as it bakes. Whether you’re an experienced baker or a novice, this Honey Wheat Bread recipe will guide you through the process to create a lovely loaf that you can be proud of.
Achieve the perfect rise and aroma with this easy Honey Wheat Bread recipe, perfect for bakers of all levels.
Ingredients:
- 2 cups whole wheat flour
- 1 cup all-purpose flour
- 1/4 cup honey
- 1 cup warm water (about 110°F)
- 2 1/4 teaspoons active dry yeast (1 packet)
- 1 teaspoon salt
- 2 tablespoons olive oil
- Optional: 1 tablespoon of essential wheat gluten for improved texture
In a large mixing bowl, combine the warm water and honey, then sprinkle the yeast on top. Let it sit for about 5-10 minutes until it becomes frothy. Next, add the whole wheat flour, all-purpose flour, salt, and olive oil to the yeast mixture. Stir until a dough forms, then knead on a floured surface for about 8-10 minutes until the dough is smooth and elastic. Place the dough in a greased bowl, cover it with a damp cloth, and let it rise in a warm spot until it doubles in size, approximately 1-2 hours. Once risen, punch down the dough, shape it into a loaf, and place it in a greased bread pan. Allow it to rise again for about 30-45 minutes until it has risen above the edge of the pan. Preheat your oven to 350°F (175°C) and bake the bread for 30-35 minutes or until it sounds hollow when tapped on the bottom. Let cool before slicing.
For the best results, make sure your ingredients are at room temperature before starting. You can also experiment with different types of flour or add seeds and nuts to the dough for added flavor and nutrition. If you find the dough too sticky, incorporate a little more flour while kneading. Keep an eye on the baking time, as oven temperatures may vary, to guarantee your bread doesn’t overbake. Enjoy your freshly baked Honey Wheat Bread with your favorite spreads or toppings!
Cooking Steps
Now that we’ve gathered our ingredients, let’s jump into the cooking steps that will bring our honey wheat bread to life. First, I’ll combine warm water and yeast, creating a bubbly foundation for our dough. As we move through each step, I’ll guide you in making a delicious loaf that’s sure to impress!
Step 1. Mix Warm Water and Yeast
To kick off the bread-making process, I start by mixing warm water with yeast. This essential step guarantees proper yeast activation, allowing the little organisms to thrive in the warm temperature. Here’s how I do it:
- Measure the warm water: I aim for about 110°F (43°C)—too hot, and it’ll kill the yeast; too cold, and it won’t activate.
- Sprinkle the yeast: I gently sprinkle the yeast over the water’s surface, letting it sit for a few minutes so it can wake up and start bubbling.
- Stir gently: Once it’s frothy, I give it a light stir to combine, making sure every granule is activated.
This simple yet essential step lays the foundation for a delicious loaf of honey wheat bread!
Step 2. Add Honey and Salt
Once the yeast mixture is bubbling happily, I add in the honey and salt, transforming the blend into something even more flavorful. The honey, with its natural sweetness and health benefits, not only enhances the taste but also acts as a natural preservative, ensuring my bread stays fresh longer. I prefer using a fine sea salt, but feel free to experiment with different salt types like Himalayan or kosher for unique flavor profiles. As I stir these ingredients together, I can already smell the delightful combination, anticipating how it’ll elevate my honey wheat bread. This step is essential; the balance of sweetness and seasoning sets the stage for the delicious, aromatic loaf that’s about to come to life.
Step 3. Knead Dough Until Smooth
With my ingredients combined, I plunge into the next vital step: kneading the dough until it’s smooth and elastic. This part is essential for achieving the perfect dough texture, and I can already feel the transformation taking place under my hands. I use various kneading techniques to guarantee it’s well-developed:
- Push and Fold: I push the dough away from me, then fold it back over itself.
- Rotate: I turn the dough a quarter turn each time to work all sides evenly.
- Stretch and Fold: I gently stretch the dough, then fold it to build strength.
As I knead, I can feel the dough becoming softer and more pliable—an exciting sign that I’m on the right track!
Step 4. Let Dough Rise Until Doubled
As I place the kneaded dough into a lightly greased bowl, I can’t help but feel a sense of anticipation for the magic that’s about to unfold. I cover it with a damp cloth, creating a cozy environment perfect for dough fermentation. This is where the yeast will work its wonders, transforming the simple mixture into something extraordinary. I find it fascinating how rising techniques, like the “double-rise method,” can enhance flavor and texture. I let the dough rest in a warm spot, checking periodically for that telltale puffiness. After about an hour, it’s doubled in size, filled with tiny air pockets, ready to be shaped. The aroma of yeast wafts through the air, igniting my excitement for the next steps!
Step 5. Shape Dough Into Loaf
After the dough has risen and transformed into a fluffy masterpiece, it’s time to shape it into a loaf. This is where the magic happens! Using various dough shaping techniques, I can create a loaf that’s not just beautiful but also perfectly functional. Here’s how I do it:
- Punch down the dough gently to release any trapped air.
- Shape the dough by flattening it into a rectangle, then rolling it tightly from one end to the other, ensuring a tight seam.
- Place it in a loaf pan or explore loaf pan alternatives like a baking sheet or even a cast-iron skillet for a rustic look.
With these techniques, my honey wheat bread will rise beautifully and bake to perfection!
Nutritional Guide
When I bake a loaf of honey wheat bread, I’m not just creating a delicious treat; I’m also embracing a nutritional powerhouse. The ingredient benefits are astounding, and I love knowing I’m nourishing both my body and my taste buds.
Here’s a quick look at the caloric content and benefits of key ingredients:
| Ingredient | Caloric Content (per slice) | Benefits |
|---|---|---|
| Whole Wheat Flour | 80 | High in fiber, aids digestion |
| Honey | 21 | Natural sweetener, antioxidants |
| Olive Oil | 40 | Heart-healthy fats |
| Yeast | 5 | Aids in fermentation |
| Salt | 0 | Enhances flavor |
This bread is not just about taste; it’s a step towards a healthier lifestyle!
Final Thoughts
Although baking honey wheat bread may seem like a simple task, it’s a fulfilling experience that combines the joy of creation with the reward of healthy eating. As you initiate this culinary adventure, keep these baking tips in mind:
- Experiment with ingredient substitutions: Try using almond flour or oats for a gluten-free twist.
- Adjust sweetness to taste: If you prefer a less sweet loaf, reduce the honey without sacrificing moisture.
- Incorporate add-ins: Consider adding nuts or seeds for extra texture and nutrition.
Each loaf tells a story, and the aroma wafting through your kitchen is simply irresistible. So roll up your sleeves, embrace your creativity, and enjoy every moment of baking this delightful bread!
Frequently Asked Questions
Can I Use All-Purpose Flour Instead of Whole Wheat Flour?
When I experimented with all-purpose flour instead of whole wheat, my bread turned lighter yet less hearty. For baking tips, consider using a blend of flour types to balance texture and flavor for innovative results!
How Long Does Honey Wheat Bread Stay Fresh?
Honey wheat bread usually stays fresh for about 3 to 5 days at room temperature. For longer shelf life, I recommend storing it in an airtight container or freezing it. Enjoy your innovative baking journey!
Can I Freeze Honey Wheat Bread?
Freezing bread might seem counterintuitive, but it’s a smart storage tip. I’ve used freezing techniques to keep honey wheat bread fresh for weeks—just slice it first, wrap it tightly, and enjoy later without compromise.
What Can I Substitute for Honey?
If you can’t use honey, I love substituting with maple syrup or agave nectar. Both add a unique sweetness, enhancing flavors in your dish while keeping it innovative. You’ll enjoy the delicious results!
Is This Recipe Suitable for Vegan Diets?
I love exploring vegan alternatives! This recipe can fit dietary restrictions by substituting honey with maple syrup or agave nectar. Just a few tweaks, and you’ve got a delicious vegan bread that everyone can enjoy!
Conclusion
As I watched the golden crust of my honey wheat bread rise in the oven, I was reminded of the resilience of nature—how a simple seed transforms into something nourishing and beautiful. Just like that seed, each loaf I bake carries the promise of warmth and comfort. So, whether it’s for a family gathering or a quiet evening at home, this recipe invites you to savor the sweetness of life, one slice at a time.
