Bread Loaf Recipe
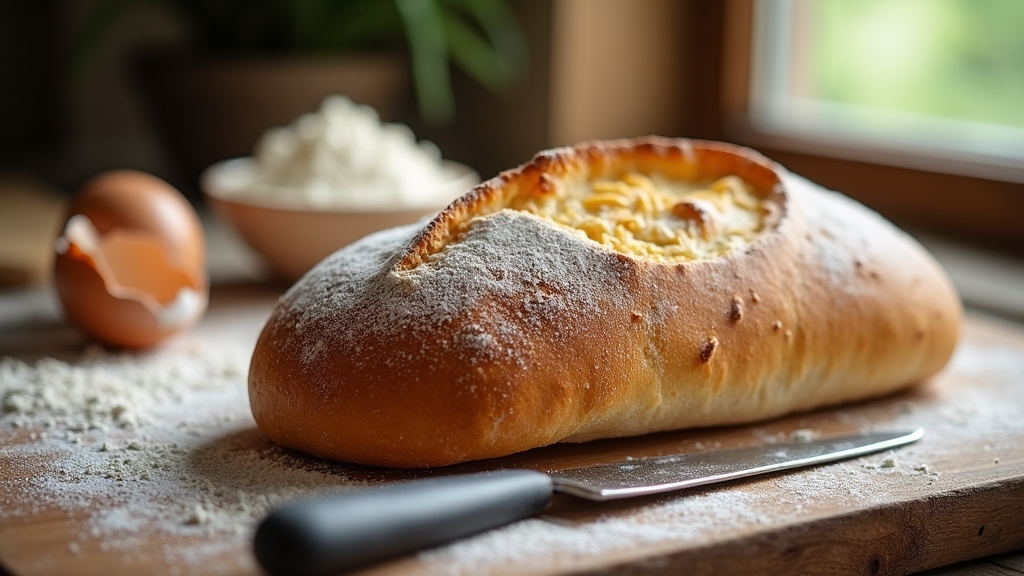
I love making homemade bread loaf! It’s simple yet rewarding. You just need 4 cups of flour, 2 teaspoons of salt, a tablespoon of sugar, and 2 teaspoons of yeast mixed with warm water. Knead until smooth, let it rise, and bake at 350°F for about 30 minutes. The aroma fills the kitchen while it bakes, creating a cozy vibe. This versatile bread is perfect for sandwiches or just warm with butter. There’s so much more to explore!
Contents
History
When I think about the history of bread loaf, I’m amazed at how this simple staple has shaped cultures and communities around the world. From the earliest days, our ancestors turned to ancient grains like spelt and einkorn, crafting bread that reflected their unique environments. Each region developed its own baking traditions, transforming basic ingredients into diverse flavors and textures. I find it fascinating how these practices have evolved over centuries, adapting to innovations like the introduction of yeast and milling techniques. Today, as we embrace artisanal methods and reintroduce ancient grains into modern recipes, we’re not just baking bread; we’re connecting with our past. It’s this blend of history and innovation that makes each loaf we create so special.
Recipe
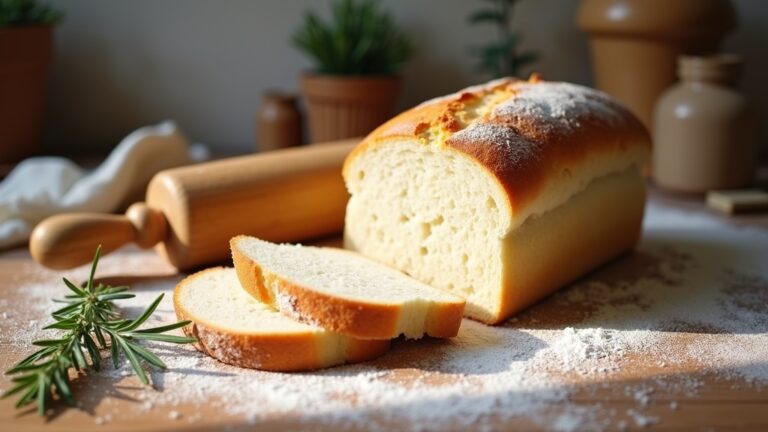
Bread loaf is a comforting and versatile baked good that can be enjoyed in many ways. Whether served warm with butter, toasted for breakfast, or used to make sandwiches, homemade bread loaf offers unparalleled freshness and flavor. The aroma of baking bread wafting through the kitchen is enough to bring anyone to the table, making it a perfect choice for family gatherings or cozy nights in. With just a few simple ingredients, you can whip up a loaf that rivals any store-bought option.
Creating your own bread loaf at home not only allows you to control the ingredients, but it also provides a rewarding experience. Kneading the dough and watching it rise is a fulfilling process that connects you with the age-old tradition of baking. Once you master this basic recipe, you can experiment with different flavors, such as adding herbs, cheese, or seeds, to elevate your bread loaf to new heights.
Ingredients:
- 4 cups all-purpose flour
- 2 teaspoons salt
- 1 tablespoon sugar
- 2 teaspoons active dry yeast
- 1 ½ cups warm water (about 110°F)
- 2 tablespoons olive oil (optional)
To make the bread loaf, start by combining warm water, sugar, and yeast in a bowl. Allow it to sit for about 5-10 minutes until it becomes frothy. In a large mixing bowl, combine flour and salt, then make a well in the center. Pour in the yeast mixture and olive oil, if using. Mix until a dough forms, then knead it on a floured surface for about 8-10 minutes until smooth and elastic. Place the dough in a greased bowl, cover it with a damp cloth, and let it rise in a warm place for about 1 hour or until doubled in size. After rising, punch down the dough, shape it into a loaf, place it in a greased loaf pan, and let it rise again for about 30 minutes. Preheat your oven to 375°F (190°C), then bake the loaf for 25-30 minutes or until golden brown and sounds hollow when tapped on the bottom. Allow it to cool before slicing.
When baking bread, it’s important to verify that your yeast is fresh, as expired yeast can prevent the dough from rising properly. Additionally, the temperature of the water should be warm but not hot, as high temperatures can kill the yeast. For a softer crust, you can brush the top of the loaf with melted butter right after it comes out of the oven. Finally, storing bread in a paper bag keeps it fresh longer than plastic, as it allows moisture to escape and prevents sogginess. Enjoy your homemade bread loaf!
Cooking Steps
Now that we’ve gathered our ingredients, let’s get cooking! I’ll guide you through each step, starting with preheating the oven to a cozy 350°F. From mixing the dry ingredients to shaping the dough into a perfect loaf, I’ll make sure you feel confident at every turn.
Step 1. Preheat the Oven to 350°F
As I prepare to bake the perfect loaf, preheating the oven to 350°F is essential for achieving that golden crust and fluffy interior. This oven temperature allows the bread to rise evenly, ensuring a delightful texture that’s both soft and airy. I always set my oven ahead of time, giving it a chance to reach the ideal heat before the dough enters. This simple yet vital step is one of the foundational baking techniques that can make all the difference in the final product. A properly preheated oven creates an environment where the yeast can work its magic, and the crust forms beautifully. Remember, patience at this stage pays off in flavor and presentation!
Step 2. Mix Dry Ingredients Thoroughly
To create a well-balanced loaf, mixing the dry ingredients thoroughly is essential. I start by measuring my flour, salt, sugar, and baking powder with precision, ensuring the ingredient ratios are spot on. Using a whisk, I gently aerate the mixture, employing mixing techniques that promote even distribution. This step might seem simple, but it’s vital for achieving that perfect rise and texture. I take my time, savoring the moment as the ingredients blend into a harmonious blend. Each particle plays a role, and a well-mixed dry base sets the stage for the moist, flavorful creation to come. Trust me, paying attention to this detail makes all the difference in your loaf’s success!
Step 3. Add Wet Ingredients Gradually
Once the dry ingredients are blended, I carefully add the wet ingredients, ensuring I pour them in gradually. This method not only helps to achieve the perfect wet ingredient ratios but also promotes thorough mixing without clumping. As I drizzle the liquid mixture into the bowl, I use a gentle motion to combine, letting the ingredients integrate smoothly. I can feel the texture changing, becoming more cohesive with each addition. Gradual mixing is essential here; it prevents the bread from becoming dense or overly wet. I can already imagine the delightful aroma that’ll fill my kitchen. By taking my time, I’m setting the stage for a loaf that’s not just good, but absolutely extraordinary.
Step 4. Knead Dough Until Smooth
With my hands dusted in flour, I plunge into the process of kneading the dough until it’s smooth and elastic. I start by folding the dough over itself, using the heel of my hand to push it down and away from me. This kneading technique helps develop the gluten, transforming the rough mass into a silky texture. I can feel the dough becoming more pliable, a sign that I’m on the right track. After about 8 to 10 minutes of this rhythmic motion, I check for the perfect dough texture—it should bounce back when I poke it. Remember, the goal is a soft, elastic dough that’s ready for the next stage of our delicious bread journey.
Step 5. Shape the Dough Into Loaf
After achieving that perfect smoothness in the dough, it’s time to shape it into a loaf. I start by gently flattening the dough on a lightly floured surface, using my fingertips to press out air bubbles. This is where the magic of dough shaping begins! I fold the dough’s edges toward the center, creating a neat rectangle. Then, I roll it tightly from the long side, using loaf techniques that guarantee a tight structure. Pinching the seams helps seal in the goodness. Once shaped, I place it seam-side down in a greased loaf pan, letting it rise again. This final shaping not only defines the loaf’s texture but also enhances its overall presentation. Your innovative bread journey is well underway!
Nutritional Guide
A well-balanced bread loaf can be both delicious and nutritious, making it a perfect addition to your meals. When considering its nutritional benefits, I’ve found that incorporating whole grains and seeds can elevate your loaf’s fiber and protein content. This not only satisfies hunger but also supports digestive health.
Here’s a quick glance at some key nutritional aspects:
| Nutrient | Amount per Slice | Dietary Considerations |
|---|---|---|
| Calories | 80 | Caloric control |
| Protein | 4g | Muscle support |
| Fiber | 2g | Digestive health |
Final Thoughts
Creating a nutritious bread loaf is just the beginning of your culinary journey. As you dive deeper into baking, you’ll discover endless possibilities for innovation and creativity. Don’t hesitate to play around with flavor variations—think herbs, nuts, or even dried fruits—to elevate your loaf from ordinary to extraordinary. I’ve found that experimenting with different flours can also yield remarkable results. As you bake, remember my favorite baking tips: measure accurately, don’t rush the rising process, and embrace your mistakes as learning moments. Each loaf you create not only nourishes the body but also feeds the soul. So, roll up your sleeves, let your imagination soar, and enjoy every delicious bite of the bread you bake!
Frequently Asked Questions
Can I Substitute Whole Wheat Flour for All-Purpose Flour?
I’ve often substituted whole wheat flour for all-purpose flour, and I love the added nutrients it brings. Just be aware, the flour texture changes, making it denser, but the health benefits are definitely worth it!
How Do I Store Leftover Bread Loaf?
To store leftover bread, I wrap it tightly in plastic wrap or foil, ensuring freshness. For longer preservation, I slice it and freeze portions. This way, I enjoy tasty bread whenever I crave it.
Can I Freeze the Bread Loaf?
You can absolutely freeze it! I’ve found some great freezing tips to preserve freshness, and when it’s time to enjoy, I use simple thawing methods that keep it just as delightful as day one.
What Type of Yeast Is Best for Bread?
When choosing yeast types, I prefer instant yeast for its convenience and reliability. Active dry yeast works well too, but instant yeast offers quicker rising times and consistent results, making my baking journey more innovative and enjoyable.
How Can I Make My Bread Loaf Softer?
To make my bread loaf softer, I experiment with different flour types and employ gentle kneading techniques. It’s amazing how these small adjustments can transform the texture, creating a delightful, fluffy loaf I love sharing!
Conclusion
Baking a loaf of bread not only fills your home with an irresistible aroma but also connects you to a rich history—did you know that the oldest known bread dates back over 14,000 years? It’s amazing to think about how this simple staple has evolved over time. So, whether you’re a novice or a seasoned baker, I hope you embrace the joy of making your own bread. Trust me, there’s nothing quite like slicing into a warm, homemade loaf!
