Rustic Bread Recipe
If you’re looking to make rustic bread, it’s a rewarding experience! Start with 4 cups of all-purpose flour, 1½ cups of warm water, 2 teaspoons of salt, and 2 teaspoons of yeast. Mix the warm water and yeast, let it foam, then combine with flour. Knead for 10 minutes, let it rise, shape it, then bake. You’ll love the hearty crust and chewy interior—it’s like a taste of history! Keep going, and you’ll discover more tips and techniques.
Contents
History
When I explore the history of rustic bread, I’m often struck by its deep roots in various cultures around the world. This bread embodies the essence of ancient grains, like spelt and einkorn, which our ancestors cultivated long before modern agriculture. Each region has its own unique baking traditions, shaped by local ingredients and climate. In Italy, for instance, sourdough methods yield a tangy flavor, while French rustic loaves boast a crusty exterior. I find it fascinating how these traditions have persisted, adapting over centuries yet remaining true to their origins. As we embrace innovation in baking, it’s essential to respect and honor these historical influences, blending the old with the new to create something truly remarkable.
Recipe
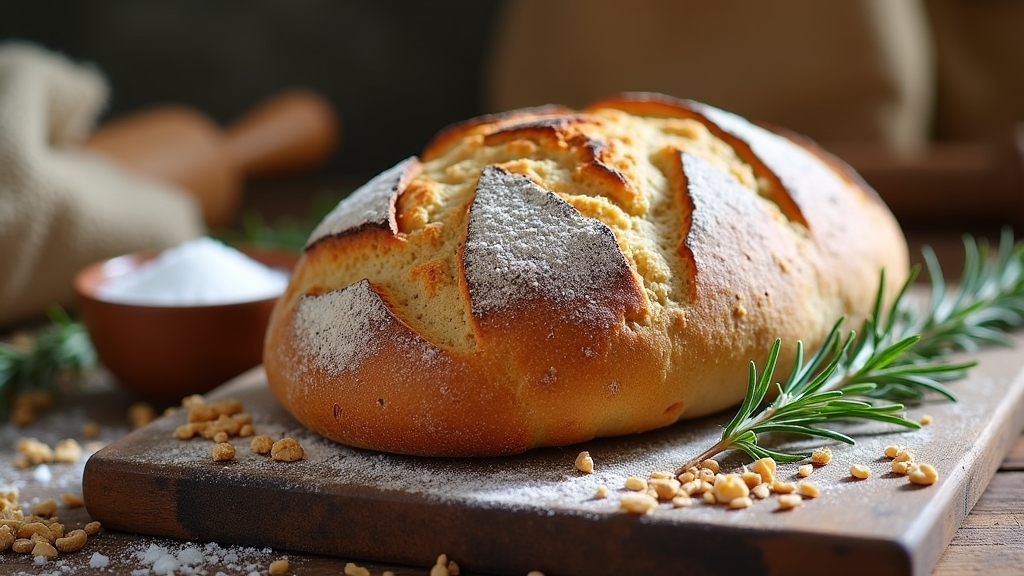
Rustic bread, with its hearty crust and soft, chewy interior, is a delightful addition to any meal. This simple yet satisfying recipe captures the essence of traditional bread-making, allowing you to enjoy the wholesome flavors of freshly baked bread right in your own kitchen. With minimal ingredients and a straightforward process, you’ll discover that creating your own rustic loaf is not only rewarding but also a wonderful way to fill your home with the warm aroma of baking bread.
Experience the joy of baking rustic bread, a simple delight that fills your home with warm, inviting aromas.
The beauty of rustic bread lies in its versatility. You can serve it alongside soups and salads, use it for sandwiches, or simply enjoy it with a smear of butter or your favorite jam. The dough requires some time to rise, but the active preparation time is quite minimal, making it an ideal project for both beginner and experienced bakers alike. Get ready to impress your family and friends with this delightful homemade treat!
Ingredients:
- 4 cups all-purpose flour
- 1 ½ cups warm water
- 2 teaspoons salt
- 1 teaspoon sugar
- 2 teaspoons active dry yeast
- 1 tablespoon olive oil (optional)
- Cornmeal (for dusting)
Instructions:
In a large mixing bowl, combine the warm water, sugar, and yeast, letting it sit for about 5-10 minutes until foamy. Next, add the flour and salt to the yeast mixture, mixing until a shaggy dough forms. Knead the dough on a floured surface for about 10 minutes until smooth and elastic. Place the dough in a lightly oiled bowl, cover with a damp cloth, and let it rise in a warm place for 1 to 2 hours or until doubled in size. Preheat your oven to 450°F (230°C). Once risen, punch down the dough and shape it into a round loaf. Place it on a baking sheet dusted with cornmeal, cover it again, and let it rise for another 30 minutes. Score the top of the loaf with a sharp knife, then bake for 30-35 minutes until golden brown and hollow-sounding when tapped on the bottom. Allow it to cool on a wire rack before slicing.
Extra Tips:
For a crustier exterior, place a shallow pan of water on the bottom rack of your oven while baking; the steam will create a beautiful crust. Additionally, you can experiment with adding herbs, cheese, or olives to the dough for different flavor profiles. Remember that the dough can also be made ahead of time and stored in the refrigerator for up to 24 hours to develop even more flavor. Happy baking!
Cooking Steps
Let’s get started on the cooking steps that will transform simple ingredients into a delicious rustic bread. First, I mix warm water with yeast to awaken those tiny organisms, setting the stage for our dough. As we go along, I’ll guide you through each step, ensuring your bread turns out perfectly crusty and flavorful.
Step 1. Mix Warm Water and Yeast
To kick off the bread-making process, I start by combining warm water and yeast in a mixing bowl. The water temperature is essential; it should be around 100°F to 110°F—just warm enough to encourage yeast activation without killing it. I gently sprinkle the yeast over the surface of the water, allowing it to dissolve and bloom for about five minutes. Watching those tiny granules transform into a frothy mixture is like magic! This step is critical, as it guarantees the yeast is alive and ready to work its wonders. By creating a favorable environment, I set the stage for the bread’s flavorful rise. It’s the first step toward a rustic loaf that’ll impress everyone at my table!
Step 2. Add Flour Gradually
Next, I gradually add flour to the yeast mixture, about one cup at a time, stirring gently with a wooden spoon. I love experimenting with different flour types—sometimes I use a blend of whole wheat and all-purpose for a nutty flavor and hearty texture. As I mix, I can feel the dough begin to come together, shifting from a wet, sticky consistency to something more manageable. The gradual addition of flour is essential; it allows me to gauge the dough’s hydration and prevents it from becoming too dense. I pay attention to how the mixture reacts, adjusting my flour types based on the desired outcome. This careful approach sets the foundation for a beautifully rustic bread.
Step 3. Knead the Dough Thoroughly
With the dough now taking shape, it’s time to get hands-on and knead it thoroughly. I like to start by using the heel of my hand to push the dough forward, folding it back on itself, and repeating the process. This technique not only develops gluten but also transforms the dough texture into something wonderfully elastic. I knead for about 10 minutes, feeling the dough change beneath my fingers. If it starts to stick, I sprinkle a little flour, but I keep it minimal to avoid drying it out. The goal is a smooth, pliable dough that springs back when pressed. Experiment with different kneading techniques, and you’ll discover the perfect rhythm that suits your style and yields that rustic bread you crave.
Step 4. Let Dough Rise Covered
As the dough rests, it’s essential to cover it properly to create the ideal environment for rising. I often use a damp kitchen towel or plastic wrap as my dough cover, ensuring it’s snug but not too tight. This keeps the moisture in, promoting yeast activation and preventing the surface from drying out. Watching the dough transform is mesmerizing; it expands and becomes airy, a sign that the yeast is working its magic. I usually let it rise in a warm spot, away from drafts, for about one to two hours. This patience is key, as a well-risen dough leads to a rustic bread that’s delightfully crusty on the outside and soft on the inside.
Step 5. Shape the Dough Loaf
Once the dough has risen to perfection, it’s time to shape it into a loaf that’s ready for baking. This step is where the magic happens, and I can’t help but feel excited. Using various dough shaping techniques, I gently stretch and fold the dough, creating tension for a beautiful rise.
Here are some loaf presentation tips that always inspire me:
- Embrace your creativity: Experiment with different shapes, from batards to boules.
- Add a personal touch: Score the top with a knife for a rustic flair.
- Choose the right flour: A dusting of flour adds texture and appeal.
As I shape the dough, I can already envision the golden crust waiting to emerge from the oven.
Nutritional Guide
Although baking rustic bread is a delightful experience, it’s equally important to contemplate its nutritional benefits. This bread can be a wholesome addition to your diet, especially when you consider innovative ingredient alternatives. Whole grain flour, for instance, boosts fiber and essential nutrients, enhancing its health benefits.
Here’s a quick nutritional guide to inspire you:
| Nutrient | Amount per Slice |
|---|---|
| Calories | 80 |
| Protein | 3g |
| Fiber | 2g |
| Carbohydrates | 15g |
| Healthy Fats | 1g |
Final Thoughts
While baking rustic bread can seem intimidating, I assure you it’s an incredibly rewarding endeavor. The process allows you to connect with your ingredients and release your creativity. As you experiment with different flavor variations, you’ll discover the joy of creating something uniquely yours. Here are a few baking tips to elevate your experience:
- Embrace the artistry of scoring your dough for a beautiful crust.
- Experiment with herbs, nuts, or cheeses to enhance flavor.
- Don’t rush the fermentation process; patience yields the best results.
Each loaf tells a story, and with each bite, you’ll savor the fruits of your labor. So roll up your sleeves, enjoy the process, and let your rustic bread journey begin!
Frequently Asked Questions
What Type of Flour Is Best for Rustic Bread?
I’ve found that whole wheat flour creates a fantastic bread texture, giving rustic loaves a hearty, nutty flavor. It’s perfect for those who crave innovation in their baking, offering depth and complexity to every slice.
How Long Does Rustic Bread Stay Fresh?
I’ve found that rustic bread usually stays fresh for about two to three days. To extend its shelf life, I recommend storing it in a paper bag or wrapping it in a kitchen towel.
Can I Freeze Rustic Bread?
Last winter, I froze leftover bread using vacuum sealing techniques. It worked wonders! You can definitely freeze rustic bread; just wrap it well and use proper storing methods to retain its delightful flavor and texture.
What Is the Ideal Baking Temperature for Rustic Bread?
I’ve found that the ideal oven temperature for baking rustic bread is around 450°F. This high heat guarantees proper crust development, creating that delightful golden exterior while keeping the inside soft and chewy.
How Can I Enhance the Flavor of Rustic Bread?
Did you know that adding just 10% sourdough starter can enhance bread’s flavor considerably? I love experimenting with flavor boosters like herbs or roasted garlic, transforming each loaf into a delicious, aromatic masterpiece that surprises everyone!
Conclusion
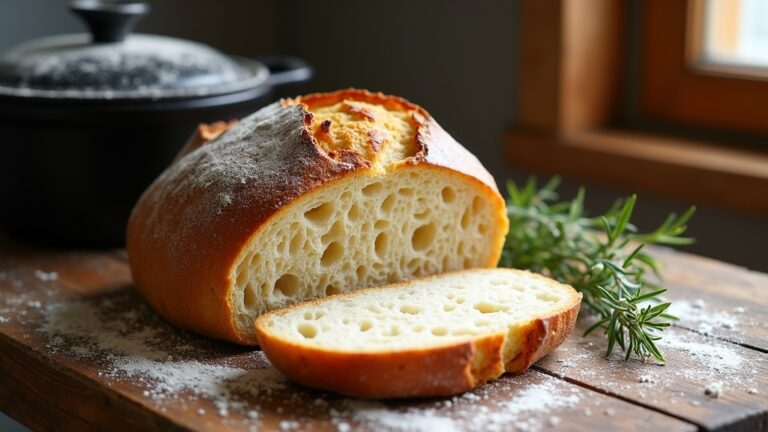
As I savor the crusty exterior and soft, airy interior of my homemade rustic bread, I can’t help but appreciate its rich history. Did you know that over 90% of households in France enjoy fresh bread daily? It’s a reflection of the love for this simple yet profound staple. Whether you’re sharing it with friends or relishing it alone, each slice carries a story. So, get your hands doughy and embrace the art of bread-making—it’s a journey worth taking!
