Simple Pizza Dough Recipe
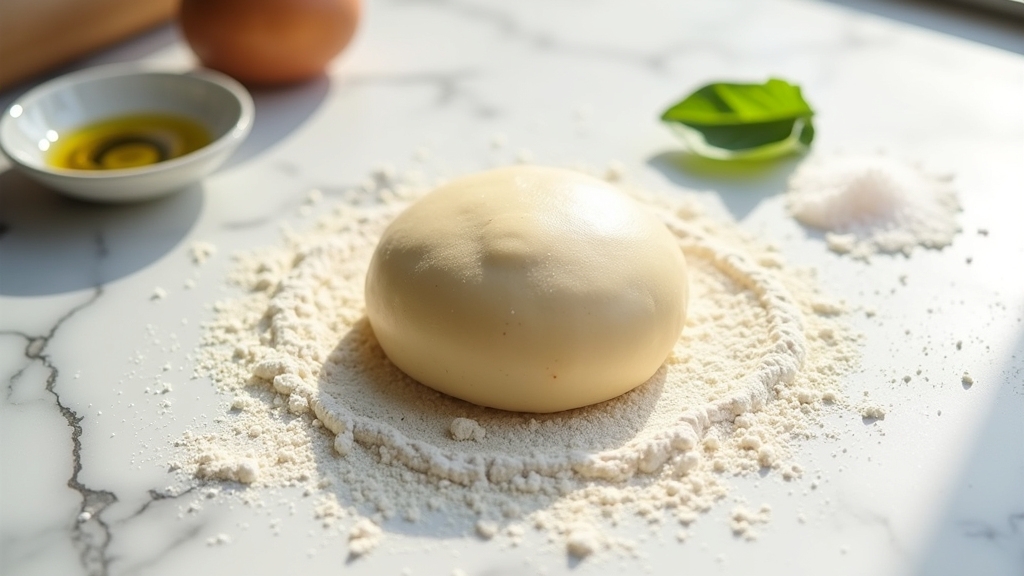
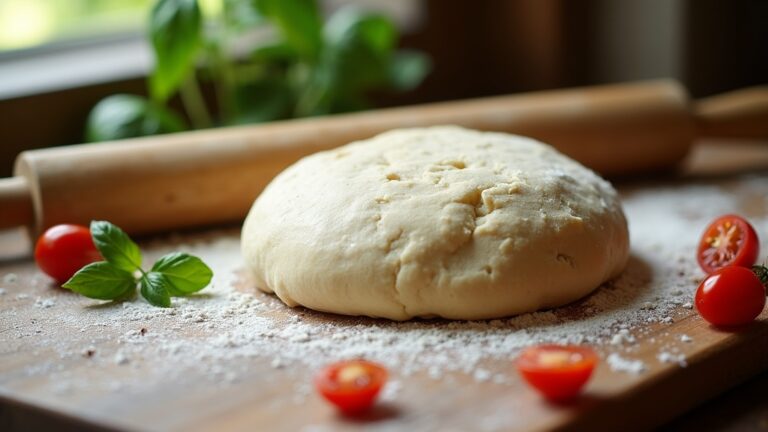
Making a simple pizza dough at home is a delightful experience! I mix warm water with yeast and let it activate before gradually adding flour, kneading until smooth, and allowing it to rise for that perfect texture. The dough’s aroma fills the kitchen, sparking creativity. Once it’s ready, I shape it and customize with my favorite toppings. Trust me, it’s worth the effort to create your own delicious pizza! Stick around to discover tips and tricks for even better results.
Contents
History
When I think about pizza, I can’t help but marvel at its rich history that stretches back centuries. Its ancient origins trace back to the flatbreads enjoyed by various cultures, but it truly blossomed in Naples, Italy. Here, the humble pizza became a canvas for culinary innovation, reflecting local ingredients and traditions. As I dive deeper, I discover its cultural significance—pizza isn’t just food; it’s a symbol of community and creativity. Families gather around the table, sharing stories and laughter, all while savoring a slice. This dish has transcended borders, evolving into countless variations, each telling a unique story. It’s fascinating how something so simple can connect us, sparking innovation and love across the globe.
Recipe
Making your own pizza dough at home is a rewarding experience that allows you to customize your pizza exactly how you like it. With just a handful of ingredients, you can create a deliciously chewy and crispy crust that serves as the perfect base for your favorite toppings. This simple pizza dough recipe is beginner-friendly and requires minimal preparation time, making it an ideal choice for a fun family dinner or a spontaneous pizza night with friends.
Making homemade pizza dough is easy and satisfying, allowing you to craft the perfect crust for your favorite toppings.
To get started, you’ll need to gather your ingredients and set aside some time to let the dough rise. The process is straightforward: mix, knead, rise, and bake. As you work through the steps, you’ll find that the aroma of fresh dough and the anticipation of creating your own pizza are part of the joy of cooking. So, roll up your sleeves and get ready to make a mouthwatering homemade pizza!
Ingredients:
- 2 cups all-purpose flour
- 1 packet (2 ¼ teaspoons) active dry yeast
- ¾ cup warm water (about 110°F)
- 1 tablespoon olive oil
- 1 teaspoon sugar
- 1 teaspoon salt
To prepare the dough, start by combining the warm water, sugar, and yeast in a bowl. Allow it to sit for about 5-10 minutes until it becomes frothy. In a separate large bowl, mix together the flour and salt. Once the yeast mixture is ready, add it to the flour along with the olive oil. Stir until a dough forms, then turn it out onto a floured surface and knead for about 5-7 minutes until smooth and elastic. Place the dough in a greased bowl, cover it with a cloth, and let it rise in a warm area for about 1 hour, or until it has doubled in size.
When it comes to making pizza, here are a few tips to guarantee your dough turns out perfectly. Make certain your water is warm but not too hot, as it can kill the yeast if it’s too hot. If you’re short on time, you can let the dough rise in a warm oven (turned off) to speed up the process. Additionally, don’t be afraid to experiment with different types of flour, like bread flour or whole wheat flour, for varied texture and flavor. Finally, remember to preheat your oven to the highest setting before baking your pizza to achieve that ideal crispy crust. Enjoy your pizza-making adventure!
Cooking Steps
Now that we’ve got our ingredients ready, let’s jump into the cooking steps that’ll bring our pizza dough to life. I’ll guide you through mixing the warm water and yeast, gradually adding flour, and kneading until it’s perfectly smooth. With a little patience, we’ll let the dough rise and then shape it into balls, setting the stage for delicious homemade pizza.
Step 1. Mix Warm Water and Yeast
To kick off the dough-making process, I usually grab a bowl and mix together one cup of warm water with two teaspoons of active dry yeast. The key here is the water temperature; it should be between 100°F to 110°F to guarantee perfect yeast activation. Too hot, and you risk killing the yeast; too cool, and it won’t activate properly. I gently stir the mixture, watching as the yeast begins to dissolve and bubble, signaling that it’s waking up. This frothy layer is a sign that my dough will rise beautifully later. I often let it sit for about five minutes, allowing those tiny organisms to work their magic. It’s a simple yet vital step in creating a delicious pizza crust!
Step 2. Add Flour Gradually
As I prepare to add flour, I reach for about three cups of all-purpose flour, ready to transform that bubbling yeast mixture into a cohesive dough. I want to guarantee the dough consistency is just right, so I sprinkle the flour gradually, mixing it in gently. The texture starts to change, becoming smooth yet slightly tacky.
- Experiment with different flour types: bread, whole wheat, or gluten-free.
- Observe the dough consistency as you add flour—thicker for thick crust, thinner for a classic Neapolitan.
- Use a wooden spoon or dough hook for better incorporation.
- Don’t rush—allow the flour to absorb the moisture fully.
- Trust your instincts; each batch may need a slightly different approach.
This step is vital for a perfect pizza foundation!
Step 3. Knead Dough Until Smooth
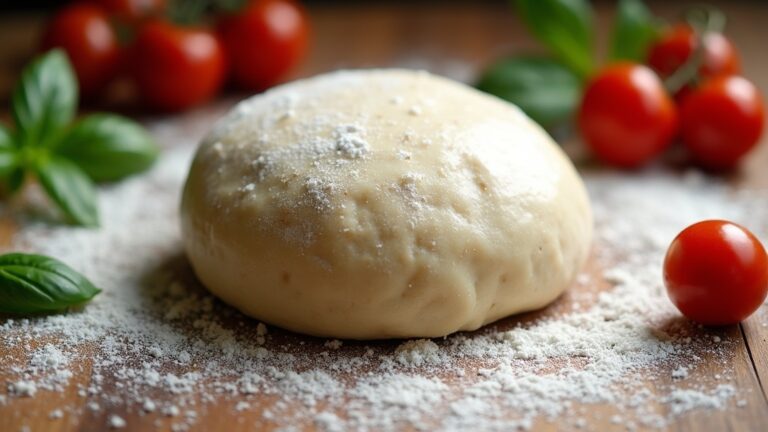
With determination, I begin to knead the dough, pressing and folding it on a lightly floured surface. Using various kneading techniques, I work the dough, feeling its texture shift beneath my hands. I focus on developing a silky, elastic consistency, which is essential for a perfect pizza crust. As I knead, I pay attention to the dough’s responsiveness; it should bounce back gently when pressed. If it feels sticky, I sprinkle a bit more flour, ensuring it remains manageable. I find joy in this tactile process, knowing that the effort I put in now will yield a deliciously chewy crust later. After about 8 to 10 minutes, the dough transforms into a smooth ball, ready for the next step.
Step 4. Let Dough Rise Until Doubled
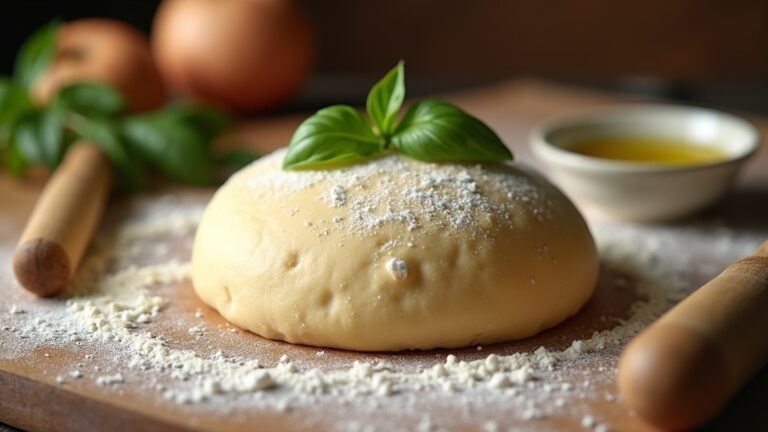
After kneading the dough to perfection, I place it in a lightly oiled bowl, covering it with a clean kitchen towel. This essential step allows for dough fermentation, where the yeast I’ve activated works its magic. I find that patience here is key; I let the dough rise until it’s doubled in size, creating a light and airy texture that’s perfect for pizza.
- Watch for bubbles forming on the surface.
- The dough should feel puffy and soft to the touch.
- A warm, draft-free area is ideal for rising.
- Timing can vary, but usually, it takes about an hour.
- Experiment with different fermentation times for unique flavors.
This process transforms simple ingredients into a delightful base for your pizza.
Step 5. Shape Dough Into Balls
Once the dough has risen and doubled in size, it’s time to shape it into balls. I begin by gently pressing down on the dough to release any air bubbles, allowing the dough texture to become smooth and pliable. Using my hands, I pinch off a portion of dough, rolling it into a ball between my palms. This shaping technique guarantees each piece is uniform, which helps them cook evenly. I can feel the elasticity as I work, and it’s satisfying to see those perfect little spheres form. Once I’ve shaped all the pieces, I place them on a floured surface, ready for the next stage. This step is essential for achieving that delightful crust we all crave!
Nutritional Guide
While enjoying a slice of homemade pizza, I often find myself curious about the nutritional aspects of the dough I just crafted. Understanding the calorie count and ingredient benefits helps me make healthier choices. Here’s a quick look at the basics of pizza dough nutrition:
| Nutrient | Amount per Serving |
|---|---|
| Calories | 150 |
| Protein | 5g |
| Fiber | 2g |
The flour provides essential carbohydrates that fuel my energy, while olive oil adds heart-healthy fats. Yeast, on the other hand, not only helps the dough rise but also offers B vitamins. Knowing these details enhances my pizza experience, transforming indulgence into a balanced choice. Enjoy your creation!
Final Thoughts
As I reflect on the process of making pizza dough, I realize how rewarding it is to create something delicious from scratch. The transformation of simple ingredients into a golden, bubbly crust is truly magical. To elevate your pizza-making experience, consider these cooking tips:
- Experiment with different flours for unique textures.
- Allow the dough to ferment longer for deeper flavors.
- Don’t be afraid to layer on bold pizza toppings—think outside the box!
- Preheat your oven to the highest setting for that perfect crisp.
- Use a pizza stone for professional-level results.
Embracing these techniques not only enhances your pizzas but also ignites a passion for culinary creativity. So, roll up your sleeves and let your imagination soar!
Frequently Asked Questions
Can I Use Whole Wheat Flour Instead of All-Purpose Flour?
I’ve often swapped in whole wheat flour for all-purpose flour. The health benefits are great, but I’ve noticed the texture changes—it’s denser and heartier. Still, it yields a deliciously unique twist I really enjoy!
How Long Can I Store Uncooked Pizza Dough?
I’ve found that I can store uncooked pizza dough in the fridge for about three days. For longer uncooked storage, freezing it extends the dough’s lifespan up to three months, ensuring freshness for my pizza nights!
What Temperature Should the Water Be for Activating Yeast?
When I activate yeast, I find that water temperature’s essential. It should be warm, around 100-110°F. Too hot, and you’ll kill it; too cold, and it won’t rise. Balance is key for success!
Can I Freeze the Pizza Dough for Later Use?
Absolutely, I love using freezing techniques to store dough! I shape it, wrap it tightly, and freeze. This way, I can pull it out later, letting it rise beautifully for my next pizza night.
What Toppings Pair Best With Homemade Pizza Dough?
When I craft homemade pizza, I love experimenting with cheese varieties like mozzarella and goat cheese, paired with vibrant vegetable options such as roasted peppers and fresh spinach. It always creates a delicious, mouthwatering experience!
Conclusion
In closing, crafting your own simple pizza dough can be a satisfying journey into the world of homemade delights. With just a handful of humble ingredients, you can create a crust that’s crisp, chewy, and utterly enchanting. So, whether you’re planning a pizza party or a cozy night in, embrace the art of dough-making and delight in the deliciousness that follows. Trust me, every bite brings bliss, and it’s a fantastic way to fuel your culinary creativity!
