Chicago Deep Dish Pizza Recipe
If you’re looking to whip up a Chicago deep dish pizza, I’ve got the perfect recipe for you! Start with a thick, buttery crust and layer in gooey mozzarella, savory sausage, and fresh veggies. Pour on some robust tomato sauce and season it just right. Bake until golden brown for that irresistible texture. It’s a hearty meal that embodies Chicago’s spirit. Keep going to discover the cooking steps and nutritional information you’ll want to know!
Contents
History
Although many people think of pizza as a quick, casual meal, the history of Chicago deep dish pizza reveals a rich culinary evolution that reflects the city’s diverse culture. Its origin story traces back to the 1940s when Italian immigrants sought a way to adapt their beloved recipes to American tastes. This innovative approach resulted in a thicker crust, layered with cheese, toppings, and a robust tomato sauce. Chicago deep dish quickly gained cultural significance, symbolizing the city’s hearty spirit and vibrant community. It’s more than just a meal; it’s a culinary landmark that captures the essence of Chicago itself. When I savor a slice, I taste the history, the passion, and the creativity that defines this unique pizza.
Recipe
Chicago deep dish pizza is a beloved classic that stands out for its thick, buttery crust and generous layers of cheese, meat, and vegetables. Originating in Chicago in the 1940s, this hearty pizza has become a staple that many crave. The key to a perfect deep dish is the balance of flavors and textures, and while it may seem intimidating, making it at home can be a rewarding experience that brings the taste of Chicago right to your kitchen.
To prepare this delicious meal, you’ll need to dedicate some time, as the crust needs to rise and the flavors meld together beautifully. The result is a pizza that is not just a meal but an experience, with each slice offering a gooey, cheesy center surrounded by a rich tomato sauce. Gather your ingredients and get ready to impress your family and friends with this iconic dish!
Ingredients:
- 2 1/4 cups all-purpose flour
- 1/2 cup cornmeal
- 1 teaspoon sugar
- 1 teaspoon salt
- 1/4 cup unsalted butter, melted
- 1 cup warm water (110°F)
- 2 1/4 teaspoons active dry yeast
- 1 tablespoon olive oil
- 2 cups shredded mozzarella cheese
- 1 cup Italian sausage, cooked and crumbled
- 1 cup sliced bell peppers
- 1 cup sliced mushrooms
- 1 can (28 ounces) crushed tomatoes
- 2 teaspoons dried oregano
- 1 teaspoon garlic powder
- Salt and pepper to taste
- Grated Parmesan cheese for topping
Cooking Instructions:
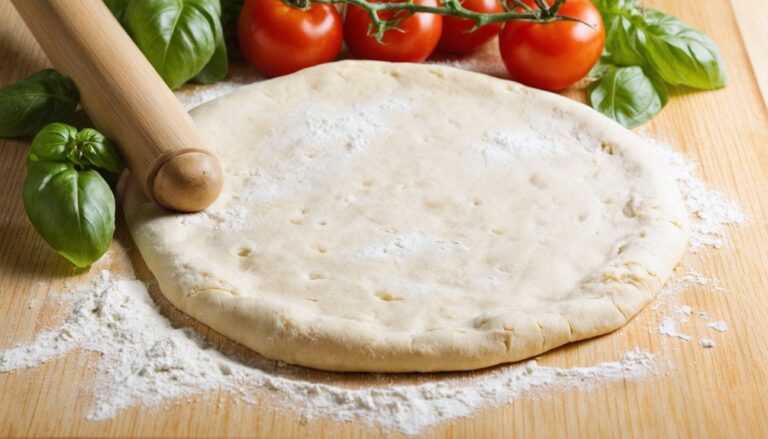
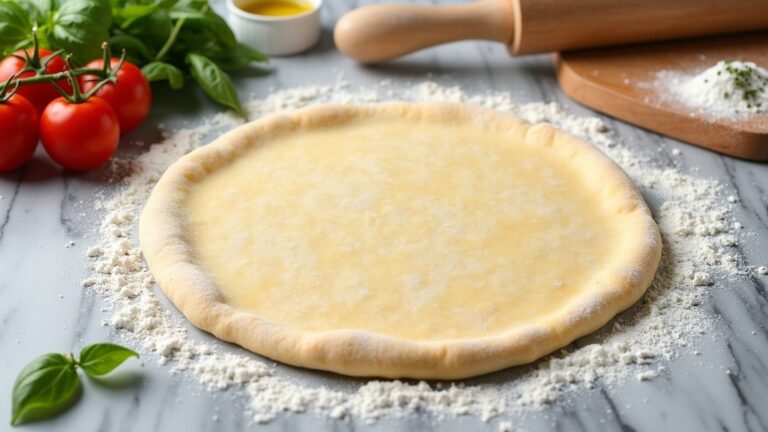
In a large mixing bowl, combine the flour, cornmeal, sugar, and salt. In another bowl, mix the warm water with the yeast and let it sit for about 5 minutes until frothy. Gradually add the yeast mixture and melted butter to the dry ingredients, stirring until a dough forms. Knead the dough on a floured surface for about 5 minutes until smooth. Place the dough in a greased bowl, cover it with a damp cloth, and let it rise in a warm place for about 1 hour or until doubled in size. Preheat the oven to 425°F. Once the dough has risen, roll it out and press it into a greased deep dish pizza pan, making sure to cover the sides. Layer the mozzarella cheese on the bottom, followed by the cooked sausage, peppers, and mushrooms. Pour the crushed tomatoes over the top and season with oregano, garlic powder, salt, and pepper. Bake for 30-35 minutes or until the crust is golden brown. Remove from the oven, sprinkle with Parmesan cheese, and let it cool for a few minutes before slicing and serving.
Extra Tips:
For the best results, make sure to let the dough rise in a warm environment; this helps create a light and fluffy crust. You can also experiment with different toppings based on your preference—pepperoni, olives, or even fresh basil can add unique flavors. When baking, keep an eye on the crust; if it browns too quickly, cover the edges with aluminum foil to prevent burning. Finally, allowing the pizza to cool slightly before cutting will help maintain the shape and prevent the cheese from sliding off. Enjoy your homemade Chicago deep dish pizza!
Cooking Steps
Now that we’ve gathered all our ingredients, let’s get cooking! I’ll walk you through each step, starting with preheating the oven to a sizzling 425°F. From layering the dough and sauce to adding your favorite toppings, I promise this process will be as fun as it is delicious!
Step 1. Preheat Oven to 425°F
Before diving into the delicious layers of a Chicago deep dish pizza, I always make sure to preheat my oven to a sizzling 425°F. This oven temperature is essential for achieving that perfectly crisp crust while ensuring the gooey cheese and toppings are cooked to perfection. I set my oven early, giving it ample time to reach the desired heat. A hot oven creates that delightful contrast between the crunchy outer layer and the soft, flavorful interior. Here’s a baking tip: invest in an oven thermometer to guarantee accuracy, as some ovens can be misleading. Once I hear that satisfying preheating beep, I know I’m just moments away from assembling a mouthwatering masterpiece. Let’s get cooking!
Step 2. Add Cheese and Toppings
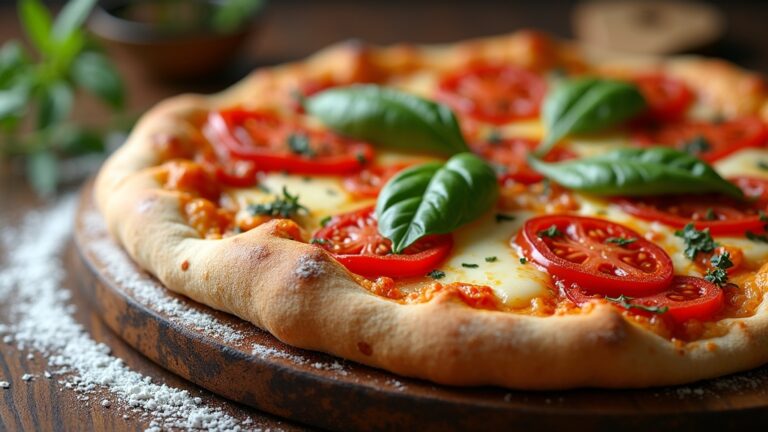
With the oven preheated and ready to go, it’s time to layer on the cheese and toppings that will make this deep dish pizza truly unforgettable. I start by choosing a mix of cheese varieties—mozzarella for that gooey texture, provolone for a hint of sharpness, and perhaps a sprinkle of parmesan for a savory finish. Next, I get creative with topping combinations. I might opt for classic pepperoni and green bell peppers, or venture into gourmet territory with roasted garlic and spinach. The key is to balance flavors and textures, ensuring each bite is a delight. Don’t shy away from experimenting; your deep dish should reflect your taste, so let your imagination run wild!
Step 3. Layer the Dough and Sauce
To create a solid foundation for my Chicago deep dish pizza, I start by carefully layering the dough and sauce. First, I press the dough into the deep dish, ensuring it climbs the sides for that iconic crust. The key to perfect dough layering is evenness; I use my fingers to smooth it out, preventing any thin spots. Next, I pour in a generous amount of sauce, making sure to cover every inch of the dough. This sauce distribution is essential—it needs to be thick enough to balance the toppings yet not so overwhelming that it drowns the crust. With each layer, I envision the harmony of flavors that will soon emerge, setting the stage for a truly innovative pizza experience.
Step 4. Bake for 30 Minutes
After layering the dough and sauce, I slide the pan into a preheated oven set to 425°F. As the pizza bakes, I can already smell the tantalizing aroma of melted cheese mingling with rich tomato sauce. I keep an eye on the timer, knowing that 30 minutes is the sweet spot for achieving that golden crust. If you prefer a crispier finish, consider making some timing adjustments by adding an extra 5 minutes. For baking tips, rotating the pan halfway through guarantees even cooking, especially if your oven has hot spots. Watching the edges bubble and brown is a delight, and I can hardly contain my excitement as I anticipate the deliciousness that’s about to emerge!
Step 5. Let Cool Before Slicing
Though the aroma of the freshly baked deep dish pizza might tempt you to slice it right away, letting it cool for about 10 to 15 minutes is crucial for achieving the perfect texture. During this pizza cooling period, the crust firms up, allowing you to execute a slice technique that guarantees each piece holds its shape. If you jump in too soon, you risk a soupy mess that won’t impress anyone. Patience is key here; as the steam escapes, the flavors meld beautifully, resulting in a harmonious bite. Trust me, your taste buds will thank you when you finally serve those perfect slices, boasting a crisp crust and gooey cheese. So, resist temptation and let that pizza rest!
Nutritional Guide
When diving into the world of Chicago deep dish pizza, one might wonder about its nutritional profile. Understanding the caloric content and ingredient benefits can elevate your culinary experience. Each slice brings a delightful mix of flavors and nutrients, but it’s important to enjoy it mindfully.
| Nutrient | Amount per Slice |
|---|---|
| Calories | 400 |
| Protein | 15g |
| Carbohydrates | 45g |
| Fat | 20g |
The cheese provides calcium, while the tomato sauce is rich in antioxidants. Whole grain crust options can enhance fiber content, making this indulgence a bit more balanced. So, savor every bite while appreciating what you’re fueling your body with!
Final Thoughts
As I reflect on the experience of making and enjoying Chicago deep dish pizza, I can’t help but appreciate its unique charm and satisfying flavors. This pizza isn’t just a meal; it’s an event, bringing friends and family together around the table. The thick, buttery crust cradles layers of gooey cheese, rich sauce, and whatever toppings you choose, inviting creativity. I love experimenting with pizza variations, like adding spicy sausage or fresh veggies for a twist. When it comes to serving suggestions, pair it with a crisp, green salad or a bold red wine to elevate the experience. Each bite is a celebration, reminding me that sometimes, the simplest joys bring the most satisfaction. Enjoy every slice!
Frequently Asked Questions
Can I Use Gluten-Free Flour for the Crust?
Absolutely, I’ve tried gluten-free options for the crust, and while the texture differs slightly, it can still be delightful. Experimenting with blends of gluten-free flours can lead to a surprisingly satisfying crust experience!
How Long Can I Store Leftover Deep Dish Pizza?
Back in the day, we’d just toss leftovers in the fridge. Now, I store my pizza in an airtight container for up to four days, ensuring maximum pizza freshness and delicious leftover storage. Enjoy every bite!
What’s the Best Cheese for Chicago Deep Dish?
When it comes to cheese, I love using fresh mozzarella for that gooey stretch. Mixing in provolone or Parmesan creates delightful cheese blends, elevating the flavor and texture of my deep dish experience. You won’t regret it!
Can I Make Deep Dish Pizza in Advance?
Absolutely, I often make deep dish pizza ahead. Just prepare it, freeze it before baking, and wrap it well. When you’re ready, pop it in the oven—deliciousness awaits with minimal effort!
What Toppings Are Traditional for Chicago Deep Dish Pizza?
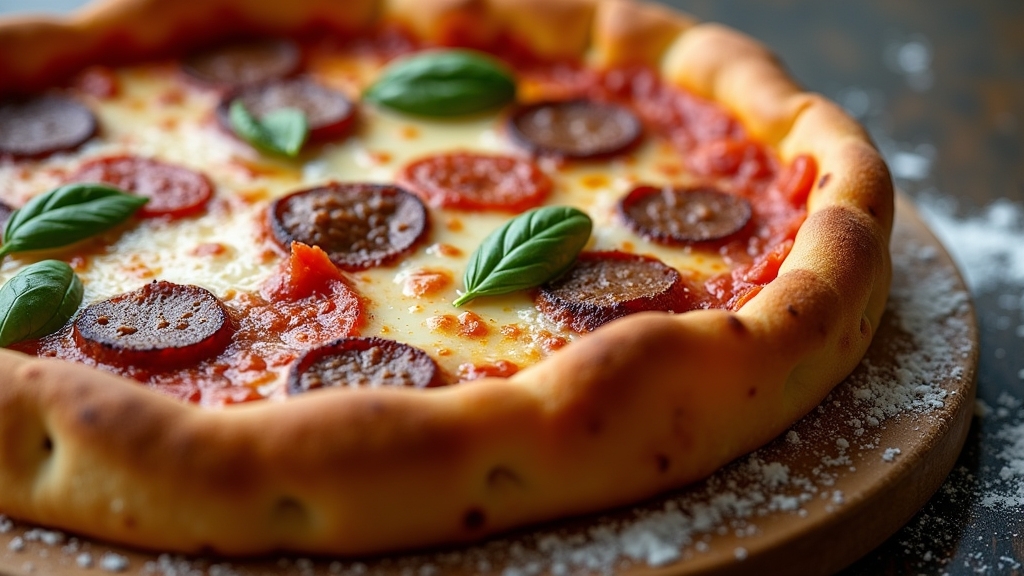
When I think of traditional Chicago deep dish, I picture a gooey layer of mozzarella topped with pepperoni options and vibrant veggie toppings like bell peppers and mushrooms. It’s a delicious, hearty experience that redefines pizza!
Conclusion
As I savor each bite of that rich, cheesy Chicago deep dish, I’m reminded that food is more than just sustenance; it’s a warm embrace of tradition and flavor. This pizza, with its flaky crust and vibrant layers, tells a story of the city’s heart and its people. So, roll up your sleeves, gather your loved ones, and let this recipe whisk you away to the Windy City, where every slice is a celebration of life and love.
