ballard cheese recipe
Making your own cheese at home might sound intimidating, but it’s a fun and rewarding process that allows you to craft a unique, delicious product. Ballard cheese, in particular, is a flavorful, semi-hard cheese that is perfect for beginners looking to expand their cheesemaking repertoire. This guide will walk you through the step-by-step process of making ballard cheese recipe, from gathering ingredients to the aging process.
Contents
- 1 What is Ballard Cheese?
- 2 Ingredients Needed for Ballard Cheese
- 3 Equipment You’ll Need
- 4 Choosing the Right Milk
- 5 Step-by-Step Process of Making Ballard Cheese
- 6 How Long Does It Take to Make Ballard Cheese?
- 7 Aging and Storing Ballard Cheese
- 8 Flavor Profile of Ballard Cheese
- 9 Troubleshooting Common Issues
- 10 Experimenting with Ballard Cheese
- 11 Conclusion
- 12 Frequently Asked Questions
What is Ballard Cheese?
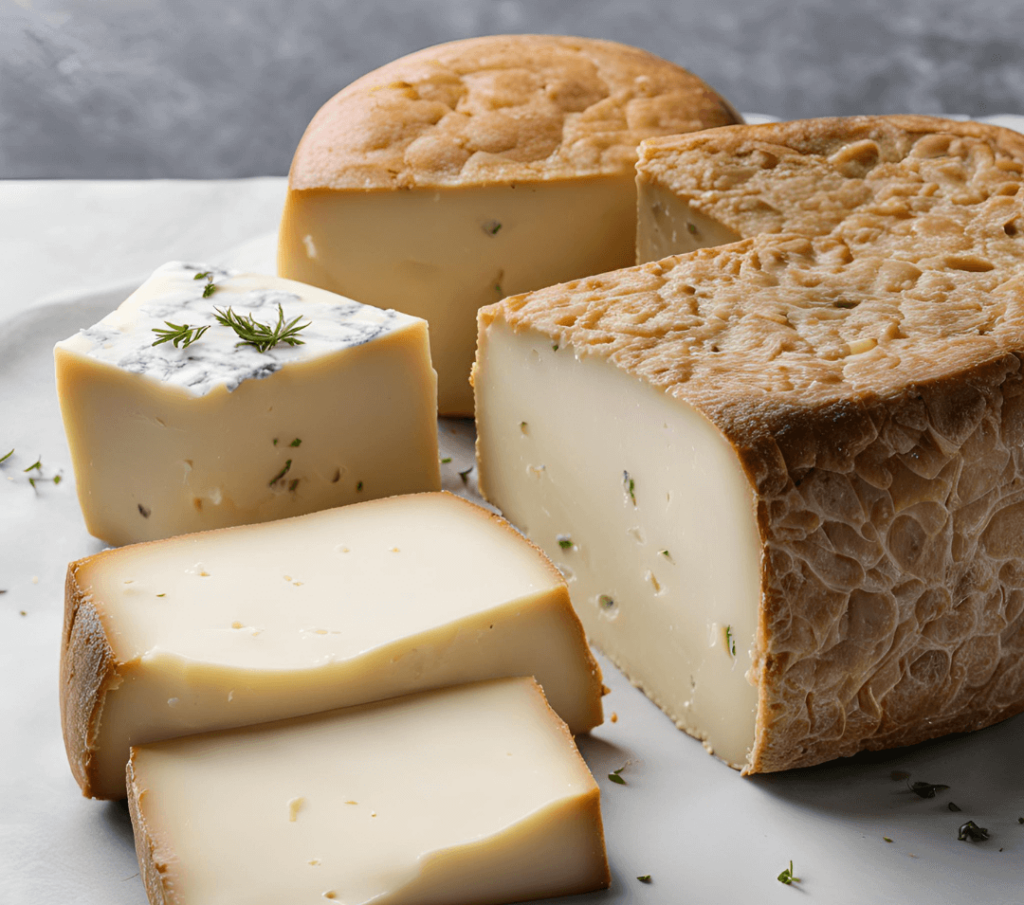
Ballard cheese is a semi-hard cheese known for its rich flavor and smooth texture. Traditionally, it was made using fresh, raw milk and aged to perfection, resulting in a tangy and complex cheese that pairs wonderfully with crackers, fruit, or wine. Though it’s less well-known than some other varieties, it is beloved by cheesemakers who appreciate its versatility and satisfying taste.
Ingredients Needed for Ballard Cheese
To make Ballard cheese, you will need the following ingredients:
- 2 gallons of whole milk (preferably raw, but pasteurized will work)
- Mesophilic starter culture (¼ tsp or 1 packet)
- Rennet (¼ tsp diluted in ¼ cup water)
- Calcium chloride (optional, ¼ tsp diluted in ¼ cup water, for pasteurized milk)
- Non-iodized salt (for salting the curds)
Equipment You’ll Need
- Cheese mold and press: For shaping and pressing the cheese.
- Thermometer: To monitor the temperature accurately.
- Cheesecloth: For draining the curds.
- Large pot: Stainless steel or enamel-coated, large enough for 2 gallons of milk.
- Long knife: For cutting the curds.
Choosing the Right Milk
The quality of milk you use will directly affect the quality of your cheese. Ideally, use raw, unpasteurized milk for the best flavor and texture. However, if raw milk is not available, whole pasteurized milk will also work. If you use pasteurized milk, you may need to add calcium chloride to help the milk coagulate properly.
Step-by-Step Process of Making Ballard Cheese
Step 1: Heating the Milk
Begin by pouring the 2 gallons of milk into your large pot. Slowly heat the milk to 86°F (30°C) over low to medium heat, stirring occasionally to ensure even heating. Use a thermometer to monitor the temperature closely, as overheating can impact the final texture of the cheese.
Step 2: Adding the Starter Culture
Once the milk reaches 86°F, sprinkle the mesophilic starter culture over the surface of the milk. Let it sit for about 2-3 minutes to rehydrate before gently stirring it into the milk. Cover the pot and let the milk incubate for about 45 minutes, keeping the temperature steady at 86°F. This will allow the culture to start acidifying the milk.
Step 3: Adding Rennet and Curd Formation
After incubation, add the diluted rennet (and calcium chloride if using) to the milk. Stir gently for 1 minute using an up-and-down motion to distribute the rennet evenly. Cover the pot again and let the milk sit undisturbed for 45 minutes to 1 hour, until a firm curd has formed. You’ll know the curd is ready when you can achieve a “clean break” — this means that when you insert a knife into the curd and lift it, the curd splits cleanly without excess liquid.
Step 4: Draining the Whey
Once the curd has set, use a long knife to cut the curd into small, even cubes (about ½-inch squares). Let the curds rest for 5 minutes. After resting, heat the curds slowly to 102°F (39°C) over 30 minutes, stirring gently to prevent them from matting. The curds will shrink as they release more whey.
When the curds reach the desired temperature, remove the pot from heat and let the curds settle for 5-10 minutes. Carefully drain the whey by pouring the curds into a colander lined with cheesecloth. Allow the whey to drain for about 10-15 minutes.
Step 5: Pressing the Cheese
Transfer the drained curds into your cheese mold lined with cheesecloth. Fold the cloth over the curds, then place the follower on top. Begin pressing the cheese with light pressure (about 10-15 lbs) for 15 minutes. After this initial pressing, remove the cheese from the mold, unwrap it, flip it over, rewrap it, and press again with medium pressure (20-25 lbs) for 12 hours.
Step 6: Salting and Aging
After pressing, carefully remove the cheese from the mold and unwrap it. Rub the cheese with salt, or brine it in a saltwater solution for a few hours, depending on your preference. Once salted, allow the cheese to air dry on a clean surface at room temperature for 1-2 days, turning it regularly to ensure even drying.
Once the cheese has dried, it’s time to age it. Place the cheese in a cool, humid environment (ideally around 55°F with 80% humidity) for at least 2 to 3 months. During the aging process, flip the cheese regularly and watch for any mold. If mold forms, wipe it off with a cloth dampened in saltwater or vinegar.
How Long Does It Take to Make Ballard Cheese?
The process of making Ballard cheese, from heating the milk to pressing the curds, takes about 4 to 6 hours, depending on the temperature and conditions. Aging, however, is where the real patience comes in—Ballard cheese should be aged for at least 2 to 3 months, though longer aging times will produce a more complex and robust flavor.
Aging and Storing Ballard Cheese
Proper aging is essential to developing the flavor and texture of Ballard cheese. Aging the cheese in a cool, humid environment ensures it matures without drying out. To store your cheese during aging, wrap it loosely in wax paper or cheese paper to allow it to breathe. After aging, store the cheese in the refrigerator, where it can last for several weeks to months.
Flavor Profile of Ballard Cheese
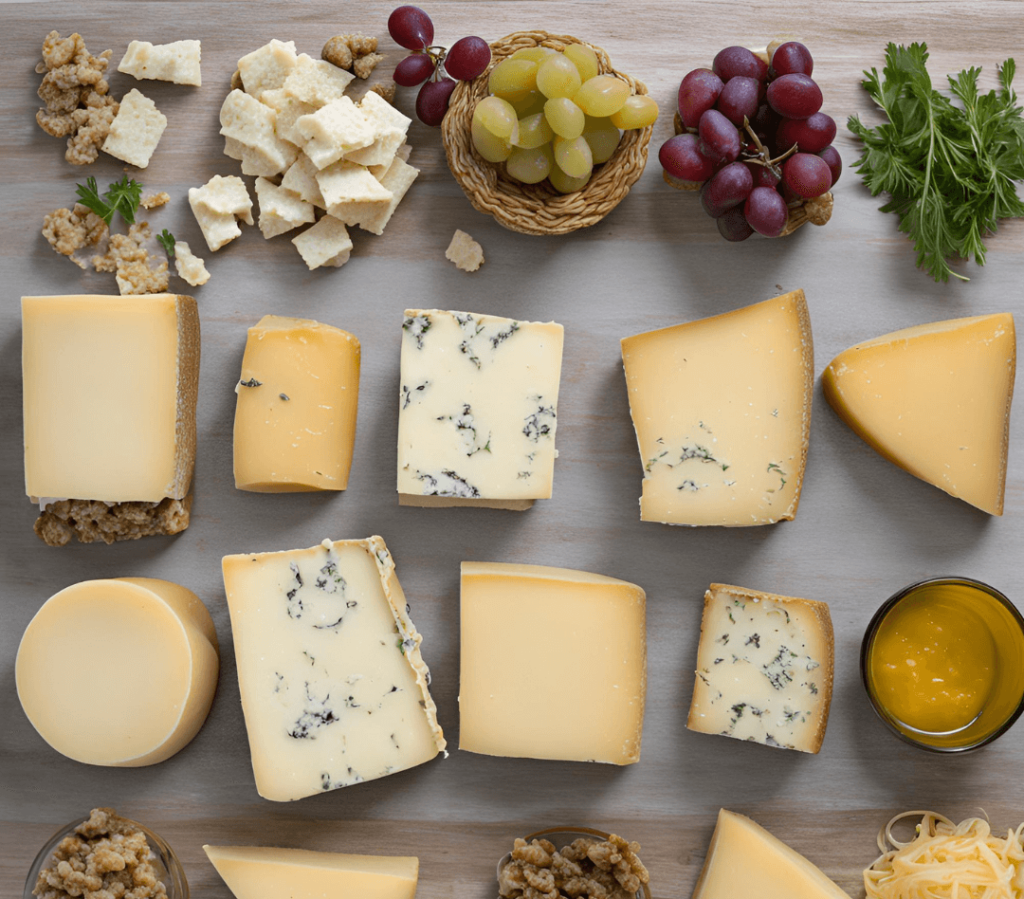
Ballard cheese has a creamy, semi-hard texture with a mild to tangy flavor depending on the aging period. When aged longer, the cheese develops a more intense, sharp taste and firmer texture. It pairs beautifully with fresh fruit, charcuterie, and wine, making it a versatile addition to any cheese board.
Troubleshooting Common Issues
- Curds Not Forming: Ensure your milk is at the correct temperature and that your rennet hasn’t expired. For pasteurized milk, add calcium chloride to improve curd formation.
- Cheese Too Dry: Increase the humidity during aging, or reduce the pressing time if the cheese feels too firm early on.
- Off-Flavors: These can result from contamination, so be sure all equipment is properly sanitized.
Experimenting with Ballard Cheese
Once you’ve mastered the basic recipe, try experimenting with flavors by adding herbs like rosemary or thyme, or spices like black pepper or paprika. You can also try aging the cheese for different periods to see how the flavor changes over time.
Conclusion
Making Ballard cheese at home is a satisfying process that yields delicious, artisanal results. By following the steps outlined above, you’ll create a unique and flavorful cheese that will impress your friends and family. So, grab your milk, rennet, and cheesecloth, and get started on your cheesemaking journey!
Frequently Asked Questions
Can I use store-bought milk for Ballard cheese?
Yes, but for the best results, use whole milk and consider adding calcium chloride if the milk is pasteurized.
How long should Ballard cheese age?
A minimum of 2-3 months is recommended, but for more complex flavors, you can age it for up to 6 months or more.
What is the best way to store homemade cheese?
Wrap the cheese in wax paper or cheese paper during aging and store it in the refrigerator after aging is complete.
Can I freeze Ballard cheese?
Freezing can alter the texture, but it’s possible. If you choose to freeze it, wrap it tightly and thaw slowly in the refrigerator.
What’s the difference between Ballard cheese and other cheeses?
Ballard cheese is semi-hard with a distinct, mild-to-tangy flavor, depending on how long it’s aged. It stands out for its smooth texture and subtle richness.


