Best Bread Recipe
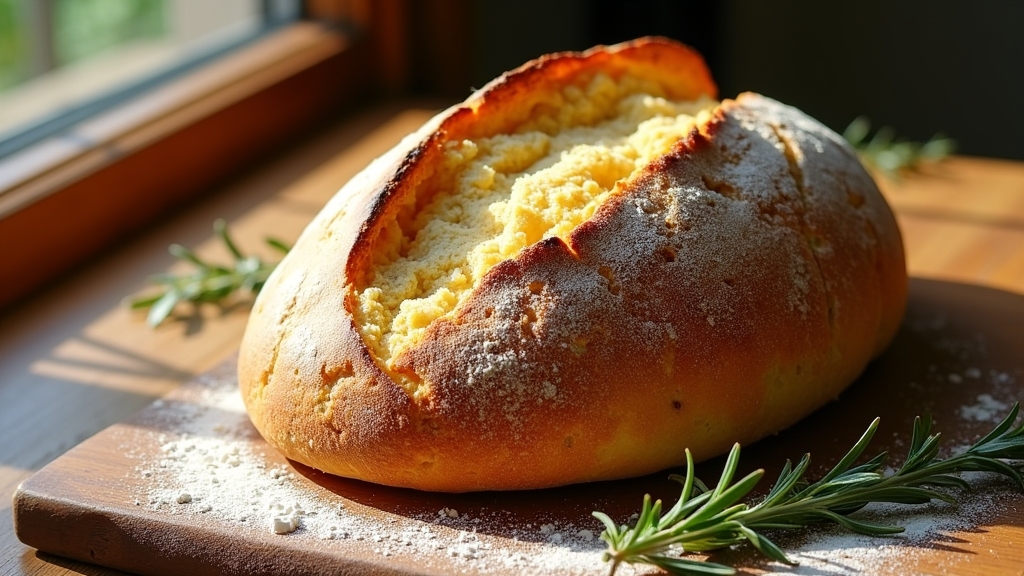
I’ve found the best bread recipe that’s easy and delicious, perfect for any skill level. With just 4 cups of flour, salt, sugar, active dry yeast, and warm water, you can create a soft, flavorful loaf. I love that the process involves mixing, kneading, and letting the dough rise, resulting in a beautiful crust. Plus, experimenting with different flours can add unique flavors! Stick around, and I’ll share more insights about the baking journey and its delights.
Contents
History
When I think about the history of bread, it’s fascinating to realize that this staple has been around for over 14,000 years. Ancient grains like spelt and emmer were once the foundation of our diets, shaping not just meals but entire cultures. Bread has always carried deep symbolism; it represents life, sustenance, and community. In many societies, sharing bread signifies unity and trust, a ritual passed down through generations. As I explore innovative baking methods today, I can’t help but appreciate how these ancient grains are making a comeback, fueling a modern desire for healthier, more authentic options. Each loaf I create connects me to our ancestors, bridging the past with the present in a deliciously meaningful way.
Recipe
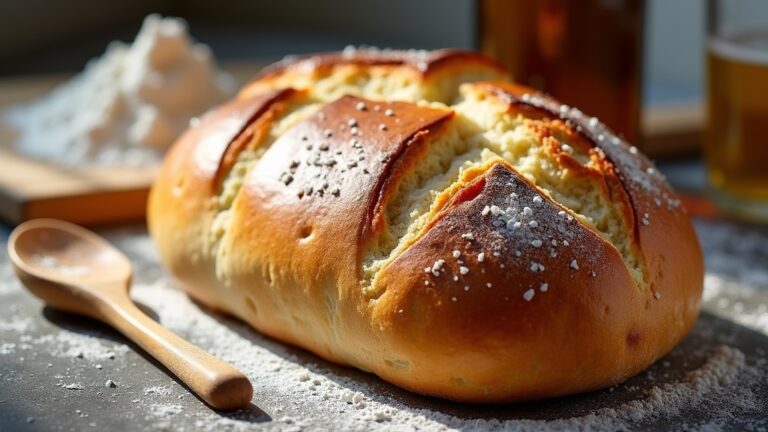
Baking bread at home is a rewarding experience that fills your kitchen with the comforting aroma of freshly baked goods. This recipe is perfect for beginners and seasoned bakers alike, as it requires minimal ingredients yet yields a delicious loaf with a beautiful crust and soft interior. Whether you’re looking to enjoy it with breakfast, as a sandwich base, or simply with butter, this bread recipe will not disappoint.
The process of making bread involves mixing, kneading, and allowing the dough to rise before baking it to perfection. With just a few simple steps, you can create a loaf that is not only tasty but also boasts a delightful texture. So, roll up your sleeves, grab your apron, and get ready to bake some bread that will impress your family and friends!
Ingredients:
- 4 cups all-purpose flour
- 2 teaspoons salt
- 2 teaspoons sugar
- 1 packet (2 1/4 teaspoons) active dry yeast
- 1 ½ cups warm water (about 110°F)
- 2 tablespoons olive oil (optional)
Instructions:
In a large mixing bowl, combine the warm water, sugar, and yeast. Let it sit for about 5-10 minutes until it becomes frothy. Next, add the flour and salt (and olive oil if using) to the yeast mixture, stirring until a rough dough forms. Turn the dough onto a floured surface and knead for about 8-10 minutes until it is smooth and elastic. Place the dough in a greased bowl, cover it with a damp cloth, and let it rise in a warm place for about 1 hour or until it doubles in size. Once risen, punch the dough down gently, shape it into a loaf, and place it in a greased loaf pan. Allow it to rise again for about 30 minutes while you preheat your oven to 375°F (190°C). Bake for 25-30 minutes until the bread is golden brown and sounds hollow when tapped on the bottom. Let it cool before slicing.
Extra Tips:
For best results, make sure your ingredients are at room temperature before you begin. The water should be warm but not hot, as too high a temperature can kill the yeast. If you have a kitchen thermometer, aim for around 110°F. Additionally, you can add herbs, seeds, or nuts to the dough for extra flavor and texture. Finally, storing your bread in a paper bag at room temperature will help maintain its crust, while plastic can soften it. Enjoy your homemade bread fresh or toasted!
Cooking Steps
Now that we have our ingredients ready, let’s jump into the cooking steps that will transform them into delicious bread. I’ll guide you through mixing the dry ingredients, kneading the dough, and ensuring it rises perfectly. Each step is essential for achieving that perfect loaf, so let’s get started!
Step 1. Gather All Ingredients
Before diving into the delightful process of making homemade bread, I always guarantee I’ve gathered all the necessary ingredients. I find that measuring ingredients accurately is essential for success; it sets the foundation for that perfect loaf. I lay out my flour, yeast, salt, and water, ensuring everything’s fresh and ready. If I’m feeling adventurous, I sometimes explore ingredient substitutions—using whole wheat flour instead of all-purpose or adding herbs for a twist. This not only sparks creativity but also allows me to cater to dietary needs. With my ingredients at hand, I feel empowered and excited to transform these simple components into something utterly satisfying. So, let’s get started on this aromatic journey together!
Step 2. Mix Dry Ingredients Thoroughly
One of the key steps in achieving a perfect loaf is mixing the dry ingredients thoroughly. I always start by combining flour, yeast, salt, and any other dry elements in a large bowl. Using innovative mixing techniques, I whisk the ingredients together to guarantee an even distribution. This step is vital because the right ingredient ratios can make or break your bread. If the yeast doesn’t mingle well with the flour, it might not rise properly. I love to use a fork or a whisk, as they help aerate the mixture, promoting a lighter texture. Once I see a uniform blend, I know I’m ready to move on to the next exciting phase of bread making.
Step 3. Knead Dough Until Smooth
With my dry ingredients thoroughly mixed, it’s time to knead the dough until it’s smooth and elastic. This step is essential for achieving the perfect dough consistency. Here are some effective kneading techniques I use:
- Push and Fold: Use the heel of your hand to push the dough away from you, then fold it back over itself.
- Rotate: Every few pushes, rotate the dough a quarter turn to guarantee even kneading.
- Add Flour Sparingly: If the dough sticks, sprinkle a little flour, but don’t overdo it—too much flour can dry it out.
- Feel for Texture: The dough should be slightly tacky but not sticky, and it should spring back when poked.
Knead until you achieve that perfect elasticity!
Step 4. Let Dough Rise Properly
Now that your dough is kneaded to perfection, it’s essential to let it rise properly for the best results. This stage is all about dough fermentation, where the yeast activates and works its magic. I like to find a warm, draft-free spot for the dough to rise—this really enhances the yeast’s activity. Cover it with a damp cloth to keep moisture in, allowing it to double in size, which usually takes about one to two hours. Keep an eye on it; the dough should feel light and airy to the touch. This process not only develops flavor but also creates that lovely texture we crave in bread. Embrace this step, and you’ll be well on your way to bread perfection!
Step 5. Shape the Dough Evenly
Shaping the dough evenly is essential for achieving uniform texture and an appealing rise in your bread. When I first started baking, I discovered that mastering dough shaping techniques opened up a world of possibilities. Here’s how I guarantee even dough distribution:
- Pre-shape: I gently flatten the dough to release excess air, creating a rough shape.
- Bench rest: Letting it rest for about 15 minutes helps relax the gluten, making it easier to shape.
- Final shaping: Using my hands, I shape the dough into a tight ball, folding in the edges for consistency.
- Tension: I create surface tension by pulling the dough towards me, guaranteeing a lovely rise.
With practice, these techniques will elevate your bread-baking game!
Nutritional Guide
Understanding the nutritional aspects of bread can enhance not just your baking experience, but also your overall health. When I explore the nutritional benefits of various bread ingredients, I’m always excited to discover innovative ingredient alternatives that can cater to different dietary needs.
Here’s a quick reference table to help you grasp the nutritional profile of common ingredients:
| Ingredient | Nutritional Benefit |
|---|---|
| Whole Wheat Flour | High in fiber, aids digestion |
| Almond Flour | Low carb, rich in healthy fats |
| Oats | Heart-healthy, lowers cholesterol |
Final Thoughts
As I reflect on the journey of baking bread, it’s clear that the process is as rewarding as the end result. Each loaf tells a story, blending creativity with skill. Here are some baking tips and flavor variations that have transformed my experience:
Baking bread is a rewarding journey where each loaf combines creativity and skill, telling its own unique story.
- Experiment with different flours—whole wheat, rye, or even gluten-free options can elevate your bread.
- Infuse your dough with herbs, spices, or seeds for unique flavor profiles.
- Don’t shy away from adding sweeteners like honey or malt to achieve a rich taste.
- Master the art of fermentation; longer proofing times can enhance depth and complexity.
Embrace these tips, and you’ll discover that each baking session is an opportunity for innovation and delight. Happy baking!
Frequently Asked Questions
Can I Substitute All-Purpose Flour With Whole Wheat Flour?
I often substitute whole wheat flour for all-purpose flour. Whole wheat benefits include added fiber and nutrients, though the texture might be denser. Experimenting with ratios can yield unique, delicious results that surprise your taste buds!
What Is the Best Way to Store Homemade Bread?
When I store homemade bread, I wrap it in a clean kitchen towel or use a paper bag. This keeps the bread freshness intact while allowing it to breathe, enhancing its delightful texture and flavor.
How Can I Tell if My Bread Has Risen Enough?
“Good things come to those who wait!” To tell if my bread’s risen enough, I gently poke the dough. If it springs back slowly, it’s ready. I consider both the texture and rising time for the perfect loaf!
Can I Freeze Bread After Baking?
Absolutely, I freeze bread after baking! For freezing tips, wrap it tightly in plastic. When you’re ready, use thawing methods like leaving it at room temperature or toasting, ensuring it stays deliciously fresh.
What Tools Do I Need for Bread-Making?
When it comes to bread-making, you can’t make an omelet without breaking a few eggs. I’ve found a sturdy mixer, thermometer for dough temperature, and a bench scraper essential for mastering kneading techniques.
Conclusion
As I wrap up this journey into the world of bread-making, I hope you’re inspired to roll up your sleeves and give it a go. There’s nothing quite like the smell of freshly baked bread wafting through your home—it’s like a warm hug for your senses. So, don’t hesitate to knead, shape, and bake your way to deliciousness. Trust me, once you start, you won’t want to loaf around anymore! Happy baking!
