Best Pizza Dough Recipe
I’ve perfected a pizza dough recipe that’s simple yet packs incredible flavor and texture. Using just flour, water, yeast, salt, and a splash of olive oil, the key lies in kneading until the dough is smooth and elastic. Let it rise for a couple of hours in a warm spot, and you’ll achieve that perfect crispy outside and soft inside. Trust me; once you try this, you’ll want to reveal even more pizza-making tips and tricks.
Contents
History
When I think about the history of pizza dough, I’m often amazed at how this simple mixture of flour, water, yeast, and salt has traveled through time and cultures. The pizza’s origins can be traced back to ancient civilizations, where flatbreads became a canvas for toppings. As it spread, regional variations emerged—think Neapolitan’s airy crust versus New York’s foldable slices. Each culture added its twist, reflecting local ingredients and traditions. In Italy, pizza became a revered dish, while in the United States, it evolved into a beloved staple, with unique styles like Chicago deep-dish. It’s fascinating how pizza dough has adapted, embodying culinary innovation while maintaining its humble roots. Each bite tells a story of history, culture, and creativity.
Recipe
Making the perfect pizza dough at home can transform your pizza night into a gourmet experience. With just a few simple ingredients and some patience, you can create a crust that is crispy on the outside and soft on the inside, ready to hold all your favorite toppings. This recipe will guide you through the process of making a classic pizza dough that can be used for various styles, whether you prefer thin and crispy or thick and chewy.
Transform your pizza night into a gourmet experience with homemade dough that’s crispy outside and soft inside, perfect for any toppings.
Before you begin, it is crucial to verify that your ingredients are at room temperature, as this helps with the activation of the yeast. The key to a great pizza dough is allowing it to rise properly, so plan for some waiting time. With this easy-to-follow recipe, you’ll impress your friends and family with homemade pizza that rivals your favorite pizzeria.
Ingredients:
- 2 cups all-purpose flour
- 1 cup warm water (about 110°F)
- 1 packet (2¼ teaspoons) active dry yeast
- 1 teaspoon sugar
- 1 teaspoon salt
- 1 tablespoon olive oil
- Extra flour for dusting
Instructions:
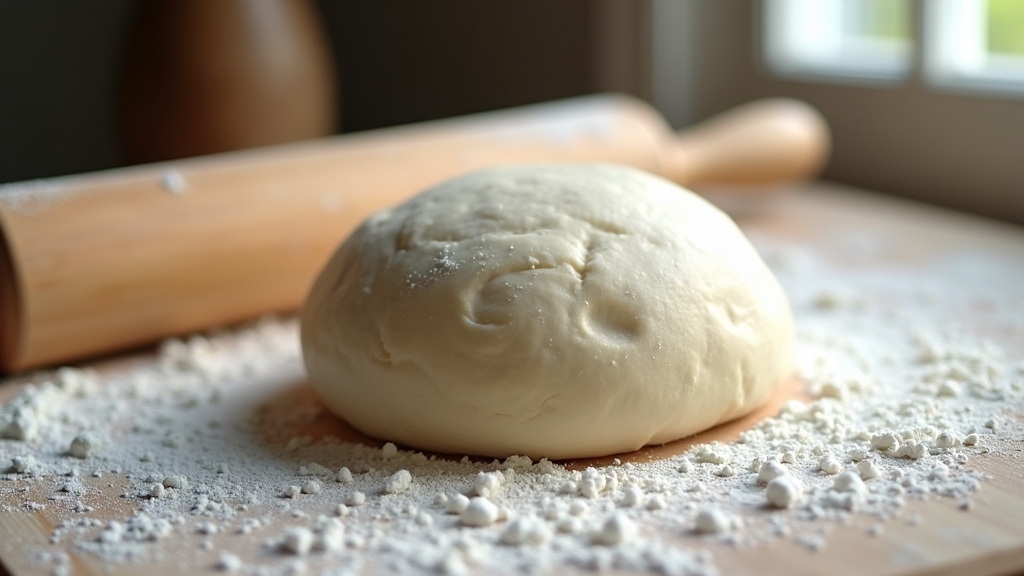
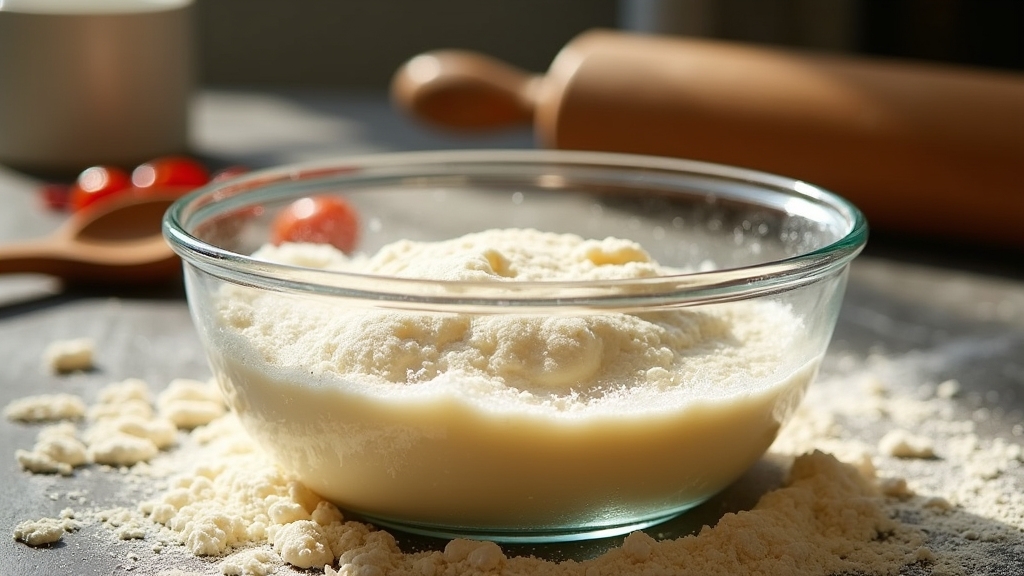
In a mixing bowl, combine the warm water, sugar, and yeast, stirring gently until dissolved. Let it sit for about 5-10 minutes until it becomes frothy, indicating that the yeast is active. In a separate bowl, mix the flour and salt. Once the yeast mixture is ready, add it to the flour along with the olive oil. Stir until the dough begins to come together, then knead on a floured surface for about 5-7 minutes, until the dough is smooth and elastic. Place the dough in a lightly oiled bowl, cover it with a damp cloth or plastic wrap, and let it rise in a warm spot for about 1-2 hours, or until it has doubled in size.
Extra Tips:
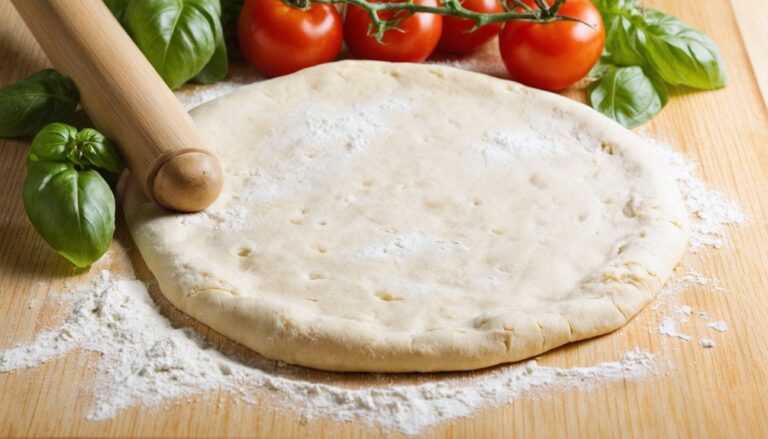
For best results, make sure to knead the dough thoroughly to develop gluten, which helps create a better texture. If you have time, consider letting the dough rise in the refrigerator overnight; this can enhance the flavor. When rolling out the dough, use flour liberally to prevent sticking, and remember that it is okay to stretch it by hand for a more rustic look. Finally, preheat your oven with a pizza stone inside for a crispy crust, and don’t forget to experiment with different toppings for a personalized pizza experience!
Cooking Steps
Now that we have our ingredients ready, let’s get into the cooking steps that’ll bring our pizza dough to life. I’ll guide you through measuring the flour, adding the yeast mixture, and kneading the dough until it feels just right. With a little patience, we’ll let it rise properly before shaping it into perfect balls, ready for your favorite toppings.
Step 1. Measure Flour Accurately
Accurate flour measurement is essential for achieving the perfect pizza dough, and I’ve found that using a kitchen scale is the best way to go. By weighing my flour, I avoid the inconsistencies that can arise from measuring cups, which can lead to a dough that’s too dry or too sticky. For my pizza, I typically use all-purpose flour, but sometimes I mix in bread flour for added chewiness. Understanding different flour types and their properties helps me innovate with my recipes. When measuring, I gently spoon the flour into the bowl, leveling it off for precision. These measuring techniques not only elevate my dough but also enhance the overall pizza experience, making each slice a delightful treat.
Step 2. Add Yeast Mixture
To create that perfect pizza dough, the next step is to add the yeast mixture, which brings the dough to life. I’ve prepped my yeast by dissolving it in warm water with a pinch of sugar. This activates the yeast, setting the stage for a delightful fermentation process. Once it’s bubbly and fragrant, I gently pour it into my flour mixture. As I combine them, I can almost feel the excitement—the yeast is ready to work its magic. This is where flavor develops, and the dough begins to rise. The fermentation not only enhances the taste, but it also adds that airy texture we all crave in a great pizza crust. Trust me, this step is essential for an innovative pizza experience!
Step 3. Knead Dough Until Smooth
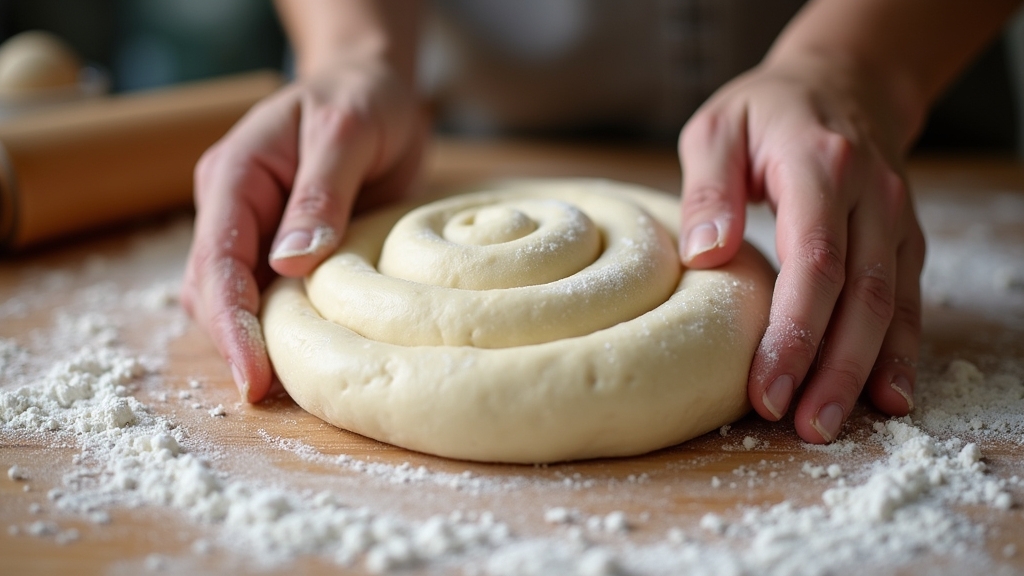
With the yeast mixture incorporated, it’s time to knead the dough until it’s smooth and elastic. This vital step transforms your ingredients into a cohesive masterpiece. I like to use a few essential kneading techniques to achieve the perfect dough consistency:
- Push: Firmly press the dough away from you with the heel of your hand.
- Fold: Bring the dough back towards you, folding it in half.
- Turn: Rotate the dough a quarter turn, repeating the push and fold motions.
- Repeat: Continue this rhythmic process for about 8-10 minutes.
As you knead, you’ll feel the dough transform beneath your hands—becoming soft, pliable, and ready for the next step in our pizza journey.
Step 4. Let Dough Rise Properly
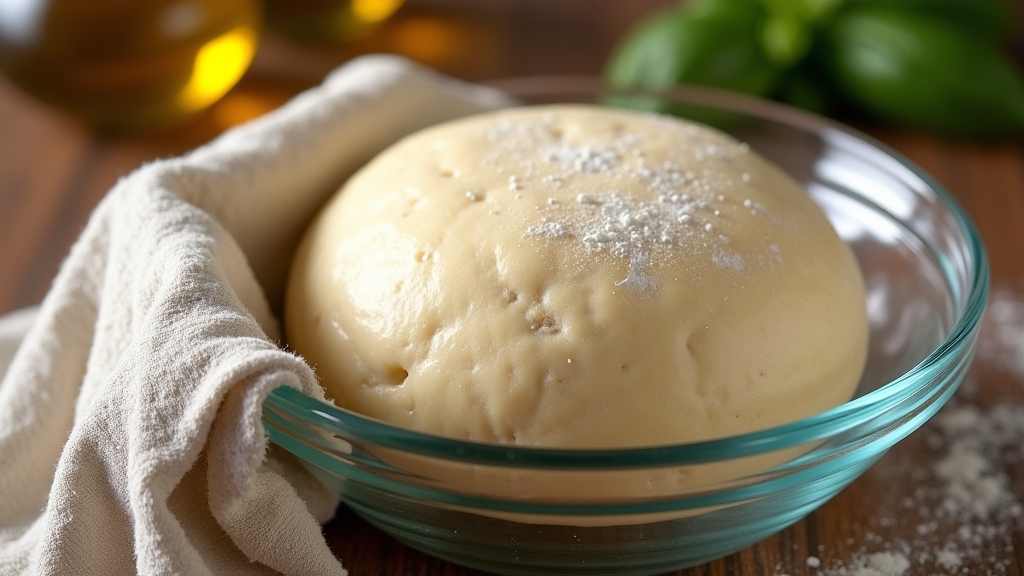
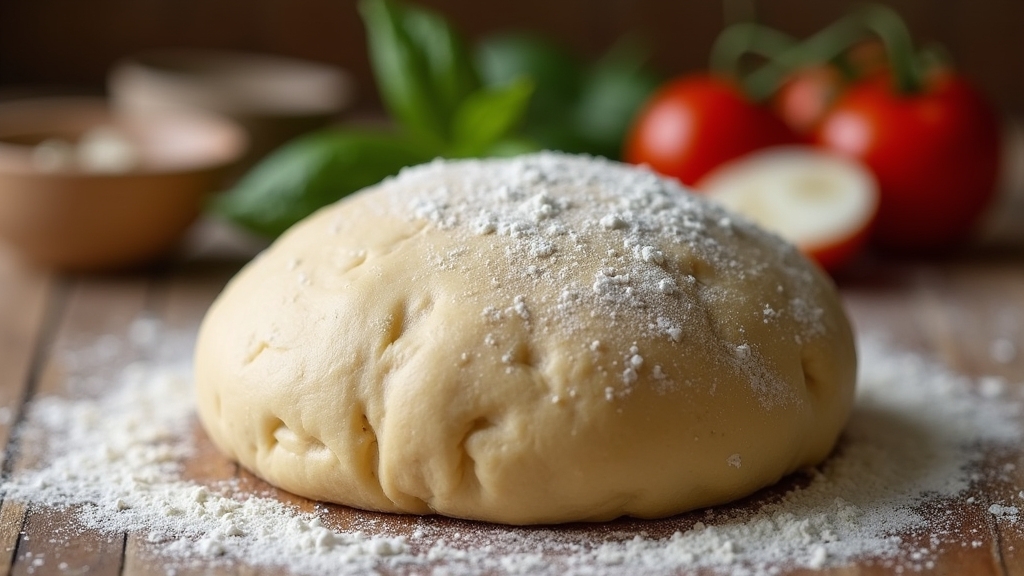
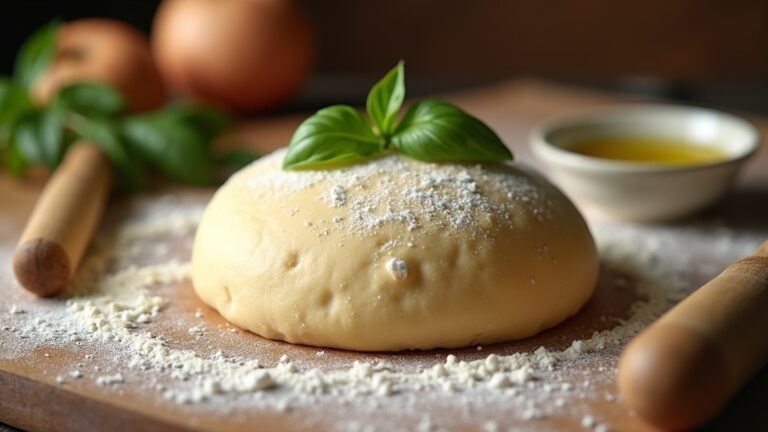
Once I’ve kneaded the dough to a silky texture, letting it rise is essential for achieving that airy, fluffy crust we all crave. I always aim for a dough temperature between 75°F and 80°F, as this range encourages ideal yeast activity. After placing it in a lightly greased bowl, I cover it with a damp cloth to retain moisture. This is where the magic happens; I let it rise for about 1 to 2 hours, depending on the ambient temperature. During this fermentation time, the dough expands and develops flavor, transforming from a simple mixture into something extraordinary. It’s a process I find rewarding, knowing that a little patience now leads to pizza perfection later.
Step 5. Shape Dough Into Balls
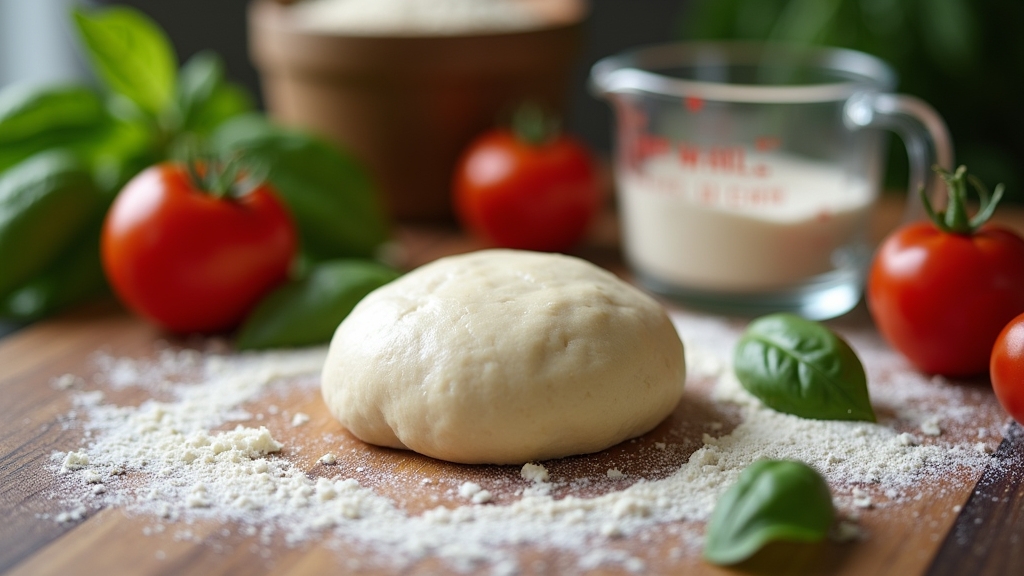
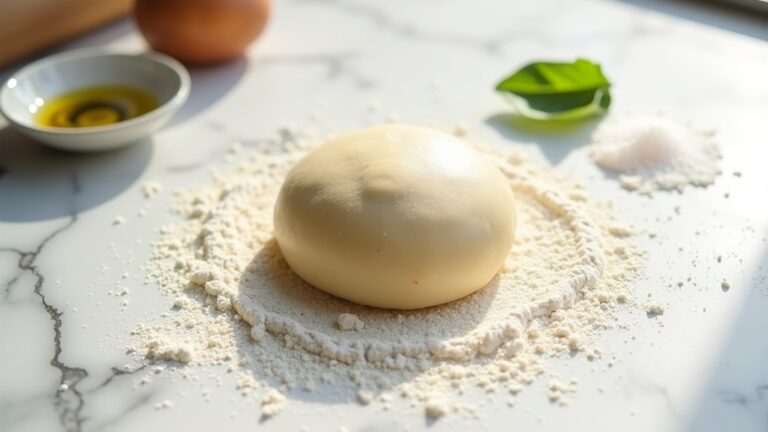
Shaping the dough into balls is an essential step that sets the foundation for your pizza’s final form. I’ve found that achieving the right dough consistency is vital for a great outcome. Here’s how I do it:
- Divide the dough into equal portions, typically around 250 grams each for personal pizzas.
- Gently stretch each piece into a round shape, tucking the edges towards the center.
- Roll the ball in your palms, applying gentle pressure to create a smooth surface.
- Rest the shaped balls on a floured surface, allowing them to relax for about 30 minutes.
Nutritional Guide
As I explore the nutritional aspects of pizza dough, it’s clear that understanding its components can elevate your culinary experience. By diving into the nutritional benefits, I’m excited to show you how pizza dough can be both tasty and nutritious. Let’s look at a calorie comparison between traditional and whole wheat dough.
| Dough Type | Calories per 100g |
|---|---|
| Traditional Dough | 250 |
| Whole Wheat Dough | 240 |
| Cauliflower Dough | 100 |
| Gluten-Free Dough | 280 |
As you can see, whole wheat and cauliflower options provide lower calorie counts while offering additional fiber and nutrients. This knowledge lets you innovate in the kitchen, creating a pizza that’s not just delicious but also health-conscious.
Final Thoughts
While crafting the perfect pizza dough might seem challenging, the journey is truly rewarding. With a bit of practice, you can elevate your pizza nights into unforgettable culinary experiences. Remember these key elements for success:
- Kneading Technique: A proper knead creates that sought-after elasticity.
- Fermentation Time: Allowing the dough to rest enhances flavor and texture.
- Dough Storage: Store your dough in an airtight container for up to three days or freeze it for future use.
- Innovative Pizza Toppings: Don’t shy away from experimenting—think gourmet cheeses, fresh herbs, or even seasonal veggies.
Frequently Asked Questions
Can I Use Whole Wheat Flour Instead of All-Purpose Flour?
I’ve used whole wheat flour before, and it adds great nutrition. While the dough texture might be denser, the benefits of fiber and flavor make it a deliciously innovative choice for healthier baking.
How Do I Store Leftover Pizza Dough?
When I store leftover pizza dough, I wrap it tightly in plastic wrap and place it in an airtight container. This guarantees ideal dough preservation, keeping it fresh for my next pizza adventure.
Can I Freeze Pizza Dough for Later Use?
Absolutely, I freeze pizza dough for later use! I wrap it tightly in plastic, then in foil to preserve its dough texture. Various freezing methods work wonders, ensuring I always have delicious dough on hand.
What Tools Do I Need for Making Pizza Dough?
To make great pizza dough, I always grab essential kitchen tools like a mixing bowl, a wooden spoon, and a rolling pin. Mastering dough kneading techniques guarantees a perfect texture for my delicious creations!
How Long Can I Let the Dough Rise?
Watching dough rise is like witnessing a tiny universe expand. I’ve found that letting it ferment for 1 to 2 hours works wonders, giving flavors time to develop, resulting in a truly delightful texture.
Conclusion
As I pull the golden-brown pizza from the oven, the aroma envelops me, teasing my senses with promises of cheesy delight. Each slice reveals a perfectly chewy crust, crackling under the gentle pressure of my fingers. I can hardly wait to take that first bite, where flavors dance on my tongue, igniting a blissful symphony of taste. So, why settle for mediocre when you can create magic in your kitchen? Grab that dough and let your pizza dreams unfold!
