Best Vanilla Cake Recipe
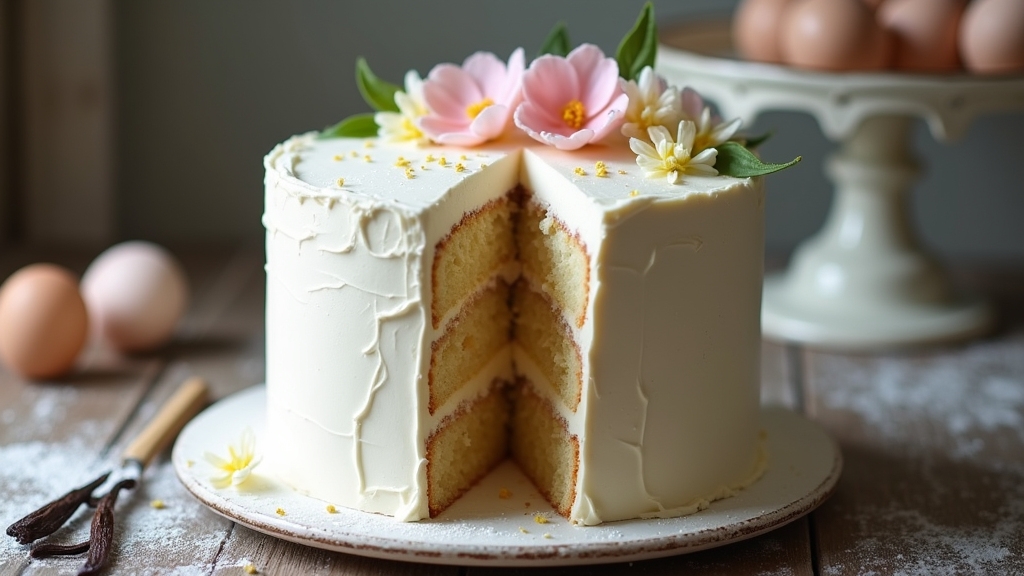
I’ve perfected my vanilla cake recipe to create a light, fluffy masterpiece that’s bursting with rich vanilla flavor. You’ll mix basic ingredients like flour, sugar, eggs, and butter, gradually adding milk and vanilla extract to achieve a smooth batter. Bake it until golden, and watch it rise beautifully in the oven. The aroma alone will leave you longing for a slice. Stick around, and I’ll share tips and variations to elevate your baking experience even further!
Contents
History
When I think about the history of vanilla cake, I can’t help but marvel at how its evolution reflects the rich tapestry of culinary traditions. The cake’s origins trace back to ancient civilizations, where sweet baked goods emerged from simple grains and honey. Over time, as explorers brought back exotic vanilla varieties from tropical regions, a new depth of flavor began to tantalize taste buds. The combination of light, fluffy cake with the warm, aromatic notes of vanilla soon became a staple in households. I find it fascinating how this dessert transformed from a luxury item to a beloved classic, capturing the essence of creativity in baking. Vanilla cake continues to inspire innovation, inviting bakers to experiment with unique flavors and techniques.
Recipe
Vanilla cake is a timeless classic that brings warmth and joy to any occasion. Whether you’re celebrating a birthday, hosting a gathering, or simply indulging your sweet tooth, this cake is a delightful choice. Its light, fluffy texture combined with the rich flavor of vanilla makes it a favorite among cake lovers. This recipe is easy to follow, and with a few simple ingredients, you can create a scrumptious vanilla cake that will impress your family and friends.
To achieve the perfect vanilla cake, the key is to use high-quality ingredients and take your time during the mixing process. Creaming the butter and sugar together until light and fluffy is essential for incorporating air into the batter, which contributes to the cake’s rise. Additionally, make certain to measure your ingredients accurately and bake the cake in a preheated oven for even cooking. With these tips in mind, you’re just a few steps away from enjoying a delicious slice of homemade vanilla cake.
Achieve the perfect vanilla cake by using quality ingredients, creaming butter and sugar well, and measuring accurately. Enjoy a delightful homemade treat!
Ingredients:
- 2 ½ cups all-purpose flour
- 1 ½ cups granulated sugar
- 1 cup unsalted butter, softened
- 1 cup milk
- 4 large eggs
- 1 tablespoon vanilla extract
- 2 ½ teaspoons baking powder
- ½ teaspoon salt
Instructions:
Preheat your oven to 350°F (175°C) and grease and flour two 9-inch round cake pans. In a large mixing bowl, cream together the softened butter and sugar until light and fluffy. Add the eggs one at a time, mixing well after each addition. Stir in the vanilla extract. In a separate bowl, whisk together the flour, baking powder, and salt. Gradually add the dry ingredients to the wet mixture, alternating with the milk, starting and ending with the flour mixture. Mix until just combined, being careful not to overmix. Divide the batter evenly between the prepared pans and bake for 25-30 minutes, or until a toothpick inserted into the center comes out clean. Let the cakes cool in the pans for 10 minutes before transferring them to a wire rack to cool completely.
Extra Tips:
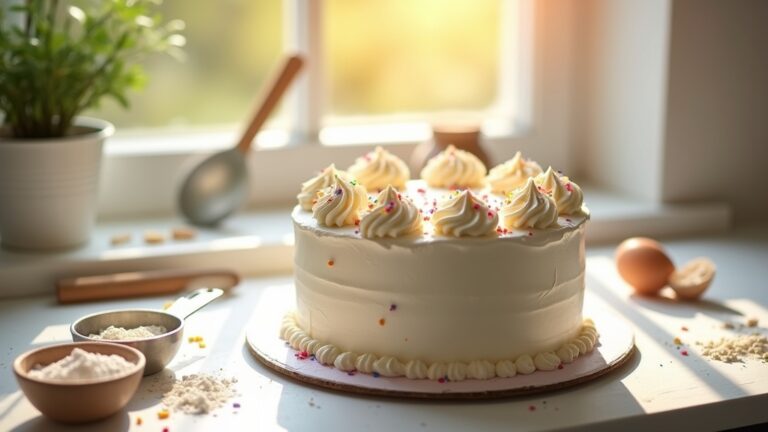
For a more intense vanilla flavor, consider using vanilla bean paste or adding a few seeds from a vanilla pod to the batter. If you want to elevate your vanilla cake, try adding a simple vanilla buttercream frosting or a drizzle of chocolate ganache on top. Always verify your ingredients are at room temperature before starting for better emulsification. Finally, if you’re looking to customize your cake, feel free to fold in some chocolate chips or berries for extra flavor and texture. Enjoy your baking!
Cooking Steps
Let’s get started on creating that perfect vanilla cake! First, I’ll preheat my oven to get it nice and warm, setting the stage for a delightful bake. Then, I’ll mix the dry ingredients thoroughly to guarantee every bite is bursting with flavor.
Step 1. Preheat Your Oven
Before diving into mixing ingredients, I always make certain to preheat my oven to 350°F (175°C). This step is essential; it guarantees the oven reaches the perfect temperature for that ideal rise and texture in my vanilla cake. I love the anticipation as the oven warms up, filling the kitchen with a cozy atmosphere. While it heats, I can gather my ingredients and organize my workspace, making the process feel seamless. Getting the oven temperature just right greatly impacts baking time, so I never skip this step. Trust me, starting at the right temperature sets the stage for a perfectly baked cake, light and fluffy, ready to impress. Let’s get that oven humming!
Step 2. Mix Dry Ingredients Thoroughly
As I sift through the dry ingredients, I can already envision the fluffy texture of my cake. First, I measure the sugar with precision, ensuring every grain is accounted for, as it’s essential for the perfect sweetness. Next, I carefully sift the flour, letting it cascade through the sieve like soft snow, breaking up any clumps and aerating it for that lightness we crave. I add a pinch of salt and a whisper of baking powder, blending them seamlessly into a harmonious mixture. This step isn’t just about combining ingredients; it’s about creating a foundation for my cake’s success. By mixing thoroughly, I’m setting the stage for a delightful rise and an irresistible crumb that’ll make every bite a celebration of vanilla bliss.
Step 3. Add Wet Ingredients Gradually
With the dry ingredients perfectly blended, it’s time to introduce the wet elements that will bring the cake to life. I start by measuring my wet ingredient ratios precisely, ensuring that each element harmonizes beautifully. Pour in the milk, followed by the eggs and vanilla extract, letting the aroma fill the air. I prefer to add these ingredients gradually, which allows for smooth, consistent mixing. As I incorporate each addition, I whisk gently, avoiding any lumps that could disrupt the cake’s velvety texture. This gradual mixing technique not only creates a cohesive batter but also enhances the overall flavor profile. Trust me, taking your time here is key to achieving that delightful, moist vanilla cake we all crave!
Step 4. Fold in the Batter
Gently folding in the batter transforms your mixture into a cohesive masterpiece. I like to use a rubber spatula, which allows me to lift and turn the ingredients with ease. As I incorporate the dry ingredients, I watch the batter texture evolve, becoming smooth and inviting. It’s essential to respect the ingredient ratios; over-mixing can lead to a dense cake instead of the airy delight we crave. I take my time, ensuring each fold blends the elements without deflating the precious air I’ve created. The batter should feel light yet substantial, a perfect balance that promises a delectable outcome. With each gentle motion, I can almost taste the fluffy vanilla cloud waiting to emerge from the oven.
Step 5. Bake for 30 Minutes
Now that the batter is perfectly folded and ready, it’s time to bring it to life in the oven. Preheat your oven to 350°F (175°C) and pour the batter into a greased cake pan, smoothing the top for even baking. As I slide it into the oven, I can’t help but anticipate the aroma that will soon fill my kitchen. Set a timer for 30 minutes, but don’t walk away just yet! Keep an eye on it—this is one of my favorite baking tips. When the edges pull away from the pan and a toothpick inserted comes out clean, you’ll know you’ve achieved that perfect cake texture. Patience pays off, and soon you’ll have a masterpiece!
Nutritional Guide
As I explore the nutritional guide for this vanilla cake, it’s important to reflect on how each ingredient contributes to the overall health of this delightful treat. Understanding the caloric content and ingredient benefits helps me appreciate this cake even more.
| Ingredient | Benefits |
|---|---|
| All-purpose flour | Provides carbohydrates for energy |
| Sugar | Adds sweetness, but moderation is key |
| Eggs | Packed with protein and healthy fats |
| Butter | Contributes richness and essential vitamins |
This cake balances indulgence with nutritional considerations. While it’s a treat, I can enjoy it knowing that the ingredients bring some beneficial aspects to the table. Remember, moderation is everything, and savoring each bite makes it all worthwhile!
Final Thoughts
Reflecting on the nutritional guide, I find that this vanilla cake is more than just a sweet indulgence; it’s a celebration of flavors and textures. It’s a canvas for creativity in the kitchen, and with a few baking tips, you can elevate your experience. Here are some flavor variations to explore:
- Add almond extract for a nutty twist.
- Incorporate citrus zest for a revitalizing zing.
- Mix in vanilla bean seeds for richer flavor.
- Swirl in fruit purees for a fruity surprise.
- Experiment with spices like cinnamon or cardamom.
Each bite offers endless possibilities, reminding us that baking is an art. So, go ahead, release your creativity, and enjoy the journey of making this delightful vanilla cake!
Frequently Asked Questions
Can I Substitute Butter With Oil in This Recipe?
I’ve tried substituting butter with oil, and while you lose that rich butter flavor, the oil gives a delightful texture. It’s a fun twist, though I prefer sticking to butter for traditional recipes.
How Can I Make the Cake Gluten-Free?
To make the cake gluten-free, I use gluten-free flour combined with baking powder. This blend creates a light, fluffy texture that’s just as delightful. Trust me, it’s a delicious alternative you won’t regret trying!
What Type of Vanilla Extract Is Best to Use?
I always opt for pure vanilla extract; its rich, complex flavor elevates any dish. When choosing, I focus on extract quality, ensuring it’s made from real beans, not synthetic alternatives. You won’t regret this choice!
How Do I Store Leftover Vanilla Cake?
When I store leftover vanilla cake, I wrap it tightly in plastic wrap and place it in an airtight container. These cake preservation tips help maintain freshness, while refrigeration methods keep it delicious for days.
Can I Use This Recipe for Cupcakes?
Absolutely, I’ve used this recipe for cupcake baking before! They turned out fluffy and delicious. Don’t forget to experiment with fun frosting options to elevate your cupcakes—think chocolate ganache or zesty lemon buttercream!
Conclusion
As I close the chapter on this vanilla cake journey, I can’t help but picture a warm, golden sun casting its light on a field of blooming flowers. Each slice of cake, like a petal, unfolds layers of sweetness and joy, inviting you to savor every moment. Just as the sun nurtures the blooms, this recipe nurtures connection and celebration. So, let your oven be the sun, and let your kitchen fill with laughter and love, one slice at a time.
