Bread Crumbs Recipe
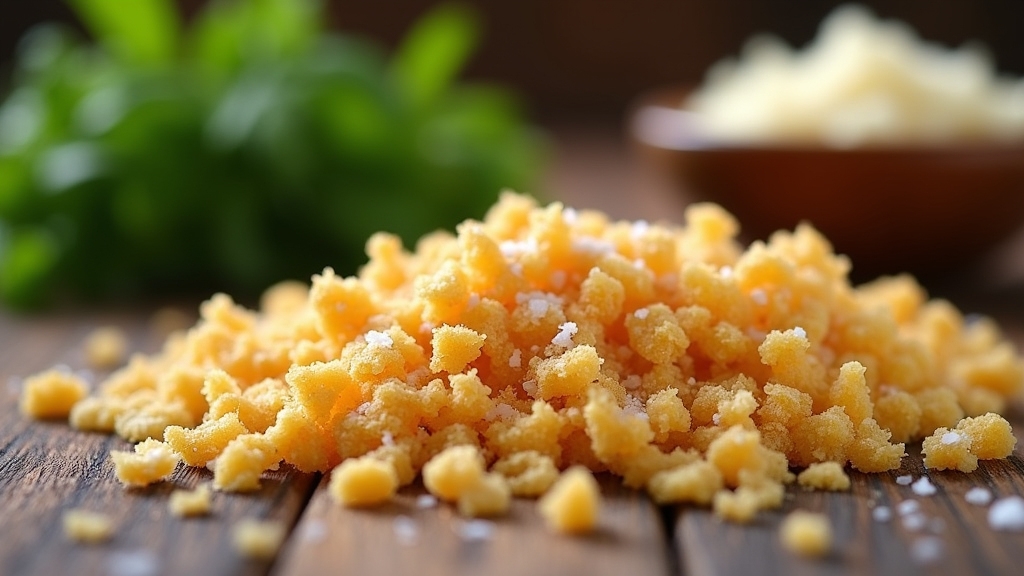
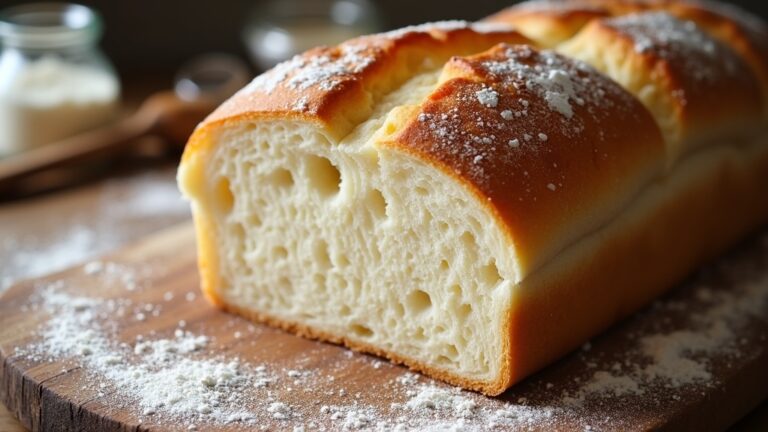
I love making homemade bread crumbs from leftover bread. I first gather my favorite types, like stale artisanal or whole wheat. I tear them into small pieces, then season with herbs or spices. A quick toast in the oven gives them a nice crunch. Finally, I blend the pieces until I achieve the perfect crumbly texture. This not only reduces waste but also adds outstanding flavor to my dishes. There’s so much more you can do with them!
Contents
History
When I think about the history of bread crumbs, I can’t help but marvel at their evolution from simple kitchen scraps to a culinary staple. Their ancient origins can be traced back to early civilizations, where cooks would dry leftover bread to avoid waste. This ingenious practice transformed discarded loaves into versatile ingredients. Today, bread crumbs serve numerous culinary uses, from creating crispy coatings for fried foods to adding texture in savory dishes. As I explore modern innovations, I see unique flavors infused into bread crumbs, such as herbs and spices, pushing the boundaries of traditional recipes. It’s fascinating how something so humble has become a canvas for creativity, proving that even the simplest elements can inspire culinary masterpieces.
Recipe
Bread crumbs are a versatile ingredient that can elevate many dishes, from pasta to casseroles and even as a crispy coating for fried foods. Making your own bread crumbs at home is not only simple but also allows you to control the texture and flavor, ensuring they are fresh and tailored to your culinary needs. Whether you have leftover bread or just wish to add a homemade touch to your meals, this recipe will guide you through the process of creating delicious bread crumbs.
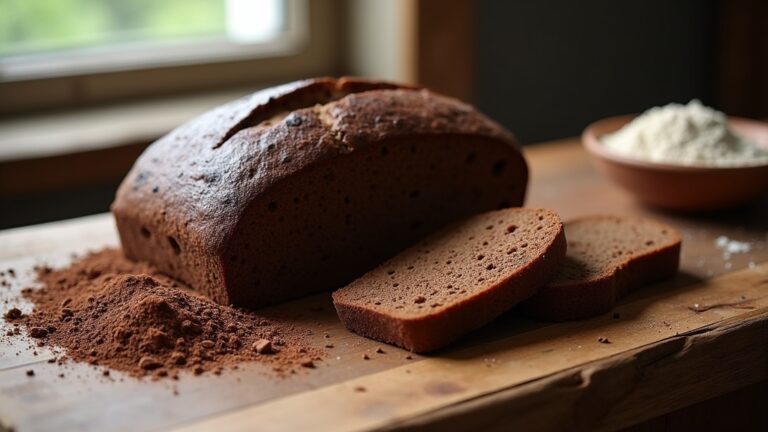
To start, gather your favorite type of bread—white, whole wheat, or even stale artisan bread works perfectly. The key is to dry out the bread first, which can be done by toasting it in the oven or leaving it out for a few hours. Once dried, the bread can be processed into fine or coarse crumbs, depending on your preference and intended use. Homemade bread crumbs are not only economical but also a great way to reduce food waste in your kitchen.
Ingredients:
- 4 slices of bread (any variety)
- Optional seasonings (garlic powder, Italian herbs, salt, pepper)
Cooking Instructions:
Preheat your oven to 300°F (150°C). Cut the bread into small cubes and spread them evenly on a baking sheet. Bake for about 10-15 minutes, or until the cubes are dry and lightly golden, stirring halfway through to promote even drying. Once cooled, place the bread cubes in a food processor and pulse until you achieve the desired crumb size. If you want to add flavor, mix in your chosen seasonings during this step. Store the bread crumbs in an airtight container for up to two weeks.
Extra Tips:
When making bread crumbs, feel free to experiment with different types of bread for unique flavors. You can also add grated cheese or fresh herbs to the crumbs for an extra layer of taste. If you have a food dehydrator, you can use it instead of the oven for more controlled drying. Additionally, if you’re using stale bread, there’s no need to bake it—just process it directly into crumbs. For long-term storage, consider freezing the bread crumbs to maintain their freshness.
Cooking Steps
Let’s get started on making those delicious bread crumbs! First, I gather fresh bread slices, tearing them into small pieces that will soak up all the flavor. Then, I’ll season those bits with my favorite herbs and spices before toasting them to perfection.
Step 1. Gather Fresh Bread Slices
As I prepare to make delicious bread crumbs, the first step is to gather fresh bread slices. Choosing the right types of bread can elevate my breadcrumbs from simple to sensational. I love to experiment with different slice types, as each brings a unique flavor profile to my dish. Here are my favorites:
- Sourdough: Its tangy flavor adds depth and character.
- Whole Wheat: Nutty and wholesome, perfect for a health boost.
- Baguette: Crunchy and airy, ideal for a light and crispy texture.
I make sure to pick bread that’s not too stale, ensuring my crumbs will be crumbly yet cohesive. This foundational step sets the stage for creating the perfect topping for my dishes!
Step 2. Tear Bread Into Small Pieces
After selecting my favorite bread slices, the next step is to tear them into small pieces. I love experimenting with different bread types—like rustic sourdough or fluffy brioche—as each brings a unique flavor and crust texture to my breadcrumbs. I start by gripping a slice firmly, then pull it apart with my hands, letting the pieces fall into a bowl. The satisfying crunch of the crust gives way to softer insides, creating a delightful contrast. I aim for various sizes, from tiny crumbs to larger chunks, ensuring a perfect blend for any dish. This method not only enhances the flavor profile but also adds an artisanal touch to my cooking. It’s a creative process that transforms simple bread into something extraordinary!
Step 3. Season With Herbs and Spices
To elevate the flavor of my bread crumbs, I love to season them with a mix of herbs and spices. The right herb blends and spice combinations can transform simple crumbs into a culinary masterpiece. Here are my go-to additions:
- Italian Seasoning: A classic blend of basil, oregano, and thyme adds depth.
- Smoked Paprika: This brings a warm, smoky flavor that’s simply irresistible.
- Garlic Powder: A touch of garlic elevates the savory profile, making every bite delicious.
I find that experimenting with different combinations can lead to delightful surprises. Whether I’m preparing a casserole or coating meat, these flavors not only enhance the dish but also make cooking an adventurous experience. Don’t be afraid to get creative!
Step 4. Toast Bread Pieces Lightly
I like to start by lightly toasting the bread pieces to achieve a perfect crunch and a golden hue. Choosing the right bread types can elevate the flavor; I often use rustic sourdough or whole grain for a deeper taste. As I toast, I pay attention to the nuances of different toast varieties—each offers a unique texture and aroma. A medium heat works wonders, allowing the bread to crisp without burning. I turn the pieces halfway through to guarantee even browning, creating a delightful contrast between the crunchy exterior and the softer inside. This step is essential, as it enhances the overall experience of my homemade breadcrumbs, setting a solid foundation for their future culinary adventures.
Step 5. Blend Until Crumbly Texture
Blending the toasted bread pieces is the next essential step in creating those perfect breadcrumbs. I love watching as the transformation happens, from sturdy slices to a delightful crumb texture! Here are some blending techniques I recommend to achieve the ultimate consistency:
- Pulse Gradually: Start with short pulses to control the size of the crumbs.
- Check Consistency: Pause to inspect; you want a fine texture but not powdery.
- Avoid Over-Blending: Too much blending can create a dough-like mass instead of airy crumbs.
Once you’ve got that ideal crumb texture, your breadcrumbs are ready to elevate any dish. Whether for coatings or toppings, this simple yet innovative process makes all the difference! Happy blending!
Nutritional Guide
While you might think of bread crumbs as just a simple addition to your meals, they actually pack a surprising nutritional punch. Not only do they add texture and flavor, but they also come with various health benefits that can enhance your diet. When considering dietary considerations, it’s essential to choose whole grain or gluten-free options if you want to boost fiber intake or cater to specific dietary needs.
Here’s a quick overview of their nutritional profile:
| Nutrient | Amount per 100g |
|---|---|
| Calories | 350 |
| Protein | 13g |
| Fiber | 4g |
| Carbohydrates | 70g |
| Fat | 4g |
Incorporating bread crumbs wisely into your meals can really elevate your culinary game!
Final Thoughts
When it comes to enhancing your dishes, bread crumbs offer more than just added texture; they can truly elevate your culinary creations. Their culinary versatility allows us to innovate and experiment, transforming simple recipes into gourmet experiences. Plus, by incorporating leftover bread into our cooking, we’re embracing sustainability practices that benefit both our kitchens and the environment.
Here are a few final thoughts to reflect on:
Consider these final insights: explore various bread types, personalize with seasonings, and add crunch to casseroles with bread crumbs.
- Use different types of bread for unique flavors and textures.
- Experiment with seasonings to personalize your bread crumbs.
- Try using them as a topping for casseroles or baked dishes for extra crunch.
Frequently Asked Questions
Can I Use Gluten-Free Bread for Breadcrumbs?
Absolutely, I’ve used gluten-free bread for breadcrumbs before! Just keep in mind the texture differences; gluten-free options can be coarser, but they work wonderfully in various dishes while still delivering that satisfying crunch.
How Do I Store Homemade Breadcrumbs?
When I store homemade breadcrumbs, I prefer airtight containers to keep them fresh. For extra crunch, I recommend adding a silica gel packet. Storing tips like this guarantee my breadcrumbs stay flavorful for longer!
Can I Freeze Breadcrumbs for Later Use?
Absolutely, I freeze breadcrumbs for later use! I recommend using airtight containers or freezer bags. Label them with dates, and they’ll stay fresh. This method guarantees I always have breadcrumbs ready for my culinary adventures!
What Types of Bread Work Best for Breadcrumbs?
When I make breadcrumbs, I love using sourdough varieties for their tangy flavor and whole grain bread for added texture. Each type elevates my dishes, bringing a delightful twist to classic recipes that keeps things exciting!
How Can I Add Flavor to My Breadcrumbs?
I’ve discovered that herb infusions and spice blends can transform ordinary breadcrumbs into extraordinary toppings. By experimenting with various combinations, I’ve found unique flavors that elevate my dishes, making each bite a delightful experience.
Conclusion
As I reflect on my journey with bread crumbs, it’s fascinating to realize that over 1.5 billion loaves of bread are baked in the U.S. each year, a treasure trove of potential crumbs waiting to be transformed. These tiny morsels can elevate a dish from ordinary to extraordinary, adding texture and flavor. So, the next time you whip up a batch, remember: every crumb tells a story, and your kitchen is the perfect stage for its delicious debut.
