Bread Flour Recipe
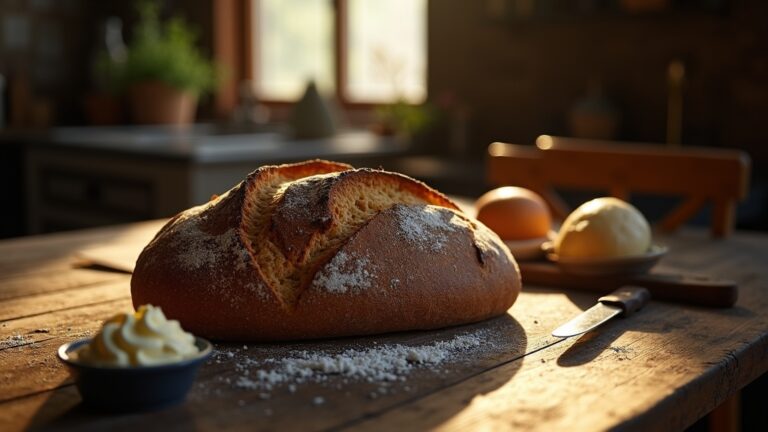
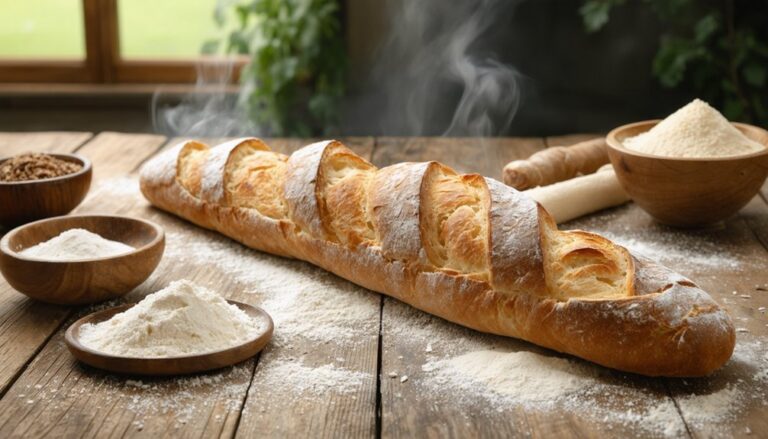
When I bake with bread flour, I love how it transforms simple ingredients into delicious loaves with a perfect chewy texture. This flour, rich in protein, helps create that desired gluten structure. I carefully measure my ingredients, knead the dough until it’s smooth, and let it rise in a warm spot. The end result is a crusty exterior with a soft interior that I can’t resist. If you’re curious about specific techniques and tips, there’s so much more to discover!
Contents
History
When I think about the history of bread flour, I can’t help but marvel at how it’s shaped our culinary landscape over centuries. From ancient civilizations grinding grains into flour for their first loaves to the artisanal bakers of today, bread flour has been a cornerstone of innovation in baking. Its origins trace back to the meticulous selection of wheat varieties, each contributing unique textures and flavors. As we shifted from simple flatbreads to the complex sourdoughs and crusty baguettes we enjoy now, bread flour evolved alongside us. This evolution speaks to our desire for nourishment and creativity, pushing boundaries in kitchens worldwide. It’s incredible to reflect on how this humble ingredient has fueled both sustenance and artistry in our lives.
Recipe
Bread flour is a crucial ingredient for many types of bread, offering the high protein content necessary for developing gluten, which gives bread its structure and chewiness. Whether you’re baking a rustic loaf, a soft sandwich bread, or even pizza dough, bread flour is the ideal choice. This recipe will guide you through the process of making a classic homemade bread that is crusty on the outside and soft on the inside.
To achieve the best results, it’s important to measure your ingredients accurately and follow the steps closely. Bread-making requires some patience, as the dough needs time to rise and develop flavor. Don’t be discouraged if your first loaf isn’t perfect; baking is an art that improves with practice. Once you master this recipe, you can experiment with different flavors and add-ins, such as herbs, cheese, or nuts.
Ingredients:
- 4 cups bread flour
- 2 teaspoons salt
- 1 tablespoon sugar
- 2 teaspoons instant yeast
- 1 ½ cups warm water (about 110°F)
- 2 tablespoons olive oil (optional)
In a large mixing bowl, combine the bread flour, salt, sugar, and instant yeast. Gradually add the warm water and olive oil (if using) to the dry ingredients. Mix until a shaggy dough forms, then knead the dough on a floured surface for about 10 minutes until it becomes smooth and elastic. Place the dough in a lightly greased bowl, cover it with a damp cloth, and let it rise in a warm area for 1-2 hours, or until it has doubled in size. Once risen, punch down the dough to release the air, shape it into a loaf, and place it in a greased loaf pan. Cover and let it rise again for another 30-45 minutes. Preheat your oven to 375°F (190°C) and bake for 30-35 minutes or until the bread sounds hollow when tapped on the bottom.
For the best results, make sure your water is at the right temperature to activate the yeast without killing it. If you want a crustier bread, place a pan of water in the oven while baking to create steam. Additionally, allow your bread to cool completely on a wire rack before slicing; this helps set the crumb and maintain the bread’s texture. Feel free to experiment with different types of flour or add-ins to customize your bread to your taste. Happy baking!
Cooking Steps
Now that we’ve covered the recipe, let’s get into the cooking steps that will make your bread rise to perfection. I can’t stress enough how important it is to measure your flour accurately and knead the dough thoroughly; these steps lay the foundation for a great loaf. Once you’ve shaped the dough evenly and let it rise properly, you’ll be amazed at how rewarding the process is!
Step 1. Measure Flour Accurately
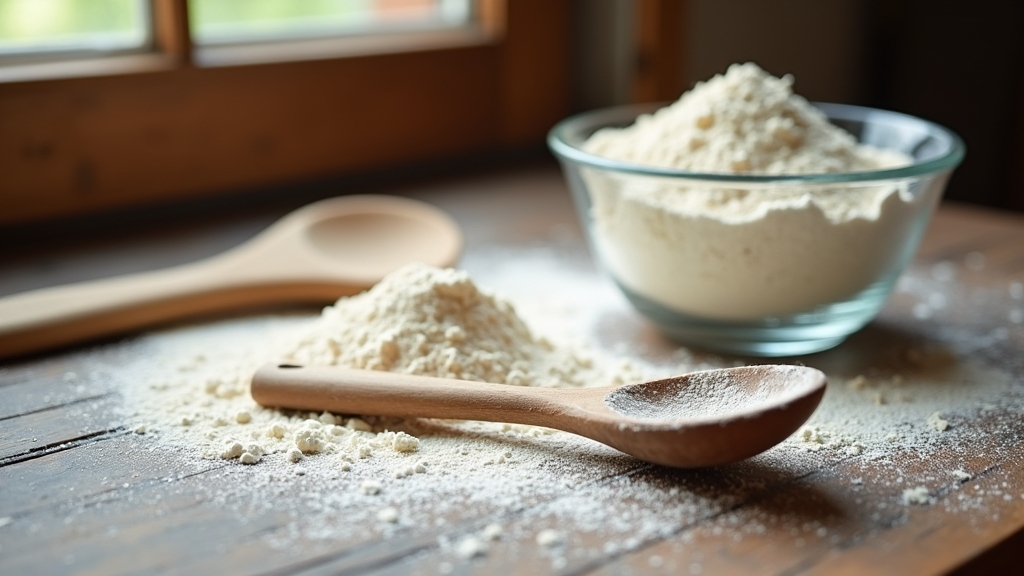
Although it might seem straightforward, measuring flour accurately is essential for achieving the perfect texture in your baked goods. I’ve learned that using precise measuring techniques can truly elevate my baking game. First, I prefer the spoon-and-level method: I gently scoop flour into my measuring cup with a spoon, then level it off with a knife. This avoids packing it down, which can lead to dense bread. Different flour types also require attention; for instance, bread flour has a higher protein content than all-purpose flour, affecting hydration and structure. By mastering these techniques, I guarantee my dough has just the right balance, setting the stage for a delightful, fluffy loaf. Happy baking!
Step 2. Knead Dough Thoroughly
Once I’ve measured my flour accurately, it’s time to bring the dough to life by kneading it thoroughly. I start by flouring my work surface to prevent sticking and then gently push the dough away from me using the palms of my hands. I fold it back over itself and repeat the process. This kneading technique helps develop the gluten, giving the dough its structure. As I knead, I pay close attention to the dough texture—it should transform from a sticky mass into a smooth, elastic ball. If it feels too wet, I sprinkle in a bit more flour. After about 10 minutes, I can feel the difference; it’s ready for the next step in our baking journey!
Step 3. Let Dough Rise Properly
After kneading the dough to perfection, I find that letting it rise properly is essential for achieving that light, airy texture in my bread. This step is where the magic happens—dough fermentation takes center stage, allowing the yeast activation to create those delightful bubbles that make each bite irresistible. I usually cover the dough with a damp cloth and place it in a warm spot, watching it transform before my eyes.
- The excitement of seeing the dough double in size is indescribable.
- The aroma of fermenting dough fills my kitchen with hope.
- Anticipating the final product keeps me motivated.
Each rise feels like a promise of deliciousness, bringing me one step closer to that perfect loaf.
Step 4. Shape the Dough Evenly
With a gentle yet firm touch, I begin shaping the dough evenly to guarantee it bakes uniformly. I start by lightly flouring my work surface, ensuring the dough doesn’t stick. Using dough shaping techniques like the “pocket and fold,” I tuck the edges toward the center, creating surface tension that results in a beautifully rounded loaf. I can’t emphasize enough how important even dough tips are—aim for a symmetrical shape to promote even baking. As I shape, I keep an eye on the dough’s elasticity, allowing it to guide my hands. With each fold and tuck, I feel the dough transform, ready to rise and develop its unique character. This creative process is where innovation meets tradition!
Step 5. Preheat the Oven Correctly
As I prepare to bake, I know preheating the oven correctly is essential for achieving that perfect crust. The right oven temperature can make or break my bread, transforming it from doughy disappointment to golden perfection. I love the anticipation of watching my dough rise, knowing I’m on the right path.
- The aroma of freshly baked bread fills the air, teasing my senses.
- The crackle of the crust as it cools, a symphony of sound.
- The joy of sharing warm, homemade bread with loved ones.
To guarantee success, I set my oven to the desired temperature well in advance. This way, I can maximize my baking time and create a loaf that’s both beautiful and delicious.
Nutritional Guide
Understanding the nutritional profile of bread flour is essential for anyone looking to enhance their baking skills while maintaining a balanced diet. It’s rich in nutrients that contribute to both flavor and health. The caloric content is relatively high, but the protein benefits are impressive, making it a great choice for those seeking to build muscle or sustain energy.
Here’s a quick comparison of bread flour’s nutritional aspects:
| Nutrient | Amount per 100g |
|---|---|
| Calories | 364 |
| Protein | 12.5g |
| Carbohydrates | 76g |
| Fat | 1.5g |
| Fiber | 3.0g |
Final Thoughts
After exploring the nutritional benefits of bread flour, it’s clear that this ingredient plays a pivotal role in baking while supporting a healthy diet. It’s not just about creating delicious bread; it’s about innovation in the kitchen. Here are a few baking tips I’ve found invaluable:
- Experiment with ingredient substitutions to elevate your recipes.
- Embrace the rich texture that bread flour provides.
- Enjoy the satisfaction of crafting homemade bread.
Frequently Asked Questions
Can I Substitute All-Purpose Flour for Bread Flour?
I’ve found that substituting flour can yield interesting results. When I use all-purpose flour instead of bread flour, I adjust my baking tips slightly. The texture may change, but experimentation often leads to delightful surprises!
What Is the Protein Content of Bread Flour?
When I immerse myself in baking, I love the protein content of bread flour, typically around 12-14%. This high protein benefits my techniques, creating delightful gluten structures that elevate my bread game to new heights.
How Should I Store Leftover Bread Flour?
When I store leftover bread flour, I use airtight containers to maximize flour longevity. Keeping it in a cool, dark place enhances freshness, ensuring I always have quality flour ready for my next baking adventure!
Can I Use Bread Flour for Cakes?
I’ve experimented with using bread flour for cakes, and while it can create a chewy texture, blending it with all-purpose flour balances that out perfectly. You’ll achieve a delightful cake with a unique twist!
What Are the Best Brands of Bread Flour?
When searching for the finest bread flour, I’ve found King Arthur’s reliability, Bob’s Red Mill’s quality, Gold Medal’s consistency, and Pillsbury’s versatility shine like stars. Each brand brings its unique magic to baking.
Conclusion
In my journey of baking with bread flour, I’ve discovered the joy of creating, the satisfaction of kneading, and the delight of sharing warm, homemade loaves. Each step—mixing, rising, baking—unfolds a world of flavors and textures that elevate everyday meals. So, whether you’re a seasoned baker or just starting out, embrace the process, savor the moments, and relish the aroma that fills your kitchen. Let’s bake together, explore together, and enjoy the delicious results together!
