Brioche Bread Recipe
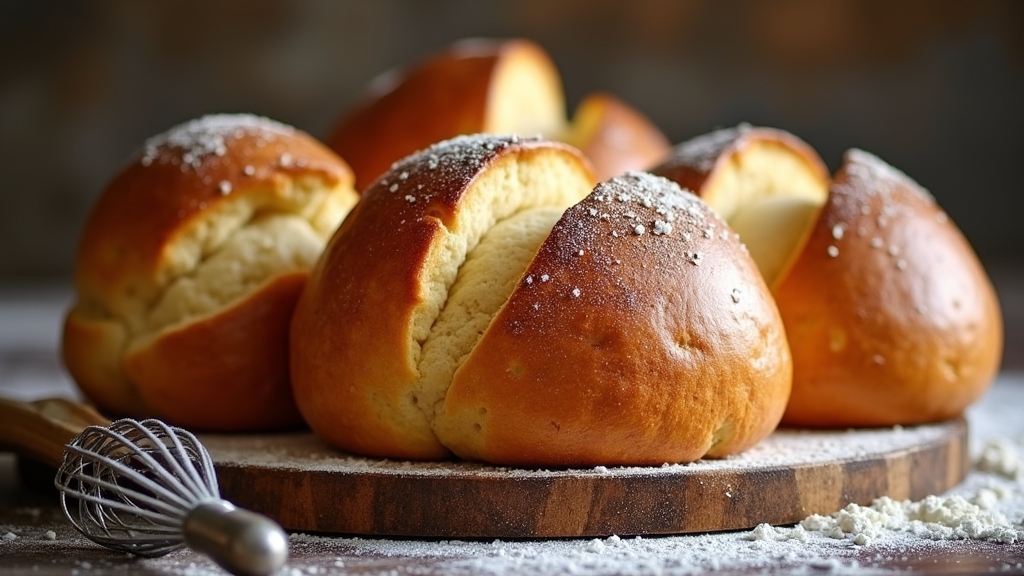
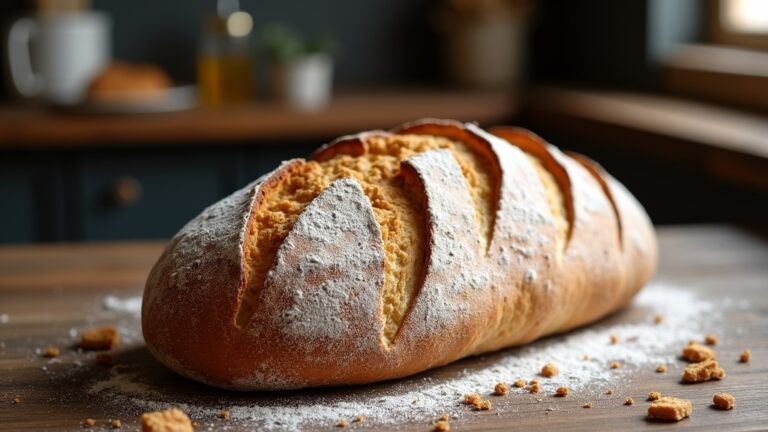
I’ve perfected a brioche bread recipe that showcases its rich buttery flavor and soft, silky texture. Start by activating yeast in warm milk and sugar. Then, knead in flour, eggs, and butter until smooth. Allow the dough to rise until doubled, then shape and let it rise again for that signature fluffiness. Bake to golden perfection, and you’ll end up with a delightful treat. Curious about the history and tips for success? There’s so much more to explore!
Contents
History
Brioche, with its rich, buttery texture, has a storied past that captivates any bread lover. Its French origins trace back to the provinces, where it was a symbol of luxury and celebration. I find it fascinating how this delicate bread evolved over centuries, from humble beginnings to a staple in patisseries. The baking techniques involved are an art form in themselves—mixing flour, eggs, and butter into a soft, silky dough that rises beautifully. As I watch it puff up in the oven, I can’t help but appreciate the skill behind achieving that perfect golden crust. Each bite transports me to a quaint French bakery, where tradition and innovation meld in every loaf, inspiring countless variations worldwide.
Recipe
Brioche bread is a rich, buttery bread that originates from France, known for its light texture and slightly sweet flavor. It’s a versatile bread that can be enjoyed on its own, used for French toast, or turned into scrumptious sandwiches. Making brioche at home may seem intimidating, but with a little patience and the right technique, you can achieve bakery-quality results right in your kitchen.
Brioche is a delightful French bread, rich and buttery, perfect for French toast or sandwiches, and achievable at home with patience.
This recipe will guide you through the steps to create a beautifully golden-brown brioche loaf. The key to a perfect brioche is the dough’s texture, which should be soft and elastic. Be sure to allow ample time for the dough to rise; this is vital for developing the bread’s signature fluffiness. So, roll up your sleeves, and let’s get started on this delightful baking adventure!
Ingredients:
- 4 cups all-purpose flour
- 1/4 cup granulated sugar
- 1 teaspoon salt
- 1 tablespoon instant yeast
- 5 large eggs
- 1 cup unsalted butter (softened, at room temperature)
- 1/4 cup milk (warm)
- 1 egg (for egg wash)
To make the brioche, start by combining the flour, sugar, salt, and instant yeast in a large mixing bowl. Create a well in the center and add the eggs and warm milk. Mix until a rough dough forms, then gradually incorporate the softened butter until the dough becomes smooth and elastic, which often takes about 10 minutes of kneading. Once kneaded, place the dough in a greased bowl, cover it with plastic wrap or a damp cloth, and let it rise in a warm area until it doubles in size, roughly 1 to 2 hours. After the first rise, punch down the dough and shape it into a loaf or individual rolls. Place the shaped dough into a greased loaf pan or baking sheet, then cover and let it rise again until puffy, about 30 to 45 minutes. Preheat your oven to 375°F (190°C). Brush the top with the beaten egg for a glossy finish, and bake for 25 to 30 minutes or until golden brown. Allow to cool before slicing.
When making brioche, it’s imperative to keep your ingredients at room temperature, especially the butter and eggs, to guarantee they blend well into the dough. If you find the dough too sticky, don’t hesitate to add a little more flour, but be cautious not to overdo it, as this could make your bread dense. Another helpful tip is to let the brioche sit overnight in the refrigerator after shaping, which can improve its flavor and texture. Enjoy your homemade brioche fresh or toasted with a spread of your choice!
Cooking Steps
Let’s get started with the cooking steps that will transform simple ingredients into a delicious brioche. First, I’ll activate the yeast mixture, creating a bubbly foundation for our dough. As we knead and shape it, the magic of rising will begin, promising a light, fluffy loaf that’s hard to resist.
Step 1. Activate Yeast Mixture
How can the perfect loaf of brioche start with a simple yeast mixture? It all begins with yeast activation, a vital step that breathes life into your dough. I prefer using instant yeast for its reliability, but active dry yeast can work just as well if you hydrate it properly. To activate, I combine warm milk and sugar, stirring in the yeast until it’s frothy and bubbling—this signals that my yeast is alive and ready to work its magic. This mixture should rest for about five to ten minutes, allowing the yeast types to flourish. The aroma is intoxicating, promising a delightful rise ahead. Trust me, this foundational step guarantees a light, airy brioche that’s simply irresistible.
Step 2. Knead Dough Thoroughly
With enthusiastic hands, I plunge into the next important step: kneading the dough thoroughly. I spread the dough onto a lightly floured surface, using a combination of pushing and folding techniques. My palms press down, stretching the dough, and I can feel its texture transforming. As I knead, I’m not just working out any lumps; I’m developing that essential dough elasticity. Each motion is rhythmic, a dance that breathes life into the mixture. I watch as it gradually becomes smooth and supple, a reflection of my efforts. It’s significant to knead for about 8-10 minutes, ensuring the gluten forms properly. This is where the magic happens, setting the stage for a wonderfully airy brioche that’s bound to impress.
Step 3. Add Eggs and Milk
As I gather my ingredients, the rich aroma of fresh eggs and creamy milk fills the air, signaling the next essential step in creating my brioche. I reach for large, organic eggs, their vibrant yolks promising a golden hue and a tender crumb. If you’re feeling adventurous, consider using duck eggs for an even richer flavor. I then pour in whole milk, its lush texture enhancing the dough’s moisture. For those exploring milk alternatives, almond or oat milk can add a unique twist, creating a delightful nutty undertone. I whisk the eggs and milk together until they’re well combined, then gently fold them into my dough, ensuring every speck absorbs that luxurious essence. This is where my brioche truly begins to blossom.
Step 4. Let Dough Rise Properly
After incorporating the eggs and milk into my dough, it’s time to let it rise properly. This step is vital for achieving that light, airy texture brioche is known for. I find it essential to create the perfect rising environment, so I follow these guidelines:
- Maintain a warm dough temperature around 75°F to 80°F.
- Cover the bowl with a damp cloth to retain moisture.
- Choose a draft-free space, like an oven with the light on, to encourage rising.
- Let the dough rise until doubled, which usually takes about 1-2 hours.
- Be patient; good things come to those who wait!
With these tips, I guarantee my brioche dough rises beautifully, setting the stage for a delightful bread.
Step 5. Shape and Second Rise
Once the dough has risen beautifully, it’s time to shape it and prepare for the second rise, which is vital for achieving that signature brioche texture. I gently punch down the dough, releasing the air, and then I divide it into equal pieces. This is where my creativity shines—using various shaping methods, I can create rolls, loaves, or even intricate braids. I love experimenting with different braiding techniques, weaving three strands together for a stunning presentation. After shaping, I place the dough in a greased pan, cover it with a cloth, and let it rise again until it’s puffy and light. This second rise is essential, ensuring that each bite of brioche is airy and deliciously indulgent!
Nutritional Guide
While indulging in the warm, buttery goodness of brioche bread, it’s worth considering its nutritional profile. This delightful treat boasts a unique balance of flavors and ingredients that offer both indulgence and nutrition.
Here’s a quick look at its caloric content and ingredient benefits:
| Nutrient | Benefits |
|---|---|
| Calories (per slice) | Approximately 160 |
| Eggs | Rich in protein and vitamins |
| Butter | Source of healthy fats |
Despite its rich taste, brioche can be enjoyed in moderation. The eggs contribute to its soft texture while providing essential nutrients, and the butter enhances flavor, offering energy. So, savor each slice while appreciating its nutritional value!
Final Thoughts
As I reflect on the experience of making brioche bread, I can’t help but appreciate the harmonious blend of simplicity and sophistication it brings to the table. This journey into the world of baking has taught me invaluable lessons, and I’m excited to share a few insights:
Reflecting on brioche baking reveals a delightful mix of simplicity and elegance, offering invaluable lessons and a joyful journey.
- Embrace patience; the dough needs time to rise.
- Experiment with flavor variations like orange zest or chocolate swirls.
- Use high-quality ingredients for the best results.
- Don’t shy away from adjusting your technique; every kitchen is unique.
- Keep a baking journal to track your successes and lessons learned.
With these baking tips, you can elevate your brioche game and create a loaf that’s not only delicious but also a work of art. Enjoy the process!
Frequently Asked Questions
Can I Use Whole Wheat Flour Instead of All-Purpose Flour?
I’ve tried using whole wheat flour instead of all-purpose, and while it adds a nutty flavor, you’ll need to adjust hydration and possibly add more fat. Experimenting can yield deliciously unique results!
How Should I Store Leftover Brioche Bread?
Imagine sinking your teeth into soft, fresh bread. To maintain that bliss, I suggest wrapping leftovers tightly in plastic and storing them in an airtight container. These storing tips help preserve bread freshness for delightful enjoyment later!
Can I Freeze Brioche Bread for Later Use?
Absolutely, I can freeze brioche bread for later use! I wrap it tightly using effective freezing methods, then employ smart thawing techniques to keep it fresh and delicious. It’s a perfect solution for indulgent treats anytime!
What Are Some Popular Toppings for Brioche?
When I think about toppings for brioche, I envision rich French toast drizzled with maple syrup or savory spreads like herbed cream cheese. Each bite transforms the ordinary into an extraordinary culinary experience that delights the senses.
Is Brioche Suitable for Making French Toast?
Oh, the delightful decadence! I absolutely love using brioche for French toast. Its rich, buttery texture elevates breakfast to new heights, and those golden slices soak up flavors beautifully, making every bite a heavenly experience.
Conclusion
Baking brioche is like crafting a warm hug for your taste buds. Each golden slice, with its buttery richness and tender crumb, transports you to a cozy French café. As you savor the fruits of your labor, remember that patience and a sprinkle of love are the secret ingredients to success. So, roll up your sleeves and let your kitchen fill with the sweet aroma of homemade brioche—it’s a delightful journey worth every moment!


