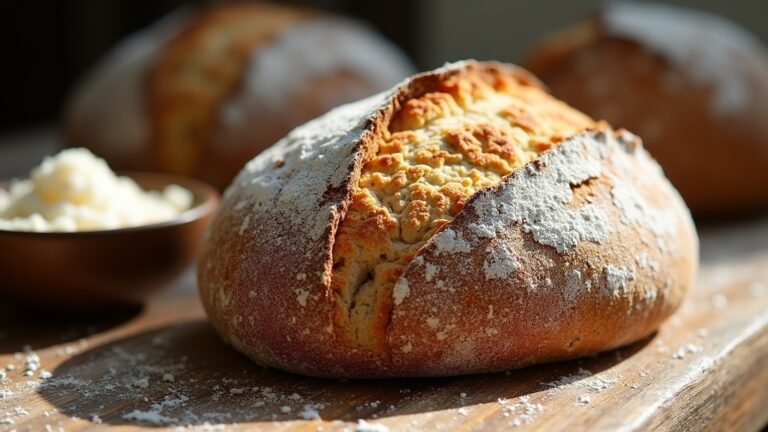
Challah Bread Recipe
To make traditional challah bread, you’ll need 4 cups of flour, ½ cup sugar, 2 teaspoons salt, 1 tablespoon yeast, ¼ cup oil, 1 cup warm water, and 2 eggs (plus another for the wash). Activate the yeast, knead the dough, let it rise, shape it into braids, and bake at 375°F until golden brown. Each bite offers a sweet, soft flavor steeped in cultural significance. Discover the unique symbolism and variations that make challah even more special.
Contents
History
The history of challah bread is as rich and layered as the dough itself, intertwining tradition and culture. You’ll find that this iconic bread symbolizes more than just nourishment; it embodies Jewish traditions that date back centuries. Challah is often braided, representing the intertwining of life, family, and faith. On Shabbat, it takes center stage, enhancing the celebration of freedom and rest. The golden crust and soft interior reflect abundance and joy, making it an essential part of festive meals. Each bite connects you to generations past, reminding you of the significance of bread in Jewish rituals. Fundamentally, challah isn’t just food—it’s a powerful symbol of identity, continuity, and community in Jewish life.
Recipe
Challah bread is a traditional Jewish bread that is often enjoyed on special occasions and during Shabbat. This beautifully braided loaf is not only a feast for the eyes but also offers a soft, slightly sweet flavor that makes it perfect for both savory and sweet toppings. Baking challah can be a delightful experience, as the dough is simple to work with and the braiding technique becomes easier with practice. Once you’ve mastered this recipe, you’ll find yourself wanting to share it with family and friends.
The process of making challah involves a few key steps, including mixing the ingredients, allowing the dough to rise, and then shaping it into braids or loaves. The bread is typically brushed with an egg wash before baking to achieve that beautiful golden-brown color. Whether you choose to serve it plain or with butter and jam, challah is a versatile bread that can elevate any meal.
Ingredients:
- 4 cups all-purpose flour
- 1/2 cup granulated sugar
- 2 teaspoons salt
- 1 tablespoon active dry yeast
- 1/4 cup vegetable oil
- 1 cup warm water (about 110°F)
- 2 large eggs
- 1 egg (for egg wash)
- Sesame or poppy seeds (optional)
To make the challah, start by dissolving the yeast in warm water along with a teaspoon of sugar and let it sit for about 5 minutes until frothy. In a large bowl, combine the flour, remaining sugar, and salt. Make a well in the center and add the yeast mixture, oil, and eggs. Stir until a dough forms, then knead the dough on a floured surface for about 8-10 minutes until smooth and elastic. Place the dough in a greased bowl, cover with a cloth, and let it rise in a warm place for about 1-2 hours, or until doubled in size. Once risen, punch down the dough and divide it into three equal pieces. Roll each piece into long strands and braid them together. Place the braided loaf on a baking sheet lined with parchment paper, cover again, and let it rise for another 30-45 minutes. Preheat the oven to 375°F, brush the loaf with the beaten egg, and sprinkle with seeds if desired. Bake for 25-30 minutes or until golden brown.
When making challah, it’s helpful to verify that your ingredients are at room temperature for a better rise and texture. If you find that your dough is sticky, you can add a little more flour during the kneading process, but be careful not to overdo it, as this can lead to a denser bread. For added flavor, you can experiment by incorporating ingredients like honey, raisins, or herbs into the dough. Finally, if you want to prepare challah ahead of time, you can freeze the dough after the first rise; just make sure to thaw and let it rise again before baking. Enjoy your homemade challah!
Cooking Steps
To create the perfect challah, you’ll start by activating your yeast mixture, which is essential for that fluffy texture. Once the dough is ready, knead it thoroughly to develop the gluten, and then let it rise until it doubles in size. After shaping your loaves, the final step will be baking them at 375°F for a beautifully golden finish.
Step 1. Activate Yeast Mixture
Activating the yeast mixture is an essential step in creating that beautifully airy texture in your challah bread. Start by combining warm water, sugar, and yeast in a bowl, letting it sit for about five to ten minutes. You’ll notice bubbles forming on the surface; that’s your yeast activation in action! This frothy mixture signals that the yeast is alive and ready for action. Next, you want to stir in a bit of flour and salt, ensuring everything’s well combined. This crucial process sets the stage for perfect proofing later, as the yeast will produce carbon dioxide, allowing your dough to rise beautifully. Embrace this moment—you’re one step closer to that delicious, golden challah!
Step 2. Knead the Dough Thoroughly
Feel the dough come alive as you start kneading it thoroughly on a floured surface. Use your palms and the heel of your hand to push the dough away from you, then fold it back over itself. Repeat this motion, feeling the dough’s consistency transform from sticky to smooth and elastic. This process usually takes about 8 to 10 minutes, so don’t rush it! Employ kneading techniques like turning the dough a quarter turn after each fold, ensuring even development of gluten. If the dough sticks, sprinkle a little flour—just enough to keep it manageable. As you knead, embrace the rhythm and freedom of the process, knowing each fold brings you closer to that beautiful, braided challah.
Step 3. Let Dough Rise Properly
After kneading the dough to perfection, it’s time to let it rise—a moment that’s just as important in the baking process. You’ll want to place the dough in a warm, draft-free area, covering it with a damp cloth to lock in moisture. Allow it to rise until it’s doubled in size, usually taking about 1 to 2 hours, depending on the temperature of your space. Keep an eye on the dough consistency; it should feel light and airy. If your dough starts to stick too much, it may need a touch more flour. Patience is key here—don’t rush the rising time. This is where the magic happens, transforming your hard work into a fluffy, delicious loaf.
Step 4. Shape the Loaves
Once the dough has risen beautifully, it’s time to shape the loaves, turning that airy ball of dough into a stunning centerpiece for your meal. Start by dividing the dough into equal portions, depending on how many loaves you want. You can experiment with different loaf variations, like a classic three-strand braid or a more intricate six-strand braid. As you roll each piece into ropes, let your creativity flow—each braid tells its own story. Remember to pinch the ends tightly to seal in that deliciousness. Once shaped, let them rest for a final rise. Embrace the art of braiding techniques, and soon you’ll have gorgeous challah loaves that not only taste divine but look absolutely breathtaking on your table.
Step 5. Bake at 375°F
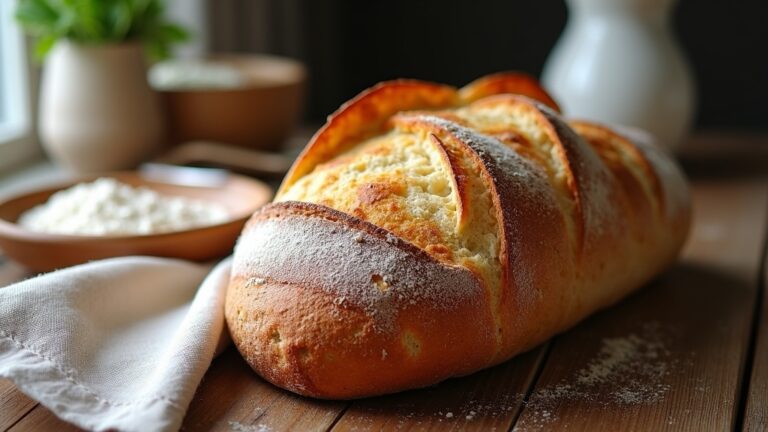
Now that your beautifully shaped challah loaves are ready, it’s time to bake them to golden perfection at 375°F. Preheat your oven, ensuring precise temperature control for ideal results. This step is vital as it directly impacts the texture and flavor. Place the loaves on the middle rack, allowing for even heat distribution. Use baking techniques like placing a pan of water on the bottom shelf to create steam, which helps develop a crusty exterior while keeping the inside soft. Bake for about 25-30 minutes, or until the tops turn a rich golden brown. As the aroma fills your kitchen, you’ll savor the anticipation of freedom that comes with each bite of your homemade challah. Enjoy the fruits of your labor!
Nutritional Guide
While enjoying a slice of freshly baked challah, you might wonder about its nutritional benefits and how it fits into your diet. This delightful bread isn’t just a treat; it carries some impressive caloric content and ingredient benefits.
Here’s a quick guide to help you understand what you’re savoring:
| Nutrient | Per Slice (1 oz) | Benefits |
|---|---|---|
| Calories | 80 | Energy source |
| Carbohydrates | 15g | Fuel for your body |
| Protein | 3g | Supports muscle growth |
| Fat | 2g | Essential fatty acids |
Challah is rich in carbohydrates, providing energy for your day, while a bit of protein helps keep you feeling full. Enjoy it in moderation!
Final Thoughts
As you savor the last morsel of challah, it’s clear that this bread transcends mere sustenance; it’s a celebration of tradition and flavor. The experience of baking challah connects you to generations past, each twist and braid steeped in rich symbolism. Embrace the joy of creating this beautiful loaf, using the right baking techniques to elevate your culinary journey.
Here are three ways to enhance your challah experience:
- Experiment with flavors: Add herbs or spices to the dough for a unique twist.
- Share and celebrate: Use challah in communal meals to deepen connections with loved ones.
- Reflect on symbolism: Consider what each braid represents, fostering mindfulness while you bake.
Enjoy your journey with challah!
Frequently Asked Questions
Can I Use Gluten-Free Flour for Challah Bread?
You can definitely explore gluten-free options for your baking! Just keep in mind that texture variations might occur. Experimenting with different blends can lead to delightful results, releasing your creativity while satisfying dietary needs. Enjoy the journey!
How Should I Store Leftover Challah Bread?
To store leftover challah bread, wrap it tightly in plastic wrap or aluminum foil. This method guarantees the best storage, extending its shelf life for up to three days at room temperature or a week in the fridge.
What Can I Substitute for Eggs in Challah?
If you’re looking to substitute eggs, try using flaxseed meal mixed with water for a binding agent or applesauce for moisture. Both options provide delicious alternatives, allowing your creativity to shine in every bite!
Is Challah Bread Suitable for Freezing?
Yes, you can freeze challah bread! Use proper freezing techniques, like wrapping it tightly to avoid freezer burn. When you’re ready, employ thawing methods like leaving it at room temperature for the best results. Enjoy!
Can I Add Fillings to My Challah Bread?
Absolutely, you can add sweet fillings like chocolate or fruit, and savory additions such as cheese or herbs. Experimenting with these flavors lets you customize your challah, creating a delicious, unique bread experience. Enjoy the freedom!
Conclusion
As you savor that warm, golden challah bread, think of it as a hug for your taste buds. This beautiful loaf isn’t just a recipe; it’s a doorway to tradition and togetherness. With every twist and braid, you’ve woven not just dough, but memories that will rise with each bite. So, gather your loved ones, share your creation, and let the warmth of this bread bring joy to your table. Enjoy the comfort and connection that comes with each slice!

