Dream Cake Recipe
I love baking Dream Cake! It’s a delightful treat with layers of fluffy cake and rich frosting. You’ll need ingredients like flour, sugar, butter, eggs, milk, and cocoa powder. Start by creaming butter and sugar, then mix in the eggs and vanilla. Combine the dry ingredients, bake, and enjoy the delicious result! This cake is perfect for celebrations or sweet cravings. If you’re curious about how to enhance flavors or presentation, there’s plenty more to explore!
Contents
History
When I think about the history of dream cake, it’s fascinating to see how this delightful dessert has evolved over the years. Its cake origins trace back to ancient civilizations where simple ingredients like flour and honey were combined in rustic baking traditions. Over time, as culinary techniques advanced, so did the complexity of cakes. Dream cake reflects this journey, showcasing layers of flavors and textures that inspire creativity in the kitchen. I love how it embodies a fusion of influences, from classic sponge cakes to modern twists, making every bite a delicious reminder of its rich heritage. This transformation not only honors the past but also invites us to innovate and experiment, ensuring dream cake remains a beloved treat for generations to come.
Recipe
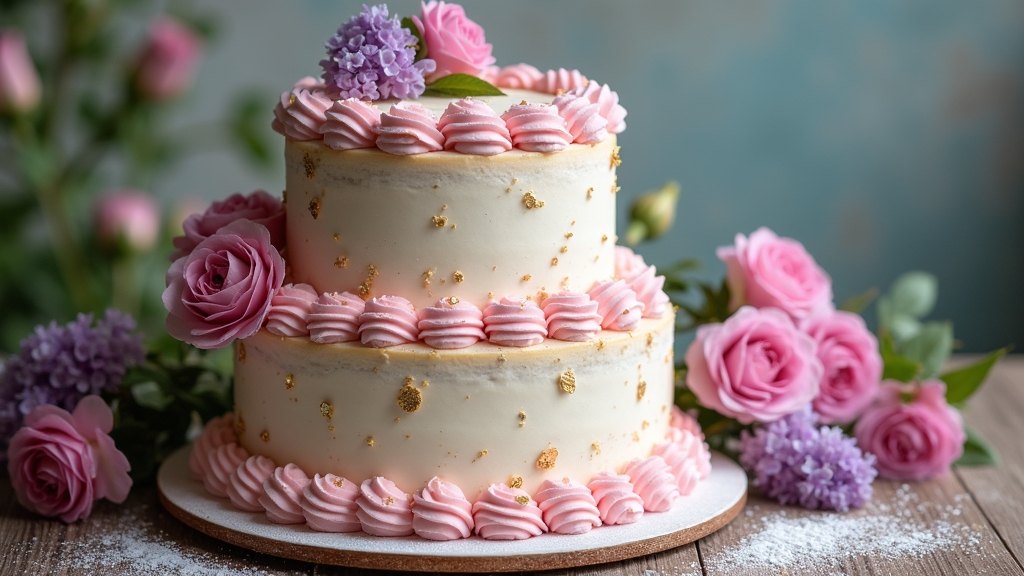
Dream Cake is a delightful dessert that embodies layers of fluffy cake, rich frosting, and a hint of nostalgia. This decadent treat is perfect for birthdays, celebrations, or simply when you’re in the mood for something sweet. The combination of vanilla and chocolate flavors creates a harmonious blend that is bound to please anyone’s palate. With a light texture and creamy frosting, Dream Cake is not just a feast for the taste buds, but also a visual delight that can elevate any occasion.
To make your Dream Cake even more special, consider personalizing it with your favorite fillings or toppings, such as fresh fruits, nuts, or sprinkles. The beauty of this recipe lies in its versatility, allowing you to adapt it to your preferences or dietary needs. Whether you choose to bake it as a layered cake or as individual cupcakes, this recipe will guide you through the process and help you create a show-stopping dessert that will impress your family and friends.
Ingredients:
- 2 cups all-purpose flour
- 1 ½ cups granulated sugar
- 1 cup unsalted butter, softened
- 4 large eggs
- 1 cup milk
- 2 teaspoons baking powder
- 1 teaspoon vanilla extract
- ½ cup cocoa powder
- 1 cup powdered sugar
- ½ cup heavy cream
Cooking Instructions:
Preheat your oven to 350°F (175°C) and grease two 9-inch round cake pans. In a large mixing bowl, cream together the softened butter and granulated sugar until light and fluffy. Add the eggs, one at a time, mixing well after each addition, then stir in the vanilla extract. In another bowl, whisk together the flour, baking powder, and cocoa powder. Gradually add the dry ingredients to the wet mixture, alternating with the milk, until everything is combined. Divide the batter evenly between the prepared cake pans and bake for 25-30 minutes or until a toothpick inserted into the center comes out clean. Once baked, allow the cakes to cool completely before frosting.
Extra Tips:
When making Dream Cake, it’s important to confirm that all your ingredients are at room temperature for a smoother batter and better texture. Additionally, if you want to add a burst of flavor, consider infusing your frosting with a bit of almond extract or citrus zest. For an extra touch, you can decorate the cake with fresh fruits or edible flowers to elevate its presentation. Finally, if you find the cakes are doming in the center, you can level them off with a serrated knife for a more professional look before frosting. Enjoy your baking!
Cooking Steps
Now that we have our ingredients ready, let’s get started on the cooking steps that will transform them into a delicious dream cake. First, I always preheat the oven to 350°F to guarantee it’s just right for baking. Then, we’ll mix the dry ingredients thoroughly before moving on to the wet ones, creating a perfectly balanced batter.
Step 1. Preheat the Oven to 350°F
Preheating the oven to 350°F is an essential step in creating the perfect dream cake. This precise oven temperature sets the stage for even baking, ensuring that your cake rises beautifully and achieves that fluffy texture we all crave. I always find it helpful to turn on my oven right before I start mixing my ingredients, allowing it to reach the desired heat by the time I’m ready to pour in my batter. A few baking tips I swear by include using an oven thermometer to check accuracy and avoiding the temptation to open the door too soon. Trust me, a well-preheated oven is the secret to achieving that dreamy, moist cake that’ll leave everyone asking for seconds.
Step 2. Mix Dry Ingredients Thoroughly
Before diving into mixing the wet ingredients, I always make sure to mix the dry ingredients thoroughly. This essential step sets the foundation for my dream cake. I start by sifting together flour, baking powder, and a pinch of salt, ensuring a light texture. Using a whisk, I incorporate these elements, allowing them to blend seamlessly. It’s important to pay attention to ingredient proportions—too much flour or not enough sugar can throw off the balance. I often employ a folding technique to gently combine any additional dry ingredients, like cocoa powder or spices, maximizing flavor without overworking the mixture. By mastering these mixing techniques, I pave the way for a cake that’s not just good, but extraordinary.
Step 3. Combine Wet Ingredients Well
To create a dream cake, I focus on combining the wet ingredients with care and precision. I start by whisking together eggs and sugar until they’re light and frothy, creating a perfect base. Then, I slowly add in the melted butter and a splash of vanilla extract, ensuring each element melds seamlessly. For an exciting twist, I sometimes incorporate whipped cream into the mixture, giving the cake a luscious texture that elevates every bite. Don’t shy away from experimenting with flavor variations, like almond or orange zest, to personalize your creation. The key is to mix thoroughly, allowing all the flavors to harmonize beautifully before moving on to the next step. This foundation is essential for a moist and delicious cake!
Step 4. Fold in Chocolate Chips
Now, it’s time to gently fold in the chocolate chips, which will add bursts of rich flavor to each slice of your dream cake. I love experimenting with different chocolate chip varieties—dark, milk, or even white chocolate lends a unique twist. Using a spatula, I carefully incorporate the chips into the batter, ensuring they’re evenly distributed without overmixing. This baking technique preserves the airiness of the batter, resulting in a light, fluffy texture. As I fold, I can almost envision those melted pockets of chocolate creating a delightful contrast to the tender cake. Remember, the key is to be gentle—this step is all about enhancing the cake’s overall appeal. So, let’s elevate our creation with these luscious morsels!
Step 5. Pour Batter Into Pan
With the chocolate chips beautifully folded into the batter, it’s time to bring our creation to life by pouring it into the prepared pan. I carefully select a high-quality, non-stick pan for even baking, guaranteeing our cake rises perfectly. As I tilt the bowl, I watch the luscious batter cascade into the pan, filling it just enough to allow for that magical rise. Using a spatula, I gently smooth the top, creating a polished finish. This simple baking technique not only elevates the presentation but also guarantees even cooking throughout. Once satisfied, I’ll pop it into the oven, enthusiastic to witness my dream cake transform. Patience is key here; the aroma will soon fill the kitchen!
Nutritional Guide
While enjoying a slice of Dream Cake, it’s important to contemplate its nutritional value and how it fits into your overall diet. This cake is a delightful balance of flavors and health, offering various ingredient benefits. For example, using whole grains adds fiber, while eggs provide protein. Here’s a quick overview of its caloric content and benefits:
| Nutrient | Amount per Slice |
|---|---|
| Calories | 250 |
| Protein | 4g |
| Carbohydrates | 34g |
| Fat | 10g |
| Fiber | 2g |
Final Thoughts
As I reflect on the delightful experience of enjoying a slice of Dream Cake, it’s clear that this treat is more than just a dessert; it’s a celebration of flavors and thoughtful ingredients. This cake opens the door to endless cake variations, inviting you to experiment with unique flavors and textures. Whether you’re adding a hint of citrus or infusing it with spices, the possibilities are truly exciting. Remember, my baking tips are simple: always measure your ingredients accurately and don’t rush the mixing process. Each step allows the flavors to harmonize beautifully. So, whether you’re baking for a special occasion or a cozy night in, let this Dream Cake inspire your culinary creativity. Happy baking!
Frequently Asked Questions
Can I Substitute Gluten-Free Flour in the Dream Cake Recipe?
Absolutely, I’ve substituted gluten-free flour in my baking before. It can change the baking texture, so I recommend experimenting with different gluten-free alternatives to achieve that perfect balance of moistness and flavor in your cakes.
How Do I Store Leftover Dream Cake Properly?
When it comes to leftover storage, I wrap my cake tightly in plastic wrap, sealing in freshness like a treasure chest. For ideal cake preservation, I keep it in the fridge, savoring each bite’s sweet nostalgia.
What Is the Best Type of Frosting for Dream Cake?
When choosing frosting types, I love experimenting with cream cheese for tanginess or a light buttercream for sweetness. Flavor combinations like lemon zest or vanilla bean elevate the cake, making each bite an unforgettable experience.
Can I Make Dream Cake Ahead of Time?
When I prep for gatherings, I often freeze my cakes. You can absolutely make ahead! Just bake, cool, and wrap tightly. Freezing keeps the flavors intact, ensuring your creation’s as delightful as ever when served.
How Can I Make Dream Cake Vegan-Friendly?
I love making vegan-friendly cakes! For my dream cake, I use plant-based milk, coconut oil, and egg substitutes like flaxseed or applesauce. These vegan ingredients keep the flavor rich and delicious while being innovative and fun!
Conclusion
As I savored the last bite of my dream cake, I couldn’t help but think how this recipe, much like an old vinyl record, brings back memories and warmth with each slice. It’s more than just a dessert; it’s a celebration of flavors, history, and creativity. So, whether you’re baking for a special occasion or just treating yourself, embrace the process, and let your kitchen become your canvas. Trust me, the delicious results are worth every moment!
