Easy Bread Recipe
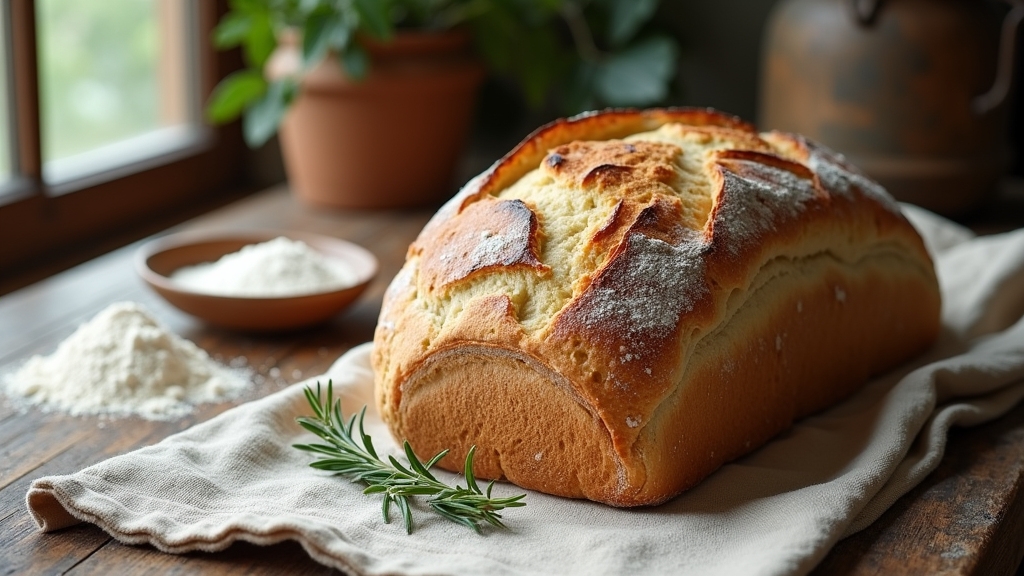
If you want to bake bread from scratch, I’ve got an easy recipe that’s perfect for beginners! You only need a few ingredients and basic equipment, making it simple and rewarding. The process is fun, and the smell of fresh-baked bread will fill your home with warmth and comfort. Plus, this bread is soft, fluffy, and great for sharing with family and friends. Stick around, and you’ll uncover more tips to elevate your baking experience!
Contents
History
When I think about the history of bread, I’m amazed at how it connects cultures and generations. From the earliest days of humanity, ancient grains like wheat and barley were cultivated, laying the groundwork for societies to flourish. Bread became more than just sustenance; it carried deep symbolism, representing life, community, and even spiritual nourishment. Each culture added its unique twist, creating diverse bread styles that reflect local traditions. As I explore this rich tapestry, I see how bread has evolved alongside us, adapting to our needs and innovations. It’s fascinating to think that something so simple can embody complex histories, uniting us across time and space. Bread isn’t just food; it’s a reflection of our shared humanity.
Recipe
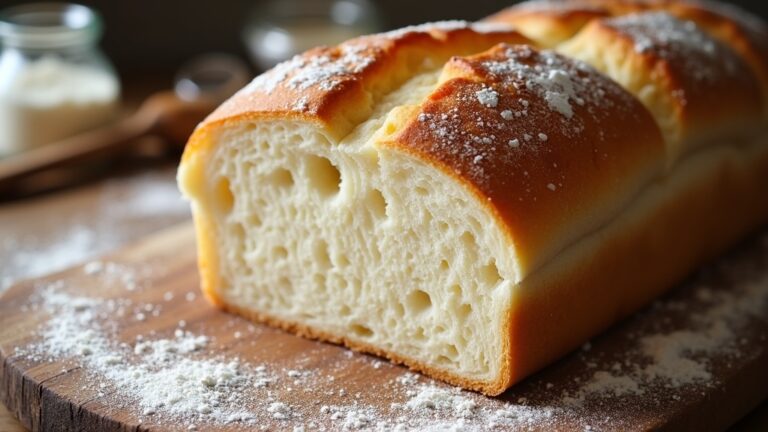
Making bread at home can be a rewarding and enjoyable experience, even for beginners. This easy bread recipe requires minimal ingredients and equipment, making it accessible for anyone looking to try their hand at baking. With just a few simple steps, you can create a delicious loaf that is perfect for sandwiches, toasting, or enjoying with a spread of butter.
The ingredients work together to create a soft and fluffy texture, while the aroma of fresh-baked bread fills your kitchen. Whether you’re baking for yourself, your family, or friends, this bread is sure to impress. So, roll up your sleeves and let’s get started on this delightful baking adventure!
Ingredients:
- 4 cups all-purpose flour
- 2 teaspoons salt
- 2 teaspoons sugar
- 1 packet (2 1/4 teaspoons) active dry yeast
- 1 ½ cups warm water (about 110°F)
- 2 tablespoons olive oil (optional)
To begin, dissolve the sugar and yeast in the warm water in a large mixing bowl. Let it sit for about 5-10 minutes until it becomes frothy. Then, add the salt and olive oil, if using. Gradually mix in the flour, one cup at a time, until a dough forms. Knead the dough on a floured surface for about 8-10 minutes, or until it becomes smooth and elastic. Place the dough in a greased bowl, cover it with a damp cloth, and let it rise in a warm place for about 1 hour or until it has doubled in size. Once risen, punch down the dough, shape it into a loaf, and place it in a greased loaf pan. Allow it to rise again for about 30-40 minutes before baking in a preheated oven at 375°F (190°C) for 30-35 minutes, or until the bread sounds hollow when tapped.
For the best results, verify that your yeast is active by checking the expiration date before starting. If you want a crustier loaf, you can place a pan of water in the oven while baking. Additionally, experiment with adding herbs, spices, or seeds to the dough for added flavor and texture. Store any leftover bread in an airtight container at room temperature to maintain its freshness. Enjoy your homemade bread!
Cooking Steps
Now that we’ve got our ingredients lined up, let’s jump into the cooking steps that’ll transform them into delicious bread. First, I mix the dry ingredients together to create the perfect foundation for our dough. Once that’s done, it’s time to knead, let it rise, and shape it into loaves that are ready to bake!
Step 1. Gather Your Ingredients First
Before diving into the baking process, I always find it helpful to gather all my ingredients first. This step not only streamlines my workflow but also sparks creativity, allowing me to think about potential ingredient substitutions. For instance, if I’m out of all-purpose flour, I might use whole wheat or even almond flour for a unique twist. I lay out my essential tools, like mixing bowls, measuring cups, and a sturdy wooden spoon, so I can easily access them. Having everything at hand keeps me focused and excited about the process. It’s amazing how a little organization can inspire innovation in my baking, making each loaf a delightful experiment in flavor and texture!
Step 2. Mix Dry Ingredients Together
As I prepare to mix the dry ingredients together, I can already envision the foundation of my loaf taking shape. I grab my flour, salt, and yeast, carefully measuring them out to achieve the perfect ingredient ratios. Using a whisk, I employ a gentle yet thorough mixing technique to guarantee even distribution of the yeast and salt throughout the flour. This step’s essential; it promotes uniform fermentation and flavor development in the bread. I can almost feel the excitement as I combine these elements into a harmonious blend. If you want to elevate your baking, don’t rush this process—take your time and really focus on integrating these dry ingredients. A well-mixed foundation leads to a delicious and innovative loaf!
Step 3. Knead the Dough Thoroughly
With my dry ingredients mixed to perfection, I plunge into the next crucial step: kneading the dough thoroughly. This is where the magic happens! I dust my countertop with flour and turn the dough out, feeling its initial stickiness transform under my hands. Using various kneading techniques, like the fold-and-push method, I work the dough until it becomes smooth and elastic. It’s essential to pay attention to the dough texture; it should spring back when pressed. I find myself lost in the rhythm, each fold enhancing its structure. After about 10 minutes, I can sense its readiness—soft yet resilient. This step not only develops gluten but also infuses my bread with that homemade essence we all crave.
Step 4. Let the Dough Rise
After kneading the dough to perfection, I place it in a lightly greased bowl, covering it with a damp cloth to keep it warm and cozy. This is where the magic happens—dough fermentation begins, and my kitchen fills with anticipation. I let it rise for about one to two hours, depending on the temperature, until it doubles in size, a true indication of patience and craft.
As I watch it transform, I can’t help but feel:
- The joy of creation
- The aroma of possibilities
- The promise of fresh bread
- The warmth of home
Each rising moment is essential, setting the stage for the final masterpiece. Trust the process, and embrace those rising times; you won’t regret it!
Step 5. Shape the Dough Into Loaves
Once the dough has risen beautifully, I gently punch it down to release the air, feeling the soft texture beneath my fingertips. Next, I divide the dough into equal portions, experimenting with different shaping techniques. For a classic loaf, I roll each piece into a tight cylinder, tucking the ends underneath. For a rustic touch, I might opt for a round boule, creating a lovely, free-form shape. I love exploring loaf variations like adding herbs or cheese for an innovative twist. Once shaped, I place the loaves in greased pans, allowing them to rise again. The anticipation builds as I imagine the delightful aroma and golden crust waiting for me in the oven. It’s where creativity truly comes alive!
Nutritional Guide
As I plunge into the nutritional guide for this easy bread recipe, you’ll discover how each ingredient contributes to a balanced diet. Understanding the caloric content and ingredient benefits can transform your baking experience into a healthful endeavor. Here’s a quick look at what makes this bread not just delicious, but also nutritious:
| Ingredient | Benefits |
|---|---|
| Whole Wheat Flour | High in fiber, supports digestion |
| Yeast | Aids in nutrient absorption |
| Olive Oil | Rich in healthy fats, boosts heart health |
Each bite of this bread not only satisfies your cravings but also nourishes your body, making it a delightful choice for your meals. Let’s embrace the intersection of flavor and nutrition!
Final Thoughts
Reflecting on the nutritional benefits of the ingredients, it’s clear that this easy bread recipe not only satisfies the palate but also supports a healthy lifestyle. With a few baking tips, you can explore delightful bread variations that keep your creativity alive in the kitchen.
- The aroma of freshly baked bread brings warmth to any home.
- Each bite can be customized with your favorite herbs or spices.
- Baking can become a meditative practice, grounding you in the moment.
- Sharing your creations fosters connection with loved ones.
Frequently Asked Questions
Can I Use Gluten-Free Flour for This Recipe?
Absolutely, I’ve used gluten-free flour before! It brings unique flavors and textures. Plus, the gluten-free benefits are fantastic for those with sensitivities. Experimenting with flour substitutes can lead to innovative, delicious results you’ll love.
How Long Does Homemade Bread Last?
Homemade bread’s shelf life typically lasts three to five days at room temperature. I recommend using bread preservation methods like freezing or storing in airtight containers to enjoy it longer while maintaining that delightful freshness.
Can I Freeze the Bread After Baking?
Oh, freezing bread’s like preserving a slice of heaven! I often use smart freezing techniques to keep my homemade bread fresh for months. It’s a fantastic method for effective bread preservation, ensuring deliciousness anytime I crave it.
What Is the Best Way to Store Bread?
When I store bread, I find the best containers are airtight, like glass or plastic. This keeps it fresh longer, prevents mold, and helps maintain that delightful crust. Proper bread storage truly makes a difference!
Can I Add Herbs or Spices to the Dough?
I love experimenting with herb variations and spice combinations in my dough. It transforms the flavors beautifully, making each loaf unique. Just be mindful of the balance—too much can overwhelm the bread’s essence. Enjoy!
Conclusion
Baking bread is like nurturing a friendship; it takes time, patience, and a little warmth to rise to its fullest potential. I remember the first loaf I made—my kitchen filled with the comforting aroma, much like the laughter of good friends. As you commence your own baking journey, remember that each loaf tells a story, connecting you to tradition and creativity. So, roll up your sleeves, embrace the process, and enjoy every delicious slice along the way!
