Easy Pizza Crust Recipe
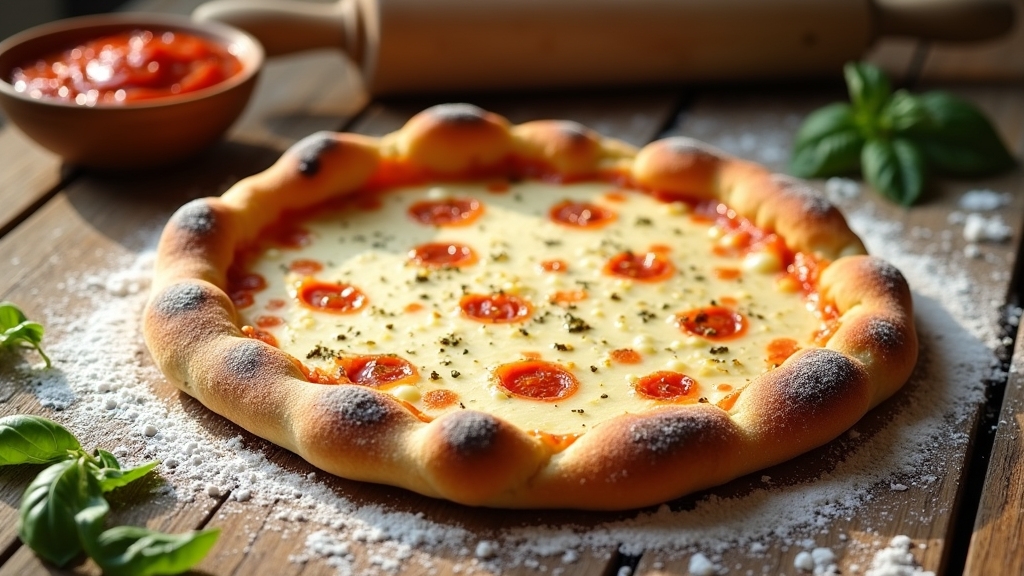
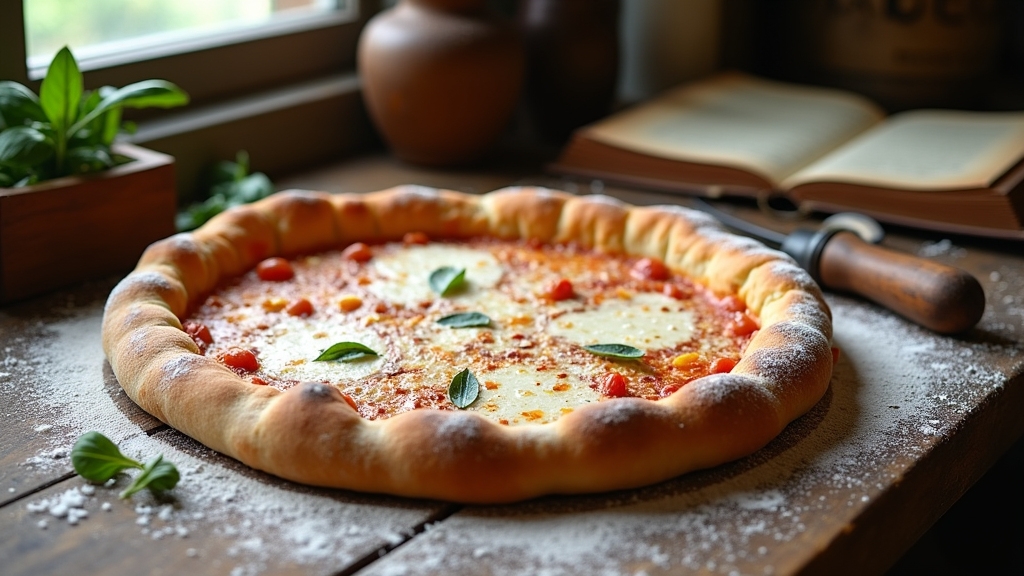
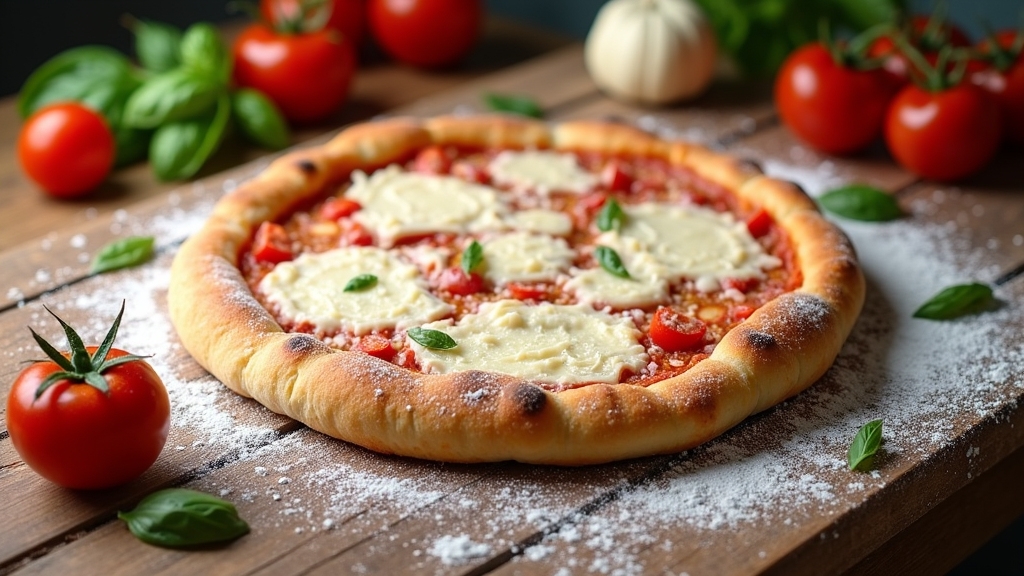
Making an easy pizza crust at home is a delightful way to elevate your pizza night! I start with just 2 cups of all-purpose flour, a packet of yeast, warm water, and a few other simple ingredients. Mixing and kneading the dough creates a perfect texture, and letting it rise transforms it into something special. Once baked, the crust turns crispy on the outside and soft inside. Stick around, and I’ll share tips for enhancing your pizza experience!
Contents
History
When I think about the history of pizza crust, I can’t help but feel a connection to the rich tapestry of culinary traditions that span centuries. Its ancient origins trace back to the flatbreads enjoyed by civilizations like the Egyptians and Greeks, who used simple ingredients to create satisfying meals. As I explore regional variations, I’m fascinated by how cultures adapted this humble dish. In Naples, the crust became a canvas for fresh tomatoes and mozzarella, while in Chicago, it morphed into a deep-dish delight. Each locale adds its unique flair, transforming pizza into a global phenomenon. This journey through time and taste inspires me to innovate, honoring the past while crafting my own delicious interpretations of this beloved classic.
Recipe
Making your own pizza crust at home is an incredibly rewarding experience that can elevate any pizza night. With just a few simple ingredients, you can create a delicious, homemade crust that is crispy on the outside and soft on the inside. This easy pizza crust recipe requires minimal effort and can be customized to suit your taste preferences, whether you like it thin and crispy or thick and chewy.
Elevate your pizza night with a delicious homemade crust that’s crispy outside and soft inside, customizable to your taste!
To get started, you’ll need to gather your ingredients and get your hands a little messy. The beauty of this recipe is its simplicity; it’s beginner-friendly and allows for creativity. Once you master the basic dough, you can experiment with different seasonings, herbs, and even incorporate whole wheat flour for a healthier twist. So roll up your sleeves and let’s plunge into making your very own pizza crust!
Ingredients:
- 2 cups all-purpose flour
- 1 packet (2 1/4 teaspoons) active dry yeast
- 3/4 cup warm water (about 110°F)
- 1 teaspoon sugar
- 1 teaspoon salt
- 1 tablespoon olive oil
- Cornmeal (for dusting)
Instructions:
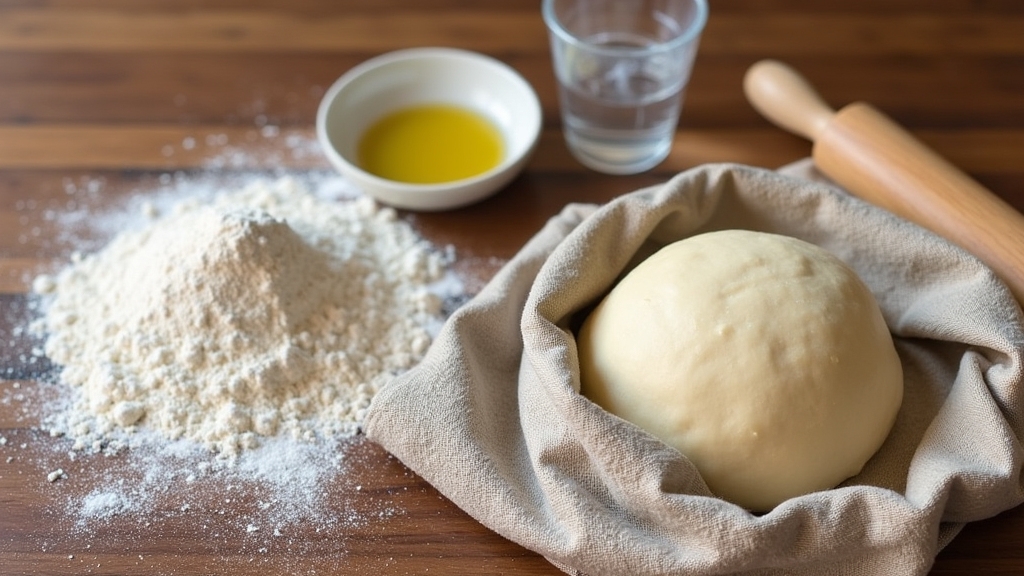
In a small bowl, dissolve the sugar and yeast in warm water, letting it sit for about 5 minutes until frothy. In a large mixing bowl, combine the flour and salt. Create a well in the center and pour in the yeast mixture and olive oil. Mix until a dough forms, then knead on a floured surface for about 5-7 minutes until smooth and elastic. Place the dough in a greased bowl, cover with a kitchen towel, and let it rise in a warm place for 1 hour or until doubled in size. Preheat your oven to 475°F (245°C). Once risen, punch down the dough and roll it out to your desired thickness on a floured surface. Transfer the rolled dough to a pizza stone or baking sheet dusted with cornmeal, add your favorite toppings, and bake for 12-15 minutes or until golden brown.
Extra Tips:
For an even better crust, let your dough rise for a longer period, allowing the flavors to develop more deeply. If you have time, consider refrigerating the dough overnight for a cold ferment, which enhances the texture and flavor. Also, feel free to experiment with adding herbs like oregano or garlic powder directly into the dough for an extra burst of flavor. Enjoy your homemade pizza crust with your favorite toppings for a truly delightful meal!
Cooking Steps
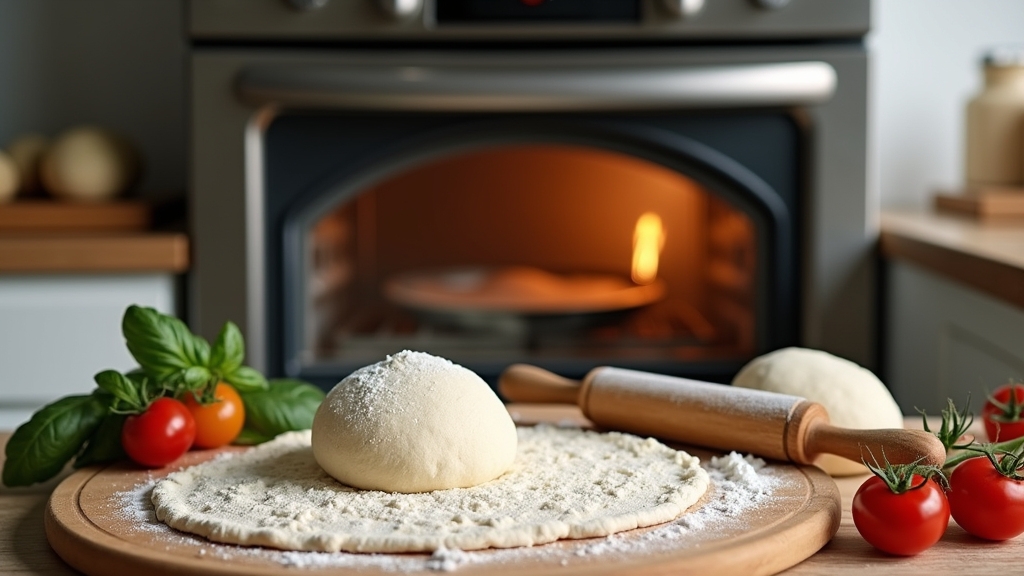
Now that we have our ingredients ready, let’s jump into the cooking steps that’ll bring your pizza crust to life. First, I always preheat my oven to get that perfect crispy finish. Then, I mix the flour and yeast, kneading the dough thoroughly to create that delightful texture we all love.
Step 1. Preheat Your Oven
To kick off your pizza-making adventure, I always recommend preheating your oven to create that perfect crispy crust. Setting your oven to the right temperature—typically around 475°F (245°C)—is essential for achieving that delightful golden finish. While the oven warms up, you can feel the excitement building, knowing that ideal baking time is just around the corner. I usually let my oven heat for about 20 minutes, ensuring it’s fully ready to deliver that restaurant-quality result. This initial step not only boosts the crust’s texture but also helps the toppings cook evenly. So, don’t rush this part; a well-preheated oven is the secret weapon for pizza perfection that’ll impress everyone at your table!
Step 2. Mix Flour and Yeast
Mixing flour and yeast is an essential step that sets the foundation for your pizza crust. I love how this simple combination ignites the yeast activation process, creating that perfect rise. When selecting flour types, I often experiment to see which yields the best texture. Here’s how I do it:
- Choose Your Flour: I usually go for bread flour for its higher protein content, but all-purpose flour can work too.
- Combine Ingredients: In a large bowl, I mix the flour with the yeast, ensuring even distribution.
- Add Water: I gradually incorporate warm water to activate the yeast, making sure it’s not too hot to kill it.
Step 3. Knead the Dough Thoroughly
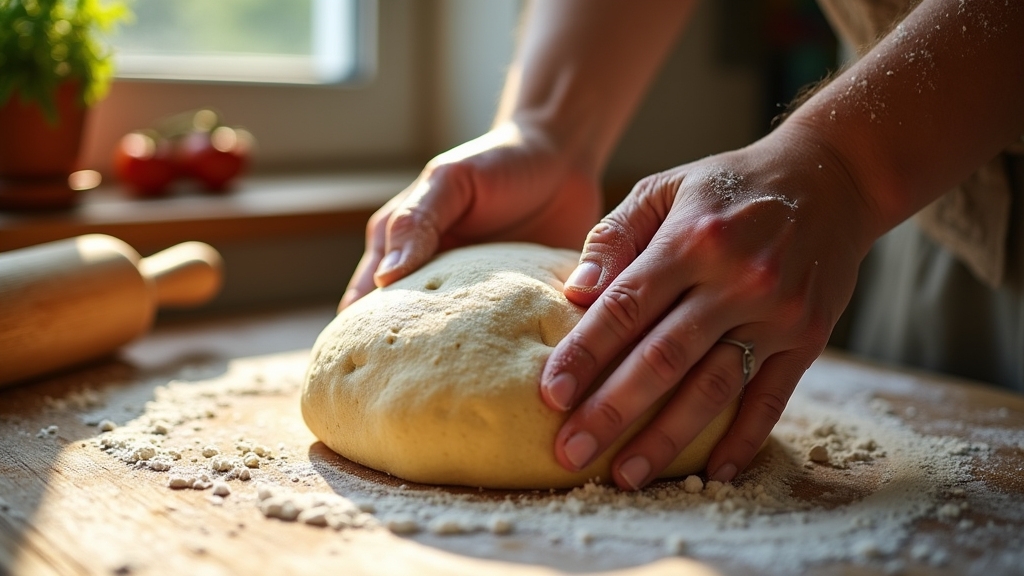
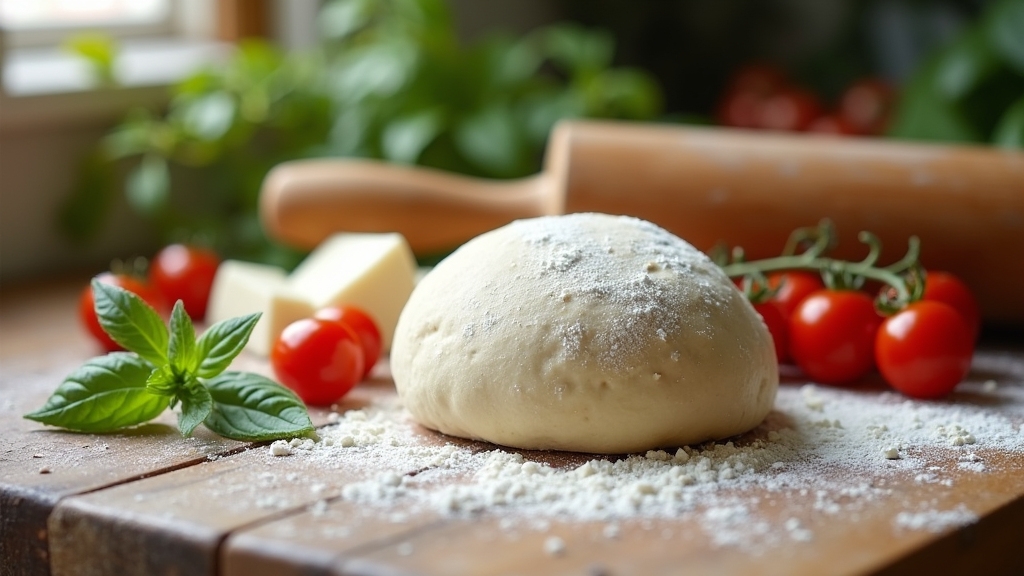
Kneading the dough is where the magic truly happens, transforming a simple mixture into a pliable, elastic ball that promises a delicious crust. As I immerse myself, I use my palms to push the dough away, then fold it back over itself—this kneading technique develops the gluten structure, enhancing the dough texture. I find that a rhythmic motion works best; it’s almost meditative. I knead for about 8–10 minutes, sprinkling a bit of flour if it gets too sticky. You’ll know you’re there when the dough feels smooth and springs back when poked. This isn’t just about effort; it’s about creating that perfect foundation for innovation in your pizza-making journey!
Step 4. Let Dough Rise Briefly
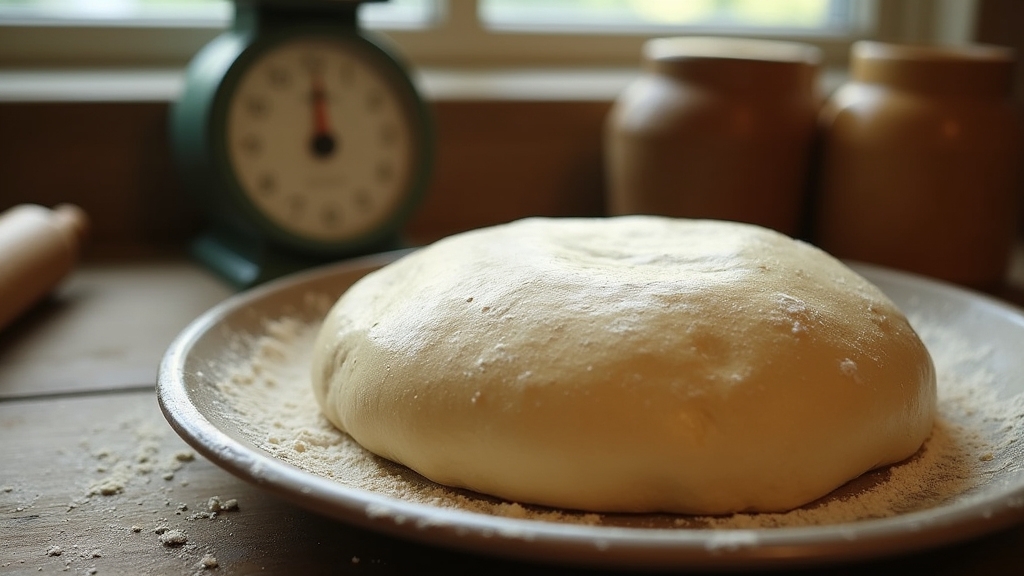
After kneading the dough thoroughly, it’s time to let it rise briefly, allowing the yeast to work its magic. This step is essential for effective dough fermentation, and I love experimenting with rising techniques. Here’s how I do it:
- Cover the Dough: I place a damp cloth over the bowl to retain moisture, promoting a warm environment for the yeast.
- Choose a Warm Spot: I set the bowl in a cozy corner of my kitchen, away from drafts, which helps the dough rise evenly.
- Patience is Key: I typically let it rise for about 30 minutes—just enough time for the dough to double in size, creating that perfect airy texture I crave for my pizza crust.
Step 5. Shape the Dough Into Rounds
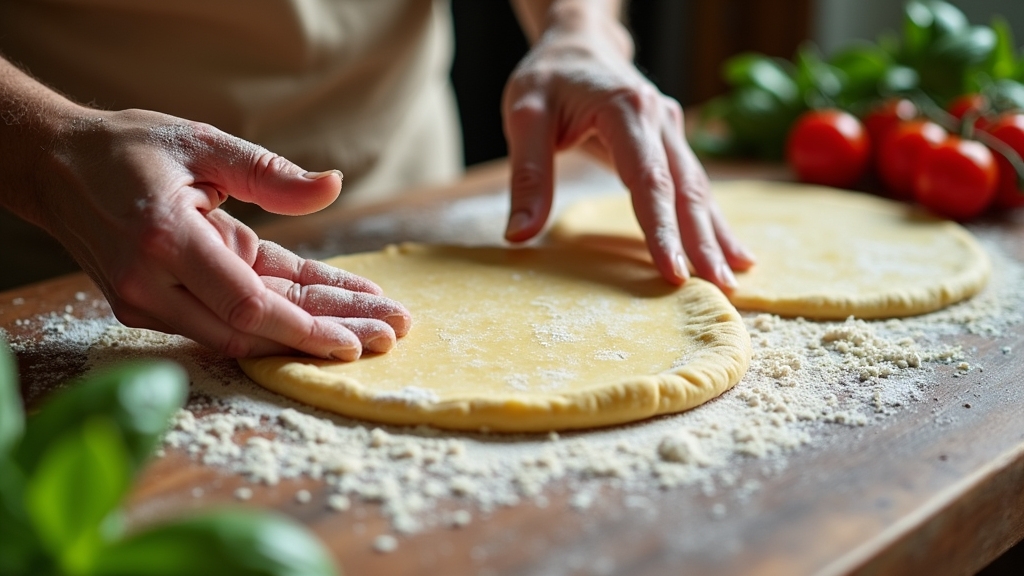
Now it’s time to transform that beautifully risen dough into perfect rounds. I start by lightly flouring my work surface, ensuring the dough doesn’t stick. Gently, I punch down the dough, releasing any built-up air. Then, I divide it into equal portions, usually about the size of a baseball. Using the round technique, I take each piece and cup it in my hands, rolling it in circular motions to create a smooth ball. This dough shaping not only makes handling easier but also promotes even cooking. I’ll let these rounds rest for a few minutes, allowing the gluten to relax. With each round, I can already envision the delicious pizzas that await us. Let’s get creative!
Nutritional Guide
When it comes to enjoying a homemade pizza, understanding the nutritional aspects of the crust can enhance your meal experience. The caloric content can vary based on the ingredients you choose, but knowing the benefits of each can guide your selections. A whole wheat crust, for example, offers fiber and essential nutrients, while a cauliflower crust can reduce carbs and boost vitamins. Here’s a quick reference table to help you navigate:
| Ingredient | Benefits |
|---|---|
| Whole Wheat Flour | High in fiber, aids digestion |
| Cauliflower | Low in calories, packed with vitamins |
| Olive Oil | Healthy fats, heart-friendly |
Final Thoughts
Crafting the perfect pizza crust is just as rewarding as the toppings you choose. The joy of bringing your culinary ideas to life is unparalleled, and it all starts with a great base. As you experiment with topping combinations, consider these serving suggestions to elevate your pizza experience:
- Pair with fresh herbs: Basil or arugula adds a burst of flavor.
- Drizzle with infused oils: A hint of garlic or chili oil can transform each slice.
- Serve with dipping sauces: Pesto, marinara, or ranch can enhance your creation.
Frequently Asked Questions
Can I Use Whole Wheat Flour Instead of All-Purpose Flour?
Absolutely, I’ve used whole wheat flour and loved it! The nutritional benefits are fantastic, offering more fiber. Just remember, the flavor differences can be nuttier, which adds a delightful twist to traditional recipes.
How Do I Store Leftover Pizza Crust?
You won’t believe how easy it is to keep that crust fresh! I wrap leftover pizza crust tightly in plastic wrap, then store it in an airtight container. This locks in freshness for future deliciousness!
Can I Freeze the Pizza Dough?
Absolutely, I freeze my pizza dough all the time! For best results, wrap it tightly in plastic, label it, and use within three months. Those freezing tips help preserve flavor and texture during dough storage.
What Toppings Pair Well With This Crust?
When I think about topping combinations, I love mixing spicy pepperoni with sweet bell peppers or creamy goat cheese with tangy arugula. These flavor profiles elevate any dish, creating a delicious experience that’s truly unforgettable.
How Can I Make the Crust Gluten-Free?
To make a gluten-free crust, I love using gluten-free flours like almond or coconut. These pizza crust alternatives offer unique flavors and textures, turning your pizza night into a delightful adventure without sacrificing taste!
Conclusion
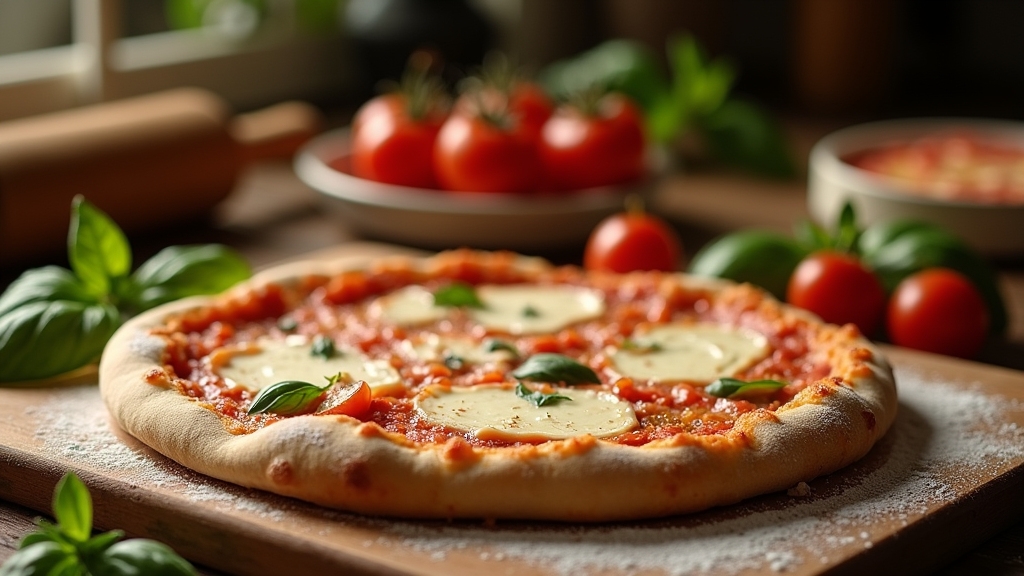
As I take a bite of this homemade pizza, it feels like a warm hug on a chilly evening. Making your own pizza crust isn’t just easy; it transforms your kitchen into a pizzeria, filling the air with delightful aromas. Whether you’re hosting friends or enjoying a quiet night in, this recipe offers a delicious canvas for your favorite toppings. So roll up your sleeves, and let your creativity shine—your perfect pizza awaits!
