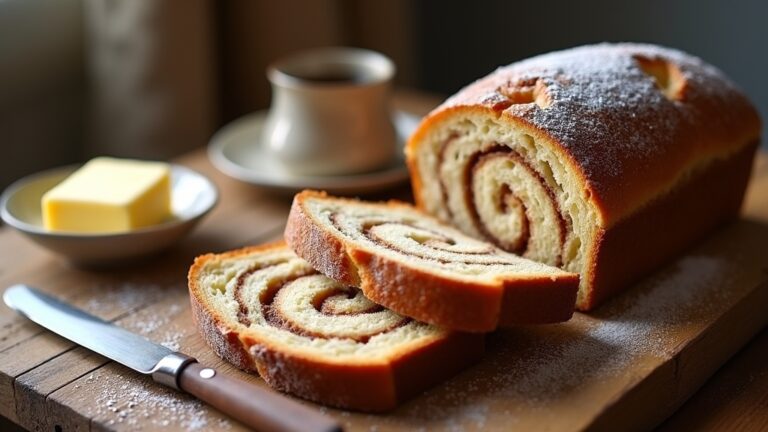
French Bread Recipe
To make delicious French bread, combine 4 cups of flour, warm water, yeast, salt, and sugar, kneading the mixture until smooth. Shape the dough into loaves and let it rest. Preheat your oven to 450°F, then bake until golden brown and hollow-sounding when tapped. Each slice offers a satisfying 80 calories, combining crusty perfection with a soft, airy interior. This journey into bread-making is just the beginning—there’s so much more to discover!
Contents
History
When you think of French bread, it’s hard not to be captivated by its rich history that stretches back centuries. With French origins dating as far back as the Roman Empire, bread-making has evolved through various baking traditions. You can almost feel the passion of the bakers who honed their craft, creating crusty baguettes and soft, airy loaves. Each region in France boasts its unique take on bread, influenced by local ingredients and customs. As you explore this fascinating journey, you’ll discover how bread became a symbol of sustenance and community. It’s not just food; it’s a tradition that embodies the spirit of freedom, creativity, and the artistry of those who dedicate their lives to the perfect loaf.
Recipe
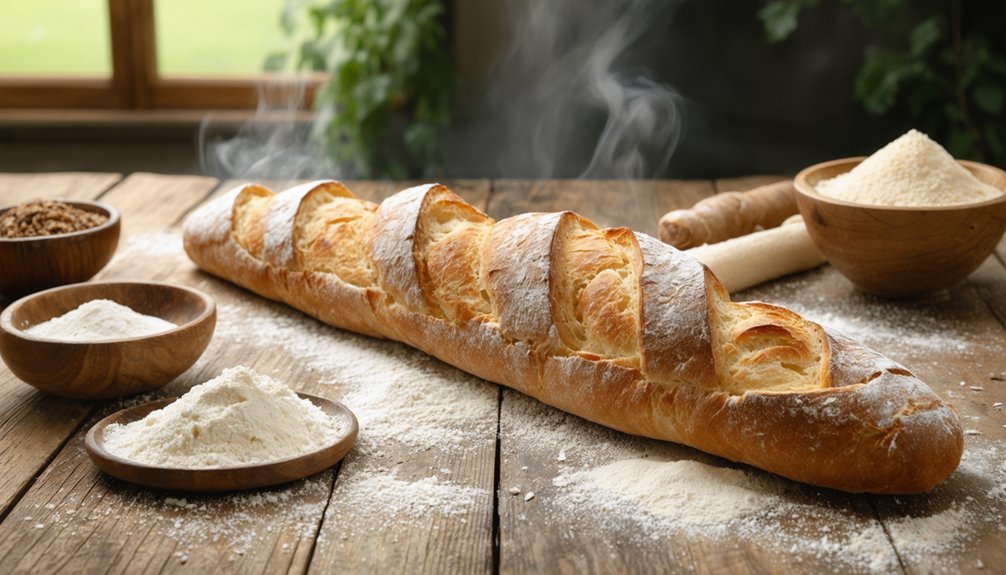
French bread is a classic staple in many households, known for its crusty exterior and soft, airy interior. This delightful bread is perfect for sandwiches, serving alongside soups, or simply enjoying with butter and jam. The process of making French bread can be quite rewarding, as it allows you to engage in the art of bread-making, which has been cherished for centuries.
To achieve that perfect loaf, it is essential to use high-quality ingredients and give the dough enough time to rise. Patience is key, as the fermentation process develops the flavors and texture of the bread. With the right technique and a little practice, you can master this traditional French bread recipe that will have everyone asking for seconds.
Ingredients:
- 4 cups all-purpose flour
- 1 ½ cups warm water (about 110°F)
- 2 teaspoons salt
- 2 teaspoons sugar
- 1 packet (2 ¼ teaspoons) active dry yeast
- Cornmeal (for dusting)
- Optional: melted butter for brushing
Instructions:
In a large mixing bowl, combine the warm water, sugar, and yeast; let it sit for about 5-10 minutes until frothy. Add the salt and gradually mix in the flour until a dough forms. Knead the dough on a floured surface for about 8-10 minutes until smooth and elastic. Place the dough in a greased bowl, cover it with a damp cloth, and let it rise in a warm spot for 1-2 hours, or until it has doubled in size. Preheat your oven to 450°F and prepare a baking sheet by dusting it with cornmeal. Punch down the dough, shape it into a long loaf, and place it on the prepared sheet. Make diagonal slashes on top of the loaf with a sharp knife, then let it rest for an additional 30 minutes. Bake for 20-25 minutes until golden brown and hollow-sounding when tapped on the bottom. If desired, brush with melted butter right after removing from the oven.
Extra Tips:
For a crustier exterior, place a shallow pan of water in the oven while baking to create steam. This will help to develop that desirable crust. Additionally, using bread flour instead of all-purpose flour can yield a chewier texture. Don’t forget to cool the bread completely on a wire rack before slicing to maintain its structure. Enjoy experimenting with different shapes and sizes, and feel free to add herbs or cheese to the dough for unique variations!
Cooking Steps
Now that you’ve gathered your ingredients, it’s time to bring your French bread to life with the cooking steps. You’ll start by activating your yeast mixture, which is essential for that perfect rise. After that, kneading the dough thoroughly will create the structure needed for a delightful loaf.
Step 1. Activate Yeast Mixture
To create that perfect loaf of French bread, you must first activate your yeast mixture, which is an essential step in achieving the right texture and flavor. Start by choosing your yeast type—active dry or instant work well. In a bowl, combine warm water (about 110°F) with a pinch of sugar and your yeast. Let it sit for about 5 to 10 minutes until it becomes frothy, signaling that fermentation is underway. This bubbling action indicates your yeast is alive and ready to work its magic. During this process, the yeast consumes the sugar, releasing carbon dioxide, which will help your bread rise beautifully. Embrace this simple yet powerful step for a delightful baking journey!
Step 2. Knead the Dough Thoroughly
Once your yeast mixture is frothy and ready, it’s time to bring all your ingredients together and knead the dough thoroughly. Start by mixing the flour and salt, then pour in your yeast mixture. As you combine them, feel the dough form, adjusting the flour for the right dough consistency.
Now, it’s time to knead! Use your palms to push the dough away from you, then fold it back. Repeat this kneading technique for about 8-10 minutes. You’re aiming for a smooth, elastic texture. Don’t hesitate to sprinkle a little flour if it sticks, but avoid adding too much. The rhythm of kneading not only develops gluten but also connects you with the freedom of creating something delicious. Enjoy the process!
Step 3. Shape the Dough Loaf
Gently press down the dough to release any trapped air, then divide it into two equal portions for your loaves. Now, it’s time to embrace some dough techniques! Take one portion and flatten it slightly, stretching it into a rectangle. Fold the top third down to the center, then do the same with the bottom third. Pinch the seams to seal your creation. Next, roll the dough tightly from one end to the other, shaping it into a loaf. Tuck the ends under for a neat finish. Repeat with the second portion. This loaf shaping process not only forms your bread but also develops its structure. Let your shaped loaves rest before they commence their baking journey!
Step 4. Preheat the Oven
Preheat your oven to a sizzling 450°F (232°C) to create the perfect environment for baking your French bread. This oven temperature is vital for achieving that delightful crust and airy interior. While the oven warms up, consider how the heat will transform your dough into a golden masterpiece. Mastering baking techniques starts with this essential step, as a properly preheated oven guarantees even cooking and ideal texture. You want that steam to work its magic, helping your bread rise beautifully. Take a moment to feel the anticipation; you’re about to create something delicious. With the oven ready, you’re one step closer to pulling out a loaf that not only looks incredible but also fills your kitchen with an irresistible aroma.
Step 5. Bake Until Golden Brown
As the dough bakes in your preheated oven, keep a close eye on its transformation into a beautiful loaf. Watch as it rises and the crust begins to develop that golden brown hue you crave. This isn’t just about looks; it’s where the magic happens. The right baking techniques guarantee a crust texture that’s crispy on the outside yet soft and airy within. If you notice it browning too quickly, you can lightly tent it with foil to prevent burning. Aim for an internal temperature of about 190°F for ideal doneness. When it’s ready, the aroma will fill your kitchen, beckoning you to plunge into your freshly baked French bread—a true reflection of your baking journey!
Nutritional Guide
When you immerse yourself in baking French bread, it’s important to reflect on its nutritional profile to truly appreciate this delightful staple. Understanding the caloric content and ingredient benefits can enhance your baking experience.
Here’s a quick guide to the basic nutritional components of French bread:
| Nutrient | Amount per Slice | Benefits |
|---|---|---|
| Calories | 80 | Energy source |
| Carbohydrates | 15g | Fuel for your body |
| Protein | 3g | Supports muscle health |
Final Thoughts
Even though baking French bread might seem intimidating at first, it can be a rewarding experience that fills your kitchen with irresistible aromas. As you knead the dough, feel the freedom of creating something delicious from scratch. Whether you stick to the classic recipe or explore sourdough alternatives, you’ll discover the joy of crafting that perfect crust texture. Don’t hesitate to experiment with flavors and shapes; each loaf tells a unique story. Once you pull that golden-brown bread from the oven, the sight alone will make it all worthwhile. Slice into it, and you’ll savor not just the taste but the accomplishment of your effort. Embrace this culinary adventure and let your creativity rise like the dough itself!
Frequently Asked Questions
Can I Use Whole Wheat Flour Instead of All-Purpose Flour?
You can definitely use whole wheat flour instead of all-purpose flour. Whole wheat benefits include added nutrients, but it might change the flour texture, making your baked goods denser and heartier. Enjoy experimenting with this healthier option!
How Do I Store Leftover French Bread?
To store leftover bread and maintain its freshness, wrap it in a clean kitchen towel or place it in a paper bag. Avoid plastic, as it traps moisture and causes sogginess. Enjoy your delicious leftovers!
What Are the Best Toppings for French Bread?
For delicious toppings, try spreading garlic butter for a savory kick or layering on bruschetta toppings like diced tomatoes and basil. These choices elevate your dish, making each bite a flavorful adventure you won’t forget!
Can I Freeze French Bread? if So, How?
Yes, you can freeze it! Wrap the bread tightly in plastic wrap, then foil. For thawing, leave it at room temperature or pop it in the oven for a few minutes—enjoy that fresh taste again!
How Do I Know When the Bread Is Fully Baked?
To know when your bread’s fully baked, check the crust color for a golden brown hue. You can also use a thermometer; an internal temperature of 190°F guarantees a perfect, airy loaf that’s ready to enjoy.
Conclusion
Baking your own French bread is like crafting a warm hug for your taste buds. With the history and techniques in your hands, you’re ready to create a loaf that’s not just delicious but a symbol of your culinary skills. Each slice brings the aroma of tradition and the satisfaction of homemade goodness. So, gather your ingredients, roll up your sleeves, and let the magic unfold in your kitchen. You’ll savor every moment and every bite.
