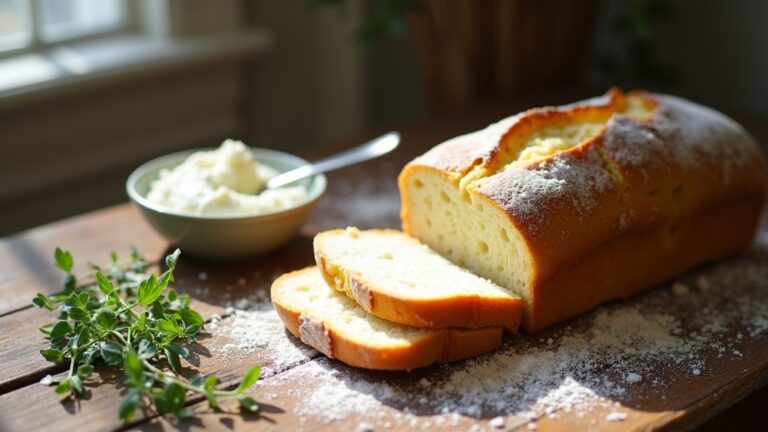
Healthy Bread Recipe
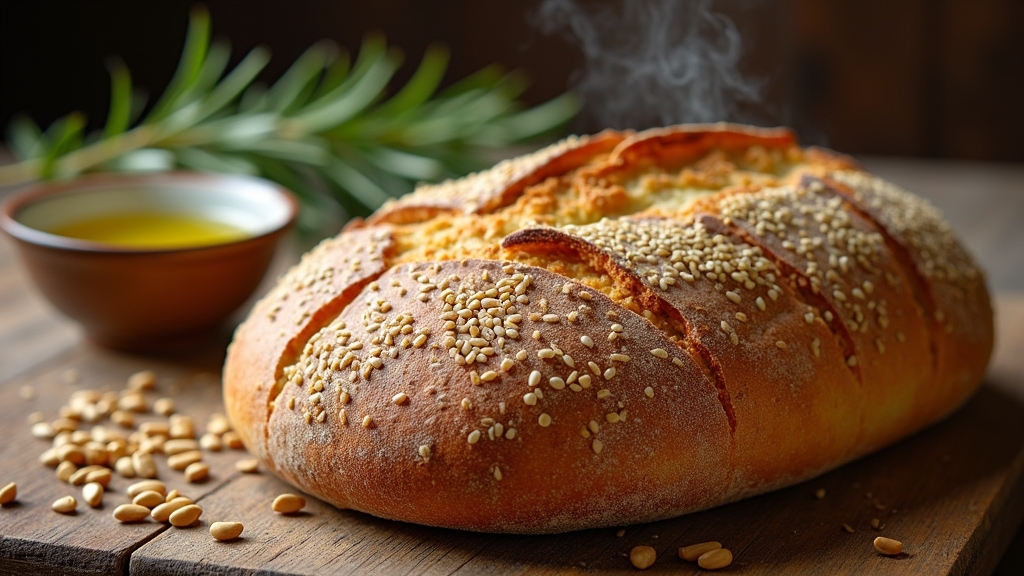
I love baking healthy bread at home because it gives me control over the ingredients. My go-to recipe includes 3 cups of whole wheat flour, 1 cup of all-purpose flour, chia seeds, flaxseeds, honey, active dry yeast, warm water, and olive oil. These ingredients provide fiber and essential nutrients. I found that allowing the dough to rise properly is key for a light texture. If you stick around, I’ll share more tips and nutritional benefits!
Contents
History
When we look back at the history of bread, it’s fascinating to see how this staple food has evolved over thousands of years. Initially, ancient grains like emmer and spelt were ground into flour, forming the basis of early breads. These grains weren’t just nutritional; they reflected the agricultural practices and climates of their regions. As civilizations expanded, bread took on various forms and flavors, showcasing cultural variations from the flatbreads of the Middle East to the sourdoughs of Europe. Each innovation in bread-making, whether through fermentation techniques or the introduction of new grains, has contributed to our diverse culinary landscape. Understanding this history enriches our appreciation for what we eat today and inspires us to explore healthier versions.
Recipe
Baking your own healthy bread at home is not only a rewarding experience but also a great way to guarantee that you know exactly what goes into your food. This recipe combines whole grains, seeds, and minimal sweeteners to create a delicious loaf that is perfect for sandwiches, toast, or simply enjoying with a little bit of butter. The process may seem intimidating at first, but with a little patience and practice, you’ll find that making bread from scratch can be both simple and enjoyable.
To achieve the best results, use fresh ingredients and take your time with the rising and kneading processes. This healthy bread is versatile; feel free to experiment with different whole grains or add your favorite nuts and seeds for added texture and flavor. Whether you’re looking to boost your nutrition or simply want a delicious homemade option, this bread recipe is sure to satisfy.
Ingredients:
- 3 cups whole wheat flour
- 1 cup all-purpose flour
- 2 tablespoons chia seeds
- 2 tablespoons flaxseeds
- 1 teaspoon salt
- 2 tablespoons honey or maple syrup
- 2 teaspoons active dry yeast
- 1 ½ cups warm water (110°F)
- 2 tablespoons olive oil
Instructions:
In a large mixing bowl, combine the whole wheat flour, all-purpose flour, chia seeds, flaxseeds, and salt. In a separate bowl, dissolve the active dry yeast in warm water and add honey or maple syrup; let it sit for about 5-10 minutes until it becomes foamy. Once ready, pour the yeast mixture and olive oil into the dry ingredients, and mix until a dough forms. Knead the dough on a floured surface for about 8-10 minutes until it’s smooth and elastic. Place the dough in a greased bowl, cover it with a damp cloth, and let it rise in a warm area for about 1 to 2 hours or until it doubles in size. Preheat your oven to 375°F (190°C). After the dough has risen, punch it down and shape it into a loaf. Transfer the loaf to a greased loaf pan, cover, and let it rise again for another 30-40 minutes. Bake for 30-35 minutes or until the bread is golden brown and sounds hollow when tapped. Allow it to cool before slicing.
Extra Tips:
For best results, make sure your ingredients are at room temperature before you start. If you want to add extra flavor, consider incorporating spices like cinnamon or herbs into your dough. You can also substitute some of the whole wheat flour with other flours like oat or spelt for a different taste. To keep your bread fresh longer, store it in an airtight container or wrap it in a clean kitchen towel. If you’re not going to eat all the bread right away, consider slicing and freezing it for later use; simply toast slices straight from the freezer when you’re ready to enjoy!
Cooking Steps
To make this healthy bread, I start by preheating my oven to guarantee it’s ready for baking. Next, I mix the dry ingredients thoroughly, as this step is essential for even flavor and texture. Once that’s done, I knead the dough until it’s smooth, which helps develop the gluten for a perfect rise.
Step 1. Preheat Your Oven
Before I start mixing the ingredients for my healthy bread, I always make certain to preheat my oven to the right temperature. This step is vital because it guarantees the bread bakes evenly and achieves that perfect rise. Typically, I set my oven to 375°F (190°C), which is ideal for whole grain breads. Preheating allows the oven to reach the desired oven temperature before I place my dough inside, optimizing baking time. If I skip this, my bread may end up dense or unevenly cooked. It’s a simple yet effective technique that elevates the quality of my bread. So, take a few minutes to preheat your oven; your future self will thank you for the delicious results!
Step 2. Mix Dry Ingredients Thoroughly
Mixing dry ingredients thoroughly is vital for achieving a consistent texture in my healthy bread. I start by carefully measuring my flour, salt, and any other dry ingredients to guarantee accurate ingredient ratios. Using effective mixing techniques, like whisking or sifting, helps to evenly distribute the leavening agents and spices throughout the flour. This step prevents clumps and guarantees that every slice of bread rises uniformly, which is essential for both flavor and texture. I also pay attention to alternative flours, as their mixing requirements may differ. By investing time in this process, I set a strong foundation for the dough, ultimately leading to a healthier and more delicious loaf that I can be proud of.
Step 3. Knead Dough Until Smooth
Kneading the dough until it’s smooth is a crucial step in making healthy bread, as it develops the gluten structure needed for the perfect rise. I typically start by turning the dough onto a floured surface and using my palms to push it away, then folding it back over itself. This kneading technique enhances the dough texture, ensuring it’s elastic and cohesive. I usually knead for about 8-10 minutes, observing how the dough transforms; it should become less sticky and more manageable. If it feels too dry, I add a few drops of water. Mastering these kneading techniques not only improves the bread’s overall quality but also builds a satisfying connection with the ingredients, making the process enjoyable.
Step 4. Let Dough Rise Completely
Allowing the dough to rise completely is essential for achieving a light and airy texture in your bread. During this critical phase of dough fermentation, the yeast activates, producing carbon dioxide and causing the dough to expand. I typically let the dough rise in a warm, draft-free spot, covered with a damp cloth to retain moisture. This process usually takes about 1 to 2 hours, but it can vary based on environmental conditions. You’ll know it’s ready when it has doubled in size and feels puffy to the touch. Remember, rushing this step can result in denser bread, so be patient. Embracing the science of fermentation leads to innovative baking results you’ll be proud to serve.
Step 5. Shape Dough Into Loaf
Once the dough has risen and doubled in size, it’s time to shape it into a loaf. I start by gently deflating the dough on a floured surface, which helps prevent large air bubbles. Using shaping techniques like the envelope fold or the batard method, I create a smooth surface. If I’m feeling adventurous, I might try different loaf variations, like a round boule or a classic sandwich loaf, depending on my meal plans. After shaping, I tuck the ends under to guarantee a tight seam, which helps maintain the loaf’s structure during baking. Finally, I place the shaped dough into a prepared pan, cover it, and let it rise again, ensuring a beautifully airy texture.
Nutritional Guide
When crafting a healthy bread recipe, understanding the nutritional content is essential for making informed choices. The right ingredients not only enhance flavor but also offer significant nutritional benefits. For instance, whole grains provide fiber and nutrients, while ingredient substitutions like almond flour can lower carbohydrates.
Here’s a quick nutritional breakdown of common ingredients:
| Ingredient | Nutritional Benefits |
|---|---|
| Whole Wheat Flour | High in fiber, B vitamins |
| Almond Flour | Low in carbs, rich in vitamin E |
| Chia Seeds | Packed with Omega-3, protein |
| Honey | Natural sweetener, antioxidants |
Final Thoughts
While making healthy bread can seem intimidating, I’ve found that focusing on quality ingredients truly transforms the process and the final product. The benefits of baking your own bread are numerous; you control the ingredients, ensuring a nutritious and delicious outcome. Incorporating whole grains, seeds, and natural sweeteners not only enhances flavor but also boosts health benefits.
When trying new recipes, remember a few baking tips: measure accurately, allow the dough to rise properly, and don’t rush the baking process. These small adjustments make a significant difference in texture and taste. As you experiment, you’ll discover innovative combinations that suit your palate. Embrace the journey, and soon, you’ll be enjoying the wholesome goodness of homemade bread.
Frequently Asked Questions
Can I Use Gluten-Free Flour Instead of Regular Flour?
Absolutely, I’ve experimented with gluten-free alternatives and found that certain flour types, like almond or oat flour, can work well. Just be sure to adjust your liquid ratios for the best results.
How Can I Store Homemade Bread for Freshness?
I often store my homemade bread in a breathable bag or wrap it in a clean kitchen towel. For longer freshness, I freeze slices, keeping them ready for toasting or sandwiches whenever I want.
What Are the Best Toppings for Healthy Bread?
When I think about the best toppings for healthy bread, avocado spread and nut butter come to mind. They’re not just delicious; they provide healthy fats, protein, and essential nutrients to fuel my day.
How Long Does Healthy Bread Typically Last?
Healthy bread typically lasts about five to seven days at room temperature. To extend its shelf life, I recommend storing it in an airtight container or freezing it. These storage tips really help maintain freshness!
Can I Freeze This Bread for Later Use?
Absolutely, I freeze my bread for later use. I wrap it tightly using proper freezing techniques. When I’m ready, I utilize thawing methods like leaving it at room temperature for ideal freshness and flavor.
Conclusion
In my journey to healthier eating, I’ve found that baking my own bread is like crafting a masterpiece—each ingredient plays a crucial role, just like colors on a palette. A 2019 study showed that homemade bread can have up to 50% less sodium than store-bought options, making it not just a tasty choice but a healthier one too. So, as you knead and shape your dough, remember you’re not just making bread; you’re creating a nourishing work of art.
