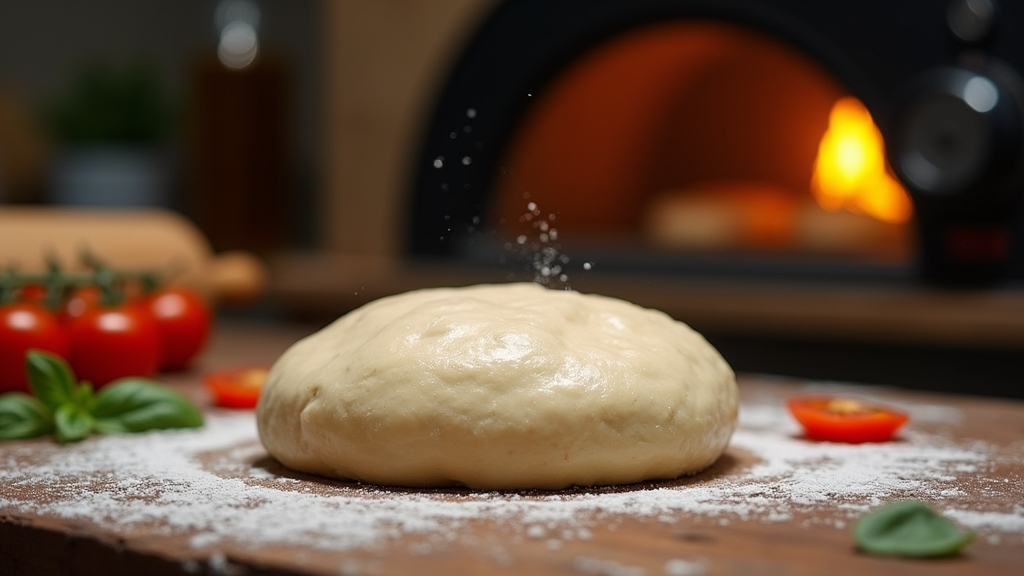
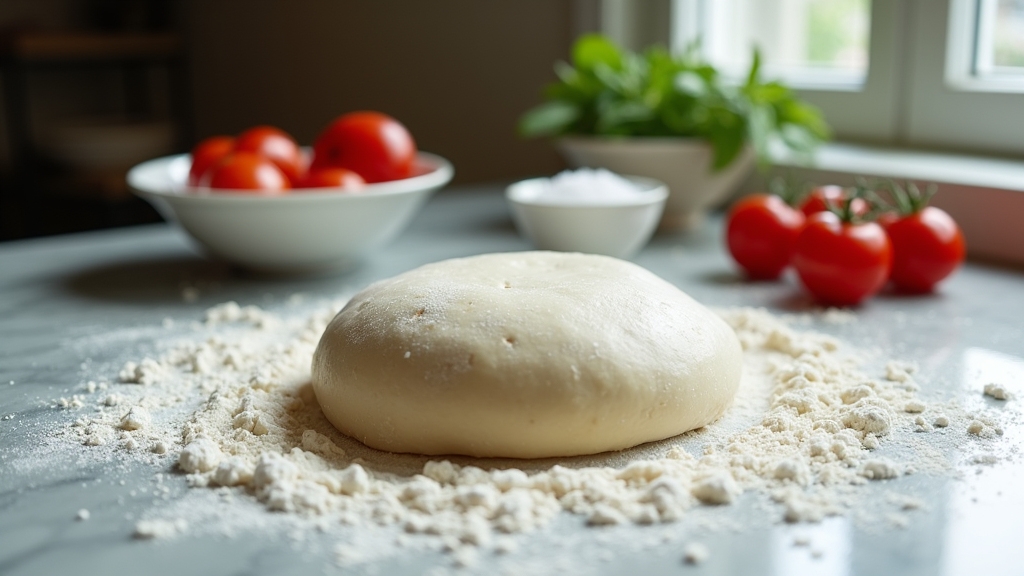
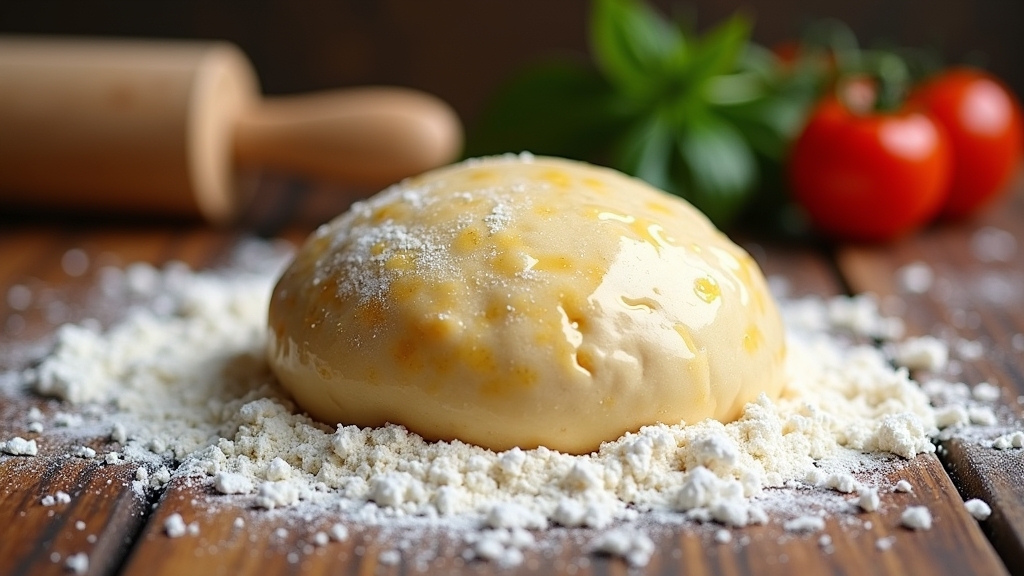
Italian Pizza Dough Recipe
To make Italian pizza dough, I mix high-protein bread flour with lukewarm water, kneading it for about 10 minutes until it’s smooth and elastic. After letting the dough rise overnight, I shape it into balls and preheat my oven to 475°F for a crispy crust. I love experimenting with different flours and adding herbs for extra flavor. If you want to discover more techniques and tips for perfecting your dough, just keep going!
Contents
History
When I think about the history of Italian pizza dough, I can’t help but appreciate its deep roots in Italian culture. Its ancient origins trace back to the Romans, who baked flatbreads topped with local ingredients. Over centuries, this humble dish evolved, giving rise to regional variations that reflect the rich tapestry of Italy’s culinary landscape. From the thin, crispy crust of Neapolitan pizza to the thicker, doughier styles found in the north, each variation tells a story of local traditions and flavors. As I explore these diverse interpretations, I’m inspired to innovate while honoring the time-honored techniques that have shaped pizza dough into the beloved staple it is today. There’s a world of history in every bite!
Recipe
Making authentic Italian pizza dough at home is a rewarding experience that will elevate your pizza-making game. This simple yet effective recipe focuses on using high-quality ingredients and traditional techniques to achieve the perfect crust. With just a few basic ingredients, you can create a dough that is crisp on the outside and soft on the inside, making it the ideal base for your favorite pizza toppings.
Elevate your pizza-making skills with this authentic Italian pizza dough recipe for a crisp, flavorful crust.
To start, it’s vital to give your dough enough time to rise and develop flavor. This recipe allows for a slow fermentation process, enhancing the texture and taste of the dough. Whether you’re planning a pizza night with family or impressing friends with your culinary skills, this homemade pizza dough recipe will surely become a staple in your kitchen.
Ingredients:
- 4 cups all-purpose flour
- 1 ½ cups warm water (about 110°F)
- 2 teaspoons active dry yeast
- 1 teaspoon sugar
- 2 teaspoons salt
- 2 tablespoons olive oil
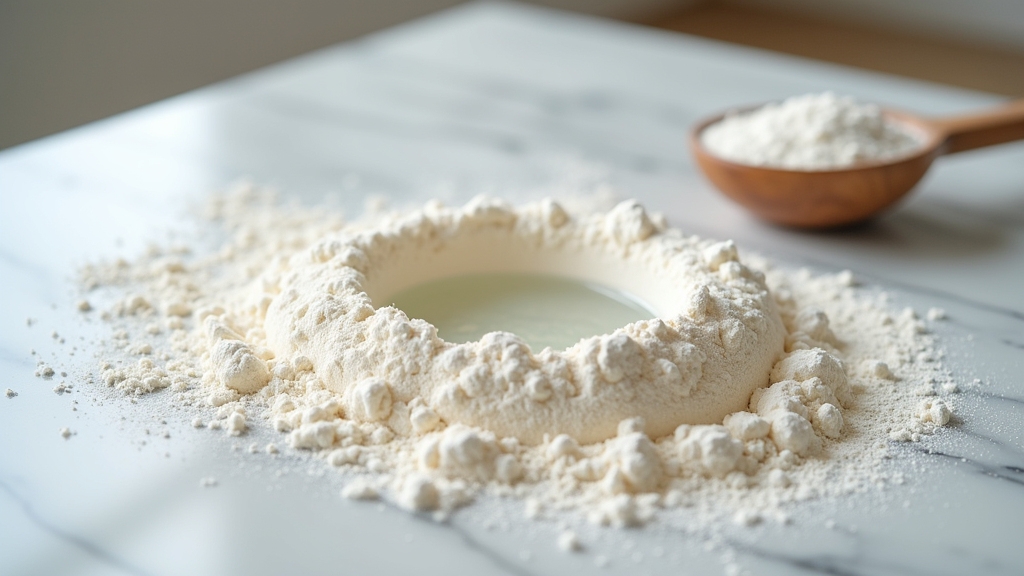
To prepare the pizza dough, begin by activating the yeast. In a small bowl, combine the warm water, sugar, and yeast, stirring gently. Let it sit for about 5-10 minutes until foamy. In a large mixing bowl, combine the flour and salt, then create a well in the center. Pour in the yeast mixture and olive oil, and mix with a wooden spoon until a shaggy dough forms. Transfer the dough to a lightly floured surface and knead for about 8-10 minutes until smooth and elastic. Place the dough in a lightly oiled bowl, cover with a damp cloth, and let it rise in a warm place for 1-2 hours or until doubled in size.
When making pizza dough, it’s essential to be patient. Allowing the dough to rise properly will result in a much tastier crust. If you’re short on time, you can let the dough rise in the refrigerator overnight, which will develop even more complex flavors. Additionally, consider using a pizza stone for baking, as it helps to achieve that perfect crispy crust. Finally, feel free to experiment with different types of flour, such as bread flour or ’00’ flour, to find the texture and taste that you prefer.
Cooking Steps
Now that we have our ingredients ready, let’s get started on the cooking steps. First, I’ll mix the flour and water to form a soft dough, then I’ll knead it thoroughly to develop that perfect texture. After that, it’s time to let the dough rise overnight, which is essential for achieving great flavor and elasticity.
Step 1. Mix Flour and Water
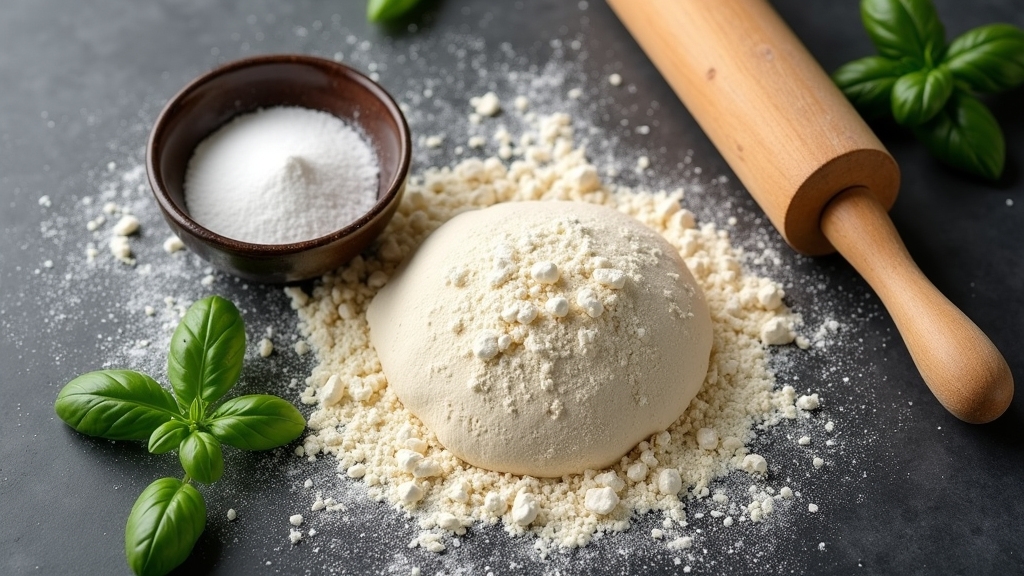
To create the perfect Italian pizza dough, I start by combining flour and water in a large mixing bowl. I usually opt for a blend of high-protein bread flour and all-purpose flour, which gives the crust that ideal chewy texture. Next, I measure out the water, ensuring it’s at a lukewarm temperature—around 100°F. This temperature activates the yeast effectively without shocking it. I pour the water slowly into the flour, creating a smooth, cohesive mixture. As I combine them, I make sure to eliminate any dry pockets of flour. This step is essential, as the right balance of flour types and water temperature lays the foundation for a dough that’s ready to rise beautifully.
Step 2. Knead the Dough Thoroughly
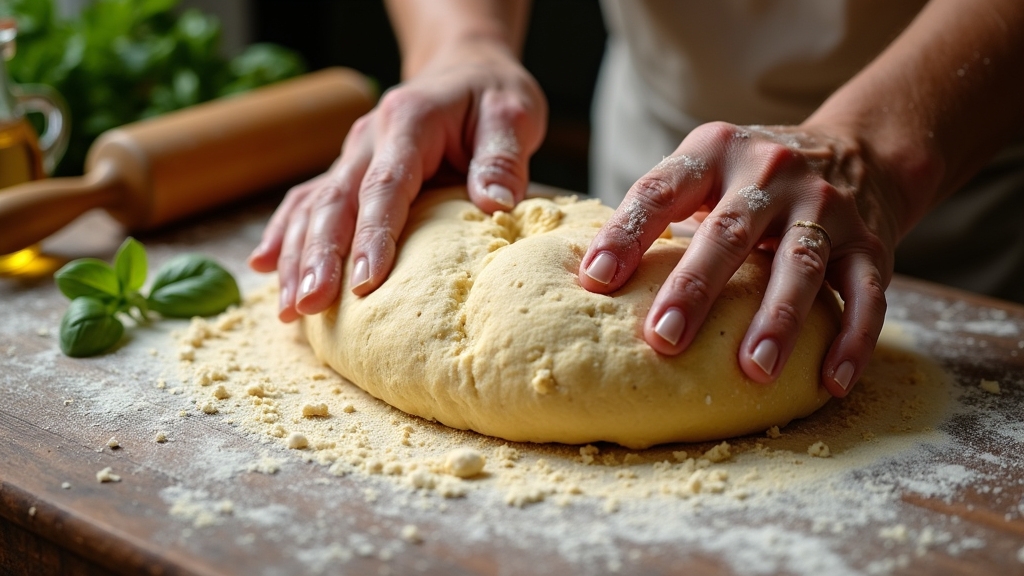
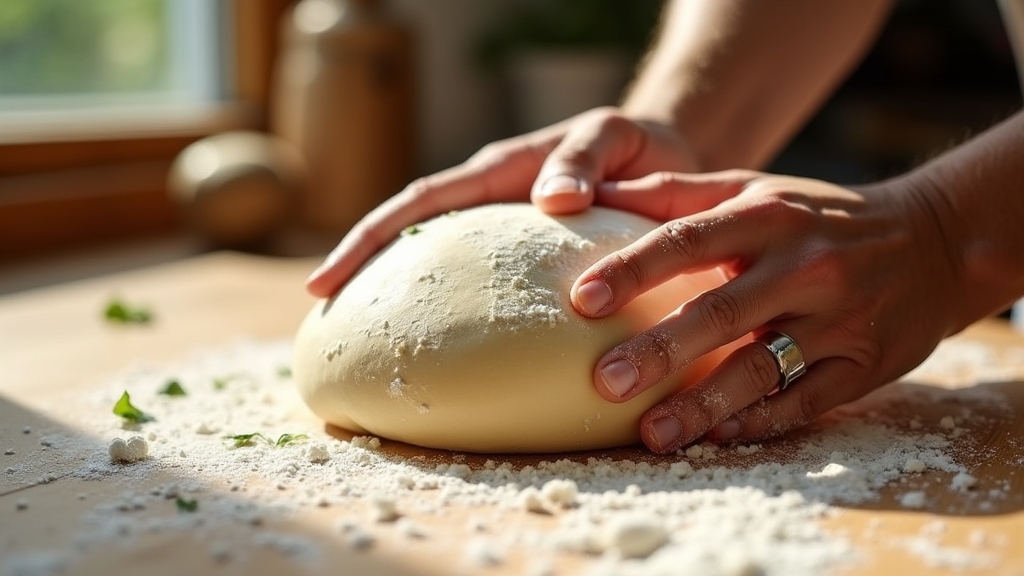
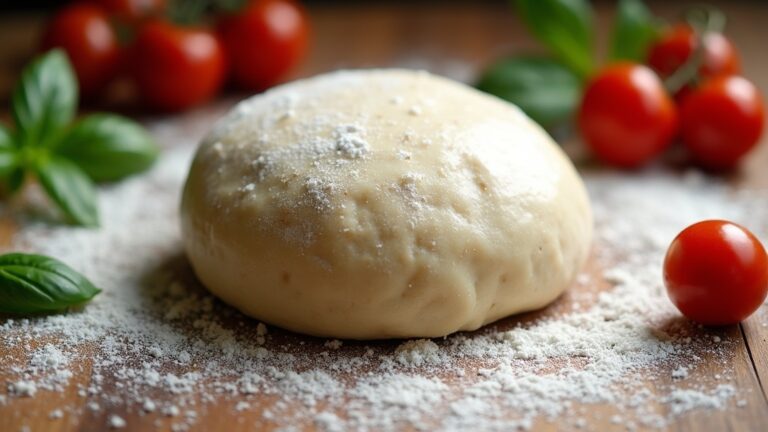
With the flour and water combined into a smooth mixture, it’s time to knead the dough thoroughly. I start by dusting my work surface with a light sprinkle of flour to prevent sticking. Using my palms, I push the dough away from me, fold it over, and rotate it a quarter turn—this is one of my favorite kneading techniques. I repeat this process, feeling for the dough consistency; it should become elastic and smooth. After about 10 minutes, I can tell it’s ready when it springs back after a gentle poke. If it feels too sticky, I incorporate a little more flour. This kneading not only develops the gluten but also sets the foundation for a perfect pizza crust.
Step 3. Let Dough Rise Overnight
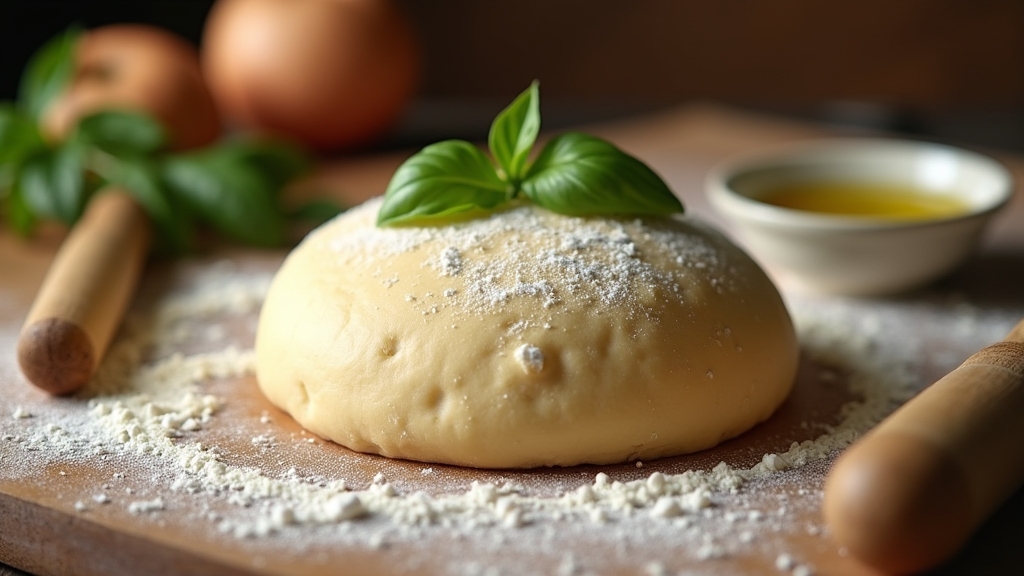
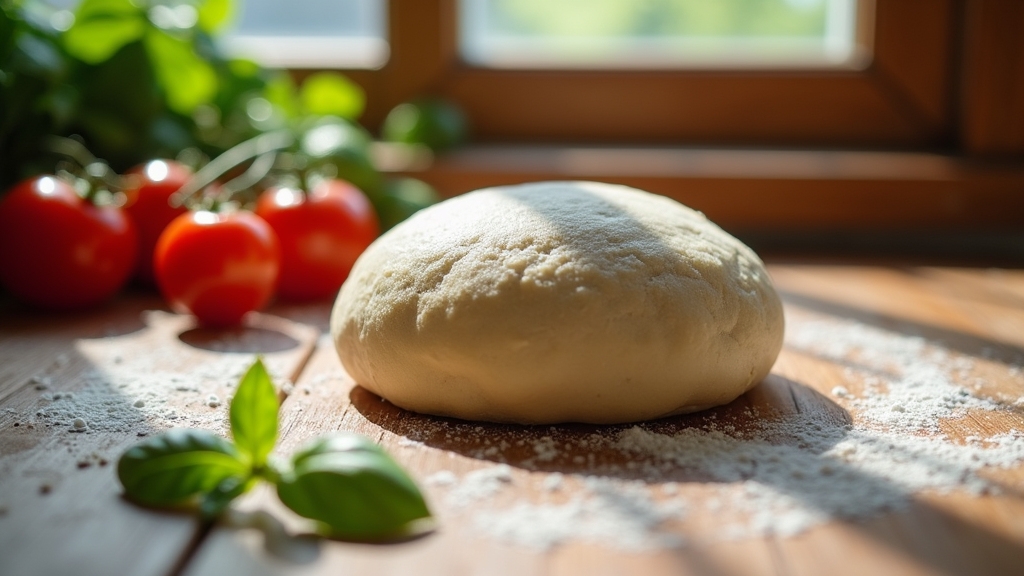
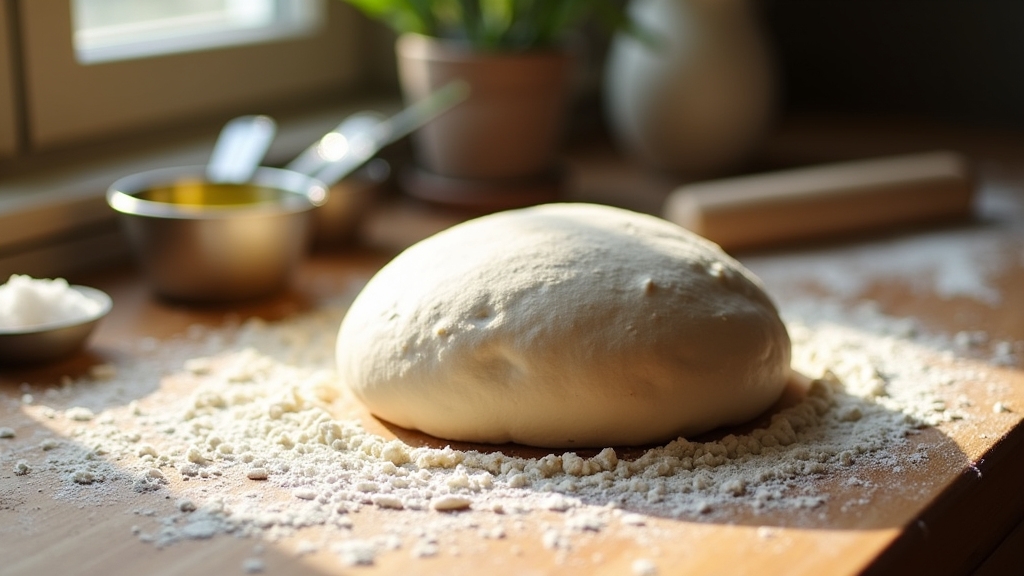
After kneading the dough, I place it in a lightly oiled bowl, covering it with a damp cloth. I let it rise overnight, allowing for overnight fermentation, which is essential for flavor development. This slow process enhances the dough’s texture and taste, creating a crust that’s both airy and flavorful.
- The extended time allows the yeast to work its magic.
- Complex flavors develop, elevating your pizza experience.
- Proper hydration improves the dough’s elasticity.
- A minimal amount of hands-on time leads to impressive results.
In the morning, I’m always excited to see how much the dough has risen. This overnight method truly transforms a simple dough into something extraordinary, ready to be shaped into a delicious pizza.
Step 4. Shape the Dough Into Balls
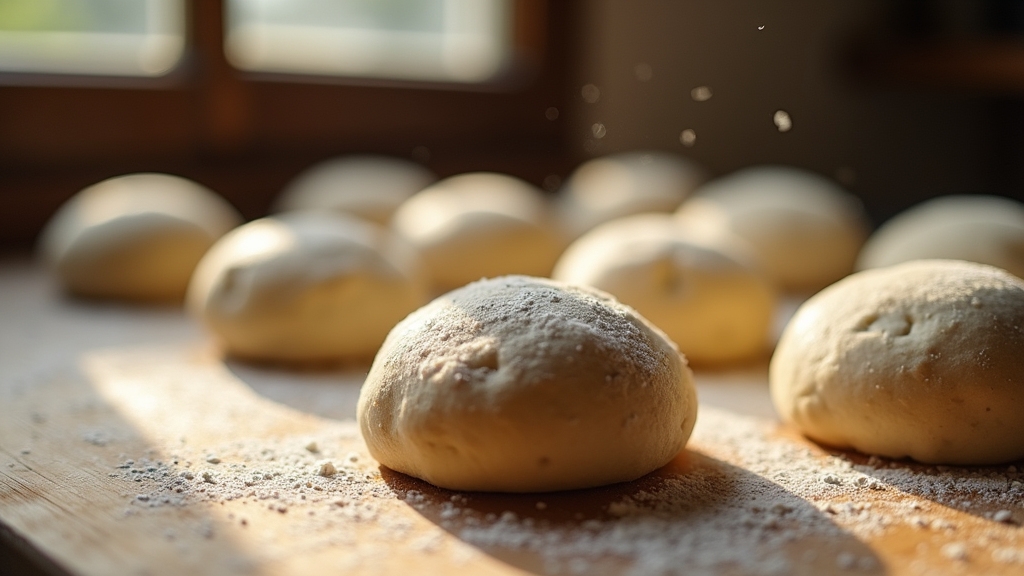
Gently punch down the risen dough to release any trapped air, then turn it out onto a lightly floured surface. I like to divide the dough into equal portions, typically around 8 ounces each, to maintain portion control. Using your hands, gently flatten each piece, then fold the edges inward to create a tight ball. This dough handling technique helps to build strength and structure. Once formed, I place the dough balls on a floured baking sheet, ensuring they’re spaced apart to allow for a little expansion. Cover them with a clean kitchen towel and let them rest for about 30 minutes. This step helps them relax, making it easier to stretch later. Enjoy the process!
Step 5. Preheat Oven to 475°F
Once the dough balls have had a chance to rest, it’s time to prepare your oven. Preheating it to 475°F is essential for achieving that perfect crust. This high oven temperature mimics traditional pizza ovens, creating a crispy exterior while keeping the inside soft and chewy.
- Confirm your oven’s rack is positioned in the middle for even heat distribution.
- Use a pizza stone or steel if you have one; they retain heat and enhance baking techniques.
- Allow at least 30 minutes for the oven to fully preheat, guaranteeing ideal cooking conditions.
- Keep the oven door closed as much as possible to maintain that steady temperature.
With your oven ready, you’re all set to create a delicious pizza masterpiece!
Nutritional Guide
While preparing your Italian pizza dough, it’s important to take into account its nutritional value, as it plays a crucial role in creating a balanced meal. Understanding the caloric content and ingredient benefits can help you make healthier choices.
Here’s a quick guide to the nutritional aspects of your dough:
| Ingredient | Caloric Content (per serving) | Benefits |
|---|---|---|
| Flour | 100 calories | Provides carbohydrates |
| Yeast | 10 calories | Aids digestion |
| Olive Oil | 40 calories | Healthy fats for heart health |
Final Thoughts
As you wrap up your pizza-making experience, it’s clear that mastering Italian pizza dough is both an art and a science. The journey doesn’t end with the dough; it opens up a world of culinary possibilities. Here are some cooking tips and dough variations to elevate your pizza:
- Experiment with different flours for unique textures.
- Incorporate herbs and spices into the dough for added flavor.
- Try cold fermentation for a richer taste and improved crust.
- Don’t shy away from creative toppings to enhance your pizza experience.
Each step is a chance to innovate and personalize your creation. Remember, the perfect pizza starts with the perfect dough, so embrace the process, and let your creativity shine. Happy baking!
Frequently Asked Questions
Can I Use Whole Wheat Flour Instead of All-Purpose Flour?
Absolutely, I’ve tried using whole wheat flour instead of all-purpose flour. It adds healthy benefits and a nuttier flavor, but expect a denser texture. Adjust hydration for the best results; you’ll love the innovation!
How Long Can I Store Pizza Dough in the Fridge?
When I store pizza dough, I find it lasts about three to five days in the fridge. Its texture changes, becoming firmer but still usable. Just remember to wrap it tightly for freshness!
What Is the Ideal Temperature for Rising Pizza Dough?
I’ve found the ideal temperature for rising dough is around 75 to 80°F. This warmth promotes peak dough fermentation, allowing the yeast to thrive, resulting in a perfectly risen, flavorful dough ready for your culinary creations.
Can I Freeze Pizza Dough for Later Use?
Yes, I can freeze pizza dough for later use. Using proper freezing methods, I wrap the dough tightly in plastic and store it in an airtight container, ensuring freshness when I’m ready to enjoy it again.
Is It Necessary to Use a Pizza Stone for Baking?
You don’t need a pizza stone for baking; I often use metal sheets or cast iron pans as stone alternatives. They yield great results too, ensuring my pizza baking remains delicious and innovative every time!
Conclusion
In crafting your pizza dough, you’re not just mixing flour and water; you’re weaving together a tapestry of tradition and flavor. Each knead symbolizes the patience of generations past, while the rise represents the promise of a delicious meal ahead. As you roll out your dough, envision the warmth of a shared table, where laughter and stories blend with the aroma of freshly baked pizza. So, let your culinary journey begin, and savor the magic you create!
