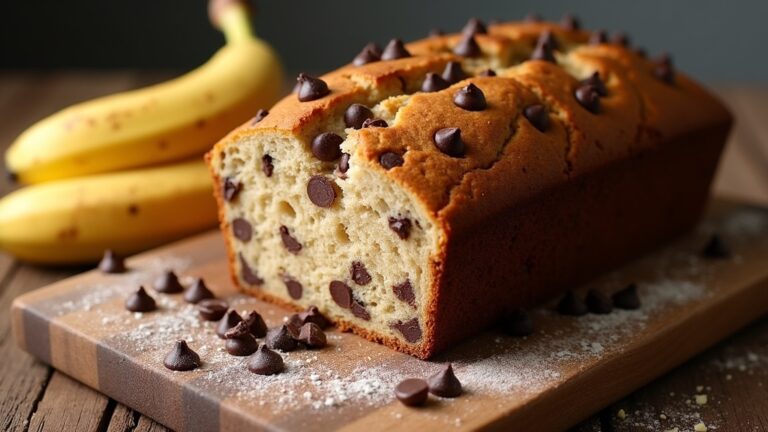
Milk Bread Recipe
Milk bread is one of my favorite loaves to bake! It’s soft, fluffy, and has a slight sweetness that makes it perfect for breakfast or sandwiches. To make it, you’ll need simple ingredients like flour, sugar, instant yeast, milk, and butter. I love the tender crumb and golden crust it achieves after baking. Plus, it’s versatile, letting you experiment with flavors. Stick around, and I’ll share even more tips and variations to elevate your milk bread experience!
Contents
History
When I think about the history of milk bread, it’s fascinating to realize how this simple loaf has traveled through time and cultures. Originating in Asia, it’s woven into the fabric of various cuisines, reflecting the cultural significance of bread in communal meals and celebrations. Each region has its unique spin, from Japan’s soft, fluffy texture to European variations that have embraced local ingredients. These baking traditions tell stories of innovation, adapting to the tastes and needs of each generation. Milk bread often symbolizes comfort and home, a nod to simpler times while still evolving in modern kitchens. As I explore its history, I’m inspired by the creativity it sparks in bakers today, blending heritage with contemporary flavors.
Recipe
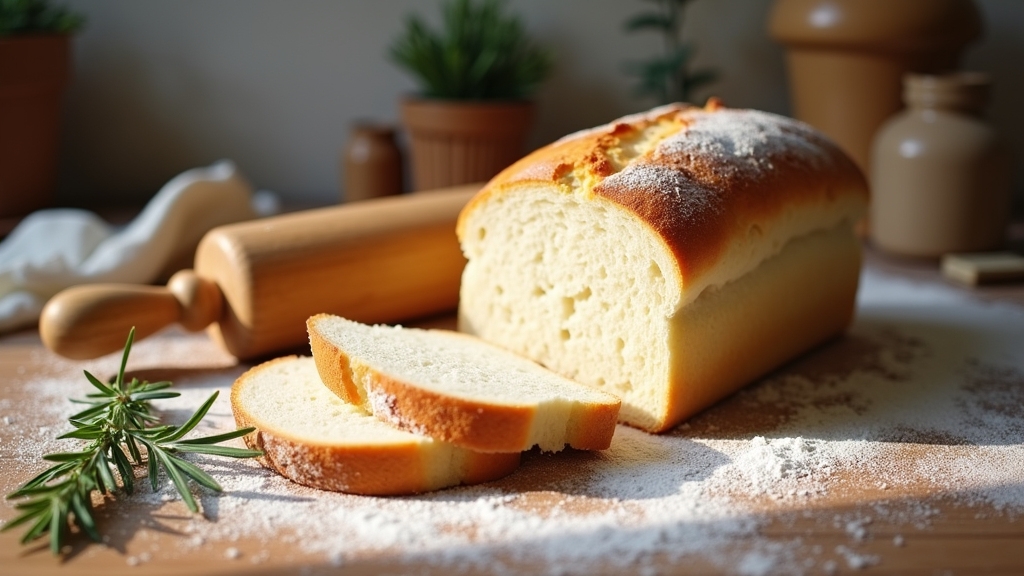
Milk bread is a soft and fluffy bread that has a slightly sweet flavor, making it perfect for breakfast, sandwiches, or even just to enjoy with a pat of butter. Its tender crumb and light texture are achieved through the addition of milk and a unique kneading process. This recipe is simple enough for beginners and yields a delightful loaf that will have everyone asking for seconds.
Milk bread offers a soft, fluffy texture and a hint of sweetness, making it a delightful choice for any meal.
To make the perfect milk bread, it’s important to use high-quality ingredients and to guarantee that your dough is well-kneaded. The process involves mixing, kneading, and letting the dough rise, which not only develops the gluten but also enhances the flavor. Once baked, the bread has a golden crust and a soft interior that is hard to resist.
Ingredients:
- 3 ½ cups all-purpose flour
- 2 tablespoons sugar
- 2 teaspoons instant yeast
- 1 teaspoon salt
- 1 cup whole milk, warmed
- 1 large egg
- 3 tablespoons unsalted butter, melted
- Extra butter for greasing the pan
Instructions:
In a large mixing bowl, combine the flour, sugar, instant yeast, and salt. In a separate bowl, whisk together the warm milk, egg, and melted butter. Gradually add the wet ingredients to the dry ingredients, mixing until a dough forms. Transfer the dough to a floured surface and knead for about 8-10 minutes, until it becomes smooth and elastic. Place the dough in a greased bowl, cover it with a cloth, and let it rise in a warm place for about 1 to 2 hours, or until it has doubled in size. After rising, punch down the dough, shape it into a loaf, and place it in a greased loaf pan. Allow it to rise again for about 30-45 minutes. Preheat your oven to 350°F (175°C) and bake the bread for 30-35 minutes, or until golden brown and hollow-sounding when tapped. Let it cool before slicing.
Extra Tips:
For the best results, make sure your milk is warm but not hot, as too high a temperature can kill the yeast. Additionally, you can enhance the flavor by adding a bit of vanilla extract or substituting some of the milk with cream for an even richer taste. If you want to add a twist, consider incorporating herbs or spices like cinnamon for a delightful variation. Always keep an eye on the bread while it bakes, as oven temperatures can vary. Enjoy your freshly baked milk bread warm, and store any leftovers in an airtight container to maintain its softness.
Cooking Steps
Now that we’ve gathered our ingredients and tools, it’s time to bring this milk bread to life! I’m excited to guide you through each essential step, from kneading the dough until it’s just right to letting it rise beautifully. Together, we’ll shape and bake our way to a deliciously soft loaf that’s perfect for any occasion.
Step 1. Gather Ingredients and Tools
To make the perfect milk bread, you’ll need a handful of essential ingredients and tools that come together to create a soft, fluffy loaf. Start with high-quality all-purpose flour, whole milk for that creamy texture, and active dry yeast to help it rise beautifully. Don’t forget sugar and salt for flavor, along with unsalted butter for richness.
As for essential tools, a sturdy mixing bowl, measuring cups, and a wooden spoon are must-haves. A kitchen scale can help guarantee precision, especially if you’re experimenting with ingredient variations like substituting some of the milk with yogurt or adding a hint of honey. With everything gathered, you’re ready to initiate your milk bread adventure!
Step 2. Knead the Dough Thoroughly
Kneading the dough is where the magic happens, transforming a sticky mixture into a smooth, elastic ball that promises a delightful texture. I start by pressing the dough down with the palms of my hands, folding it over itself, and repeating this process. It’s important to use effective kneading techniques, like the “push and fold” method, which helps develop gluten and enhances the dough texture. As I knead, I pay attention to how the dough changes—what starts as a rough mass becomes pliable and silky. I usually knead for about 8-10 minutes, feeling the dough’s transformation beneath my fingertips. Each fold and press brings me closer to that perfect loaf, full of promise and flavor.
Step 3. Let Dough Rise Properly
Once the dough has been thoroughly kneaded, I find a warm, draft-free spot to let it rise, knowing this step is essential for achieving that soft, airy texture we all love. During this dough fermentation phase, I cover the bowl with a damp cloth to retain moisture, encouraging the yeast to work its magic. I usually let it rise for about an hour, but I keep an eye on it, as rising times can vary based on temperature. To enhance the process, I sometimes employ rising techniques like placing the bowl in a slightly heated oven. As the dough expands, I can almost feel the anticipation building for that delightful milk bread experience. Trust the process, and you’ll be rewarded!
Step 4. Shape the Dough Into Loaves
After the dough has risen beautifully, it’s time to shape it into loaves that will soon become the centerpiece of your kitchen. First, punch down the dough gently to release air bubbles, then divide it into equal portions. I like to use a bench scraper for precise cuts. For each piece, gently flatten it into a rectangle, then roll it tightly from one end to the other, tucking in the sides as you go. This dough shaping technique guarantees a uniform rise and a lovely crumb. Experiment with loaf techniques, like braiding or creating mini loaves, to add a personal touch. Once shaped, let them rest briefly before they’re ready for the next exciting step—baking!
Step 5. Bake at 350°F
With the loaves shaped and resting, it’s time to bring them to life in the oven. Preheat that oven to 350°F, the magic temperature where baking techniques shine. As I place the loaves inside, I can already envision the transformation ahead. Here’s what to expect:
- Golden Crust: Watch as the crust turns a beautiful golden brown, promising a delightful crunch.
- Heavenly Aroma: Inhale deeply—nothing beats the smell of freshly baked bread wafting through your kitchen.
- Soft Interior: When you slice into it, you’ll find that soft, pillowy texture that’s simply irresistible.
- Perfectly Baked: After about 30-35 minutes, you’ll be rewarded with loaves that are perfectly baked, ready to devour!
Nutritional Guide
When I think about milk bread, the first thing that comes to mind is its comforting texture and rich flavor, but there’s more to this delightful loaf than just taste. It also brings a range of health benefits to the table.
Here’s a quick nutritional guide to help you understand what you’re inviting into your kitchen:
| Nutrient | Amount per Slice |
|---|---|
| Calories | 120 |
| Protein | 4g |
| Carbohydrates | 22g |
| Fiber | 1g |
| Sugars | 2g |
With a calorie count that’s surprisingly reasonable, milk bread can fit into a balanced diet. It’s a perfect option for those looking for an innovative twist on traditional bread without compromising on nutrition. Enjoy!
Final Thoughts
As you explore the world of milk bread, you’ll discover that it’s not just a delicious treat but also a versatile addition to your meals. This delightful bread can elevate any dish, and I’m excited for you to try it! Here are some baking tips and flavor variations to inspire your creativity:
- Add herbs like rosemary or thyme for an aromatic twist.
- Incorporate spices such as cinnamon or nutmeg for a warm, inviting flavor.
- Experiment with different milks, like almond or oat, to make it your own.
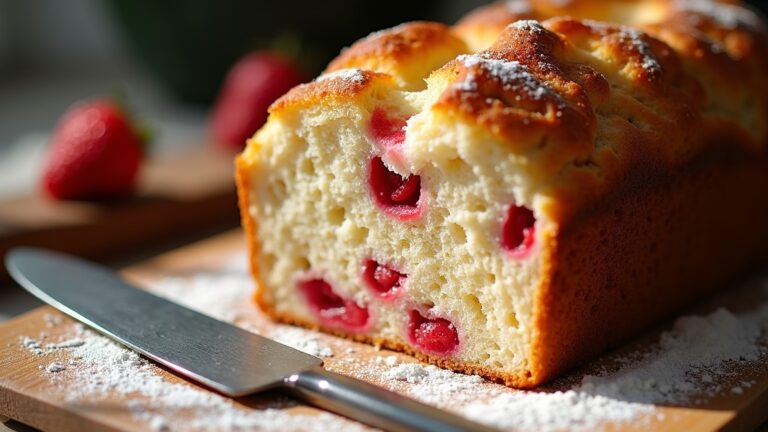
- Try a swirl of jam or chocolate inside for a sweet surprise.
Embrace the journey of baking, and let your imagination run wild. You’ll find that milk bread is a canvas for culinary innovation!
Frequently Asked Questions
Can I Use Non-Dairy Milk for This Recipe?
Absolutely, I’ve experimented with non-dairy options and found that milk alternatives like almond or oat milk work beautifully. They add unique flavors and keep the texture light, making your baked goods truly innovative and delicious!
How Do I Store Leftover Milk Bread?
To store leftover bread, I wrap it tightly in plastic or foil, ensuring freshness. For longer preservation, I freeze it in slices. This way, I can enjoy a delightful bite anytime without losing flavor.
What Can I Substitute for Yeast?
If you’re out of yeast, I’ve found baking powder works well for quick breads. Alternatively, using a sourdough starter adds unique flavor and texture, transforming your baking experience into something truly innovative and delightful.
Can I Add Ingredients Like Nuts or Fruits?
When I baked my first loaf, I tossed in walnuts and dried cranberries, transforming it into a delicious masterpiece. You can definitely explore nut varieties and fruit options to elevate your creation and impress everyone!
How Long Does Milk Bread Stay Fresh?
I find that milk bread’s freshness depends on several factors, like storage and humidity. Typically, it lasts about 3 to 5 days at room temperature. For extended shelf life, refrigerate or freeze it!
Conclusion
As I reflect on this delightful milk bread recipe, I can’t help but marvel at how something so simple can bring people together. Did you know that in some cultures, bread symbolizes life and sustenance, with an average person consuming about 50 pounds of bread annually? It’s incredible to think about how this soft, fluffy loaf can create memories and nourish families. I hope you enjoy baking it as much as I do—each slice is a warm hug for the soul!
