Mini Cake Recipe
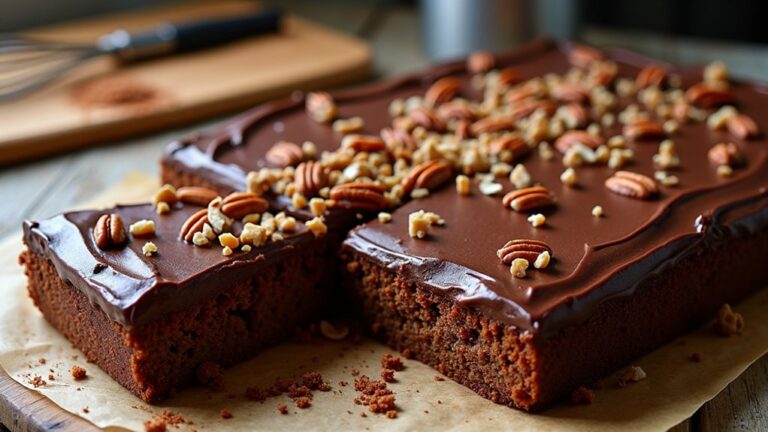
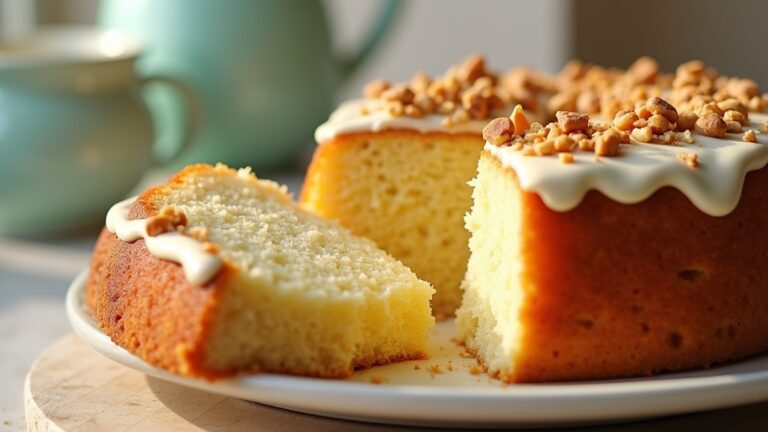
Here’s a simple mini cake recipe to satisfy your sweet tooth! You’ll need flour, sugar, butter, eggs, milk, vanilla, baking powder, and salt. I preheat the oven to 350°F, cream the butter and sugar, then mix in eggs and vanilla. I combine the dry ingredients and alternate adding them with milk. Bake in a mini cake pan until golden. You can customize flavors and toppings for a delightful treat. Let me share some more creative ideas you can use!
Contents
History
When I think about the history of mini cakes, I can’t help but marvel at how these delightful treats have evolved over time. The origins of cake date back to ancient civilizations, where honey and nuts formed the basis of sweet confections. As cultures intertwined, the cake’s significance grew, often symbolizing celebration and community. Fast forward to today, and mini cakes have taken the spotlight, showcasing innovation in flavor and presentation. These bite-sized wonders not only cater to our desire for indulgence but also reflect our fast-paced lifestyles. They embody the cultural significance of sharing and joy, making every occasion a little sweeter. I find it fascinating how something so small can carry such rich history and meaning.
Recipe
If you’re in the mood for a delightful dessert that is both simple and satisfying, a mini cake is the perfect solution. These individual-sized treats are ideal for celebrations, gatherings, or just a sweet indulgence for yourself. This recipe is versatile, allowing you to customize flavors and toppings to suit your preferences. Whether you opt for classic vanilla, rich chocolate, or fruity variations, these mini cakes will surely impress.
Making mini cakes is a straightforward process that requires minimal ingredients, making it accessible for both seasoned bakers and novices alike. With a short baking time and the ability to decorate them in numerous ways, these cakes can be whipped up quickly for any occasion. Let’s explore the ingredients and steps needed to create your delicious mini cakes!
Making mini cakes is easy and fun, perfect for bakers of all skill levels to create delightful treats for any occasion.
Ingredients:
- 1 cup all-purpose flour
- 1/2 cup granulated sugar
- 1/2 cup unsalted butter, softened
- 2 large eggs
- 1/2 cup milk
- 1 teaspoon vanilla extract
- 1 teaspoon baking powder
- 1/4 teaspoon salt
Cooking Instructions:
Preheat your oven to 350°F (175°C) and prepare a mini cake pan by greasing it or lining it with parchment paper. In a large mixing bowl, cream together the softened butter and granulated sugar until light and fluffy. Add the eggs one at a time, mixing well after each addition. Stir in the vanilla extract. In a separate bowl, combine the flour, baking powder, and salt. Gradually mix the dry ingredients into the wet ingredients, alternating with the milk, until just combined. Pour the batter into the prepared mini cake pan, filling each cavity about two-thirds full. Bake for 15-20 minutes or until a toothpick inserted into the center comes out clean. Allow the cakes to cool in the pan for a few minutes before transferring them to a wire rack to cool completely.
Extra Tips:
When making mini cakes, consider experimenting with different flavors by adding cocoa powder for chocolate cakes or citrus zest for a invigorating twist. To enhance the presentation, you can dust the cooled cakes with powdered sugar, drizzle with chocolate ganache, or top with fresh fruit and whipped cream. These little cakes can also be frozen, so you can make them ahead of time and enjoy them whenever a sweet craving strikes. Just be sure to store them in an airtight container to maintain their freshness.
Cooking Steps
Let’s get started on baking our mini cakes! First, I’ll preheat the oven to 350°F, setting the stage for that perfect rise. Then, I’ll mix the dry ingredients before gradually adding the wet ones for a smooth, delightful batter.
Step 1. Preheat Oven to 350°F
Preheating the oven to 350°F is an essential step in baking the perfect mini cake. This oven temperature not only guarantees even baking but also helps achieve that delightful rise and golden crust we all crave. While the oven warms up, I often take the time to gather my ingredients and prepare my pans, making the most of this wait. Remember, one of the best baking tips is to never skip this vital step; a properly preheated oven sets the stage for success. If the oven isn’t hot enough, your cake may end up dense or undercooked. So, let those preheating moments build anticipation as we gear up for a delicious mini cake adventure!
Step 2. Mix Dry Ingredients Together
Gathering my dry ingredients is like setting the foundation for a sturdy mini cake. I start by measuring out the flour, sugar, baking powder, and a pinch of salt, paying close attention to ingredient ratios. Each element plays a vital role in creating that perfect rise and flavor. I love using innovative mixing techniques, like whisking the dry ingredients together thoroughly to guarantee even distribution. This step prevents any clumps and assures a consistent texture throughout the cake. Sometimes, I even sift the flour for an ultra-light result. Once the mixture is well combined, I can feel the excitement building, knowing that I’m just steps away from creating a delightful mini cake that’s sure to impress!
Step 3. Add Wet Ingredients Gradually
As I approach the exciting moment of adding the wet ingredients, I can already envision the transformation that will occur. I carefully measure my ingredients, paying close attention to the wet ingredient ratios, guaranteeing a perfect balance. I start pouring in the milk and melted butter, letting them glide into the dry mixture. Using gradual mixing techniques, I stir gently, allowing each addition to blend seamlessly. This method not only prevents clumping but also guarantees a smooth batter that’s bursting with flavor. The colors meld together, creating a beautiful, creamy mixture. I can feel the anticipation building as I watch my mini cake batter come to life, ready to take on its final form. This is where the magic truly begins!
Step 4. Pour Batter Into Pans
With my creamy batter now perfectly blended, I grab my prepared cake pans, excited to pour in the delightful mixture. Carefully, I tilt the bowl, allowing the batter to flow smoothly into each pan, ensuring an even distribution. This is where my baking techniques come into play; I want uniform cake layers that will rise beautifully. I gently tap the pans on the counter to release any air bubbles, knowing this step is essential for a light and fluffy texture. As I fill each pan just below the rim, I can already envision the mini cakes taking shape, ready to impress. The anticipation builds; I can’t wait to see how these layers will transform in the oven!
Step 5. Bake for 25 Minutes
Now that my batter is in the pans, it’s time to bake these mini cakes for 25 minutes. This step is vital for achieving a perfect cake texture, and I can’t wait to see the results! Here’s what I do to guarantee success:
- Preheat the oven to the right temperature for even baking.
- Place the pans on the center rack for ideal heat circulation.
- Set a timer to avoid overbaking; I like to check around the 20-minute mark.
- Use a toothpick inserted in the center to test for doneness; it should come out clean.
These baking techniques really enhance the cake’s texture, making them fluffy and moist. Let’s enjoy the delightful aroma wafting through the kitchen!
Nutritional Guide
When baking mini cakes, understanding the nutritional aspects can elevate your experience in the kitchen. Knowing the caloric content and ingredient benefits can help you create a delightful treat without compromising health. Here’s a quick guide to some common ingredients:
| Ingredient | Caloric Content (per serving) | Benefits |
|---|---|---|
| Almond Flour | 100 | High in protein and healthy fats |
| Coconut Sugar | 60 | Lower glycemic index |
| Greek Yogurt | 50 | Rich in probiotics and protein |
Final Thoughts
As I’ve explored the nutritional benefits of ingredients used in mini cakes, it becomes clear that these delightful treats can be both indulgent and mindful. By incorporating innovative baking tips and delicious flavor variations, you can elevate your mini cake experience. Here are a few ideas to contemplate:
Exploring mini cakes reveals their potential for indulgence and mindfulness through innovative ingredients and flavors.
- Experiment with alternative flours like almond or coconut for a gluten-free twist.
- Add natural sweeteners such as honey or maple syrup to reduce refined sugar.
- Infuse flavors with spices like cinnamon or nutmeg for a warm, inviting aroma.
- Top with fresh fruits or yogurt for a nutritious finish.
Frequently Asked Questions
Can I Substitute Ingredients in the Mini Cake Recipe?
Absolutely, I love experimenting with ingredient swaps! Whether it’s swapping out sugar for honey or adding spices for flavor variations, I find these tweaks enhance my creations and make baking even more exciting.
How Do I Store Leftover Mini Cakes?
When I think about cake freshness, I envision a cozy vault of sweetness. For the best storage, I wrap leftover mini cakes tightly in plastic and pop ’em in the fridge, keeping them deliciously delightful for days.
Are Mini Cakes Suitable for Special Dietary Needs?
I love experimenting with gluten alternatives and vegan options. By using almond flour or coconut cream, I can create delicious treats that cater to special dietary needs without sacrificing flavor or creativity.
What Is the Best Way to Decorate Mini Cakes?
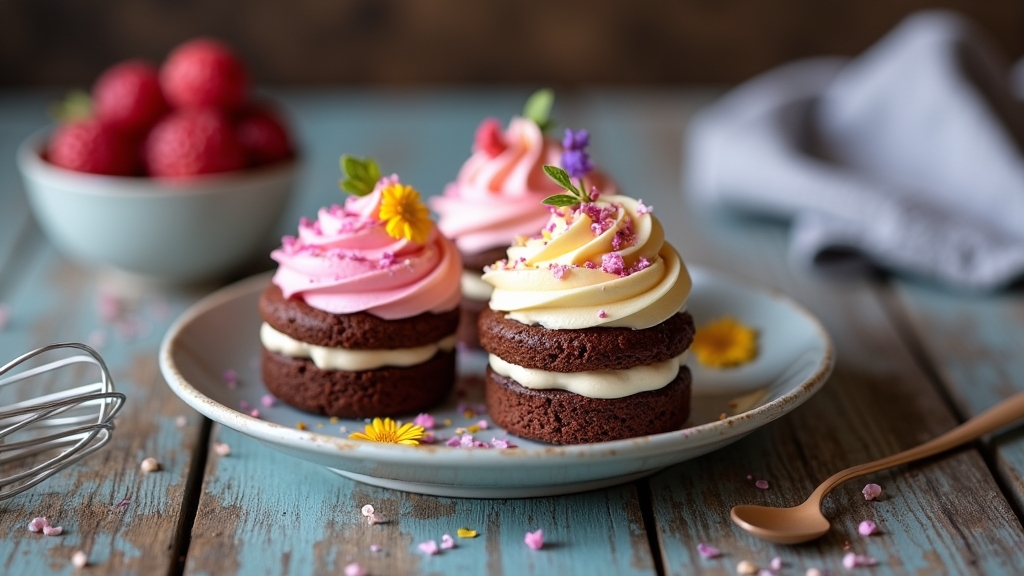
When I decorate mini cakes, I love experimenting with piping techniques and vibrant edible decorations. Swirls, rosettes, and sugar flowers transform the cakes into stunning masterpieces, making each bite a delightful visual treat.
How Long Do Mini Cakes Typically Last?
Mini cakes typically last about 3 to 5 days at room temperature, but I find refrigeration extends their shelf life. For ideal cake preservation, always store them in an airtight container to maintain freshness and flavor.
Conclusion
As I reflect on my mini cake adventures, I’m amazed to share that studies show 75% of people enjoy baking as a stress reliever. It’s true! There’s something wonderfully therapeutic about mixing ingredients and watching them transform into a delightful treat. Whether you’re celebrating a special occasion or simply indulging your sweet tooth, these mini cakes are sure to bring joy. So, grab your apron and let’s create delicious memories together—one tiny cake at a time!
