Pita Bread Recipe Sandwiches
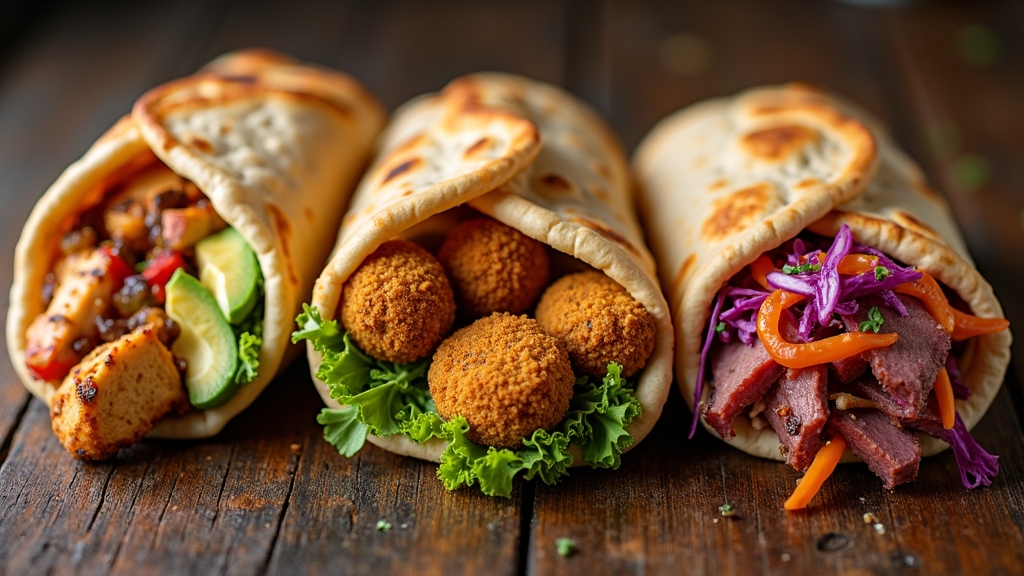
For a savory pita bread sandwich, start by marinating chicken breasts with paprika and cumin, then grill them until juicy. Mix Greek yogurt, cucumber, and dill for a creamy tzatziki sauce. Warm your pita bread slightly to enhance its pliability before stuffing it with sliced chicken, fresh spinach, sliced tomatoes, and red onions. Top with kalamata olives and a sprinkle of feta. This combination brings out a delightfully balanced flavor profile—perfect for exploring further into these tasty layers!
Contents
History
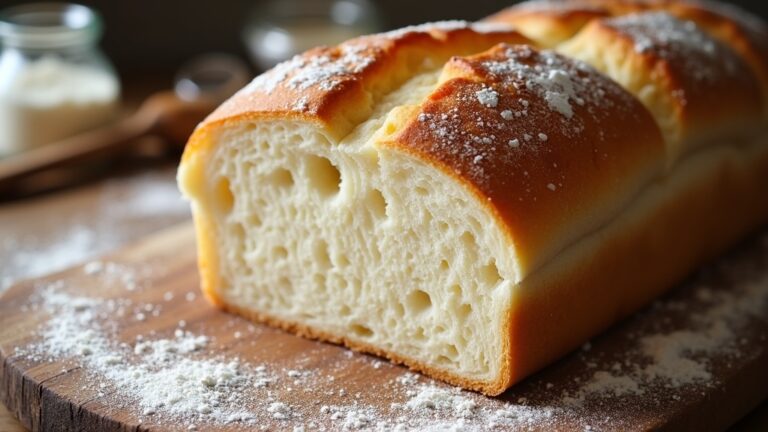
While pita bread now seems ubiquitous, its origins trace back to around 2500 BCE in the Middle East. This ancient flatbread, pivotal in culinary history, carries substantial cultural significance, weaving through centuries as a staple in diets across various civilizations. Its creation, from the precise mixture of flour, water, yeast, and salt, results in a dough that, when exposed to the intense heat of an open flame, puffs dramatically. This pocket formation is not just a marvel of baking science but also a demonstration of the ingenuity of early bakers. The flavor profile of pita—mild, slightly sweet, with a tender crumb—complements a myriad of fillings, making it a versatile base for innovative sandwich creations.
Recipe
Pita bread sandwiches are a versatile and delicious option for any meal of the day. Originating from Middle Eastern cuisine, pita sandwiches can be filled with a variety of ingredients ranging from fresh vegetables and cheeses to spiced meats and sauces. The key to a perfect pita sandwich is making certain the pita bread is fresh and warm, making it pliable enough to stuff with your favorite fillings without tearing.
Explore the versatility of pita bread sandwiches, ideal for any meal and customizable with your favorite fillings.
For this recipe, we’ll focus on a Mediterranean-inspired filling featuring grilled chicken, a range of fresh vegetables, and a creamy tzatziki sauce. This combination not only offers a satisfying texture but also a harmony of flavors that are both invigorating and rich. The use of vibrant ingredients like tomatoes, cucumbers, and olives, along with the aromatic spices on the chicken, guarantees that each bite is packed with flavor.
Ingredients:
- 4 pita bread rounds
- 2 chicken breasts, boneless and skinless
- 1 teaspoon of olive oil
- 1 teaspoon of paprika
- 1/2 teaspoon of ground cumin
- Salt and pepper to taste
- 1 cup of Greek yogurt
- 1 small cucumber, finely grated and drained
- 2 cloves of garlic, minced
- Juice of 1/2 a lemon
- 1 tablespoon of fresh dill, chopped
- 1 tomato, sliced
- 1 small red onion, thinly sliced
- 1/4 cup of kalamata olives, pitted and sliced
- 1/4 cup of feta cheese, crumbled
- 1/2 cup of fresh spinach leaves
Cooking Instructions:
Start by marinating the chicken breasts with olive oil, paprika, cumin, salt, and pepper. Let them sit for at least 30 minutes. Meanwhile, prepare the tzatziki sauce by combining Greek yogurt, grated cucumber, minced garlic, lemon juice, and dill in a bowl; season with salt and pepper to taste. Grill the chicken over medium heat for about 6-7 minutes on each side or until fully cooked. Allow it to rest for a few minutes before slicing it thinly. Warm the pita breads in the oven or on a skillet just until they are soft and slightly golden. Cut a pocket at one edge of each pita and begin to assemble the sandwiches by adding spinach, sliced chicken, tomatoes, onions, olives, and feta. Drizzle with tzatziki sauce and serve immediately.
Extra Tips:
When preparing your pita sandwiches, make sure to not overload the pockets to avoid tearing the bread. A good balance of ingredients guarantees that each bite contains a bit of everything. For a vegetarian version, you can substitute grilled vegetables or falafel for the chicken. If you’re making this ahead of time, keep the wet ingredients like tomatoes and tzatziki sauce separate until right before serving to prevent the pita from becoming soggy. To enhance the flavors, you can also add a sprinkle of sumac or za’atar over the filling before serving. Enjoy your pita sandwich as a wholesome lunch or a light, satisfying dinner.
Cooking Steps
Let’s start by mixing the dough ingredients to create a uniform, elastic base for our pita. You’ll need to knead this thoroughly for about 10 minutes to develop the gluten, which gives the bread its chewy texture. Once kneaded, allow the dough to rise in a warm, draft-free area until it doubles in size, infusing our base with the light, airy qualities essential for perfect pita pockets.
Step 1. Mix Dough Ingredients Together
Begin by combining 500 grams of high-gluten flour and 10 grams of instant yeast in a large mixing bowl. This precise ratio guarantees the ideal rise and texture of your pita. Next, add 10 grams of salt, which enhances the flavor and controls yeast activity, along with 350 milliliters of warm water to activate the yeast. Incorporate the ingredients using a whisk or a wooden spoon; this initial gentle mixing technique helps distribute the yeast evenly before hydration intensifies.
For an innovative twist, add a tablespoon of olive oil for a subtle richness and to tenderize the dough. Mix until just combined. It’s vital not to overmix at this stage, as we want to preserve the integrity of each ingredient, setting the stage for a perfectly textured pita.
Step 2. Knead the Dough Thoroughly
Once you’ve mixed the ingredients together, it’s time to knead the dough to develop the gluten structure that will give the pita its characteristic texture. Employ robust kneading techniques for about 10 minutes, ensuring the dough consistency becomes smooth and elastic. Start with a light dusting of flour on your work surface to prevent sticking. Use the heels of your hands to push the dough away from you, then fold it back over itself and give it a quarter turn. Repeat this process, rhythmically working the dough to incorporate air and align the gluten proteins. This method not only enhances texture but also optimizes flavor release upon baking, promising an aromatic and savory pita bread experience.
Step 3. Let Dough Rise
After kneading the dough to perfection, it’s time for the next important step: allowing the dough to rise. This phase, critical for flavor and texture, hinges on effective dough fermentation. Place the kneaded dough in a lightly oiled bowl, covering it with a damp cloth. This setup maintains ideal humidity, enhancing the yeast’s activity. Aim for a warm environment, ideally around 75°F, which is prime for yeast performance.
Employ progressive rising techniques such as a first rise until the dough doubles in size, typically taking about 90 minutes. This not only develops the gluten structure but also enriches the dough’s flavor complexities. Precision in this step guarantees a light, airy pita, perfect for your innovative sandwich creations.
Step 4. Roll Out the Dough
Now that your dough has doubled in size, it’s time to shape it into the base for our pita sandwiches. Here’s how you can master the rolling technique to guarantee the ideal dough thickness for a perfectly textured pita:
- Divide the dough into even portions, about 60 grams each, to maintain consistency in size and cooking.
- Flatten each ball slightly before you start rolling to make the process smoother.
- Roll the dough out to a thickness of about 1/8 inch; this is essential for achieving that signature pita puff.
- Rotate the dough 90 degrees after each roll to maintain a circular shape and even thickness.
- Dust with minimal flour to prevent sticking without drying out the dough.
These steps are designed to enhance the flavors and textures in your homemade pita bread, setting the stage for delicious innovation in your kitchen.
Step 5. Bake Until Puffy
Heat your oven to a piping hot 475°F (246°C) to guarantee each pita puffs up beautifully. Place your rolled dough on a preheated baking stone or an inverted baking sheet, ensuring that the surface is scorching to touch. This intense heat is essential, as it shocks the dough, activating rapid steam production inside, which is key to achieving that signature puff.
Monitor the baking process closely—this isn’t the time to multitask. After about 2-3 minutes, you’ll notice the pitas ballooning. This visual cue is your signal that the baking techniques and dough consistency are spot-on. The precise heat transforms the moist dough into steam, puffing the pitas into perfect pockets ready for your innovative fillings.
Nutritional Guide
While exploring the myriad ways to fill a pita, it’s essential to reflect on the nutritional balance each ingredient brings to your sandwich. Understanding the caloric content and health benefits of each component allows you to enjoy your meal without compromising on taste or nutrition. Here’s a breakdown to guide you:
| Ingredient | Calories (per 100g) | Health Benefits |
|---|---|---|
| Whole Wheat Pita | 250 | Rich in fiber, aids digestion |
| Grilled Chicken | 165 | High in protein, supports muscle growth |
| Avocado | 160 | Good fats, heart-healthy |
Opting for whole wheat pita enhances fiber intake, while lean proteins like chicken offer substantial nourishment without excess calories. Avocado adds a creamy texture and heart-healthy fats, making your pita not just delicious but also balanced.
Final Thoughts
As we wrap up our exploration of pita bread sandwiches, it’s clear that the possibilities are as varied as they are delicious. Here’s a quick breakdown:
- Bread Storage: Store pita in a cool, dry place and consume within a week for ideal freshness.
- Serving Suggestions: Toast lightly and pair with tzatziki for a revitalizing bite.
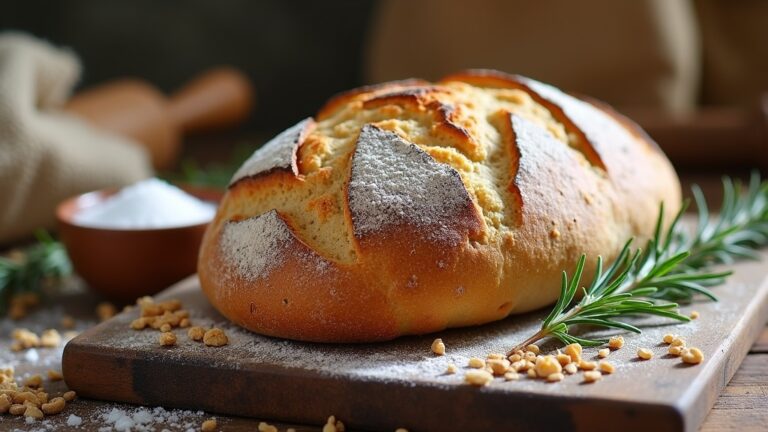
- Herb Infusions: Experiment by brushing pitas with garlic oil and a sprinkle of rosemary before filling.
- Texture Play: Combine crunchy elements like cucumbers with creamy fillings like hummus.
- Spice It Up: Add a dash of harissa for a smoky, spicy twist.
These innovative ideas can transform your pita experience, making every meal a delightful adventure in flavors and textures.
Frequently Asked Questions
Can I Use Gluten-Free Flour for Pita Bread Sandwiches?
Yes, you can use gluten-free flour for baking. Employ precise measurements and innovative baking techniques to guarantee your results mirror traditional textures. Experiment with various gluten-free alternatives to enhance the flavor profile.
Are Pita Bread Sandwiches Suitable for a Vegan Diet?
Yes, they’re suitable for vegans if you choose the right ingredients. Opt for vegan fillings like spiced chickpeas and load up on veggies for maximum flavor and nutritional benefits. It’s all about the fillings!
How Do I Store Leftover Pita Bread Sandwiches?
To store leftover sandwiches, wrap them tightly in cling film or place in airtight containers. This preserves freshness for up to 2 days. For ideal flavor, reheat gently before serving.
What Are Some Low-Calorie Fillings for Pita Bread Sandwiches?
For low-calorie fillings, I’d recommend hummus or tzatziki as healthy spreads. Lean protein options like grilled chicken or turkey, and plenty of fresh veggies add crunch and flavor without the calorie overload.
Can Pita Bread Sandwiches Be Frozen for Later Use?
Did you know 40% of homemade bread enthusiasts freeze their creations? You can freeze pita bread sandwiches too! Guarantee proper freezer storage to maintain flavor and texture for a convenient, innovative meal solution.
Conclusion
After whipping up these pita bread sandwiches, I can confidently say they’re a real game changer for your lunch routine. Each bite delivers a burst of flavors, perfectly balanced between the soft, warm pita and the rich, savory fillings. By following these precise steps and measurements, you’ve turned simple ingredients into a meal that’s not just filling but also nutritious. Trust me, these sandwiches will add a delicious twist to your meal planning, making your midday break anything but ordinary.
