Pizza Crust Recipe Easy
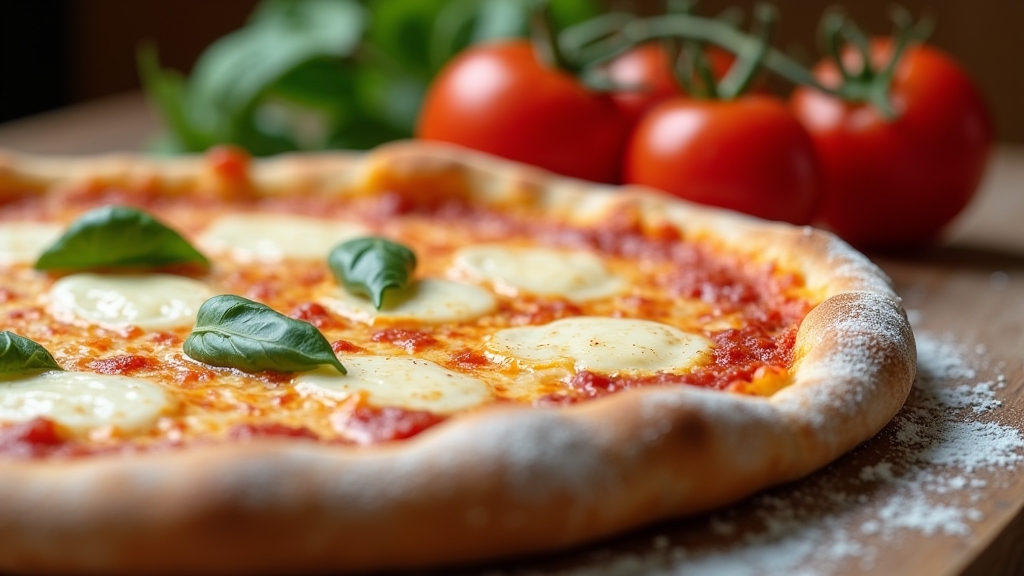
Making an easy pizza crust at home is incredibly satisfying! I start by mixing 2 ¼ teaspoons of active dry yeast with 1 ½ cups of warm water. Then, I gradually add 3 ½ to 4 cups of all-purpose flour, 2 teaspoons of salt, 1 tablespoon of sugar, and 2 tablespoons of olive oil. Kneading the dough until it’s smooth and stretchy is key! Let it rise, and soon you’ll craft a delicious base for your favorite toppings. Stick around, and I’ll share how to elevate your crust even more!
Contents
History
When I think about the history of pizza crust, I can’t help but marvel at how this simple bread has evolved over centuries. Its ancient origins trace back to the flatbreads of the Mediterranean, where different cultures began adding toppings to create unique culinary experiences. The crust became more than just a base; it represented regional flavors, traditions, and community gatherings. As I dive deeper into its cultural significance, I see how pizza transcended borders, evolving from humble beginnings in Naples to a global phenomenon. Each bite tells a story of innovation and adaptation, as bakers experiment with new techniques and ingredients. This history inspires me to explore the endless possibilities of pizza crust, blending tradition with modern flair.
Recipe
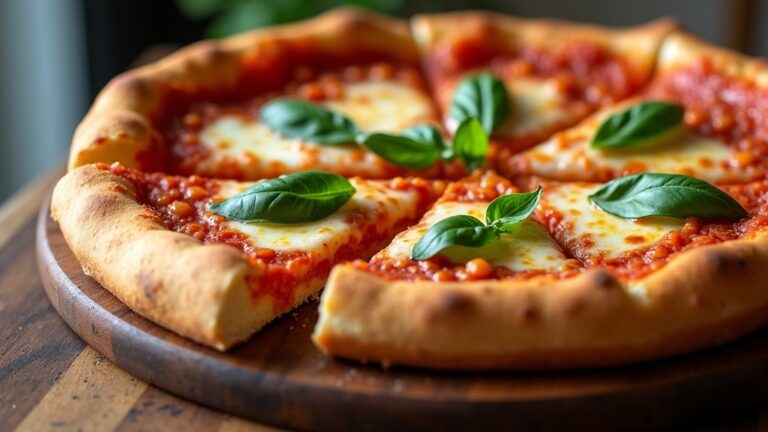
Making the perfect pizza crust is an essential skill for any home cook who loves Italian cuisine. A great crust serves as the foundation for delicious toppings and balances flavors, providing that ideal combination of chewiness and crispiness. This simple recipe will guide you through the process of creating a homemade pizza crust that can be customized to your liking. Whether you prefer a thin, crispy base or a thicker, doughy style, this versatile recipe can be adjusted to suit your tastes.
Mastering the art of pizza crust is key for any Italian cuisine enthusiast, offering the perfect base for your favorite toppings.
To get started, gather your ingredients and prepare your workspace. It’s important to have everything measured out and ready to go, as the steps come together quickly. The key to a successful pizza crust lies in the quality of your ingredients and the technique you use. Kneading the dough properly and allowing it to rise will result in a light and airy crust that makes each bite delightful. With some practice, you’ll be able to whip up this pizza crust in no time, impressing family and friends with your culinary skills.
Ingredients:
- 2 ¼ teaspoons active dry yeast
- 1 ½ cups warm water (110°F)
- 3 ½ to 4 cups all-purpose flour
- 2 teaspoons salt
- 1 tablespoon sugar
- 2 tablespoons olive oil
To prepare the dough, start by dissolving the yeast and sugar in warm water in a large mixing bowl. Allow it to sit for about 5-10 minutes until it becomes frothy. Gradually add in the flour and salt, mixing until a rough dough forms. Transfer the dough to a floured surface and knead for about 8-10 minutes until it is smooth and elastic. Place the dough in a greased bowl, cover it with a damp cloth, and let it rise in a warm place for 1-2 hours or until it has doubled in size. Once risen, punch down the dough, divide it into portions, and roll out to your desired thickness before adding your favorite toppings.
When making pizza crust, remember that the quality of the flour can greatly affect the texture of your dough. Opt for bread flour if you want a chewier crust or keep it simple with all-purpose flour for a more traditional base. Additionally, allow your dough to rest for a few minutes after kneading; this makes it easier to roll out. Experiment with different rising times and temperatures to find what works best for your kitchen environment. Finally, don’t be afraid to get creative with seasonings; adding herbs or garlic powder to the dough can elevate your pizza experience to a whole new level!
Cooking Steps
Let’s get started on making that perfect pizza crust! First, I mix the dry ingredients to guarantee a solid base, then I gradually add warm water to create the dough. Kneading until it’s smooth is key, and after that, we’ll let it rise until it’s doubled in size—trust me, it’s worth the wait!
Step 1. Mix Dry Ingredients First
To create the perfect pizza crust, mixing the dry ingredients first is essential. I start by selecting high-quality flour, salt, and yeast—these are the backbone of a great crust. Using a large bowl, I whisk the dry ingredients together, ensuring they’re evenly distributed. This step isn’t just about mixing; it’s about activating the flavors and preparing for a delightful texture. I often experiment with different mixing techniques, like sifting the flour or using a fork to aerate the ingredients. This not only enhances the crust’s lightness but also allows for any additional spices or herbs to blend seamlessly. Trust me, taking the time to properly combine your dry ingredients sets the stage for a truly innovative pizza experience!
Step 2. Add Warm Water Gradually
With the dry ingredients well combined, it’s time to introduce the warm water—this step breathes life into the mixture. I always guarantee the water temperature is around 110°F; that’s warm enough to activate the yeast without killing it. As I pour the water gradually, I watch how it transforms the dry blend into a sticky, cohesive mass. I prefer to add it slowly, stirring gently, allowing the dough consistency to adjust. You want a texture that’s neither too wet nor too dry, just enough to hold together beautifully. This careful addition helps me achieve that perfect balance, setting the stage for the next steps in crafting a delicious pizza crust. Trust me, it’s worth the attention!
Step 3. Knead Dough Until Smooth
Kneading the dough is where the magic truly begins. As I embark on this process, I can feel the dough texture transform under my hands. I use a combination of pushing, folding, and turning, employing various kneading techniques to develop that perfect elasticity. With each motion, I’m not just mixing ingredients; I’m awakening the gluten, creating a structure that’ll hold my pizza’s toppings beautifully. I pay close attention to how the dough feels; it should become smooth and slightly tacky but not stick to my fingers. If it’s too dry, I might add a sprinkle of water or flour as needed. This hands-on approach is where innovation meets tradition, and it’s incredibly rewarding to see the dough come to life!
Step 4. Let Dough Rise Until Doubled
After kneading the dough until it’s smooth, it’s time to let it rise, which is a thrilling part of the pizza-making process. This step is essential for dough fermentation, allowing the yeast activation to work its magic. I find it fascinating watching the dough transform as it doubles in size, creating that perfect airy texture.
Here’s how I let my dough rise:
- Cover the Dough: I place it in a lightly greased bowl, covering it with a damp cloth to retain moisture.
- Warm Environment: I set the bowl in a warm, draft-free area—ideal for yeast to thrive.
- Patience is Key: I let it rise for about 1 to 1.5 hours, checking for that delightful double size.
Step 5. Shape Dough Into Pizzas
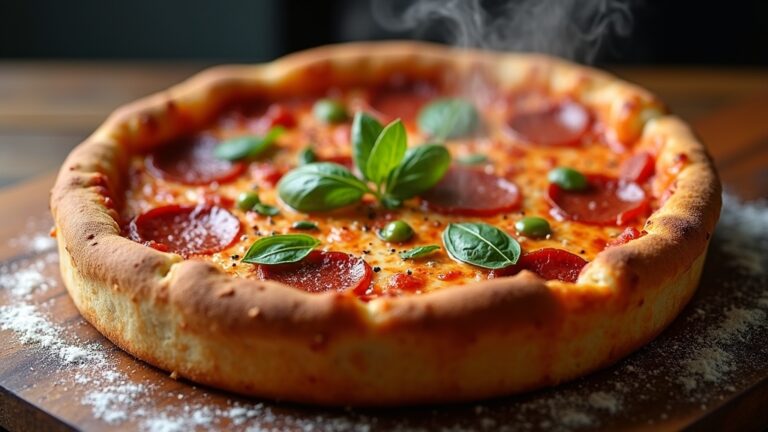
Now that the dough has risen beautifully, it’s time to shape it into pizzas. I gently punch it down, releasing the air, and divide it into equal portions. I like to roll each piece into a ball, letting them rest for a few minutes—this helps relax the gluten. Then, I use my fingers to stretch the dough, working from the center outwards. The goal is to achieve a perfect dough thickness, thin enough for a crispy bite but thick enough to hold my favorite topping combinations. Whether I’m going for classic pepperoni or an adventurous fig and goat cheese, I make sure the edges are slightly thicker for that delightful crust. It’s all about creativity and personal flair!
Nutritional Guide
While crafting the perfect pizza crust, it’s essential to contemplate not just the taste but also the nutritional value of the ingredients we choose. Understanding the caloric content and ingredient benefits can elevate our pizza experience. Here’s a quick guide:
| Ingredient | Benefits |
|---|---|
| Whole Wheat Flour | High in fiber, aids digestion |
| Olive Oil | Healthy fats, boosts heart health |
| Yeast | Supports gut health, promotes fermentation |
| Sea Salt | Essential minerals, enhances flavor |
| Honey | Natural sweetener, antioxidant properties |
Choosing the right ingredients not only enhances flavor but also supports your health goals. By being mindful of what goes into our crust, we can enjoy a delicious pizza that nourishes our bodies too!
Final Thoughts
As I reflect on the journey of crafting the perfect pizza crust, it’s clear that the right balance of ingredients plays an essential role in achieving both flavor and nutrition. A well-made crust is the canvas for your culinary creativity, allowing innovative pizza toppings to truly shine.
To elevate your pizza experience, consider these tips:
- Experiment with Flours: Try blending whole wheat or gluten-free options for unique textures.
- Master Baking Techniques: Utilize a pizza stone or steel for that crispy bottom, ensuring even heat distribution.
- Layer Flavor: Don’t skimp on seasoning the dough; it’s the foundation that enhances every bite.
Embrace the art of pizza-making, and let your imagination run wild!
Frequently Asked Questions
Can I Use Gluten-Free Flour for This Pizza Crust?
I’ve experimented with gluten-free flour and found it works well. There are plenty of flour substitutes available that can create a delightful crust. Embrace those gluten-free options for a tasty twist on your favorite dish!
How Long Can I Store Leftover Pizza Crust?
I usually store leftover pizza crust in an airtight container. It keeps fresh for about three to four days in the fridge, ensuring I can enjoy its delightful texture later. Pizza freshness matters to me!
What Toppings Pair Best With This Crust?
When I’m choosing toppings, I love experimenting with unique cheese combinations like feta and mozzarella. Pair them with bold sauce varieties, such as pesto or spicy marinara, for an innovative twist that elevates my pizza experience.
Can I Freeze the Pizza Crust for Later Use?
Absolutely, I often freeze my pizza crusts! For best results, I use proper freezing techniques, wrapping them tightly in plastic wrap. Storage tips? Label them with dates—this way, I always know when they’re ready to use!
Is It Possible to Make This Crust Vegan?
When it comes to making this crust vegan, I’m all in! You can swap dairy with plant-based options like almond milk and use flaxseed as an egg replacement. Innovative vegan substitutions can create a deliciously satisfying crust!
Conclusion
As I reflect on my pizza-making journey, I can’t help but share that over 3 billion pizzas are consumed in the U.S. each year—talk about a popular dish! Making your own pizza crust not only elevates your culinary skills but also allows you to customize flavors and toppings to your heart’s content. I hope you find joy in crafting your perfect pie, whether it’s a simple weeknight dinner or a fun gathering with friends. Happy baking!
