Pizza Hut Dough Recipe
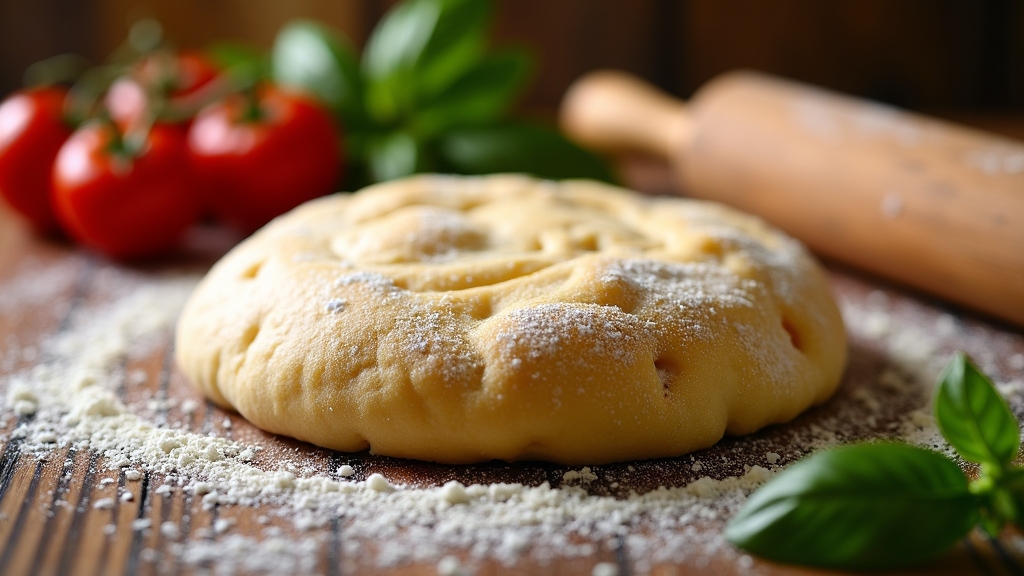
I’ve got the perfect Pizza Hut dough recipe for you! It’s simple and yields that soft, chewy crust we all love. You’ll need active dry yeast, warm water, all-purpose flour, sugar, salt, and olive oil. Knead the dough until smooth, let it rise, and it’s ready to shape and bake. The result? An amazing pizza that brings joy to any gathering. Stick around, and I’ll share some great tips on toppings and baking!
Contents
History
When I think about the history of Pizza Hut, it’s fascinating how a simple idea blossomed into a global phenomenon. It all began in 1958, when two brothers, Dan and Frank Carney, decided to sell pizzas from a modest storefront in Wichita, Kansas. They were inspired by Italy’s pizza origins, but they had a vision of making it accessible to everyone. Over the years, the dough evolution became a hallmark of their brand. They experimented with recipes, textures, and styles, resulting in the thick, chewy crusts that many of us adore today. As Pizza Hut expanded, it didn’t just serve pizza; it transformed how we experience food. This journey highlights the power of innovation and the joy of culinary creativity.
Recipe
Making Pizza Hut-style dough at home can bring the joy of cheesy, saucy pizza right to your kitchen. This recipe will guide you through creating a soft, chewy crust that mimics the iconic taste and texture of a Pizza Hut pizza. With just a few simple ingredients, you can whip up a batch of dough that’s perfect for any pizza night.
Bring the joy of cheesy, saucy pizza home with this easy Pizza Hut-style dough recipe for a perfect pizza night!
This dough is versatile and can be customized to suit your favorite toppings and styles, whether you prefer a classic pepperoni pizza or a veggie-loaded delight. The key is to allow the dough to rise properly, which results in that fluffy, airy texture that makes Pizza Hut pizza so beloved. Get ready to impress your friends and family with your homemade pizza!
Ingredients:
- 2 ¼ teaspoons (1 packet) active dry yeast
- 1 ½ cups warm water (110°F)
- 4 cups all-purpose flour
- 2 tablespoons sugar
- 1 teaspoon salt
- 2 tablespoons olive oil
- Cornmeal (for dusting)
Instructions:
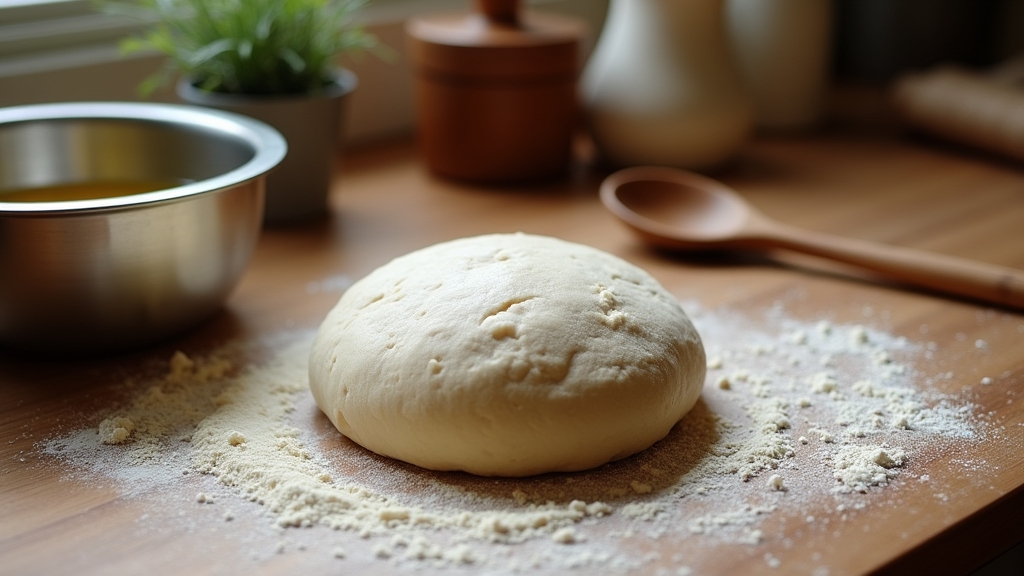
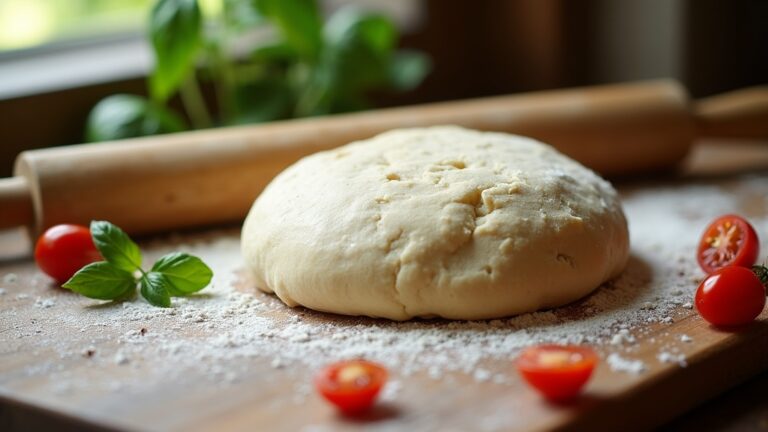
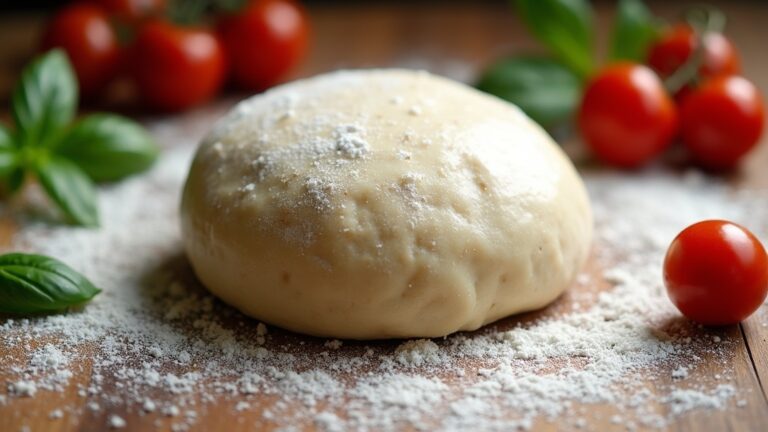
In a large mixing bowl, dissolve the active dry yeast in warm water, letting it sit for about 5 minutes until it becomes frothy. Then, add the sugar, salt, and olive oil, stirring to combine. Gradually mix in the flour, one cup at a time, until a dough forms. Knead the dough on a floured surface for about 5-7 minutes until it becomes smooth and elastic. Place the dough in a greased bowl, cover it with a cloth, and let it rise in a warm place for 1-1.5 hours, or until it has doubled in size.
Extra Tips:
For the best results, make sure your water is warm but not too hot, as excessive heat can kill the yeast. If you’re short on time, you can let the dough rise in a slightly warmer environment, such as an oven set to the lowest temperature. Additionally, for a more flavorful crust, consider adding garlic powder or Italian herbs to the dough. Once you roll out the dough and place it in your pizza pan, remember to pre-bake it for about 5 minutes before adding toppings to achieve that perfect crispy base. Enjoy your pizza-making adventure!
Cooking Steps
Now that we have our ingredients ready, let’s jump into the cooking steps that’ll bring our Pizza Hut dough to life. I’ll guide you through mixing warm water and yeast, kneading the dough to perfection, and allowing it to rise just right. Trust me, following these steps will set the stage for a delicious pizza experience!
Step 1. Mix Warm Water and Yeast
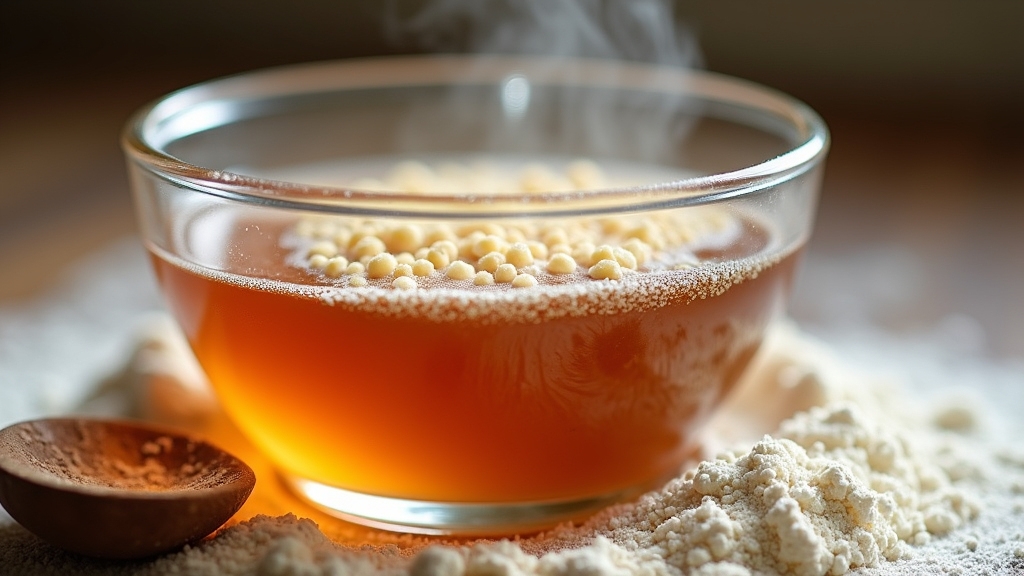
To kick off the dough-making process, I start by mixing one cup of warm water with a packet of active dry yeast. The warm water, ideally around 110°F, is vital for yeast activation, ensuring those tiny organisms awaken and come to life. I gently stir the mixture, watching as the yeast begins to foam and bubble, a sure sign that it’s working its magic. This frothy mix is the foundation for my pizza dough, creating the perfect environment for gluten development later on. I let it sit for about five minutes, allowing the yeast to fully activate. This moment is significant; it’s where the science of baking meets the art of pizza-making, setting the stage for a delicious, homemade crust.
Step 2. Knead the Dough Thoroughly
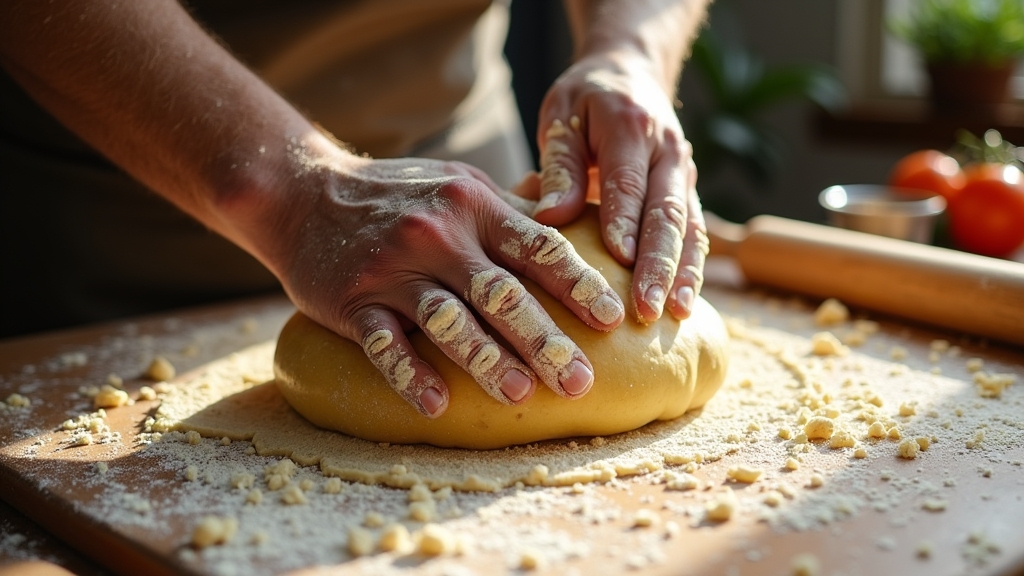
With a dusting of flour on my countertop, I plunge my hands into the dough, feeling its cool, slightly sticky texture. As I begin to knead, I employ various kneading techniques, pressing and folding the dough with intention. I can feel it transforming beneath my palms—becoming smoother, more elastic. I focus on the dough texture, ensuring it’s just right; too sticky means it needs more flour, while too dry indicates I should add a splash of water. Each fold and press brings me closer to that perfect consistency. I can’t rush this process; patience is essential. After about 8-10 minutes, my dough feels alive and ready, a reflection of the effort invested in kneading. It’s time to let it rest!
Step 3. Let Dough Rise Properly
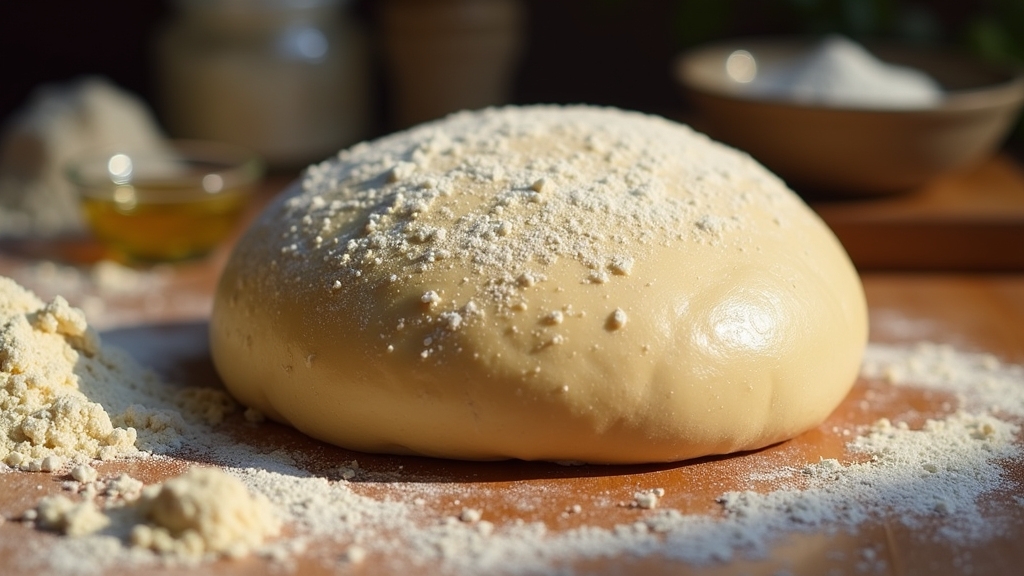
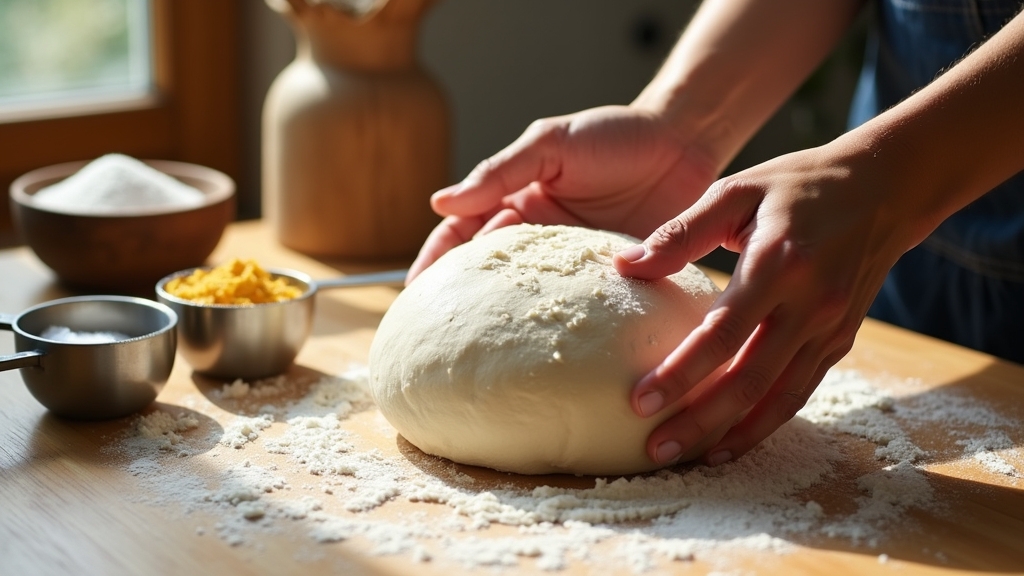
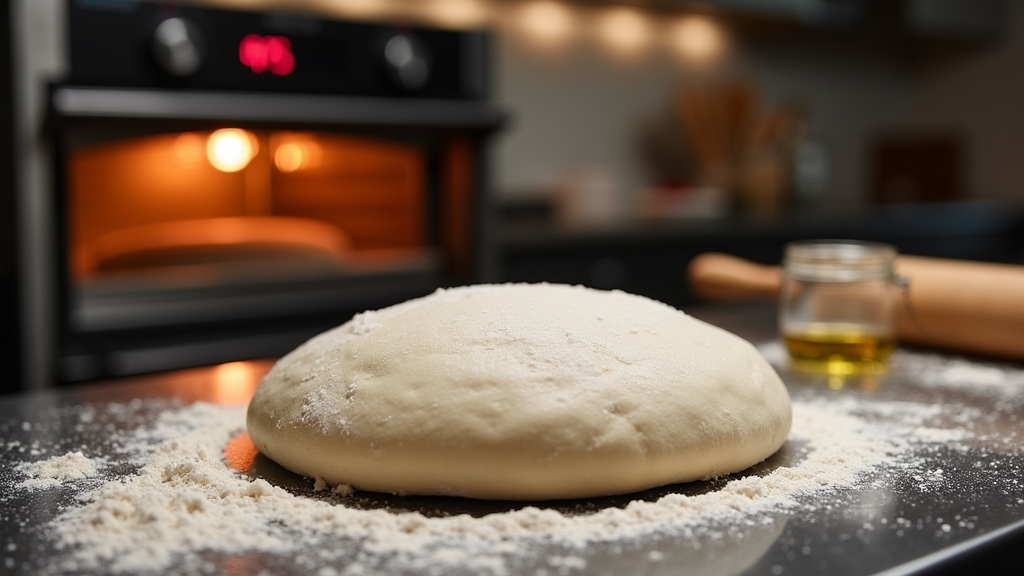
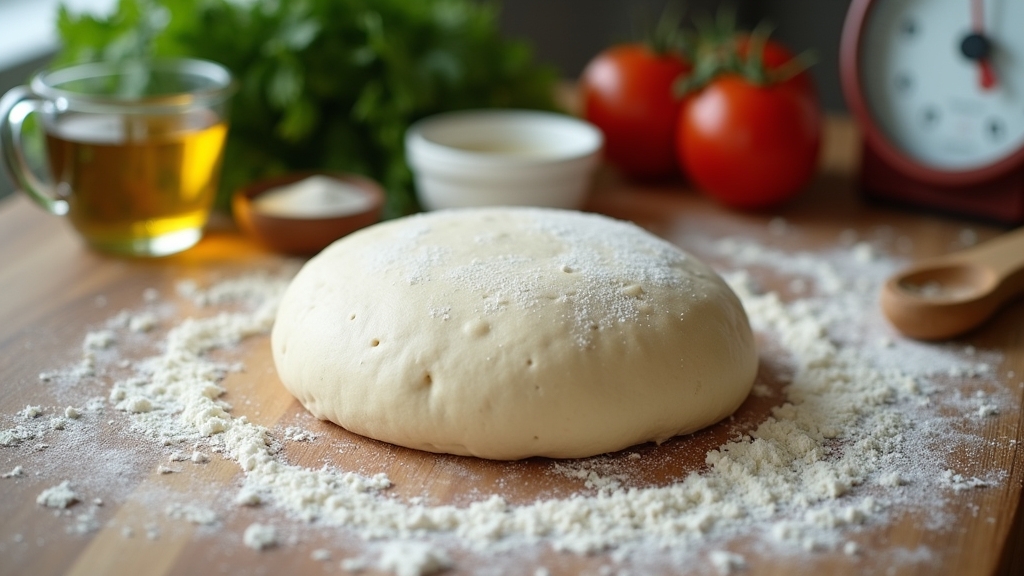
As I cover the kneaded dough with a clean kitchen towel, I can already imagine the transformation that’s about to take place. This is where the magic of dough fermentation begins. I place it in a warm, draft-free spot, allowing the yeast to work its wonders. The rising techniques I choose are vital; I often opt for a slow rise to develop rich flavors. After about an hour, I peek beneath the towel, and I’m greeted by a beautifully puffed dough, doubled in size. This step is essential for achieving that perfect, chewy crust. Remember, patience is key here. With each minute, the dough is not just rising; it’s evolving, preparing for its delicious destiny.
Step 4. Shape the Dough Into Balls
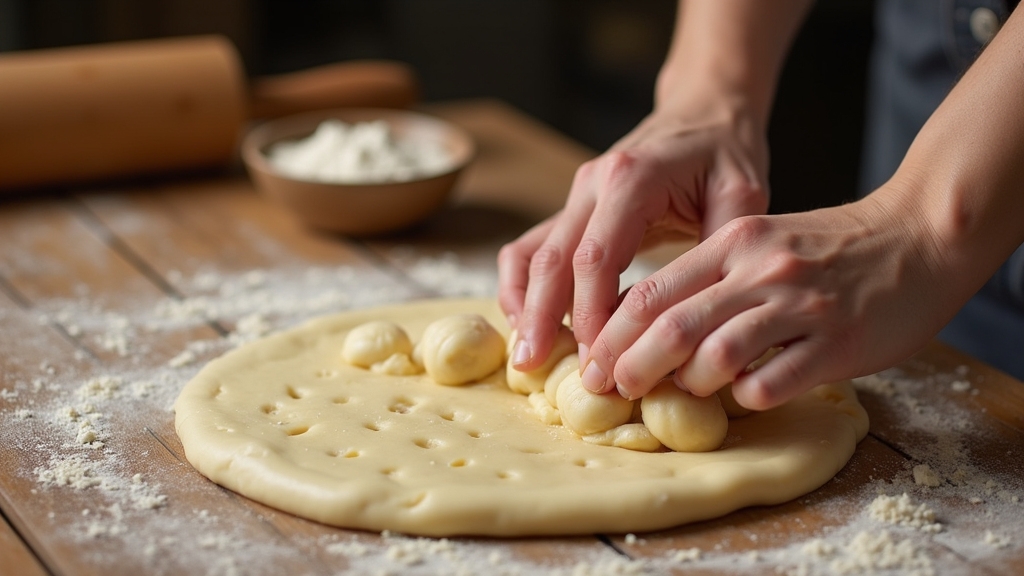
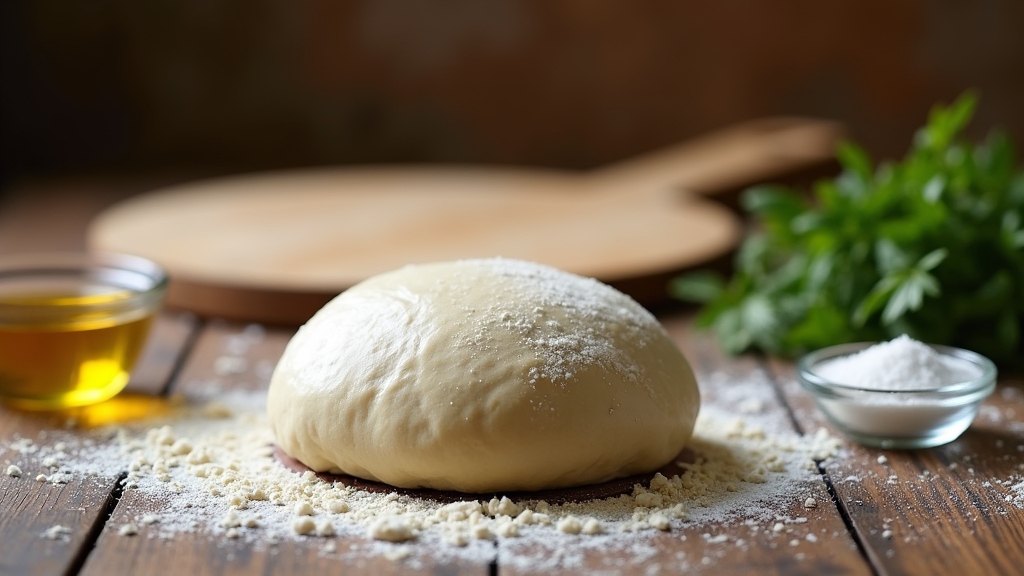
Shaping the dough into balls is an essential step that sets the stage for an even rise and a beautifully uniform crust. I start by evaluating the dough consistency; it should be smooth and slightly tacky, not overly sticky. Using my hands, I gently stretch and fold the edges toward the center, creating tension on the surface. This technique helps to develop a strong gluten structure. Once I’ve gathered the dough, I roll it between my palms, applying light pressure to form a tight ball. I love using shaping techniques like these because they not only enhance the final product but also make the process feel creative. Each ball is a promise of deliciousness waiting to be transformed into a perfect pizza.
Step 5. Preheat the Oven to 475°F
Before I plunge into baking, I make certain to preheat my oven to 475°F. This oven temperature is vital for achieving that perfectly crisp crust we all crave. As the oven warms up, I can almost hear the dough sizzling in anticipation. This step isn’t just a formality; it’s one of my essential baking tips. When the oven reaches that high temperature, the heat will create a gorgeously golden exterior while keeping the inside delightfully chewy. I always use an oven thermometer to guarantee accuracy, as every degree counts. With my oven primed and ready, I can focus on assembling my pizza toppings, knowing I’m one step closer to a delicious homemade masterpiece.
Nutritional Guide
While indulging in a slice of Pizza Hut’s delicious dough, it’s important to contemplate the nutritional aspects that come with it. Understanding the caloric content and dietary considerations can help you enjoy your favorite pizza while being mindful of your health. Here’s a quick breakdown of key nutritional elements:
| Nutritional Element | Amount per Slice |
|---|---|
| Calories | 200 |
| Total Fat | 8g |
| Saturated Fat | 3g |
| Carbohydrates | 28g |
| Protein | 6g |
This guide can empower you to make informed choices when enjoying your pizza experience. So, whether you’re a casual eater or a health-conscious foodie, knowing these details enhances your culinary adventure!
Final Thoughts
As I reflect on the joy of making Pizza Hut-style dough at home, I can’t help but appreciate how this simple recipe can elevate any gathering or meal. The beauty of this dough lies in its versatility; experimenting with dough variations allows me to tailor each pizza to suit different tastes and occasions. Whether I’m opting for a classic thick crust or a lighter, whole wheat option, the foundation remains deliciously satisfying. Pairing it with a medley of pizza toppings—like zesty pepperoni, fresh veggies, or gourmet cheeses—unleashes creativity in the kitchen. This experience not only brings friends and family together but also ignites a passion for crafting the perfect slice. So, roll up your sleeves and let your culinary imagination run wild!
Frequently Asked Questions
Can I Use Whole Wheat Flour Instead of All-Purpose Flour?
I’ve experimented with whole wheat flour, and it’s fantastic! The nutritional benefits are impressive, but I noticed flavor differences. It adds a nutty depth that enhances my dishes, making them healthier and more delicious.
How Long Can I Store Unused Dough in the Fridge?
I’ve found that unused dough can typically last in the refrigerator for about three to five days. Proper dough storage is essential; make sure it’s tightly wrapped to maintain its freshness and texture.
Is There a Gluten-Free Version of the Pizza Hut Dough?
Imagine a crust that’s both crispy and tender, yet entirely gluten-free! While Pizza Hut doesn’t offer gluten-free dough, there are innovative alternatives using ingredients like almond flour or chickpea flour for a delightful twist.
Can I Freeze the Pizza Dough for Later Use?
Absolutely, I love freezing dough for later use! Using proper freezing techniques, I wrap it tightly and label for easy identification. This way, I guarantee ideal dough storage and enjoy fresh pizza anytime I crave it!
What Tools Do I Need to Prepare the Dough?
When I prepare dough, I grab my mixing bowls to blend ingredients smoothly and a rolling pin to shape it perfectly. These tools transform simple ingredients into a delightful canvas for creativity and flavor.
Conclusion
Now that you’ve got the inside scoop on Pizza Hut’s dough recipe, I can almost hear the sizzle of that fresh pizza baking in the oven! You might think making it at home is too tricky, but trust me, it’s simpler than you think. With just a few ingredients and some patience, you’ll be pulling off a delicious, cheesy creation that rivals your favorite takeout. So, roll up your sleeves and let’s create some pizza magic together!
