Quick Pizza Dough Recipe
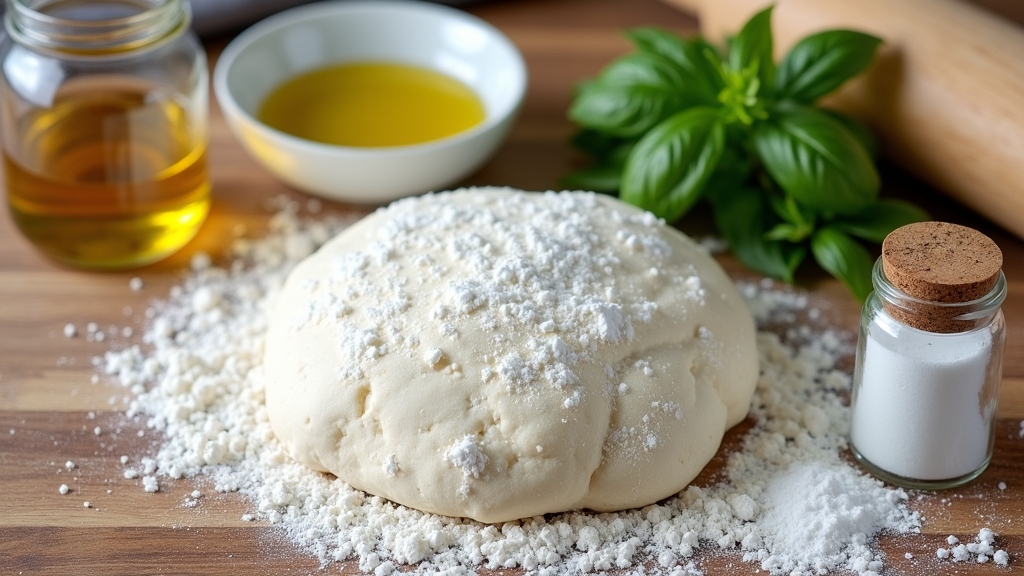
I love making quick pizza dough because it’s so easy and perfect for a spontaneous dinner. Just combine flour, baking powder, salt, warm water, and olive oil, then knead until smooth. Let it rest briefly before rolling out and baking at 475°F for 12-15 minutes. This dough is versatile, letting you customize thickness and toppings, and it provides a tasty base for creativity. Stick around, and I’ll share more tips and variations to make your pizza night unforgettable!
Contents
History
The origins of pizza dough are as rich and layered as the dish itself. I often marvel at how this simple mixture of flour, water, and yeast has evolved from ancient origins into the beloved staple we enjoy today. In ancient Rome, people baked flatbreads topped with various ingredients, a precursor to our modern pizza. As I explore regional variations, I find it fascinating how different cultures have adopted and adapted this dough. In Naples, you’ll savor the soft, chewy crust, while in New York, it’s all about that crispy, foldable slice. Each bite tells a story, connecting us to centuries of culinary innovation. Pizza dough isn’t just a base; it’s a canvas for creativity and flavor.
Recipe
Making pizza dough at home can be a fun and rewarding experience. With just a few simple ingredients, you can create a fresh, delicious crust that serves as the perfect base for your favorite toppings. This quick pizza dough recipe is designed for those who want to skip the long fermentation times typically associated with traditional dough, while still achieving a lovely texture and flavor. You can whip it up in no time, making it a great option for spontaneous pizza nights.
Making pizza dough at home is easy and enjoyable, allowing you to create a delicious crust for your favorite toppings in no time.
This dough is versatile and can be adapted to suit your preferences. Whether you prefer a thin and crispy crust or a thicker, chewier one, this recipe will help you achieve your desired results. Once you master this basic dough, feel free to experiment with different herbs, spices, or even whole wheat flour to make it uniquely yours. Ready to get started? Let’s plunge into the ingredients and cooking instructions.
Ingredients:
- 2 cups all-purpose flour
- 1 teaspoon baking powder
- 1 teaspoon salt
- 3/4 cup warm water
- 1 tablespoon olive oil
- 1 teaspoon sugar (optional)
Cooking Instructions:
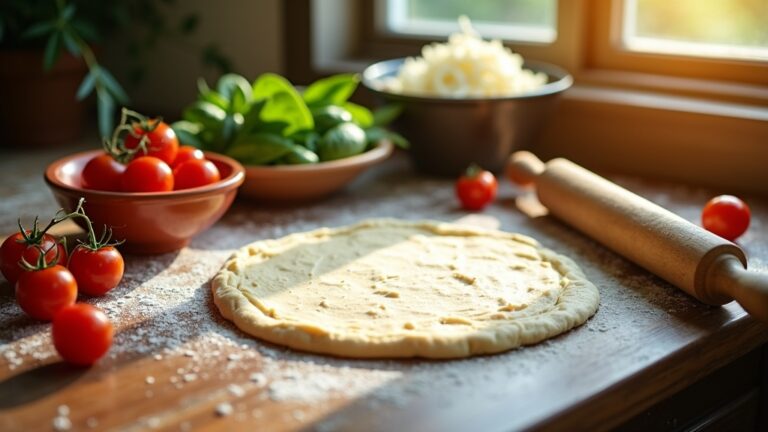
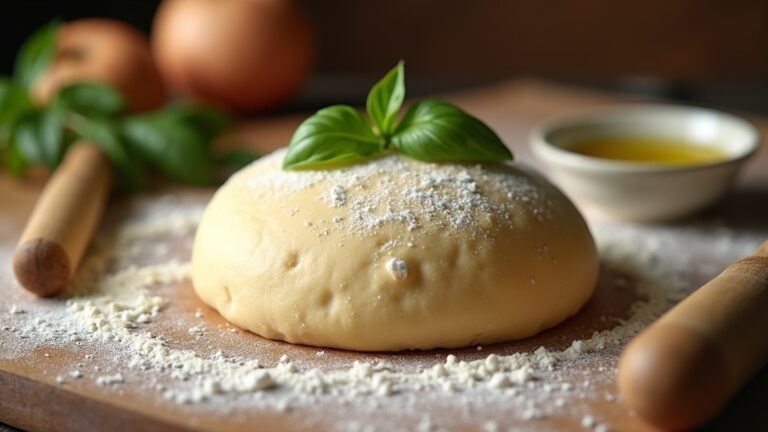
In a large mixing bowl, combine the flour, baking powder, and salt, ensuring they are well mixed. Gradually add the warm water and olive oil to the dry ingredients, stirring with a wooden spoon or your hands until a dough forms. Knead the dough on a lightly floured surface for about 5-7 minutes until it’s smooth and elastic. Allow the dough to rest for about 10-15 minutes before rolling it out to your desired thickness and shape. Preheat your oven to 475°F (245°C) before adding your favorite toppings and baking the pizza for about 12-15 minutes, or until the crust is golden brown.
Extra Tips:
To enhance the flavor of your pizza dough, consider adding a pinch of garlic powder or Italian herbs to the dry ingredients. If you prefer a chewier crust, let the dough rest for a bit longer, or even refrigerate it for a few hours before using it. Additionally, remember to preheat your pizza stone or baking sheet in the oven to achieve that perfect crispy bottom. Finally, be creative with your toppings; this dough can support a variety of styles, from classic Margherita to gourmet combinations! Happy pizza-making!
Cooking Steps
Let’s get right into the cooking steps that’ll turn those simple ingredients into delicious pizza dough. I’ll guide you through mixing the dry and wet ingredients, kneading the dough to perfection, and letting it rise just enough to create that perfect crust. By the end, you’ll be shaping it into balls, ready for your favorite toppings!
Step 1. Mix Dry Ingredients
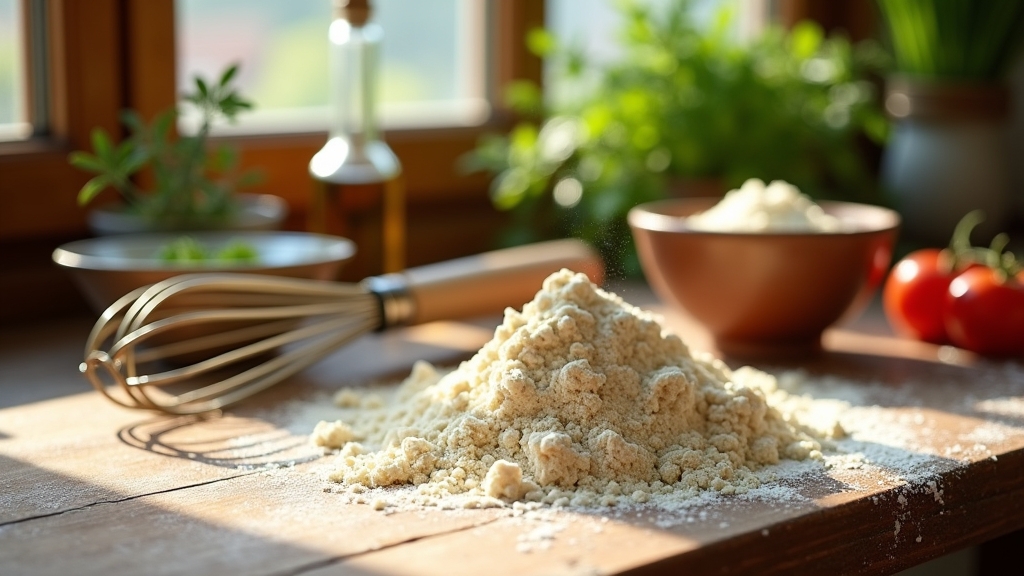
As I gather my ingredients, the first step in creating a perfect pizza dough involves mixing the dry ingredients. I start by measuring out my flour, ensuring I use the correct dry measurement for the best texture. Next, I sprinkle in salt and yeast, paying attention to the ingredient ratios; too much salt can inhibit the yeast’s magic! I like to whisk these together to aerate the flour, creating a light, fluffy base. As I blend, I can already envision the dough’s potential. A well-mixed foundation sets the stage for deliciousness ahead. Trust me, getting this part right is essential—innovative pizza lovers know that the secret to a great crust lies in the perfect balance of these foundational elements.
Step 2. Add Wet Ingredients
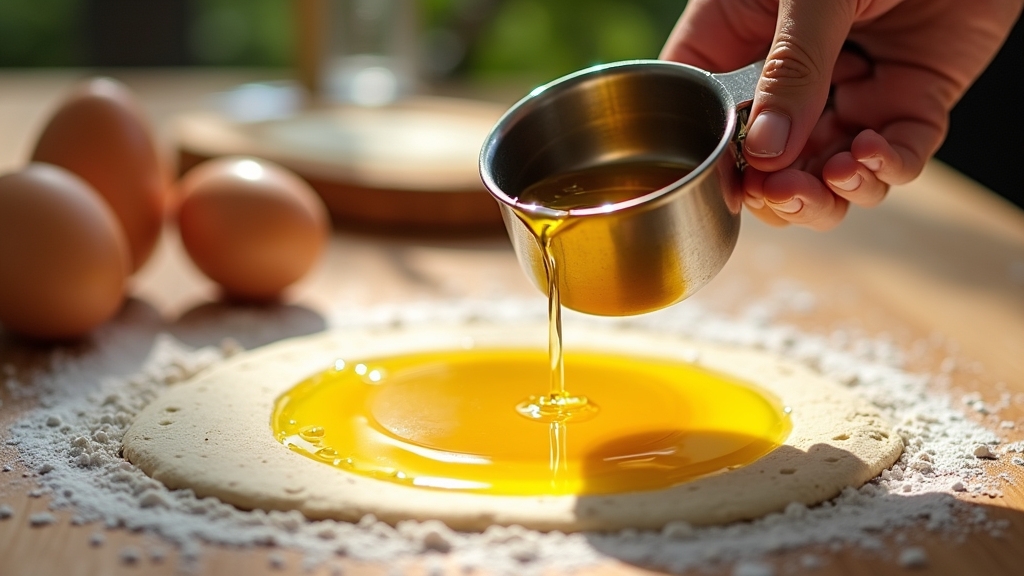
Once I’ve mixed my dry ingredients to perfection, it’s time to introduce the wet elements that will bring my pizza dough to life. I typically start with warm water, about 1 to 1.5 cups, depending on the flour type. Next, I drizzle in some olive oil—about two tablespoons adds richness and flavor. If I’m feeling adventurous, I might even toss in a splash of honey for a hint of sweetness. The key is balancing these wet ingredient types to match my dry ingredients’ ratios. This harmony sets the stage for a perfect dough. As I blend them together, I can already envision the delicious pizza crust that awaits!
Step 3. Knead the Dough Thoroughly
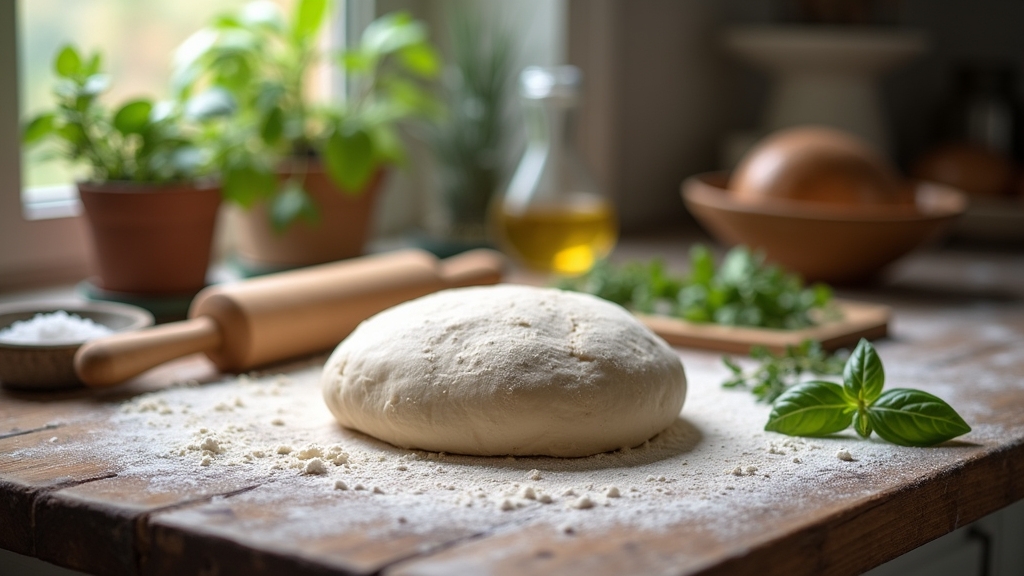
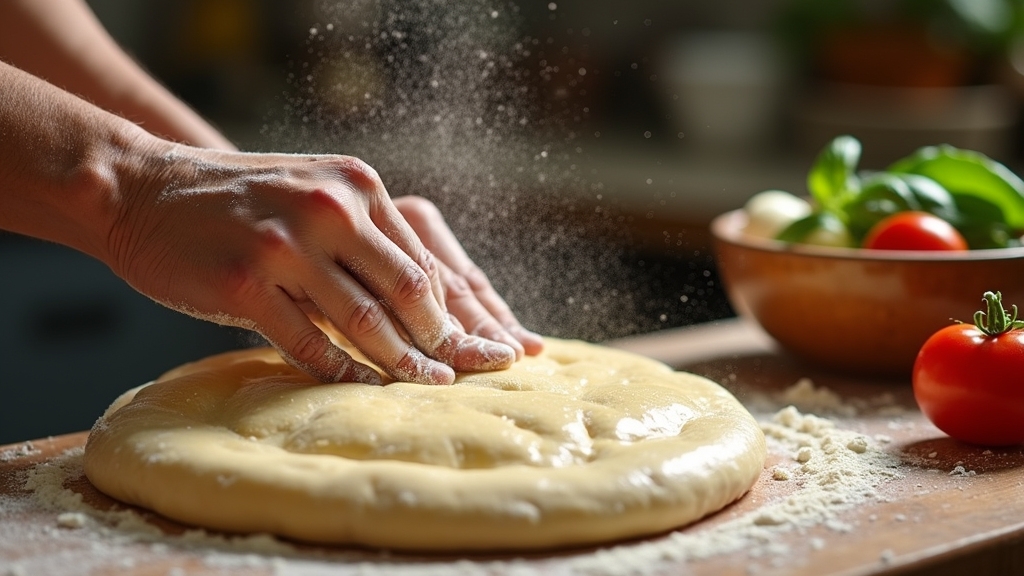
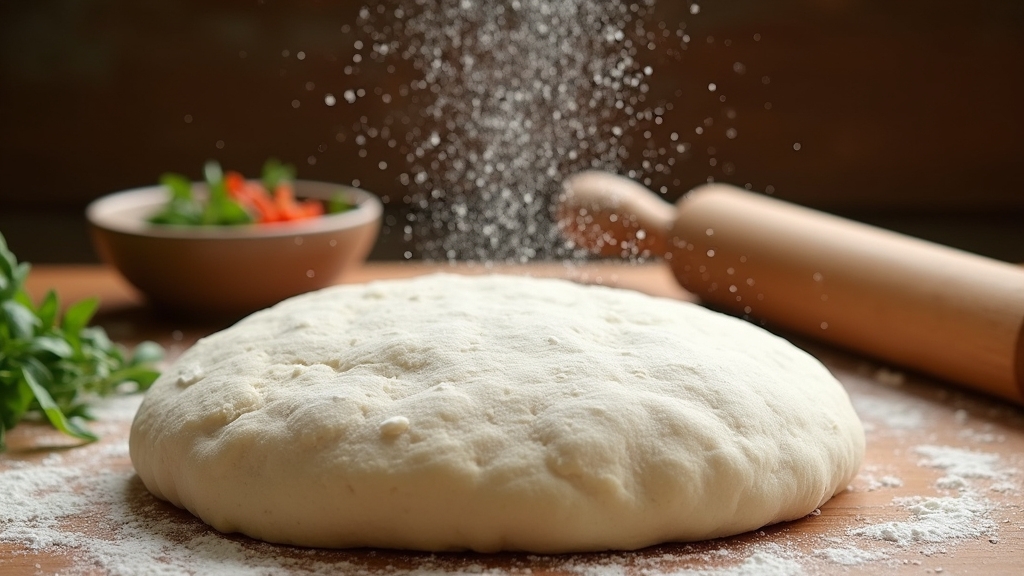
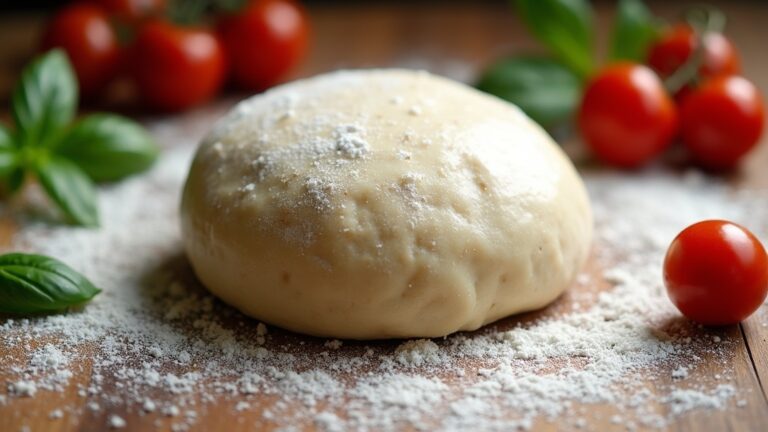
Kneading the dough is where the magic happens, transforming a sticky mixture into a smooth, elastic ball. I start by dusting my work surface with flour to prevent sticking. Using various kneading techniques, I push and fold the dough, feeling it change beneath my hands. I often rotate it 90 degrees after each fold to guarantee even development. As I knead, I pay close attention to the dough consistency; it should become soft and slightly tacky, yet not overly sticky. This process usually takes about 8-10 minutes. I can feel the gluten developing, which is essential for that perfect pizza crust. Trust me, taking the time to knead thoroughly will elevate your pizza game to the next level!
Step 4. Let Dough Rise Briefly
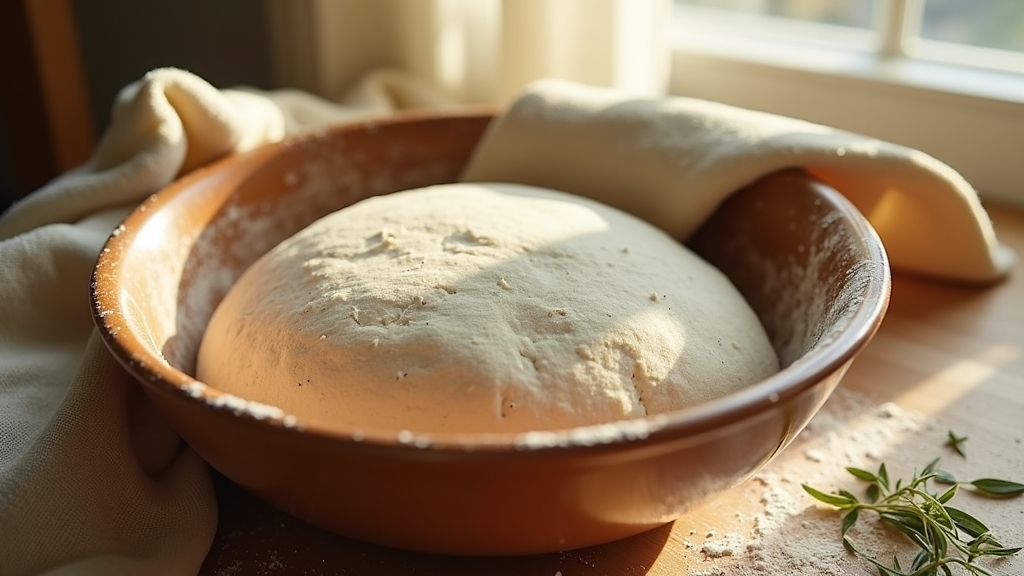
After kneading the dough to perfection, the next step is letting it rise briefly. This essential phase, often overlooked, is all about dough fermentation. I like to give my dough a rising time of just 15 to 30 minutes. During this time, you’ll notice the dough expanding slightly, which indicates that the yeast is working its magic, creating those delightful air pockets. To maximize flavor and texture, I cover it with a damp cloth, keeping it warm and cozy. This short rise not only enhances the dough’s elasticity but also makes it easier to shape later. Trust me, this brief moment of patience pays off, transforming your pizza base into something extraordinary. So, let it rise and watch the magic unfold!
Step 5. Shape the Dough Into Balls
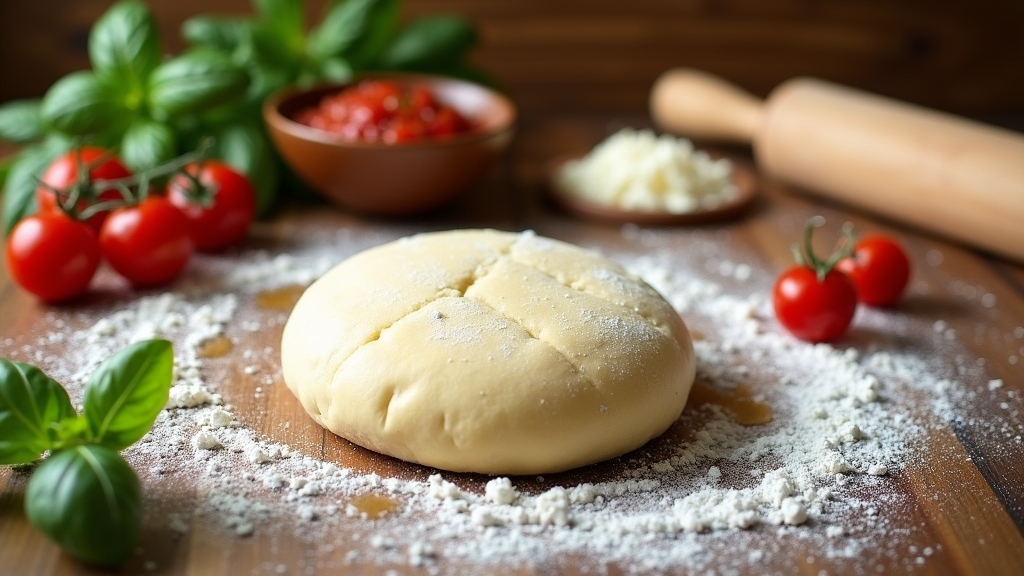
Now it’s time to shape the dough into balls, and this step is essential for creating the perfect individual pizza portions. I start by lightly dusting my hands with flour, ensuring the dough doesn’t stick. Using my fingers, I gently stretch and fold the edges toward the center, employing various dough formation techniques to create a smooth surface. Depending on your preference, I recommend making dough ball sizes that fit your desired pizza dimensions—smaller balls for personal pies, larger ones for sharing. Once I’ve formed the balls, I place them on a floured surface, giving them space to expand. This simple technique not only enhances the dough’s texture but also makes handling it easier when you’re ready to create your masterpiece!
Nutritional Guide
When I whip up a quick pizza dough, I often find myself considering its nutritional profile. This dough is not just a base for toppings; it’s packed with ingredient benefits that can enhance your meal. Understanding the caloric content helps me make informed choices about portion sizes and toppings.
Here’s a quick breakdown of the key ingredients:
| Ingredient | Caloric Content (per serving) | Benefits |
|---|---|---|
| All-Purpose Flour | 100 | Provides energy |
| Olive Oil | 120 | Healthy fats, antioxidants |
| Yeast | 10 | Supports digestion |
| Salt | 0 | Enhances flavor |
Final Thoughts
Reflecting on the nutritional aspects of quick pizza dough, it’s clear that this recipe not only delivers convenience but also offers a foundation for a balanced meal. I’m excited to explore the endless dough variations that can elevate your pizza game, whether you prefer a classic thin crust or a hearty whole wheat option. The beauty of this recipe lies in its adaptability, allowing you to experiment with flavors and textures. Don’t forget to get creative with topping suggestions! Fresh vegetables, lean proteins, and a sprinkle of herbs can transform your pizza into a gourmet experience in no time. By embracing this quick pizza dough, you’ll not only satisfy your cravings but also nourish your body with delicious, wholesome ingredients. Enjoy crafting your perfect pie!
Frequently Asked Questions
Can I Use Gluten-Free Flour for This Pizza Dough?
Absolutely, I’ve used gluten-free substitutes in my pizza dough. While the texture differs slightly, it’s still delicious! Just experiment with different blends to find the perfect balance for that satisfying, chewy pizza experience you crave.
How Long Can I Store Leftover Pizza Dough?
I’ve found that leftover pizza dough stores well in the fridge for up to three days. For longer storage, freezing dough is fantastic; just wrap it tightly and follow my refrigeration tips for best results!
What Type of Yeast Is Best for Quick Pizza Dough?
When it comes to yeast, I swear by instant yeast—it’s like magic! It rises quickly and effortlessly. Active dry yeast works too, but instant yeast makes my dough rise faster, ensuring delicious results every time.
Can I Make This Dough in Advance?
I love making dough in advance. After preparing it, I freeze the dough in portions. This way, I can quickly grab some whenever I crave fresh pizza without the hassle of starting from scratch!
What Toppings Pair Well With Quick Pizza Dough?
When it comes to toppings, I think of a canvas waiting for art. I love mixing creamy mozzarella with tangy goat cheese, adding vibrant bell peppers, fresh spinach, and earthy mushrooms for a deliciously innovative experience.
Conclusion
As I reflect on this quick pizza dough recipe, I can’t help but marvel at how something so simple can bring people together. Whether it’s a casual weeknight dinner or a festive gathering, homemade pizza has a way of sparking joy. So, why not release your creativity in the kitchen? With just a few ingredients and some love, you can create not only a delicious meal but also cherished memories. What’s stopping you from making your own pizza masterpiece?
