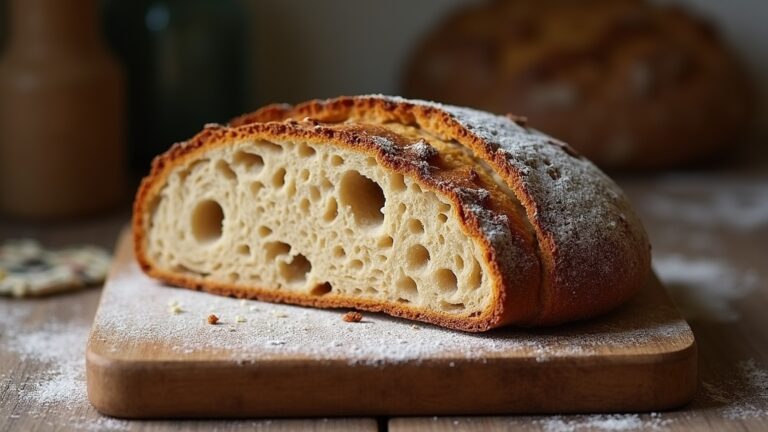
Rye Bread Recipe
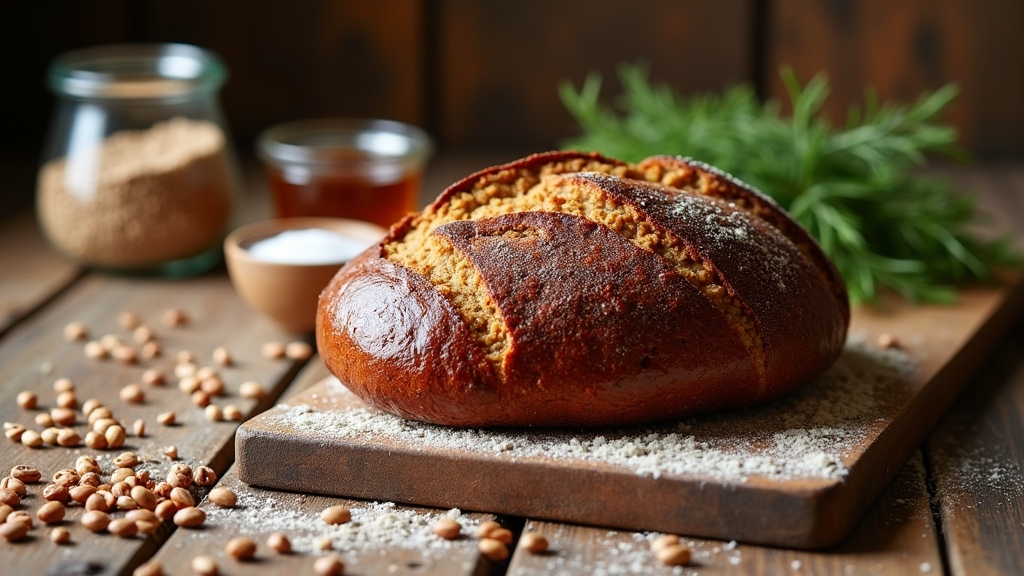
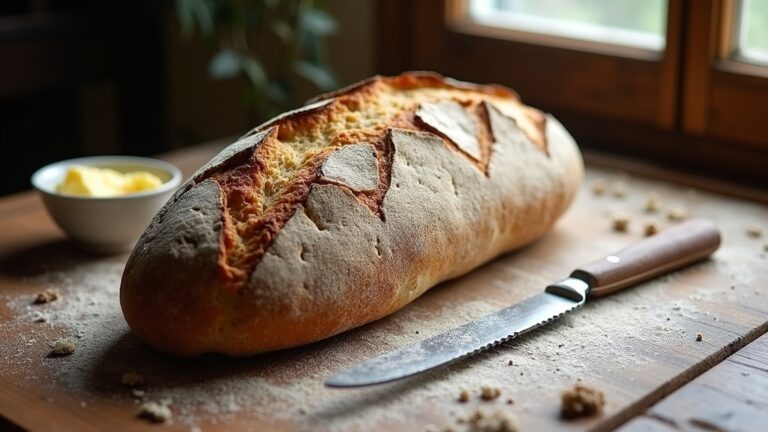
I love making rye bread because of its rich flavor and dense texture. To whip up a simple loaf, mix 2 cups of rye flour with 1 cup of all-purpose flour, warm water, honey, salt, and instant yeast. Knead it well, let it rise, shape it into a loaf, and bake until golden brown. This delicious bread is perfect for sandwiches or toasting. Stick around, and I’ll share tips on how to elevate your rye bread game even further!
Contents
History
When I immerse myself in the history of rye bread, I can’t help but feel the deep roots it has in various cultures. Rye cultivation dates back thousands of years, intertwining with ancient breads that nourished communities across Europe and beyond. As I explore this journey, I discover how rye was often the grain of choice for those living in harsher climates, thriving in poor soils where wheat struggled. This resilience speaks volumes about its significance. I’m fascinated by how, over the centuries, rye bread evolved from rustic loaves baked by peasants to gourmet creations celebrated in modern cuisine. Each bite connects me to a past filled with innovation, perseverance, and a shared love for this hearty staple that continues to inspire today.
Recipe
Rye bread is a hearty and flavorful option that has been enjoyed for centuries. Known for its dense texture and rich taste, this bread is made using rye flour, which gives it a distinctive flavor profile that pairs well with various toppings. Whether you’re slathering it with butter, using it for sandwiches, or enjoying it toasted, homemade rye bread can elevate any meal. The process of making this bread is rewarding and allows you to control the ingredients, ensuring a wholesome and satisfying loaf.
To begin, you’ll need to gather the essential ingredients and set aside time for the dough to rise. Rye bread typically takes longer to rise than white bread due to the denser flour, but the wait is well worth it. You can customize your rye bread by adding seeds, caraway, or other spices for an extra layer of flavor. Once you’ve mastered the basics, you can experiment with different variations, making this recipe a versatile foundation for any baker.
Ingredients:
- 2 cups rye flour
- 1 cup all-purpose flour
- 1 ½ cups warm water
- 2 tablespoons honey or sugar
- 2 teaspoons salt
- 2 teaspoons instant yeast
- 1 tablespoon caraway seeds (optional)
Combine both types of flour, salt, and caraway seeds in a large mixing bowl. In a separate bowl, mix warm water with honey and instant yeast, allowing it to sit for about 5 minutes until foamy. Gradually add the wet mixture to the dry ingredients, mixing until a dough forms. Knead the dough on a lightly floured surface for about 10 minutes until smooth and elastic. Place the dough in a greased bowl, cover it with a damp cloth, and let it rise in a warm area for 1-2 hours, or until doubled in size. After the dough has risen, punch it down, shape it into a loaf, and place it in a greased loaf pan. Let it rise again for about 30-45 minutes. Preheat your oven to 375°F (190°C) and bake the bread for 30-35 minutes, or until it has a nice golden crust and sounds hollow when tapped on the bottom. Allow it to cool on a wire rack before slicing.
When making rye bread, it’s important to remember that rye flour absorbs more water than regular flour, so adjustments may be necessary depending on the humidity in your kitchen. For a softer crust, you can brush the loaf with melted butter right after baking. Additionally, rye bread tends to taste even better the next day as the flavors continue to develop, so don’t hesitate to bake a loaf ahead of time. Enjoy your homemade rye bread fresh or toasted, and pair it with your favorite spreads or toppings!
Cooking Steps
Now that we have our ingredients ready, let’s jump into the cooking steps to bring our rye bread to life. First, I mix the rye flour and water until it’s smooth, then I knead the dough thoroughly to develop that perfect texture. After letting it rise warmly, I shape it into a loaf, ready for baking at 375°F.
Step 1. Mix Rye Flour and Water
To kick off this delightful baking journey, I’ll combine rye flour and water in a mixing bowl. I love experimenting with different rye varieties, as they each lend unique flavors and textures to the bread. For this recipe, I’m using medium rye, which strikes a great balance. As I pour in the water, I pay close attention to the hydration levels; adjusting them can transform the dough’s consistency. The water should be room temperature, allowing the flour to absorb it fully, creating a smooth mixture. I gently stir until the flour and water are well combined, forming a thick paste. This initial step lays the foundation for a delicious loaf, inviting creativity and innovation for the next stages of baking.
Step 2. Knead Dough Thoroughly
With my hands dusted in a light coating of flour, I plunge into the rhythmic process of kneading the dough. Using various kneading techniques, I embrace the dough, folding and pressing it until it transforms into a silky, elastic mass. I pay close attention to the dough consistency; it should feel slightly tacky but not overly sticky. If it clings too much, I sprinkle in a bit more flour, ensuring a perfect balance. As I knead, I can feel the gluten developing, creating that wonderful structure essential for a great rye bread. This process isn’t just about mixing; it’s a dance of texture and transformation that invites creativity and innovation in every loaf I bake.
Step 3. Let Dough Rise Warmly
As the kneading session comes to an end, I gently shape the dough into a ball and place it in a lightly greased bowl, ensuring it’s covered with a damp cloth. This is where the magic begins! I find a warm spot in my kitchen—perhaps near a sunny window—and let the dough rise. The warmth effects stimulate the yeast activation, causing the dough to expand and develop flavor. It’s fascinating to watch it puff up, as if it’s alive! I usually give it about an hour, but the key is to trust your instincts. When it’s doubled in size, I know I’m one step closer to crafting that delicious rye bread I can’t wait to share.
Step 4. Shape Dough Into Loaf
Now that my dough has risen beautifully, it’s time to shape it into a loaf. I start by gently turning the dough onto a lightly floured surface, letting it breathe as I work. Using dough techniques, I fold the edges toward the center, creating tension on the surface. It’s all about that perfect loaf shaping—essential for a nice rise during baking. Once I have a taut ball, I flip it seam-side down and gently elongate it into a loaf shape. I tuck the ends under to guarantee it holds form. This step is crucial; a well-shaped loaf will offer a delightful texture and crust. With my loaf ready, I can already envision the delicious aroma that awaits!
Step 5. Bake at 375°F
Once the loaf is shaped and resting comfortably, it’s time to preheat the oven to 375°F. This baking temperature is key to achieving that perfect crust while ensuring the inside remains moist and flavorful. As the oven warms up, I can already envision the enticing aroma that will soon fill my kitchen. Once it’s ready, I gently slide my loaf onto the center rack, allowing the heat to work its magic. The combination of steam and consistent heat promotes an ideal loaf texture—crispy on the outside and tender within. I set a timer for about 30-35 minutes, enthusiastically awaiting that golden-brown finish. It’s a moment of pure anticipation, knowing I’m just minutes away from homemade rye bread bliss!
Nutritional Guide
Understanding the nutritional value of rye bread can truly enhance your appreciation for this hearty staple. Packed with essential nutrients, rye bread offers numerous health benefits, especially for those mindful of their dietary considerations. It’s rich in fiber, which aids digestion and keeps you feeling full longer. Additionally, it’s a great source of antioxidants and vitamins, contributing to overall health.
Here’s a quick nutritional overview:
| Nutrient | Amount per Slice | Health Benefits |
|---|---|---|
| Fiber | 2 grams | Aids digestion and satiety |
| Protein | 3 grams | Supports muscle health |
| Magnesium | 20 mg | Boosts bone health |
Incorporating rye bread into your meals can be a delicious way to elevate your nutrition.
Final Thoughts
While I’ve shared a wealth of information about rye bread and its nutritional benefits, it’s essential to remember that enjoying this hearty loaf goes beyond just its health perks. The robust flavor and unique texture of rye can elevate any meal, making it a versatile choice for your kitchen. I love pairing it with creamy spreads or tangy cheeses, creating a delightful balance of taste. Try it toasted, topped with avocado and a sprinkle of sea salt, or layer it with your favorite deli meats for a satisfying sandwich. Embracing these serving suggestions not only celebrates rye’s innovative potential but also enhances its health benefits. So, let’s get baking and savor each delicious bite!
Frequently Asked Questions
Can I Substitute Rye Flour for All-Purpose Flour?
I’ve found substituting rye flour for all-purpose flour can be tricky. Rye flour’s dense, earthy characteristics differ considerably from all-purpose flour, affecting texture and rise. Experimenting with ratios can lead to innovative, delicious results!
How Should I Store Leftover Rye Bread?
Storing leftover rye bread’s like wrapping a treasure; it deserves care! I recommend slicing it, then using airtight bags for short-term storage. For long-lasting freshness, freeze slices with parchment in between—perfect for quick future toasts!
What Are the Benefits of Eating Rye Bread?
I’ve discovered that eating rye bread offers fantastic nutritional advantages. It’s packed with fiber, promoting digestive health and keeping me feeling full longer. Plus, its unique flavor adds a delightful twist to my meals!
Is Rye Bread Gluten-Free?
I’ve learned that rye bread isn’t gluten-free. It contains gluten content, which can pose challenges for those with gluten sensitivities. However, its unique flavor and health benefits often make it a favorite for many.
How Long Does Homemade Rye Bread Last?
I’ve discovered that homemade rye bread’s longevity can be surprisingly short. Typically, it stays fresh for about three to five days. Storing it properly can make all the difference in preserving that delightful bread freshness!
Conclusion
As I pull the warm, golden-brown loaf from the oven, the aroma wraps around me like a cozy blanket, inviting and comforting. Baking rye bread isn’t just about following a recipe; it’s an experience, a dance of flavors and textures that brings the heart of tradition into my kitchen. Each slice is a reflection of patience and passion, nourishing both body and soul. So, let’s break bread together, celebrating the simple joys of homemade goodness one bite at a time.
