Simple Bread Recipe
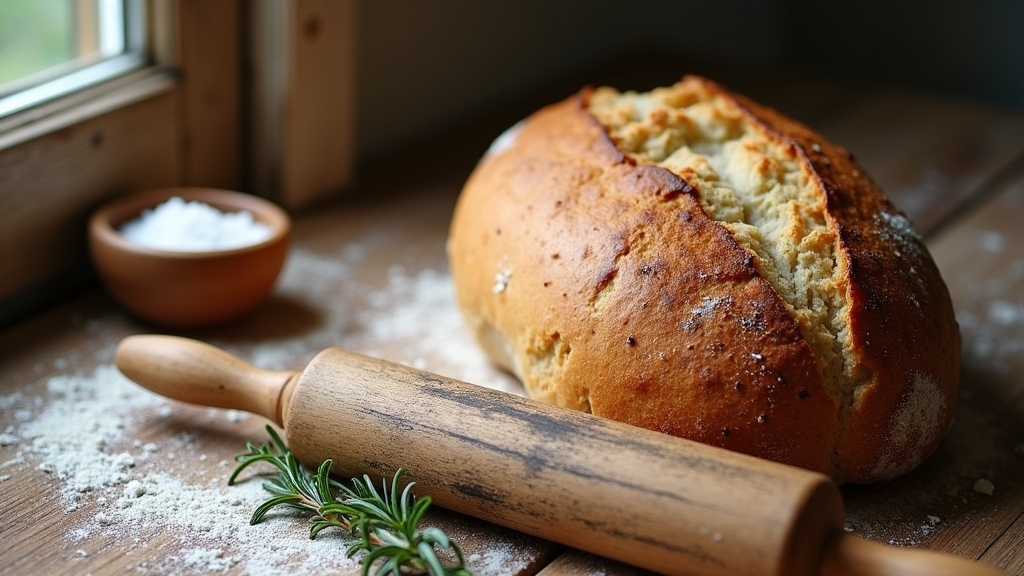
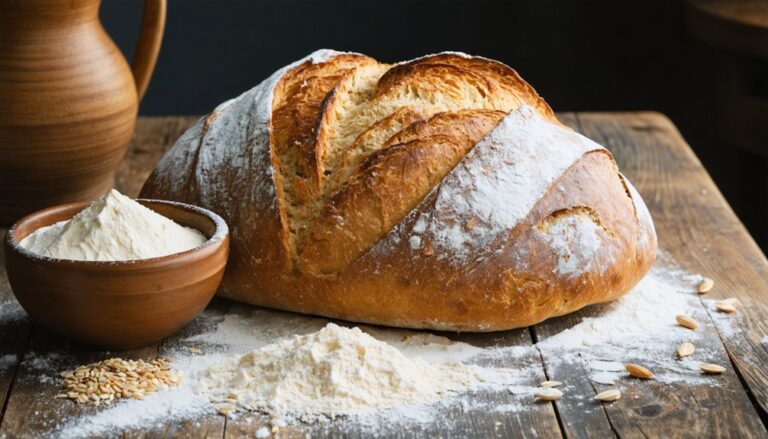
Baking simple bread is one of the most rewarding experiences I’ve had in the kitchen. It transforms basic ingredients into a warm, comforting loaf that reminds me of home. I mix flour, yeast, salt, and a touch of honey, then knead the dough to develop its texture. After letting it rise, I shape it and bake until golden brown. The aroma fills my space, creating a cozy atmosphere. If you’re curious about more tips and tricks, you won’t want to miss what’s next!
Contents
History
When I think about the history of bread, it’s fascinating to realize that this simple food has been a staple in human diets for thousands of years. From the earliest civilizations, people turned to ancient grains like spelt and einkorn, harnessing their nutritional power. The evolution of fermentation methods has been equally intriguing; wild yeasts and bacteria transformed simple dough into airy loaves. Imagine the thrill of discovering that a little time and the right environment could create something so delicious! Each culture adapted these techniques, leading to unique breads that reflect their heritage. Today, as we explore innovative approaches to baking, it’s crucial to honor this rich history while pushing the boundaries of flavor and texture.
Recipe
Making simple bread at home can be a delightful and rewarding experience. The aroma of fresh bread baking in the oven fills your kitchen with warmth and comfort. This basic bread recipe is perfect for beginners and requires just a few simple ingredients. With minimal effort and time, you can enjoy a delicious loaf of homemade bread that is perfect for sandwiches, toast, or simply slathered with butter.
To begin, you don’t need any fancy equipment or expert skills to create this bread. All you need is a mixing bowl, a baking sheet, and a little patience as the dough rises. The beauty of this recipe lies in its versatility; you can add herbs, cheese, or seeds to customize the flavor to your liking. Follow this straightforward recipe and impress your family and friends with your baking prowess.
Ingredients:
- 3 cups all-purpose flour
- 1 packet (2 1/4 teaspoons) active dry yeast
- 1 tablespoon sugar
- 1 teaspoon salt
- 1 cup warm water (about 110°F)
- 1 tablespoon olive oil
In a large mixing bowl, combine the warm water, sugar, and yeast. Let it sit for about 5-10 minutes until it becomes frothy. Then, add the salt and olive oil. Gradually add the flour, one cup at a time, mixing until a dough forms. Knead the dough on a floured surface for about 8-10 minutes until it is smooth and elastic. Place the dough in a greased bowl, cover it with a clean cloth, and let it rise in a warm place for about 1 hour or until it doubles in size. Preheat the oven to 375°F (190°C). Punch down the dough, shape it into a loaf, and place it on a baking sheet. Bake for 25-30 minutes until the bread is golden brown and sounds hollow when tapped on the bottom. Let it cool on a wire rack before slicing.
When baking bread, it’s important to measure your ingredients accurately for the best results. If you find the dough too sticky, you can add a little more flour while kneading, but avoid adding too much as it may result in a dense loaf. For an extra crispy crust, place a shallow pan of water in the oven while the bread bakes. This creates steam, which helps the bread rise and develop a beautiful crust. Additionally, let the bread cool completely before slicing to avoid a gummy texture. Enjoy your homemade bread fresh or toasted!
Cooking Steps
Now that we have our ingredients ready, let’s jump into the cooking steps that bring our bread to life. I’ll guide you through mixing, kneading, and shaping the dough to guarantee it rises perfectly. Each step is essential, so let’s get started on this delicious journey together!
Step 1. Gather All Ingredients First
Before diving into the joy of baking, I always make sure to gather all my ingredients first. This step isn’t just about being organized; it’s essential for successful ingredient selection. I lay out everything—flour, yeast, salt, and water—ensuring I have the best quality for that perfect loaf. Preparation tips? I recommend checking expiration dates on your yeast and using room temperature water to activate it better. It’s also handy to measure out your ingredients beforehand, so you can focus entirely on the mixing and kneading process. Having everything at your fingertips not only streamlines the experience but ignites creativity. Trust me, when you’re fully prepared, the magic of baking truly unfolds!
Step 2. Mix Dry Ingredients Together
To create a solid foundation for your bread, mixing your dry ingredients together is essential. I start by combining flour, yeast, salt, and sugar in a large bowl. Using innovative mixing techniques, I whisk them together, ensuring every ingredient is evenly distributed. This step is vital, as the right ingredient ratios can make or break your loaf’s texture and flavor. I prefer to use a sifter for the flour, which aerates it and helps prevent clumps. As I mix, I visualize the final product—the golden crust and soft crumb I’ll soon enjoy. Remember, a well-mixed base sets the stage for a successful rise, so take your time here and enjoy the process. Happy baking!
Step 3. Knead the Dough Thoroughly
Kneading the dough is where the magic happens, transforming a sticky mixture into a smooth, elastic ball of potential. I start by dusting my work surface with flour, ensuring I won’t end up in a sticky situation. Using various kneading techniques—like the push-and-fold or stretch-and-turn—I work the dough, feeling its texture evolve. As I knead, I pay close attention to the dough consistency; it should be soft but not tacky. If it clings to my fingers, I sprinkle a bit more flour and keep going. The goal is to develop the gluten, which gives the bread its structure. After about 8-10 minutes, I can feel the dough springing back, signaling that it’s ready for the next step.
Step 4. Let Dough Rise Properly
After the dough has been kneaded to perfection, it’s time to let it rise properly. I usually place the dough in a warm, draft-free area, ideally around 75°F to 80°F, to guarantee ideal dough temperature. This warmth encourages yeast activation, allowing the dough to expand and develop that delightful airy texture we crave. Covering the bowl with a damp cloth creates a cozy environment, preventing the surface from drying out. I check on it after about an hour; if it’s doubled in size, I know we’re on the right track. If you want to innovate, consider using a proofing box or even your oven’s light setting for precise temperature control. This step is essential for achieving that perfect loaf!
Step 5. Shape the Dough Evenly
Shaping the dough evenly is essential for ensuring a uniform rise and a consistent crumb structure in your bread. When I’m ready to shape, I gently turn the risen dough onto a lightly floured surface, embracing its airy texture. With my hands, I gently stretch and fold, tucking the edges under to create a taut surface. This dough shaping technique not only promotes an even texture but also builds strength, helping the dough hold its shape during the final rise. I often visualize the dough as a canvas, shaping it to enhance its beauty and performance. Finally, after a brief rest, my beautifully shaped loaf is ready for its second rise, setting the stage for a delightful baking experience!
Nutritional Guide
When I whip up a simple bread recipe, I can’t help but think about the nutritional benefits packed into each slice. Each ingredient plays an essential role, offering flavor and health. If you’re looking to innovate, you can easily make ingredient substitutions that enhance nutrition without sacrificing taste.
Here’s a quick nutritional guide:
| Ingredient | Nutritional Benefits | Possible Substitutions |
|---|---|---|
| Whole Wheat Flour | High in fiber and protein | Almond flour, oat flour |
| Olive Oil | Healthy fats and antioxidants | Avocado oil, coconut oil |
| Honey | Natural sweetener, antioxidants | Maple syrup, agave nectar |
| Yogurt | Probiotics and calcium | Dairy-free yogurt |
| Seeds (e.g., flax) | Omega-3 fatty acids | Chia seeds, nuts |
Exploring these options can elevate your bread-making experience!
Final Thoughts
As I reflect on my journey with this simple bread recipe, I can’t help but appreciate how much joy and creativity it brings to my kitchen. Baking bread has transformed into an art form, allowing me to experiment with flavors and textures. One of my favorite baking tips is to use fresh ingredients for a more vibrant taste—trust me, it makes a difference! I love serving my bread warm, slathered with homemade butter or alongside a hearty soup. You can even reinvent it into delicious sandwiches or bruschetta. Each loaf tells a story, filled with the warmth of home. So, immerse yourself, embrace your creativity, and enjoy the process of baking your own bread. You won’t regret it!
Frequently Asked Questions
Can I Use Whole Wheat Flour Instead of All-Purpose Flour?
Absolutely, I’ve used whole wheat flour instead of all-purpose flour. It adds a lovely nutty flavor and boosts nutrition. Just remember, the texture might be denser, but the health benefits are worth it!
How Long Can I Store Homemade Bread?
Storing homemade bread is like preserving a moment in time. I keep mine at room temperature for about three days, but for longer bread freshness, freezing it is my go-to strategy for perfect bread storage.
What Is the Best Way to Freeze Bread?
When I freeze bread, I use effective freezing techniques like wrapping it tightly in plastic wrap and aluminum foil for ideal bread storage. This way, it stays fresh and delicious for future enjoyment without sacrificing quality.
Can I Add Ingredients Like Herbs or Cheese?
I love experimenting with herb variations like rosemary or thyme, and cheese options such as cheddar or feta. These additions transform the bread, making each loaf a delightful, flavorful experience that never gets boring.
How Can I Tell if My Bread Has Risen Enough?
To know if my bread’s risen enough, I gently poke the dough with my finger. If it springs back slowly, it’s perfect; if it collapses, it needs more time to develop that airy texture.
Conclusion
As the warm aroma of freshly baked bread fills my kitchen, I can’t help but feel a sense of comfort and nostalgia. This simple recipe, like a warm embrace, connects us to generations of bakers before us. It’s more than just mixing flour and water; it’s about creating something nourishing and sharing it with loved ones. So, let’s knead our way into a world of flavor and joy, one loaf at a time. Happy baking!
