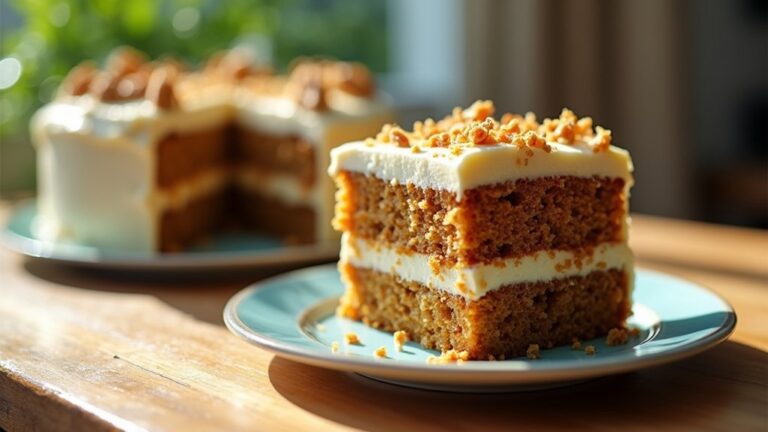
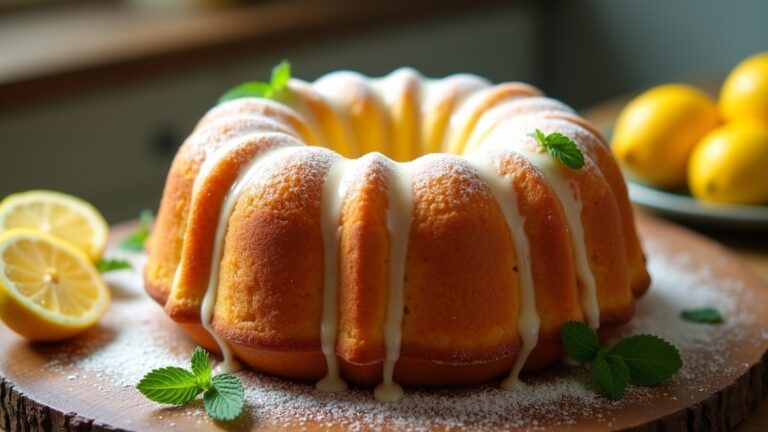
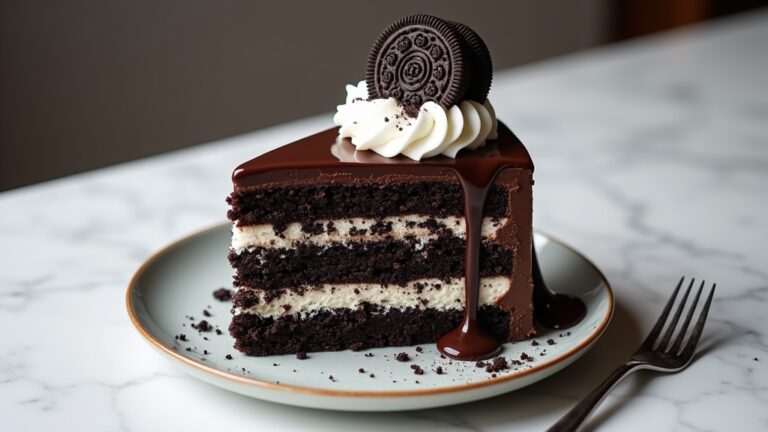
Small Cake Recipe
I love making small cakes because they’re simple and perfect for any celebration! For a basic recipe, mix 1 cup all-purpose flour, 1/2 cup sugar, and some baking powder and soda. Then add wet ingredients like butter and eggs, pour into a greased pan, and bake at 350°F for 25-30 minutes. It’s a fun way to create something sweet without excess! Stick around to explore some delicious flavor variations and decorating ideas!
Contents
History
When I think about the history of small cakes, I can’t help but marvel at how these delightful treats have evolved over time. From their humble beginnings as simple baked goods enjoyed in ancient cultures, small cakes have come to symbolize celebration and community. Their cake evolution reflects the diverse culinary traditions around the world, with each culture adding its unique twist. For instance, the French financiers, Italian tortes, and American layer cakes all showcase the versatility of these petite desserts. Their cultural significance is palpable, often accompanying life’s milestones—from birthdays to weddings. As we innovate and experiment with flavors and textures, it’s exciting to think about how small cakes will continue to evolve, capturing the essence of both tradition and modernity.
Recipe
Baking a small cake is a delightful way to satisfy your sweet tooth without creating a massive dessert that might go uneaten. Perfect for a small gathering, a cozy family dinner, or even just a personal treat, this recipe yields a moist and flavorful cake that can be easily customized with your favorite flavors or toppings. Whether you want a classic vanilla cake, a zesty lemon cake, or a rich chocolate cake, this simple recipe will guide you through the process with ease.
Baking a small cake is a delightful way to enjoy a sweet treat perfect for any occasion, easily customizable to suit your tastes.
This small cake is made using basic pantry staples, ensuring that you have everything you need on hand. The cake bakes up beautifully in a small round pan, making it the perfect size for a small celebration or for enjoying throughout the week. You can top it with a light frosting, a sprinkle of powdered sugar, or leave it plain for a simple yet delightful dessert that everyone will love.
Ingredients:
- 1 cup all-purpose flour
- 1/2 cup granulated sugar
- 1/2 teaspoon baking powder
- 1/4 teaspoon baking soda
- 1/4 teaspoon salt
- 1/2 cup unsalted butter, softened
- 2 large eggs
- 1/2 teaspoon vanilla extract
- 1/4 cup milk
Instructions:
Preheat your oven to 350°F (175°C) and grease a small round cake pan. In a mixing bowl, combine the flour, baking powder, baking soda, and salt. In another large bowl, cream the softened butter and sugar until light and fluffy. Add the eggs one at a time, mixing well after each addition, then stir in the vanilla extract. Gradually add the dry ingredients to the wet mixture, alternating with the milk, and mix until just combined. Pour the batter into the prepared cake pan and smooth the top. Bake for 25-30 minutes, or until a toothpick inserted in the center comes out clean. Allow the cake to cool in the pan for a few minutes before transferring it to a wire rack to cool completely.
Extra Tips:
When baking your small cake, be mindful of the oven temperature and avoid opening the oven door too frequently, as this can cause the cake to sink. You can also experiment with different flavorings by adding citrus zest, chocolate chips, or even nuts to the batter for added texture. For an extra touch, once cooled, consider frosting your cake with a simple buttercream or cream cheese frosting, or serve it with a dollop of whipped cream and fresh fruit for a rejuvenating finish. Enjoy your baking!
Cooking Steps
Now that we have our ingredients ready, it’s time to get cooking! First, I preheat the oven to 350°F to guarantee everything bakes evenly. Then, I’ll guide you through mixing the dry and wet ingredients for a perfectly fluffy batter.
Step 1. Preheat Oven to 350°F
Before diving into mixing ingredients, let’s confirm our oven is ready to work its magic. Preheating to 350°F is an essential step in achieving that perfect small cake. This oven temperature guarantees even baking, allowing your cake to rise beautifully and develop a lovely golden crust. While the oven warms up—typically taking about 10-15 minutes—take this time to gather your other ingredients and tools. A well-preheated oven can make a real difference, so don’t rush this step! Remember, a common baking tip is to check your oven’s accuracy with an oven thermometer; sometimes, those built-in settings can be off. With the oven ready, we’ll be one step closer to baking bliss!
Step 2. Mix Dry Ingredients Together
With the oven preheated and ready, it’s time to focus on the dry ingredients that will form the foundation of our small cake. I start by carefully measuring out my flour, sugar, baking powder, and a pinch of salt, ensuring precision with each dry ingredient measurement. Next, I whisk them together in a large bowl, using a circular motion to aerate the mixture and promote even distribution. This combining technique not only enhances flavor but also improves the cake’s texture. I’m keen on avoiding clumps, so I make sure to break up any lumps with my whisk. Once everything’s blended seamlessly, I can move on to the next step, knowing my cake has a solid base to rise beautifully.
Step 3. Add Wet Ingredients Gradually
As I carefully pour in the wet ingredients, I can already imagine how they’ll transform the dry mixture into a luscious batter. I start with a slow, steady stream, using gentle mixing techniques to incorporate everything seamlessly. It’s essential to maintain the right ingredient ratios; too much liquid can lead to a dense cake. As I blend, I can see the colors melding, the flour disappearing, and the batter becoming smooth and velvety. I take my time, guaranteeing each addition is fully integrated before adding the next. This gradual method not only enhances the flavors but also assures an airy texture. It’s a delightful dance of precision and creativity, setting the stage for a truly innovative cake experience.
Step 4. Pour Batter Into Pans
Gently, I scoop the velvety batter from the mixing bowl, feeling the anticipation build as I prepare to pour it into the pans. The batter’s consistency is just right—smooth and thick, yet pourable enough to create an even layer. I carefully divide the mixture between the prepared pans, ensuring each one gets an equal share, which is essential for perfect cake layering. As I tilt the pans, the batter glides effortlessly, settling into a glossy surface. I tap the pans lightly on the counter, releasing any trapped air bubbles. This step is critical; it guarantees a beautifully uniform cake that rises evenly. With each pour, I can already envision the delightful layers coming together, ready to be transformed into a masterpiece.
Step 5. Bake for 25 Minutes
After ensuring the batter is evenly distributed, I slide the pans into the preheated oven, the warm air embracing them like a cozy blanket. As the timer ticks down to 25 minutes, I can’t help but feel a thrill of anticipation. This is where my baking techniques shine; I often experiment with different cake variations, like adding a hint of citrus or a swirl of chocolate. I peek through the oven door, watching the batter rise and take shape, golden edges forming. The aroma wafts through my kitchen, a promise of sweetness. Once the timer dings, I know the cakes should spring back when gently touched, indicating they’re ready to be pulled from the oven, perfectly baked and full of potential.
Nutritional Guide
While baking a small cake can be a delightful experience, it’s also essential to contemplate its nutritional profile. Understanding the caloric content and ingredient benefits can help you enjoy your treat guilt-free. Here’s a quick guide to the key ingredients in our small cake:
| Ingredient | Benefits |
|---|---|
| Flour | Provides energy and fiber |
| Sugar | Boosts mood & energy |
| Eggs | Rich in protein & vitamins |
| Butter | Source of healthy fats |
Final Thoughts
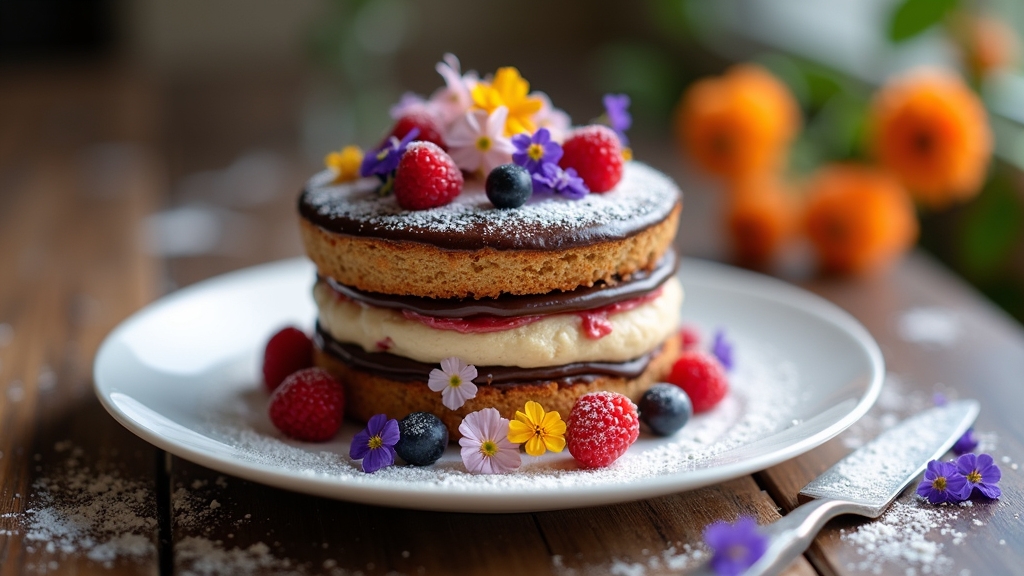
Baking a small cake isn’t just about indulging in a sweet treat; it’s an opportunity to create something special that can be enjoyed without overwhelming guilt. I love experimenting with flavor variations, from classic vanilla to bold chocolate or even zesty lemon. Each small cake becomes a canvas for my creativity. Once baked, the joy of cake decorating takes center stage. I often adorn my cakes with fresh fruits, delicate frosting, or a sprinkle of edible flowers, transforming a simple dessert into a showstopper. The beauty of small cakes lies in their versatility; they can suit any occasion or craving. So, why not embrace the joy of baking? Immerse yourself in the world of small cakes and let your imagination run wild!
Frequently Asked Questions
How Can I Store Leftover Small Cake?
When I store leftover cake, I prefer airtight cake storage containers. These clever cake preservation methods keep it fresh and moist, ensuring each slice is as delightful as the first. Trust me, it’s worth it!
Can I Freeze a Small Cake?
Absolutely, I freeze my cakes all the time! For effective cake preservation, wrap it tightly in plastic and aluminum foil. Those freezing tips keep it delicious, so you can enjoy a slice anytime.
What Tools Do I Need for Baking a Small Cake?
Did you know 90% of baking success hinges on precision? For my small cake, I rely on baking essentials like measuring cups, spoons, a mixing bowl, and a good whisk to guarantee everything’s perfectly blended.
How Can I Decorate a Small Cake Easily?
When it comes to decorating, I love using simple techniques like drip frosting or whipped cream swirls. Creative toppings like fresh berries or edible flowers instantly elevate the look, making my cake both beautiful and delicious!
Can I Substitute Ingredients in a Small Cake Recipe?
I love experimenting with ingredient ratios and flavor substitutions. Sometimes, I swap out butter for coconut oil or use applesauce instead of eggs. It’s amazing how small changes can create delightful new flavors in my baking!
Conclusion
So, there you have it—a delightful small cake recipe that proves you don’t need a bakery-sized oven or a degree in pastry arts to whip up something sweet. Who knew that measuring flour could feel like an Olympic event? But hey, if my baking skills can lead to a cake that doesn’t resemble a science experiment gone wrong, then anyone can do it! Now, go forth and conquer your kitchen, one small cake at a time—because life’s too short for big desserts!
