Soda Bread Recipe
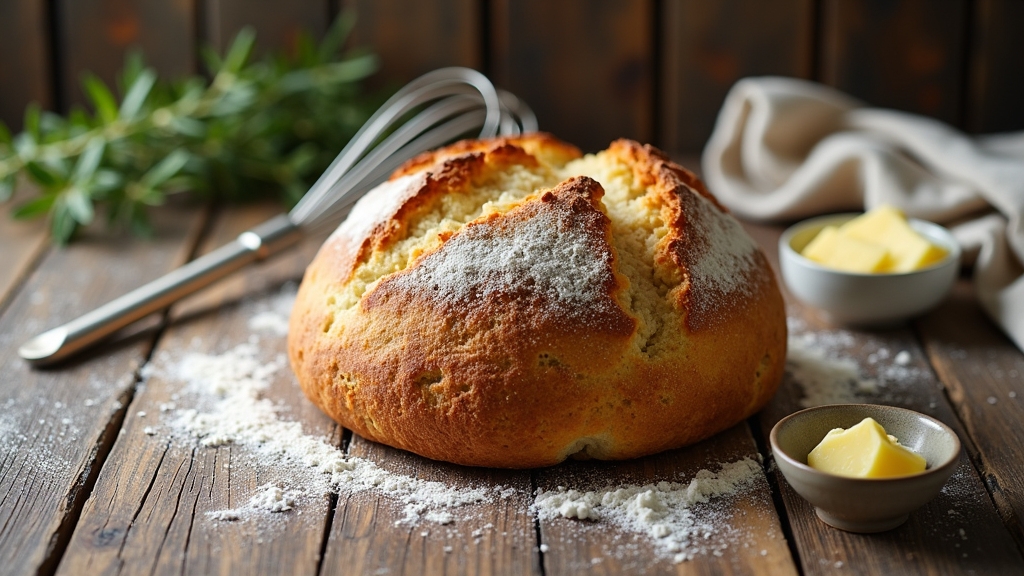
I love making soda bread because it’s simple and full of history. This no-yeast bread rises with baking soda, resulting in a crusty exterior and soft, dense interior. Start by mixing flour, baking soda, and salt, then stir in buttermilk to create a soft dough. Shape it into a loaf, score the top, and bake for 30-35 minutes at 425°F (220°C). It’s a rewarding experience, and there’s so much more to explore with this delightful recipe!
Contents
History
When I think about the history of soda bread, I can’t help but feel a connection to its Irish roots, where it first emerged as a staple in the 19th century. This simple yet nourishing bread reflects the resilience of the Irish people, especially during times of hardship. Utilizing baking soda as a leavening agent was revolutionary, transforming traditional bread-making. Soda bread embodies Irish heritage, acting as a culinary symbol that brings families together. Its cultural significance extends beyond mere sustenance; it’s a reminder of the agrarian lifestyle and community spirit. As I explore this versatile bread, I’m inspired by its adaptability and potential for innovation, proving that even a humble loaf can carry rich history and flavor, inviting creativity in every kitchen.
Recipe
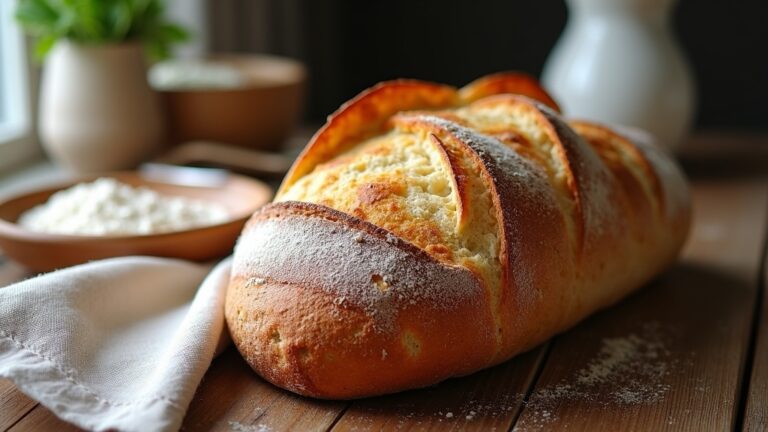
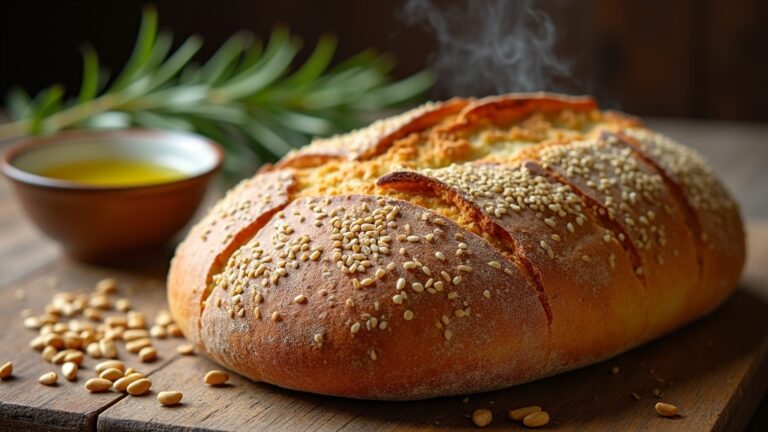
Soda bread is a traditional Irish bread that is delightfully simple to make, requiring no yeast and rising instead with the help of baking soda. This quick bread is perfect for beginners, as it doesn’t demand extensive kneading or proofing time. With its crusty exterior and soft, dense interior, soda bread can be enjoyed warm with butter, or served alongside soups and stews. The beauty of soda bread lies in its versatility; you can customize it with various add-ins such as raisins, caraway seeds, or herbs to suit your taste.
To make soda bread, you’ll need just a handful of staple ingredients, which are often found in most kitchens. The bread is best enjoyed fresh but can be stored for a day or two at room temperature. Whether you’re preparing a hearty breakfast or a comforting dinner, this recipe is sure to please. So roll up your sleeves and let’s get baking!
Ingredients:
- 4 cups all-purpose flour
- 1 teaspoon baking soda
- 1 teaspoon salt
- 1 3/4 cups buttermilk
Cooking Instructions:
Preheat your oven to 425°F (220°C) and line a baking sheet with parchment paper. In a large bowl, whisk together the flour, baking soda, and salt until well combined. Make a well in the center of the dry ingredients and pour in the buttermilk. Using a wooden spoon or your hands, mix the ingredients until a soft dough forms, being careful not to overwork it. Turn the dough out onto a lightly floured surface and gently shape it into a round loaf. Transfer the loaf to the prepared baking sheet, then score a deep cross on the top using a sharp knife. Bake for 30-35 minutes, or until the bread is golden brown and sounds hollow when tapped on the bottom. Allow it to cool slightly before slicing.
Extra Tips:
To enhance the flavor of your soda bread, consider adding a tablespoon of sugar for a hint of sweetness or incorporating herbs like rosemary or thyme for a savory twist. If you prefer a richer taste, you can substitute some of the all-purpose flour with whole wheat flour. Remember that the dough should be sticky but manageable; if it’s too wet, add a bit more flour. Serve the bread warm for the best experience, and try pairing it with homemade jams or a hearty soup for a comforting meal. Enjoy your baking adventure!
Cooking Steps
Let’s get started on making that delicious soda bread! First, I preheat my oven to a toasty 425°F, which sets the perfect stage for baking. Then, I mix the dry ingredients thoroughly before gradually adding the buttermilk to create that rich dough we all love.
Step 1. Preheat Oven to 425°F
To kick things off, I recommend preheating your oven to a sizzling 425°F. This oven temperature is vital for achieving that perfect crust on your soda bread. As the heat builds, it creates an environment that promotes an impressive rise, giving your bread that delightful texture. While you’re waiting, consider using this time to gather your ingredients and prepare for the next steps. A well-preheated oven is one of the best baking tips I can offer; it guarantees even cooking and enhances flavor. Plus, the aroma of warm bread filling your kitchen is simply irresistible. So, don’t rush this step—let that oven work its magic, and soon you’ll be ready to plunge into the mixing process!
Step 2. Mix Dry Ingredients Thoroughly
Once the oven is preheated, I plunge into mixing the dry ingredients, which is an essential step for achieving the right flavor and texture in my soda bread. I start by carefully measuring my flour, baking soda, and salt, paying close attention to the dry ingredient ratios. This precision guarantees a balanced flavor profile. Using a whisk, I incorporate these ingredients with a light hand, employing mixing techniques that prevent clumping and promote even distribution. I love how the flour becomes airy, creating a perfect foundation for the bread. Sometimes, I even add innovative elements like herbs or spices, enhancing the flavor further. This meticulous blending sets the stage for a deliciously satisfying loaf that I can’t wait to bake!
Step 3. Add Buttermilk Gradually
Adding buttermilk gradually is essential for achieving the perfect dough consistency in my soda bread. I start by pouring a small amount into the dry ingredients, mixing gently until it’s just incorporated. This gradual addition allows me to control the moisture level, ensuring the dough isn’t too sticky or dry. The buttermilk benefits the bread, lending a delightful tang and creating a tender crumb due to its acidity. I continue this process, adding a little more buttermilk each time, until the dough comes together beautifully. By paying close attention to the texture, I’m able to craft a loaf that’s both innovative and satisfying. Trust me, this careful approach elevates the entire baking experience!
Step 4. Knead Dough Gently for Minutes
With a light touch, I knead the dough gently for about five minutes, ensuring it remains soft and pliable. It’s essential to monitor the dough consistency during this process; I want it to feel slightly tacky but not sticky. Using various kneading techniques, I fold and press the dough, allowing the gluten to develop without overworking it. Each gentle push brings the ingredients together, creating a cohesive texture that promises a delightful bread. I can feel the dough transform, becoming more elastic as I work. Remember, the goal isn’t to beat the dough into submission but to nurture it. This gentle approach guarantees a tender loaf that’ll impress anyone who takes a bite.
Step 5. Shape Dough Into Round Loaf
Now, I gently lift the kneaded dough from the bowl, feeling its soft texture beneath my fingertips. With a light dusting of flour on my work surface, I carefully place the dough down. Using simple dough shaping techniques, I press it into a flat disc, creating a uniform thickness. I then fold the edges inward, forming the base of my round loaf. As I shape it, I envision different round loaf variations—perhaps adding herbs for a savory twist or incorporating cheese for richness. I use my palms to smooth the surface, ensuring it’s tight and round. Once satisfied with the shape, I place it on a baking sheet, ready to transform into a delightful centerpiece for my meal.
Nutritional Guide
Although soda bread is often celebrated for its rustic charm and delightful flavor, it also brings a variety of nutritional benefits to the table. When I analyze the ingredients, I find a balance of macronutrients that supports health while delighting the palate. Here’s a quick breakdown of the health benefits:
| Ingredient | Nutritional Benefit | Key Nutrients |
|---|---|---|
| Whole Wheat Flour | High in fiber | Fiber, B vitamins |
| Buttermilk | Probiotic support | Calcium, protein |
| Baking Soda | Lowers acidity, aids digestion | Sodium, potassium |
| Salt | Enhances flavor | Trace minerals |
Incorporating these elements into your diet means enjoying a wholesome loaf while benefiting from essential nutrients. It’s a delicious way to nourish yourself!
Final Thoughts
As I reflect on the joys of baking soda bread, it’s clear this simple recipe offers much more than just a delightful taste. The beauty of soda bread lies in its versatility; you can easily experiment with various add-ins like herbs, cheese, or dried fruits to create your unique twist. Remember, the key baking tips include using fresh baking soda and not over-kneading the dough, which keeps the bread tender and light. Each loaf I’ve baked has been a canvas for creativity, inviting me to explore flavors and textures. Whether you’re a novice or a seasoned baker, soda bread is a rewarding experience that fills your kitchen with warmth. Embrace this innovation in your baking journey—your taste buds will thank you!
Frequently Asked Questions
Can I Substitute Buttermilk With Regular Milk?
Absolutely, I’ve used regular milk as a buttermilk alternative before! Just add a splash of vinegar or lemon juice. It’s a simple milk substitution that works wonders, giving your dish that needed tangy kick.
How Do I Store Leftover Soda Bread?
To store leftover bread and maintain its freshness, I wrap it tightly in plastic wrap or aluminum foil. Alternatively, I use airtight containers. For longer storage, I freeze slices, ensuring they stay delightful and ready to enjoy!
Can I Freeze Soda Bread?
Absolutely, I can freeze soda bread! Just wrap it tightly in plastic, then foil. Keep in mind, texture changes slightly upon thawing, but following these freezing tips guarantees it stays tasty and delightful. Happy baking!
What Can I Add to Enhance the Flavor?
Enhancing flavor’s like painting a canvas; I love adding herb variations like rosemary or thyme. Sweet additions like honey or dried fruits turn each slice into a delightful masterpiece, inviting innovation and surprise in every bite.
How Long Does Soda Bread Last?
I’ve found that soda bread’s shelf life is about two to three days at room temperature. For best storage, I wrap it tightly in a cloth or plastic to keep it fresh and flavorful longer.
Conclusion
As I pulled the warm, golden loaf from the oven, the scent of freshly baked soda bread enveloped me, promising comfort and nostalgia. I could almost taste the crispy crust and fluffy interior, but there was one essential step left—slicing into it. Would the texture be perfect? Would the flavor transport me back to cozy kitchens of my childhood? With a knife in hand and my heart racing, I took a breath, ready to reveal the delicious secret within.
