Sourdough Bread Recipe
To bake a fantastic sourdough bread, start with a bubbly sourdough starter and mix it with warm water and bread flour. Knead the dough until it’s smooth, then let it rise overnight. After shaping it, let it proof and bake to achieve that irresistible tangy flavor and chewy texture. This timeless recipe not only nourishes the body but also indulges the senses. If you want to explore tips and health benefits, there’s more to discover!
Contents
History
Sourdough bread has a rich history that dates back thousands of years, making it one of the oldest forms of bread known to humanity. As you explore its origins, you’ll discover that ancient baking techniques relied heavily on the fermentation process. Early bakers harnessed wild yeast and lactic acid bacteria from their environment, creating a natural leavening agent. This method not only produced a unique flavor and texture but also allowed bread to be preserved longer than its contemporaries. Imagine the warmth of communal ovens in ancient civilizations, where the aroma of sourdough mingled with the air, symbolizing nourishment and connection. Each loaf carries the legacy of generations, embodying a spirit of freedom and tradition that transcends time.
Recipe
Sourdough bread is a delicious and versatile loaf that has captivated bakers around the world with its tangy flavor and chewy texture. The process of making sourdough bread involves cultivating wild yeast and bacteria through a starter, which gives the bread its distinct taste and texture. This age-old method not only enhances the flavor but also makes the bread easier to digest. While making sourdough bread requires some patience and understanding of fermentation, the results are well worth the effort.
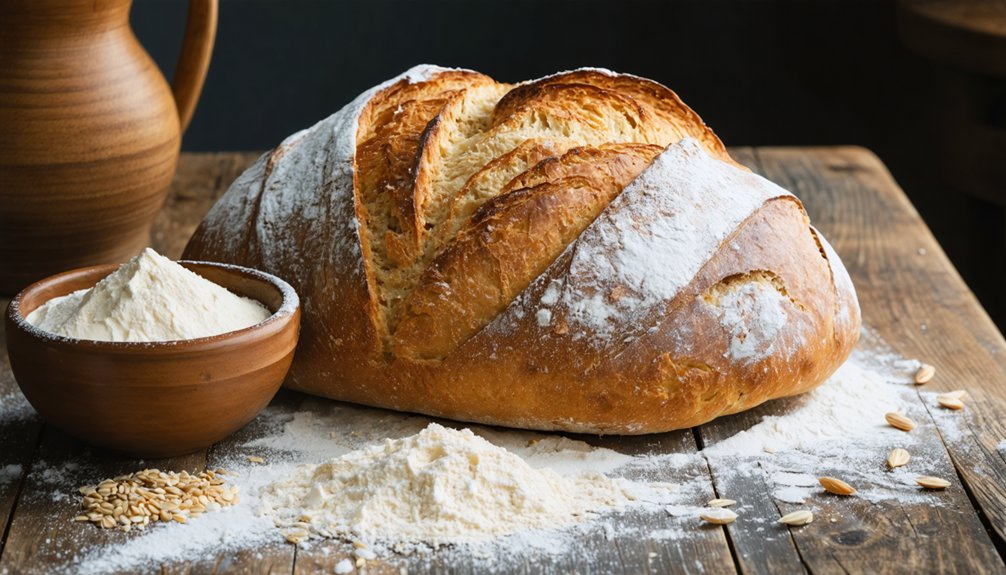
Sourdough bread delights with its tangy flavor and chewy texture, crafted through the art of cultivating wild yeast and bacteria.
To begin your sourdough journey, you’ll need to have a healthy sourdough starter ready, which can be created or purchased. The bread-making process involves mixing flour, water, and salt with the starter, allowing the dough to rise, and then baking it to perfection. The satisfaction of pulling a freshly baked sourdough loaf from the oven, with its golden crust and airy crumb, is an experience that every bread lover should have.
Ingredients:
- 1 cup sourdough starter (active and bubbly)
- 1 ½ cups warm water
- 4 cups bread flour
- 1 ½ teaspoons salt
Instructions:
In a large bowl, combine the active sourdough starter and warm water, mixing well until dissolved. Gradually add the bread flour, stirring until a shaggy dough forms. Once combined, add the salt and knead the dough on a floured surface for about 10 minutes until it becomes smooth and elastic. Place the dough in a lightly oiled bowl, cover with a damp cloth, and let it rise at room temperature for 4 to 6 hours, or until it has doubled in size. After the first rise, gently deflate the dough and shape it into a round loaf. Place it on a parchment-lined baking sheet, cover, and let it rise again for 1 to 2 hours. Preheat your oven to 450°F (230°C) and place a Dutch oven inside to heat. Once preheated, carefully transfer the dough into the Dutch oven, cover, and bake for 30 minutes. Remove the lid and bake for an additional 15-20 minutes until the crust is deep golden brown. Allow the bread to cool on a wire rack before slicing.
Extra Tips:
To achieve the best results, verify that your sourdough starter is active and bubbly before using it in the recipe. The temperature of your kitchen can greatly affect the rising times, so if your environment is cooler, you may need to extend the fermentation period. Additionally, for a more complex flavor, consider using a mix of whole wheat and bread flour. Always allow the bread to cool completely before slicing to maintain its structure and prevent it from becoming gummy. Enjoy your homemade sourdough bread with butter, cheese, or your favorite spreads!
Cooking Steps
Now that you have your sourdough starter ready, it’s time to bring your ingredients together. You’ll mix flour and water, knead the dough until it’s smooth, and then shape it into a loaf that’s begging to rise overnight. This is where the magic happens, transforming simple ingredients into a delicious masterpiece!
Step 1. Activate Sourdough Starter
To successfully activate your sourdough starter, you’ll need to create the perfect environment for the natural yeasts and bacteria to flourish. Start by choosing a warm spot in your kitchen, ideally around 75°F to 80°F. This warmth encourages wild yeast to thrive. If you’ve been neglecting your starter, give it a good feeding—mix equal parts water and flour to refresh it. This starter maintenance is essential; it helps cultivate a robust culture. Stir it well, cover it loosely, and let it sit for several hours. You’ll see bubbles forming, indicating that the wild yeast is coming alive. Keep an eye on it, as the transformation can be mesmerizing, and soon you’ll be ready to set out on your sourdough journey!
Step 2. Mix Flour and Water
Start by measuring out 500 grams of all-purpose or bread flour and 350 grams of water, which will create the ideal dough consistency. Use warm water, around 25 to 30 degrees Celsius, to help activate the flour’s natural enzymes, enhancing flavor and texture. In a mixing bowl, combine your chosen flour type with the water, stirring until no dry flour remains. Embrace the tactile nature of this process—let the flour absorb the water, creating a shaggy mass. This mixture lays the foundation for your sourdough adventure. Remember, the type of flour you use can influence the dough’s hydration and final outcome, so choose wisely. Enjoy the freedom of crafting your own unique loaf!
Step 3. Knead the Dough Thoroughly
Knead the dough thoroughly until it transforms into a smooth, elastic ball that springs back when pressed. This step is essential for developing gluten, which gives your sourdough its signature texture. Use various kneading techniques, like the push-fold method or the stretch-and-fold technique, to achieve the perfect dough consistency. Feel the dough as you knead; it should become less sticky and more cohesive over time. If it feels too wet, sprinkle a bit of flour to adjust. Enjoy the rhythmic motion of kneading, letting your hands work the dough into shape. This hands-on process connects you to the bread-making journey, allowing you to express your creativity while cultivating a product that’s truly your own.
Step 4. Shape the Dough Loaf
Once your dough has risen to perfection, it’s time to shape it into a loaf that’s ready for the final proof. Start by gently turning the dough onto a lightly floured surface, ensuring you maintain its lovely bubbles. Assess the dough consistency; it should be soft yet manageable. Use your hands to stretch and fold the edges toward the center, employing various shaping techniques like the letter fold or round shape. This builds tension on the surface, essential for a beautiful rise. Once shaped, place it seam-side down in a floured proofing basket. Leave it be, allowing the dough to relax and gain its final shape before baking. Embrace this moment; your artisan loaf is on its way!
Step 5. Let Dough Rise Overnight
As you prepare to let your dough rise overnight, it’s essential to find the perfect environment for fermentation. Choose a warm, draft-free spot, allowing the yeast to awaken and work its magic. Cover your dough with a damp cloth or plastic wrap to maintain humidity and prevent crusting. During this fermentation process, watch your dough texture transform; it’ll become airy and bubbly, signaling that the yeast is doing its job. Allow it to rise for 8–12 hours, giving your bread that distinct tangy flavor. In the morning, you’ll find your dough has doubled in size, ready for the next steps. Embrace this slow, natural process; it’s where the real magic of sourdough happens!
Nutritional Guide
While you savor the delightful aroma of freshly baked sourdough, it’s important to contemplate its nutritional benefits. Sourdough isn’t just delicious; it’s packed with health benefits. The fermentation process enhances nutrient absorption, making it easier for your body to digest.
Here’s a quick ingredient breakdown:
| Ingredient | Health Benefits |
|---|---|
| Whole Wheat Flour | High in fiber, aids digestion |
| Water | Hydration, supports bodily functions |
| Salt | Regulates fluid balance |
| Starter Culture | Contains probiotics, gut health |
| Olive Oil (optional) | Healthy fats, heart health |
Embracing sourdough brings a sense of freedom to your diet, offering wholesome goodness with every bite. So indulge guilt-free and enjoy the journey of baking!
Final Thoughts
Baking sourdough isn’t just a culinary endeavor; it’s a rewarding journey that connects you to centuries of tradition. As you knead the dough, you’re not just creating bread; you’re nurturing a living culture that thrives on your care. Embrace the freedom to experiment with different bread variations, like adding herbs or whole grains, to discover your unique flavor profile. Remember, every loaf is a reflection of your practice, so don’t shy away from learning through mistakes. Use these baking tips: maintain a consistent temperature, watch for bubbles, and listen to your dough. Ultimately, enjoy the process, savor the aroma, and share the fruits of your labor with loved ones. Your sourdough journey awaits!
Frequently Asked Questions
Can I Use All-Purpose Flour Instead of Bread Flour?
You can definitely use all-purpose flour instead of bread flour, but keep in mind it’ll yield a slightly different texture. Your bread might be softer and less chewy, but it’ll still taste delicious!
How Long Does It Take to Sourdough Starter to Mature?
Your sourdough starter typically takes 5 to 14 days to mature. During this maturing process, regular starter feeding helps develop its flavor and strength, creating a vibrant culture ready for delicious baking adventures. Enjoy the journey!
What Is the Best Way to Store Sourdough Bread?
Imagine your loaf as a treasure; to preserve its glory, wrap it in a breathable cloth or paper. Storing methods like this enhance bread longevity, keeping that crust crisp and the inside delightfully tender.
Can I Make Sourdough Bread Without a Starter?
You can definitely make sourdough bread without a starter! Explore sourdough alternatives like using commercial yeast options or creating a quick poolish. It’s liberating to experiment and find your unique flavor in every loaf!
Is Sourdough Bread Gluten-Free?
Sourdough bread isn’t gluten-free since it’s made from wheat. If you’ve gluten sensitivity, explore sourdough alternatives like gluten-free flours. You can still enjoy delicious bread while embracing your dietary needs without compromise!
Conclusion
So, after all that patience and careful nurturing of your sourdough starter, who knew the real masterpiece would be a loaf that’s as complex as your relationship with gluten? You’ve transformed simple ingredients into a crusty, golden delight that could impress even the most discerning bakery snob. Just remember, while it takes time to rise, your bread—and perhaps your culinary confidence—will rise even more. Enjoy each slice, savoring the irony that something so simple can be so sophisticated.
