White Bread Recipe
I’ve found that baking white bread from scratch is incredibly rewarding. You’ll need simple ingredients: all-purpose flour, active dry yeast, warm water, salt, sugar, and butter. The steps are straightforward—mix, knead, rise, and bake. The result? A soft, fluffy loaf that’s perfect for sandwiches or toasting. Plus, the aroma will fill your kitchen with warmth. If you’re curious about the history and nutritional benefits, there’s so much more to explore!
Contents
History
When I think about the history of white bread, it’s fascinating to see how it has evolved over centuries. Initially, ancient grains like spelt and emmer were ground into coarse flours, yielding rustic breads that nourished early civilizations. As milling techniques advanced, finer flours emerged. This shift allowed bakers to experiment with new baking techniques, leading to the soft, airy loaves we recognize today. The Industrial Revolution further transformed bread-making, introducing mechanization that made white bread accessible to the masses. Each era contributed innovations that refined flavor and texture, making white bread a staple in many diets. Understanding this journey not only deepens our appreciation for white bread but also inspires us to explore modern adaptations and innovations in baking.
Recipe
Making white bread at home is a delightful and rewarding experience. The aroma of freshly baked bread wafting through your kitchen can turn an ordinary day into something special. This white bread recipe is simple and perfect for beginners, yet it yields a loaf that is soft, fluffy, and delicious. Whether you’re making sandwiches or enjoying it toasted with butter, this bread is bound to become a staple in your household.
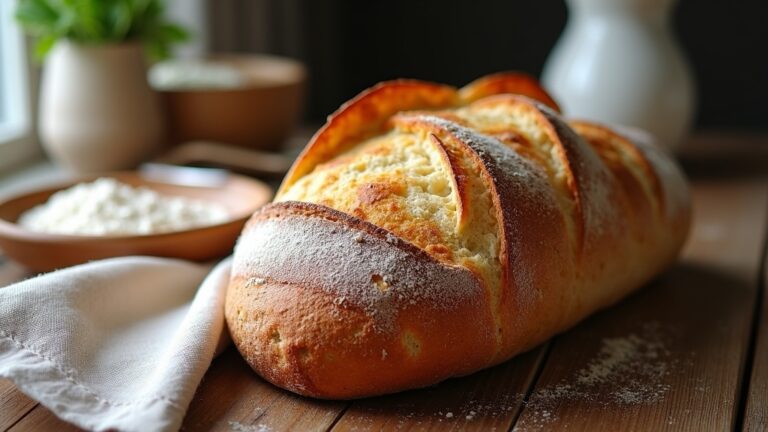
Baking white bread at home transforms an ordinary day into a delightful experience with its soft, fluffy texture and irresistible aroma.
To get started, you will need to gather your ingredients and verify you have the necessary kitchen equipment, including a mixing bowl, a loaf pan, and a clean surface for kneading. The process involves mixing your ingredients, allowing the dough to rise, and then baking it to perfection. With a little patience and practice, you’ll master the art of bread-making and impress your family and friends with your culinary skills.
Ingredients:
- 4 cups all-purpose flour
- 2 teaspoons active dry yeast
- 1 teaspoon salt
- 2 tablespoons sugar
- 1 ½ cups warm water (about 110°F)
- 2 tablespoons unsalted butter, melted
To make the bread, start by dissolving the sugar and yeast in warm water, letting it sit for about 5-10 minutes until it becomes frothy. In a large mixing bowl, combine the flour and salt, then create a well in the center and pour in the yeast mixture along with the melted butter. Stir until a dough forms, then transfer it to a floured surface. Knead the dough for about 8-10 minutes until it is smooth and elastic. Place the dough in a greased bowl, cover it with a clean towel, and let it rise in a warm spot for about 1 hour or until it has doubled in size. Once risen, punch down the dough, shape it into a loaf, and place it in a greased loaf pan. Let it rise again for about 30 minutes, then bake in a preheated oven at 350°F for 30-35 minutes or until golden brown and sounds hollow when tapped.
For best results, verify your water is warm but not too hot, as excessive heat can kill the yeast. If you want to add a little extra flavor, consider incorporating herbs or spices into the dough. Additionally, you can experiment with different types of flour or add seeds for a more nutritious loaf. Always store your bread in an airtight container to keep it fresh, and remember that homemade bread is best enjoyed within a few days, but it can be frozen for longer storage. Happy baking!
Cooking Steps
Now that we have our ingredients ready, it’s time to jump into the cooking steps that’ll bring our white bread to life. I’ll guide you through measuring flour accurately, kneading the dough just right, and letting it rise until it doubles in size. Trust me, following these steps closely will reward you with a deliciously soft loaf!
Step 1. Measure Flour Accurately
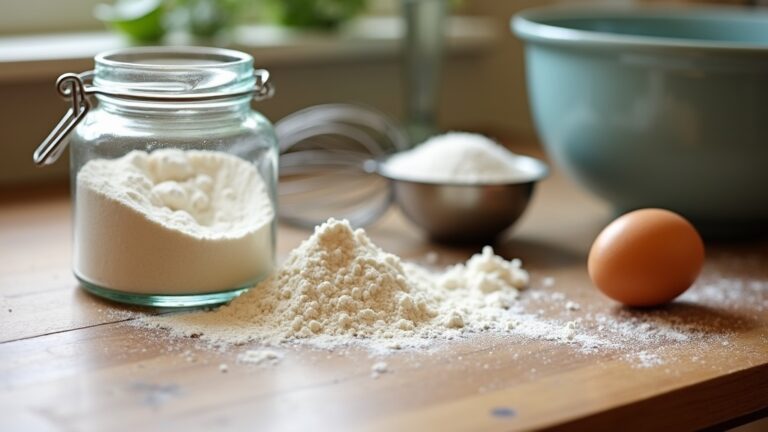
Accurate measurement of flour is essential for achieving that perfect loaf of white bread. Different flour types can affect your bread’s texture and taste, so using the right measuring techniques is vital. Here’s how I do it:
- Choose Your Flour: Depending on your recipe, select all-purpose or bread flour.
- Fluff It Up: Before scooping, stir the flour in its container to aerate it.
- Spoon and Level: Use a spoon to lightly fill your measuring cup, then level it off with a straight edge.
- Weigh It: For the most precision, invest in a kitchen scale and measure in grams.
Step 2. Knead Dough for Ten Minutes
With the flour measured and ready, it’s time to bring the dough to life through kneading. I start by combining the ingredients, then turn my attention to the dough texture. Kneading isn’t just a workout; it’s an art! I use a blend of techniques—folding, pressing, and turning—to develop gluten, ensuring my bread will be light and airy. As I knead, I can feel the dough transforming, becoming smoother and more elastic. I set a timer for ten minutes, focusing on the rhythmic motion of my hands. Each push and fold melds the ingredients, creating a cohesive mass. By the end, I’m left with a dough that feels warm and slightly tacky, ready for the next step in our bread-making journey!
Step 3. Let Dough Rise Until Double
As the kneaded dough rests, I find anticipation building, knowing that this is where the magic happens. This vital phase of dough fermentation transforms my simple mixture into something extraordinary. I adopt these rising techniques to guarantee a perfect rise:
- Cover the bowl with a damp cloth or plastic wrap to retain moisture.
- Choose a warm spot in my kitchen, away from drafts, to encourage yeast activity.
- Wait patiently for about 1 to 2 hours, until the dough doubles in size—this is an essential step!
- Check the dough by gently pressing a finger into it; if it springs back slowly, I know it’s ready.
This delightful process promises a fluffy, airy loaf that’s worth the wait!
Step 4. Shape the Dough Into Loaf
Shaping the dough into a loaf is where my creation truly takes form. I begin by gently deflating the risen dough, appreciating its soft texture and perfect dough consistency. Using simple shaping techniques, I turn the dough onto a lightly floured surface. With my hands, I stretch and fold it, creating surface tension that will help it rise beautifully. I tuck the edges under, forming a snug rectangle, and roll it tightly from one end to the other. As I pinch the seams to seal, I can feel the potential of the loaf within. Finally, I place it seam-side down in a greased loaf pan, ready for its next rise. This step is essential for achieving that perfect, airy crumb!
Step 5. Preheat Oven to 375°F
Before I plunge into baking, I make sure to preheat my oven to 375°F. This vital step sets the perfect oven temperature for my white bread, ensuring a golden crust and fluffy interior. Here are some baking tips I follow during this process:
- Set the timer: I usually give my oven at least 15 minutes to reach that ideal heat.
- Use an oven thermometer: This helps me confirm it’s accurate and avoids surprises.
- Position the rack: I place it in the center to promote even cooking.
- Avoid opening the door: I resist the urge to peek too soon, letting the heat stay locked in.
With these practices, I’m ready to create delicious bread that’ll impress anyone!
Nutritional Guide
While baking white bread can be a delightful experience, it’s also essential to contemplate the nutritional aspects of this staple. Understanding the caloric content and ingredient benefits can elevate your baking game and your health.
Here’s a quick breakdown of the nutritional value you’ll find in a slice of homemade white bread:
| Nutrient | Amount per Slice | Benefits |
|---|---|---|
| Calories | 80 | Provides energy |
| Protein | 3g | Supports muscle growth |
| Carbohydrates | 15g | Quick energy source |
| Fiber | 1g | Aids digestion |
This table highlights how each ingredient contributes to your overall diet. By baking your own bread, you can control these aspects and enjoy a healthier, more satisfying loaf.
Final Thoughts
Baking your own white bread not only allows you to control the ingredients but also creates a rewarding experience that fills your home with warmth and delightful aromas. As you commence on this culinary journey, keep these baking tips in mind to elevate your bread-making:
Baking white bread at home brings warmth, delightful aromas, and the joy of crafting your own delicious creation.
- Experiment with Flour Types: Try incorporating whole wheat or spelt for unique bread variations.
- Play with Add-ins: Consider adding herbs, seeds, or cheese for an innovative twist.
- Master the Knead: The dough should be smooth and elastic; don’t rush this crucial step.
- Perfect the Rise: Let your dough rise in a warm place, ensuring a light, airy loaf.
Embrace the creativity and joy of baking; your homemade bread will surely impress!
Frequently Asked Questions
Can I Use Whole Wheat Flour Instead of All-Purpose Flour?
I’ve tried using whole wheat flour instead of all-purpose flour, and it completely changed the texture and flavor. It’s denser and nuttier, which I loved, but if you prefer lightness, stick with all-purpose.
How Can I Store Leftover White Bread?
Storing leftover bread is like preserving a moment in time. I wrap it tightly in plastic, keeping bread freshness intact, or tuck it in a bread box—both methods guarantee my slices stay delicious for longer.
What Is the Best Way to Freeze White Bread?
When I freeze bread, I use airtight bags for ideal freshness. For thawing, I prefer leaving it at room temperature or using a microwave on low. These freezing techniques make my bread deliciously soft and ready to enjoy!
Can I Add Ingredients Like Herbs or Cheese?
Oh, absolutely! I love experimenting with herb variations and cheese blends. Adding these delightful ingredients transforms the flavor profile, creating a unique twist that elevates the humble loaf into something extraordinary. You’ll adore the results!
How Do I Know When the Bread Is Fully Baked?
I check the bread’s crust color; it should be golden brown. I also tap the bottom—if it sounds hollow, it’s done! Baking at the right temperature guarantees a perfectly baked loaf every time.
Conclusion
In crafting this classic comfort, I’ve discovered the sheer satisfaction of soft, steaming slices of white bread. With a little patience and practice, you can transform simple ingredients into a staple that warms the heart and home. Remember, the joy of baking lies not just in the final product, but in the process itself. So, don’t hesitate—dive into dough-making, and embrace the delightful dance of flour and water! Your kitchen awaits a delicious adventure.

