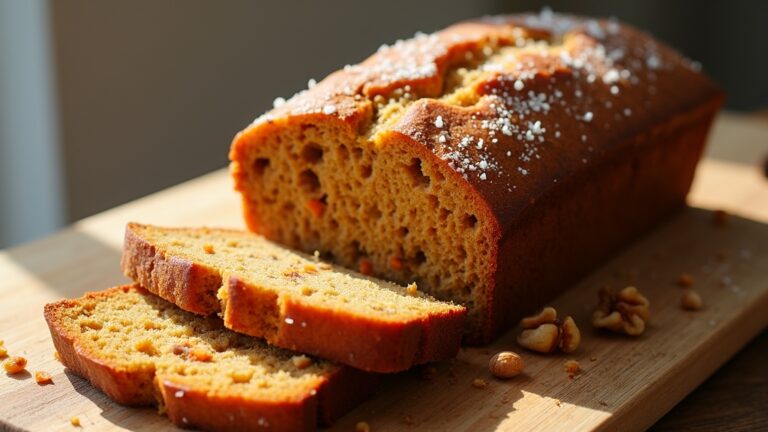
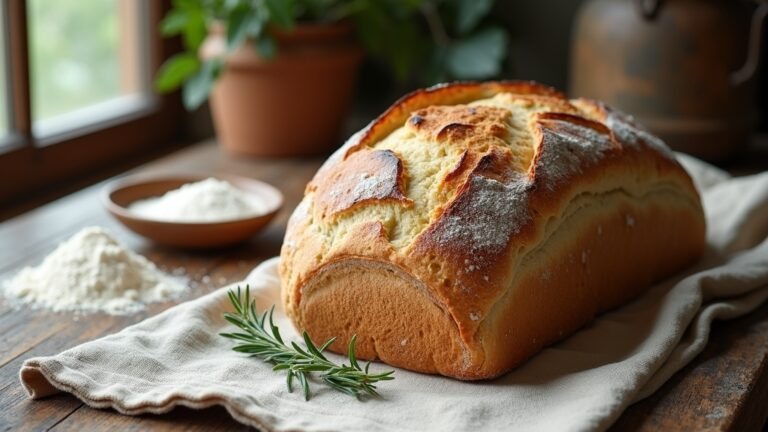
Whole Wheat Bread Recipe
To make whole wheat bread, combine 3 cups whole wheat flour, 1 ½ cups warm water, 2 tablespoons honey, 2 tablespoons olive oil, 1 packet active dry yeast, and 1 teaspoon salt. Knead the dough until smooth, let it rise until doubled, then shape it into a loaf. After a final rise, bake it to enjoy a nutritious homemade bread. This recipe’s simplicity and health benefits make it a great choice, and there’s much more to explore!
Contents
History
Whole wheat bread has a rich history that dates back thousands of years. You’ll find that ancient grains like spelt and emmer were among the first to be milled into flour, leading to the creation of bread. Early civilizations, including the Egyptians, mastered baking techniques that transformed simple grains into nutritious loaves. They often used natural fermentation, enhancing flavor and preserving the bread longer. As cultures evolved, so did their methods; whole wheat bread became a staple in many societies, representing sustenance and community. Today, you can appreciate this tradition by understanding its roots, connecting with the freedom of crafting your own bread using ancient grains and time-honored techniques. Embrace the legacy behind every slice you enjoy.
Recipe
Whole wheat bread is a nutritious and hearty alternative to white bread, packed with fiber and essential nutrients. Making your own whole wheat bread at home is not only rewarding but also allows you to control the ingredients and avoid preservatives found in store-bought varieties. The aroma of freshly baked bread wafting through your kitchen will make the effort worthwhile, and the taste will surely impress family and friends.
Whole wheat bread offers a nutritious alternative to white bread, allowing you to enjoy homemade goodness without preservatives.
This recipe is simple and straightforward, perfect for both novice and experienced bakers. With just a few basic ingredients and some patience, you can create a delicious loaf that can be enjoyed on its own or used for sandwiches, toast, and more. Let’s get started on making your own wholesome whole wheat bread!
Ingredients:
- 3 cups whole wheat flour
- 1 ½ cups warm water (about 110°F)
- 2 tablespoons honey or maple syrup
- 2 tablespoons olive oil or melted butter
- 1 packet (2 ¼ teaspoons) active dry yeast
- 1 teaspoon salt
Instructions:
In a large mixing bowl, combine the warm water, honey, and yeast. Let it sit for about 5-10 minutes until it becomes frothy. Then, add the olive oil and salt to the mixture. Gradually stir in the whole wheat flour, one cup at a time, until a dough forms. Knead the dough on a floured surface for about 8-10 minutes until it is smooth and elastic. Place the dough in a greased bowl, cover it with a damp cloth, and let it rise in a warm place for about 1 hour, or until it has doubled in size. Preheat your oven to 375°F (190°C). Shape the dough into a loaf and place it in a greased 9×5-inch loaf pan. Allow it to rise again for about 30 minutes, then bake for 30-35 minutes until the bread is golden brown and sounds hollow when tapped on the bottom. Let it cool before slicing.
Extra Tips:
To enhance the flavor and texture of your whole wheat bread, consider adding seeds such as sunflower or sesame seeds, or incorporating oats or nuts into the dough. If you prefer a softer crust, brush the top of the loaf with melted butter right after it comes out of the oven. Additionally, confirm that your yeast is fresh for the best rise, and be mindful of the temperature of your water—too hot can kill the yeast, while too cold may not activate it properly. Enjoy experimenting with this recipe to make it your own!
Cooking Steps
To make whole wheat bread, you’ll need to follow a series of straightforward steps. Start by measuring your whole wheat flour, then add yeast and water to create the base. Knead the dough thoroughly, let it rise in a warm spot, and shape it into a loaf for baking.
Step 1. Measure Whole Wheat Flour
Measuring whole wheat flour accurately is essential for achieving the perfect bread texture. Different flour types can greatly affect your bread’s outcome, so precision matters. Start by using the spoon-and-level technique: scoop the flour into your measuring cup using a spoon, then level it off with a straight edge. Avoid packing the flour down, as this can lead to excess weight. Alternatively, if you have a kitchen scale, weigh your flour for even greater accuracy. The standard measurement is about 120 grams per cup. By employing these measuring techniques, you guarantee that your whole wheat bread has the right density and rise, giving you a delicious, hearty loaf every time. Enjoy the freedom of baking with confidence!
Step 2. Add Yeast and Water
Start by combining one packet (about 2¼ teaspoons) of active dry yeast with warm water in a mixing bowl. The ideal water temperature should be between 100°F and 110°F, as this range activates the yeast without killing it. If you’re using other yeast types, like instant or fresh yeast, check the specific instructions, as they may have different activation requirements. Stir gently and let the mixture sit for about 5 to 10 minutes until it becomes frothy. This process indicates that your yeast is alive and ready to work its magic. Once you see those bubbles forming, you’re set to proceed with your whole wheat bread recipe. Enjoy the freedom of baking your own bread!
Step 3. Knead the Dough Thoroughly
Kneading the dough thoroughly is vital for developing gluten, which gives your whole wheat bread its structure and chewy texture. Start by lightly flouring your work surface to prevent sticking. Using your hands, push the dough away from you, fold it back over itself, and rotate it a quarter turn. This kneading technique should last about 8 to 10 minutes. You’ll know it’s ready when the dough is smooth and elastic, and has a consistent texture. If the dough feels too sticky, sprinkle a little more flour as needed, but be careful not to overdo it; you want the right dough consistency. Proper kneading guarantees a well-structured loaf that rises beautifully and tastes amazing. Enjoy the process!
Step 4. Let Dough Rise Warmly
After you’ve kneaded the dough thoroughly, it’s important to let it rise in a warm environment. This rising temperature is essential for activating the yeast, which helps create a light and airy dough texture. Ideally, you want the dough to rise in a space around 75°F to 85°F (24°C to 29°C). If your kitchen is cooler, consider placing the bowl in a slightly warmed oven or near a warm spot, like a sunny window. Cover the dough with a damp cloth to retain moisture, promoting an even rise. Allow the dough to double in size, which usually takes about 1 to 2 hours. This step is key to achieving that delightful, fluffy whole wheat bread you’re aiming for.
Step 5. Shape Dough Into Loaf
Once your dough has doubled in size, it’s time to shape it into a loaf. Start by gently deflating the dough on a lightly floured surface. Use shaping techniques like the envelope method, where you fold the edges toward the center, or the roll method, rolling the dough into a tight cylinder. This helps create surface tension, giving your loaf a nice rise.
For loaf variations, consider shaping it into a round or a batard, depending on your preference. Place the shaped dough into a greased loaf pan or on a baking sheet. Cover it with a towel and allow it to rise again until it puffs up. This final rise guarantees a light, airy bread once baked. Enjoy the freedom of creativity!
Nutritional Guide
Whole wheat bread not only serves as a delicious staple but also packs a nutritional punch. By choosing whole grains, you’re reaping numerous nutritional benefits. Whole wheat is rich in fiber, vitamins, and minerals, making it a fantastic addition to your diet. Here’s a quick overview of its nutritional profile:
| Nutrient | Amount per Slice | Daily Value (%) |
|---|---|---|
| Fiber | 2g | 8% |
| Protein | 4g | 8% |
| Iron | 0.7mg | 4% |
| Magnesium | 23mg | 6% |
| B Vitamins | Varies | Varies |
Incorporating whole wheat bread into your meals can help you maintain energy levels and support overall health while enjoying a satisfying flavor.
Final Thoughts
As you consider incorporating whole wheat bread into your diet, it’s important to recognize its numerous benefits and versatility. Whole wheat bread is packed with essential nutrients, offering significant health benefits like improved digestion and heart health. Plus, it provides lasting energy, making it an excellent choice for a balanced diet.
When you start baking, remember these baking tips: always measure your ingredients accurately, and don’t rush the kneading process; this helps develop gluten for a better texture. Experiment with adding seeds or nuts for extra flavor and nutrition. Embracing whole wheat bread opens up a world of culinary freedom, allowing you to enjoy delicious meals while prioritizing your health. So, roll up your sleeves and start baking!
Frequently Asked Questions
Can I Use Bread Flour Instead of Whole Wheat Flour?
Yes, you can use bread flour instead of whole wheat flour. However, keep in mind that bread flour has a higher gluten content, which may alter the texture and flavor of your final product.
How Long Does Whole Wheat Bread Stay Fresh?
Wondering how long your whole wheat bread stays fresh? With proper storage methods, like airtight containers or freezing, you can enjoy its deliciousness for up to a week. Follow these freshness tips to maximize flavor!
Can I Freeze Whole Wheat Bread?
Yes, you can freeze whole wheat bread! For best results, slice it first and use airtight packaging. This method helps maintain freshness. Follow these freezing tips for effective storage methods that keep your bread tasty and convenient.
What Are Common Variations of Whole Wheat Bread?
You wouldn’t believe how many delicious variations exist! You can enhance whole wheat bread with herb additions like rosemary or thyme, and nut inclusions such as walnuts or pecans, creating unique flavors that inspire your baking journey.
How Can I Improve the Texture of My Whole Wheat Bread?
To improve your whole wheat bread’s texture, focus on kneading techniques and hydration levels. Proper kneading develops gluten, while adjusting hydration enhances moisture, resulting in a softer, more enjoyable loaf. Experiment and find what works best!
Conclusion
To sum up, making whole wheat bread at home isn’t just a rewarding experience; it’s a way to take the bull by the horns and embrace healthier eating. By following the recipe and cooking steps outlined, you’ll create a delicious, nutritious loaf that fits perfectly into your diet. With its rich history and health benefits, whole wheat bread can easily become a staple in your kitchen. So, roll up your sleeves and get baking!
