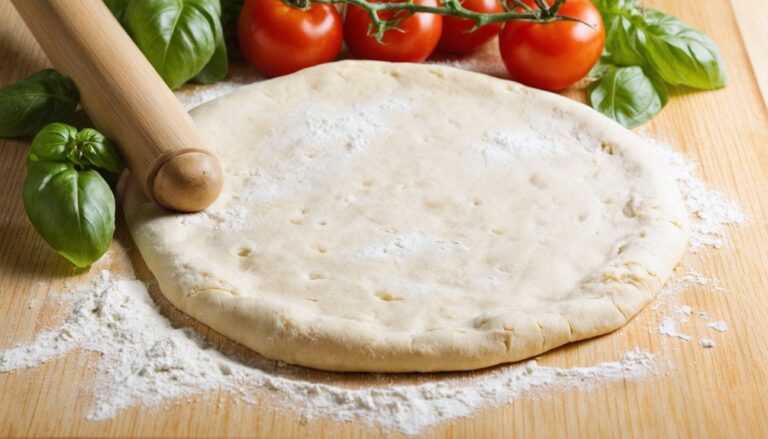
Whole Wheat Pizza Dough Recipe
I love making whole wheat pizza dough for a healthier twist on a classic favorite. To whip it up, I mix 2 cups whole wheat flour, 1 cup all-purpose flour, yeast, salt, olive oil, honey, and warm water. After kneading, I let it rise until doubled in size, then shape it into balls. The crispy crust pairs wonderfully with creative toppings. It’s a nutritious choice that keeps me energized—stick around to discover more tips and topping ideas!
Contents
History
When I explore the history of whole wheat pizza dough, I can’t help but appreciate how this simple recipe reflects centuries of culinary evolution. The origins of pizza trace back to ancient civilizations, where flatbreads served as the foundation for various toppings. As cultures merged, so did their grains, leading to the use of ancient grains like spelt and emmer in dough. Whole wheat flour emerged as a healthier alternative, packed with fiber and nutrients, revitalizing the classic pizza experience. This innovation not only honors tradition but also addresses modern dietary preferences. Each bite of whole wheat pizza dough connects us to a rich tapestry of history, reminding us of our culinary heritage while embracing the future of food.
Recipe
Making whole wheat pizza dough is a fantastic way to enjoy a healthier version of your favorite pizza. Whole wheat flour not only adds a nutty flavor but also boosts the nutritional content, making your pizza a more wholesome meal option. This dough is versatile and can be used for a variety of toppings, allowing you to get creative with your pizza-making!
To start, you’ll want to guarantee that you have all your ingredients at room temperature, as this helps with the activation of the yeast. The dough can be prepared in advance and stored in the refrigerator or even frozen for later use, making it a convenient option for busy weeknights. With just a few simple ingredients and some time for the dough to rise, you’ll be on your way to creating a delicious homemade pizza.
Ingredients:
- 2 cups whole wheat flour
- 1 cup all-purpose flour
- 1 packet (2 ¼ teaspoons) active dry yeast
- 1 teaspoon salt
- 1 tablespoon olive oil
- 1 tablespoon honey or sugar
- 1 cup warm water (about 110°F)
Instructions:
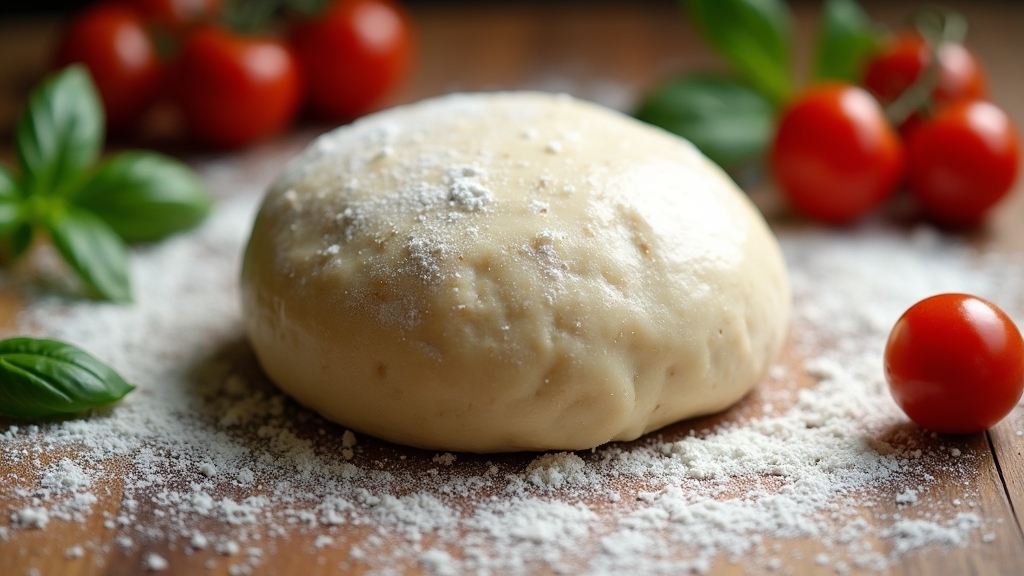
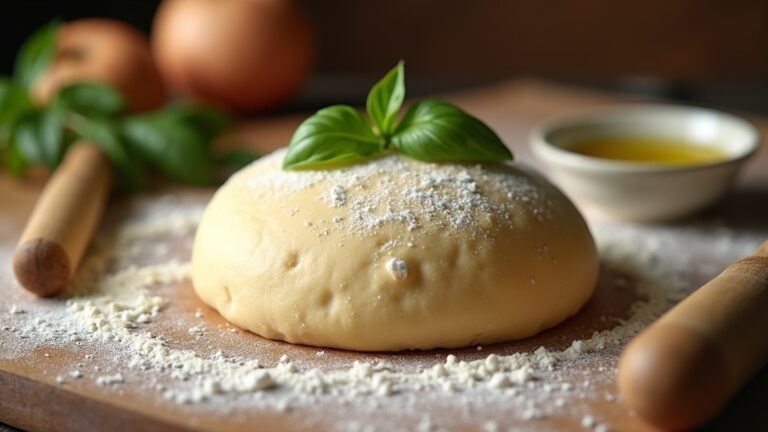
In a large mixing bowl, combine the warm water, honey (or sugar), and yeast. Let it sit for about 5-10 minutes until it becomes frothy. Once activated, add the olive oil, salt, and whole wheat flour, mixing until combined. Gradually add the all-purpose flour until the dough begins to pull away from the sides of the bowl. Knead the dough on a floured surface for about 5-7 minutes until smooth and elastic. Place the dough in a greased bowl, cover it with a damp cloth, and let it rise in a warm area for about 1 hour or until it doubles in size. After rising, punch down the dough and roll it out to your desired thickness.
Extra Tips:
For the best flavor, consider letting the dough rise slowly in the refrigerator overnight. This will enhance the taste and texture of your pizza crust. Additionally, feel free to experiment with herbs or spices in the dough, such as garlic powder or Italian seasoning, for an extra burst of flavor. When it comes time to bake, preheat your oven to a high temperature (around 475°F) and use a pizza stone if you have one, as it helps achieve a crispy crust. Enjoy your wholesome homemade pizza!
Cooking Steps
Let’s jump into the cooking steps that will transform your ingredients into delicious whole wheat pizza dough. First, I’ll mix the flour and water to create a smooth base, then knead the dough thoroughly for the perfect texture. After that, we’ll let it rise in a warm spot, setting the stage for a delightful pizza experience!
Step 1. Mix Flour and Water
To create the perfect whole wheat pizza dough, I start by combining the flour and water in a large mixing bowl. I prefer using a mix of whole wheat flour and bread flour for a delightful texture and flavor balance. The water temperature is essential; I aim for it to be warm but not hot, around 110°F. This temperature helps activate the yeast effectively without killing it. As I pour the water into the flour, I watch the mixture transform, the flour types absorbing the water and creating a shaggy mass. Stirring with a wooden spoon, I can feel the dough coming together, and I get excited knowing I’m just a few steps away from a delicious homemade pizza masterpiece!
Step 2. Knead the Dough Thoroughly
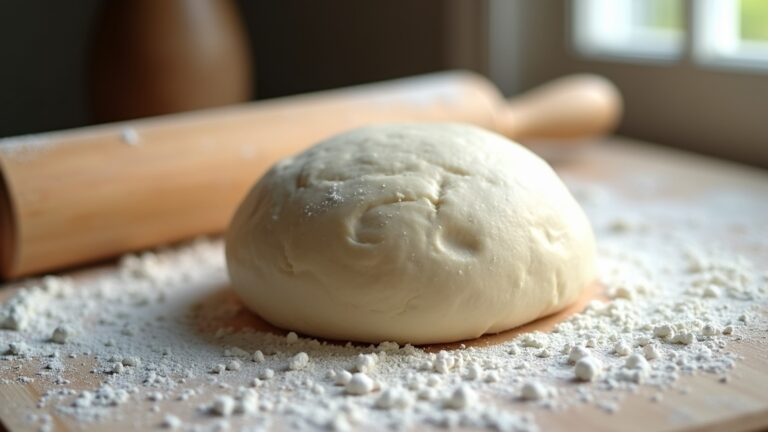
With the dough now a shaggy mass in the bowl, the next step is kneading it thoroughly to develop the gluten structure that will give the pizza its desired chewiness. I’ll turn the dough out onto a lightly floured surface, then use my palms to push it away from me, folding it back over itself. This kneading technique creates a smooth, elastic dough texture that’s vital for a perfect crust. I usually knead for about 8-10 minutes, feeling the dough transform from sticky and rough to soft and supple. If it feels too dry, I’ll sprinkle a bit of water; if it’s too wet, a touch more flour does the trick. Trust me, this step is essential for an innovative pizza experience!
Step 3. Let Dough Rise Warmly
As the dough rests, I find it’s essential to let it rise in a warm, cozy spot, allowing the yeast to work its magic. Ideally, the dough temperature should be around 75 to 80°F (24 to 27°C) for ideal yeast activation. This warmth encourages the yeast to flourish, developing those delightful bubbles that create a light, airy crust. I often place my dough near a sunny window or in a warm oven turned off, ensuring it has the right environment. Covering the bowl with a damp cloth helps maintain moisture, preventing the surface from drying out. After about an hour, I’m always excited to see how much it’s expanded, ready to transform into a delicious pizza base.
Step 4. Shape the Dough Into Balls
Once the dough has risen beautifully, it’s time to shape it into balls. I’ll start by sprinkling a bit of flour on my work surface to prevent sticking, and then I gently punch down the dough to release air. As I grab a portion, I pay close attention to the dough consistency; it should be soft yet elastic. I roll it in my hands, aiming for a ball size that’s about the size of a golf ball. This helps guarantee even cooking and makes for perfectly sized pizzas. Once I’ve shaped all the dough, I place the balls on a floured surface, covering them with a damp cloth to keep them moist while I prepare for the next step.
Step 5. Preheat the Oven to 475°F
Before diving into the pizza-making process, I always make sure to preheat my oven to a sizzling 475°F. Achieving the right oven temperature is essential for that perfect, crispy crust. As the oven heats, I can already envision the golden edges and bubbling cheese. Here’s a baking tip: don’t rush this step! Allow at least 30 minutes for the oven to reach that ideal temperature, ensuring even cooking throughout. This high heat mimics the traditional pizza ovens found in pizzerias, giving my homemade pizza that professional touch. Plus, it helps lock in the flavors of your toppings. So, while you’re waiting, gather your ingredients and prepare to release your culinary creativity!
Nutritional Guide
When it comes to enjoying a delicious slice of pizza, understanding the nutritional value of whole wheat pizza dough can elevate your dining experience. Whole wheat flour offers numerous health benefits, providing more fiber, vitamins, and minerals compared to refined flour. Let’s break down the ingredients to see how they contribute to a healthier meal.
| Ingredient | Amount (per 1 slice) | Health Benefits |
|---|---|---|
| Whole Wheat Flour | 50g | High in fiber, aids digestion |
| Olive Oil | 1 tsp | Healthy fats, heart health |
| Water | 1/4 cup | Hydration, metabolic function |
| Salt | 1/4 tsp | Essential for electrolyte balance |
| Yeast | 1/2 tsp | Supports gut health |
This ingredient breakdown showcases how each component works together for a nutritious pizza base!
Final Thoughts
As I reflect on the benefits of using whole wheat pizza dough, I’m reminded of how simple ingredients can transform a classic dish into a healthier option. This dough is not only nutritious but also versatile, allowing for various dough variations that cater to different tastes and dietary needs. Whether you choose to incorporate herbs, seeds, or even a hint of whole grain flour, the possibilities are endless. Plus, the topping suggestions are just as exciting! From fresh veggies to gourmet cheeses, or even a drizzle of balsamic glaze, each bite can be a new adventure. Embracing whole wheat pizza dough means indulging in creativity while prioritizing health—it’s a delicious way to innovate your meals!
Frequently Asked Questions
Can I Substitute Whole Wheat Flour With Other Flours?
I love experimenting with flour types. You can substitute whole wheat flour with alternatives like spelt or almond flour. Just keep in mind that each baking substitute may alter the texture and flavor of your dish.
How Long Can I Store Leftover Dough?
Did you know properly stored dough can last up to three days in the fridge? I’ve found that airtight containers are perfect for leftover storage, ensuring ideal dough preservation and maintaining that delightful texture for my next creation.
Is Whole Wheat Pizza Dough Gluten-Free?
No, whole wheat pizza dough isn’t gluten-free, as it contains wheat. However, I love exploring gluten-free alternatives that offer health benefits, like almond or cauliflower crusts—innovative options that don’t compromise on flavor or texture!
Can I Freeze Whole Wheat Pizza Dough?
Absolutely, I freeze whole wheat pizza dough! I use simple freezing techniques, like wrapping it tightly in plastic and storing it in an airtight container. This way, I always have delicious dough ready for a quick meal.
What Toppings Pair Well With Whole Wheat Pizza Dough?
When I create pizzas, I love pairing whole wheat dough with healthy toppings like fresh arugula, roasted tomatoes, and tangy feta. These flavor combinations elevate each bite, making my meals both nutritious and deliciously exciting!
Conclusion
As I pull that golden-brown whole wheat pizza from the oven, it feels like a warm hug after a long day. The aroma dances through the air, wrapping around me like a cozy blanket, inviting friends and family to gather around the table. Each slice is a piece of art, a canvas painted with vibrant toppings and healthy ingredients. So, let’s celebrate the joy of creating together, and savor the deliciousness that nourishes both body and soul.
