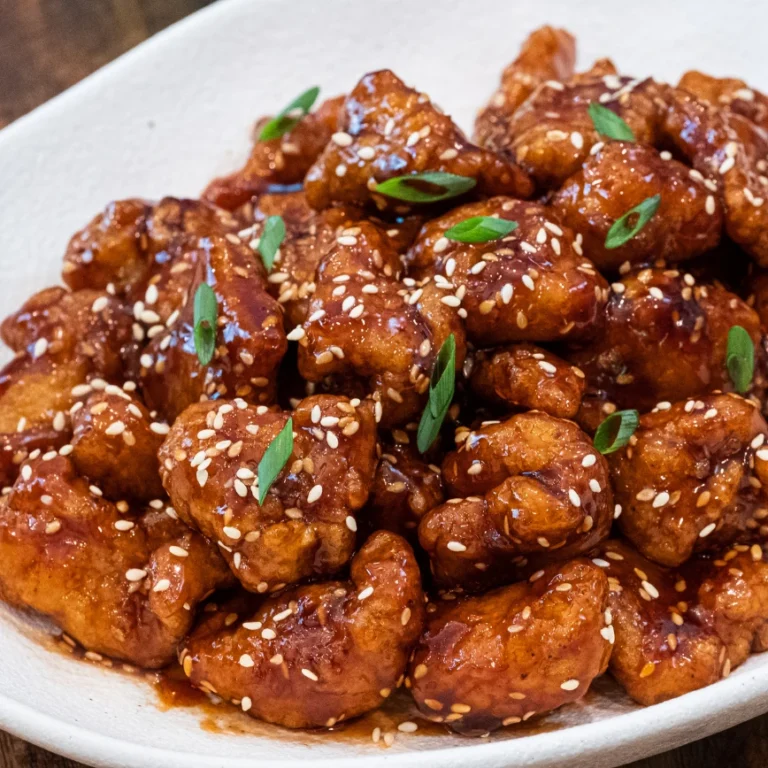
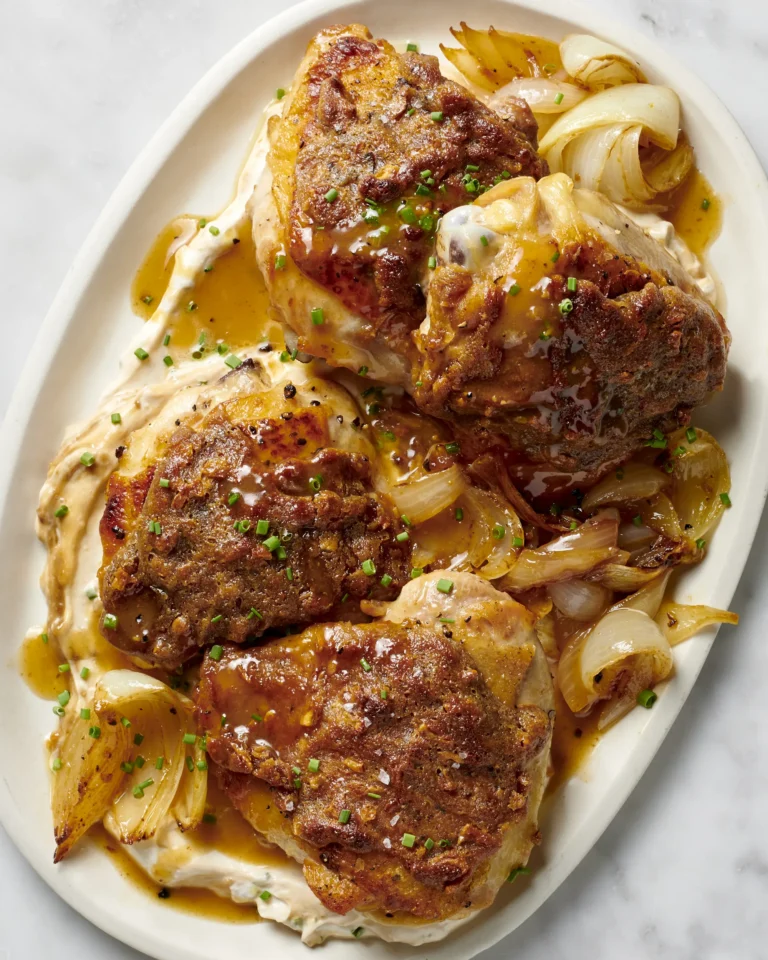
Chicken Fry Recipe
Are you craving a crispy and flavorful meal that will satisfy your taste buds? Look no further than this mouthwatering Chicken Fry recipe.
In just a few easy steps, you’ll be able to create a dish that is bursting with savory spices and a perfectly crispy crust.
Whether you’re a seasoned chef or a beginner in the kitchen, this recipe will give you the freedom to experiment and make it your own.
Get ready to indulge in a delicious chicken fry like no other.
Contents
- 1 Key Takeaways
- 2 Chicken Fry Recipe
- 3 Ingredients Needed for Chicken Fry
- 4 Step 1: Preparing the Chicken
- 5 Step 2: Marinating the Chicken
- 6 Step 3: Coating the Chicken With Spices
- 7 Step 4: Frying the Chicken to Perfection
- 8 Step 5: Draining Excess Oil
- 9 Step 6: Serving and Garnishing the Chicken Fry
- 10 Tips for Achieving a Crispy Crust
- 11 Variations and Additional Seasonings to Try
- 12 Pairing Suggestions for Your Chicken Fry Meal
- 13 Nutritional Facts:-
- 14 Frequently Asked Questions
- 15 What are the Differences Between Chicken Adana and Chicken Fry Recipes?
- 16 Conclusion
Key Takeaways
- Marinating the chicken in yogurt, ginger-garlic paste, and lemon juice enhances the flavor and tenderizes the meat.
- Coating the chicken with a mixture of all-purpose flour, cornstarch, and spices creates a flavorful crust.
- Properly draining excess oil after frying is crucial for maintaining crispiness.
- Serve the fried chicken hot with garnishes like freshly chopped parsley, lemon juice, and side dishes like rice or mashed potatoes.
Chicken Fry Recipe
Course: MainCuisine: InternationalDifficulty: Moderate4
15
minutes20
1200
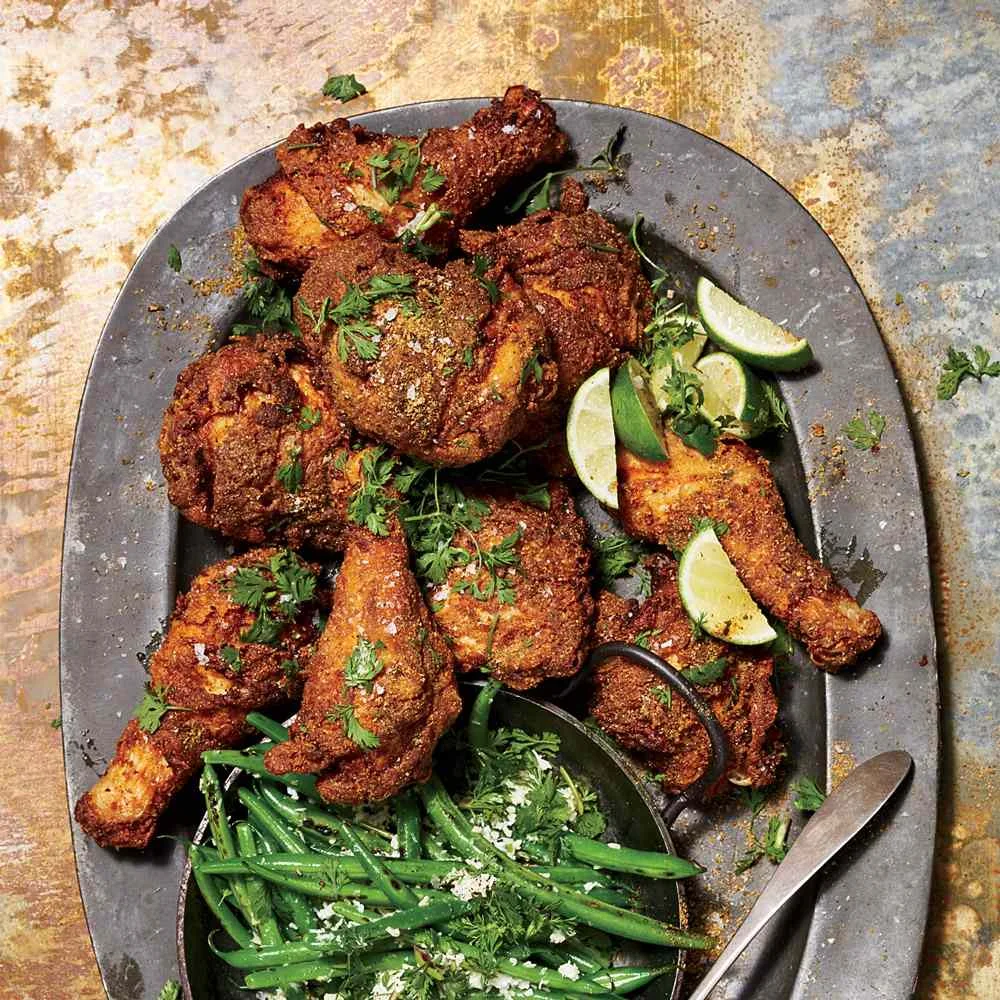
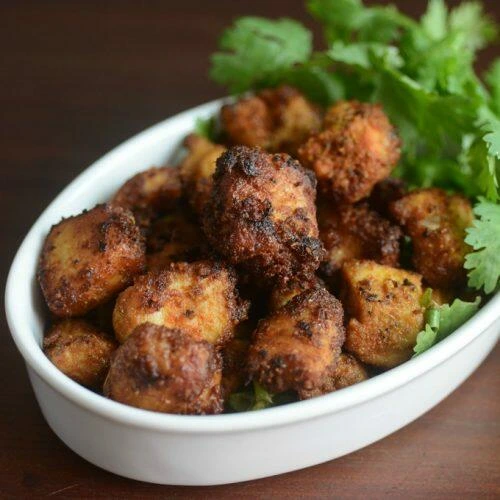
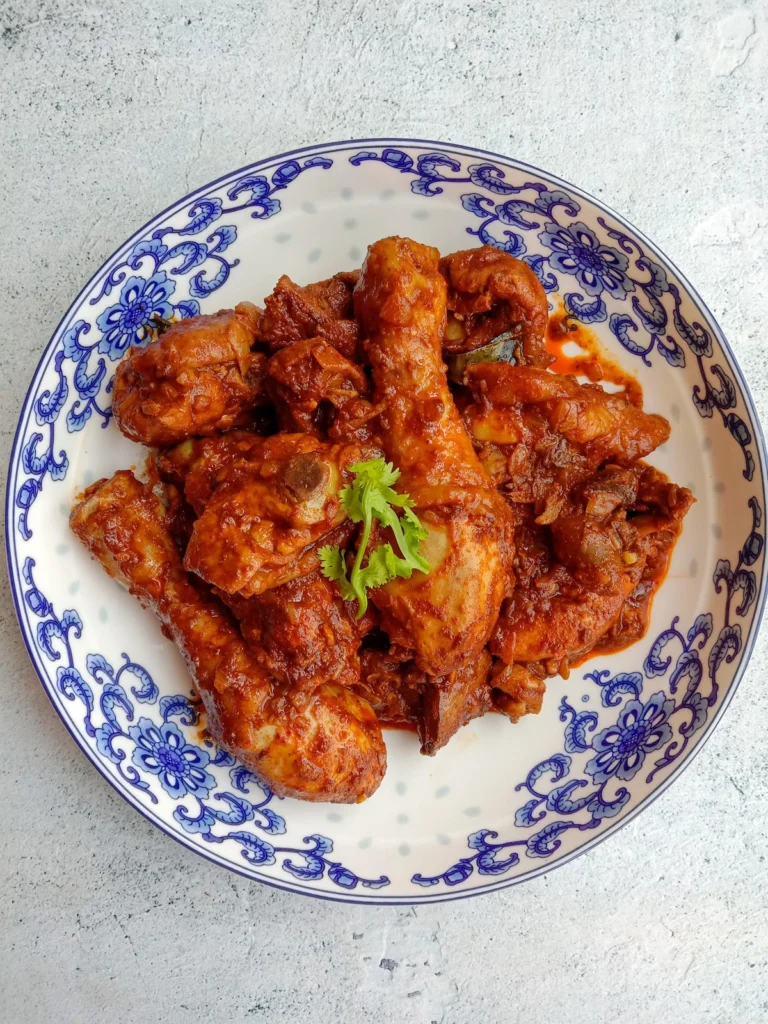
kcalChicken Fry is a delectable main course dish that features succulent pieces of chicken, marinated in a flavorful blend of spices and herbs, and then deep-fried to crispy perfection. This international favorite is known for its crispy, golden-brown crust and juicy, tender interior. The moderate level of difficulty makes it accessible to home cooks looking to impress with a mouthwatering fried chicken recipe. Serve it as a delightful entrée with your choice of side dishes, and enjoy the crispy, savory goodness of homemade chicken fry.
Ingredients
4 boneless chicken breasts
1 cup all-purpose flour
2 teaspoons paprika
1 teaspoon salt
1/2 teaspoon black pepper
2 eggs
Vegetable oil for frying
Directions
- Start by cutting the chicken breasts into bite-sized pieces or strips and set them aside.
- In a shallow dish, mix the flour, paprika, salt, and black pepper until well combined.
- In another shallow dish, beat the eggs.
- Heat about 1 inch of vegetable oil in a large skillet or frying pan over medium-high heat.
- Dip each piece of chicken into the beaten eggs, allowing any excess to drip off, and then coat them evenly with the flour mixture.
- Carefully place the coated chicken pieces into the hot oil and fry for about 4-5 minutes per side or until they are golden brown and crispy. You may need to fry them in batches to avoid overcrowding the pan.
- Once the chicken is cooked through and has a crispy, golden crust, remove it from the oil, drain on paper towels, and serve your delicious homemade chicken fry hot with your favorite dipping sauce or side dishes. Enjoy!
Ingredients Needed for Chicken Fry
You’ll need six ingredients to make the perfect chicken fry. Start by marinating the chicken pieces in a mixture of yogurt, ginger-garlic paste, and lemon juice. This will tenderize the meat and infuse it with flavor.
For the coating, combine all-purpose flour, cornstarch, and a blend of spices like paprika, cumin, and chili powder. The spices add a kick of heat and a depth of flavor to the dish. If you prefer a milder taste, you can adjust the spice blend according to your liking.
Once the chicken is coated, you can choose the cooking method that suits you best. Whether you prefer deep-frying for a crispy texture or baking for a healthier option, both methods will result in a delicious chicken fry.
Serve it hot with a side of tangy dipping sauce or alongside steamed rice for a complete meal.
Step 1: Preparing the Chicken
To begin, grab three boneless chicken breasts and wash them thoroughly before slicing them into bite-sized pieces. This step is crucial as it ensures that the chicken is clean and ready for marination.
Once you have prepared the chicken, it’s time to move on to the next step: marination. In a bowl, combine yogurt, lemon juice, garlic paste, ginger paste, salt, turmeric powder, red chili powder, and garam masala. Mix well to create a flavorful marinade.
Add the chicken pieces to the marinade, making sure they’re fully coated. Cover the bowl and let it marinate in the refrigerator for at least 30 minutes, allowing the flavors to penetrate the meat.
While the chicken is marinating, you can prepare the frying technique. Heat oil in a deep pan or skillet over medium heat. Carefully place the marinated chicken pieces into the hot oil, making sure not to overcrowd the pan. Fry the chicken until it turns golden brown and crispy on all sides.
Use tongs or a slotted spoon to remove the chicken from the oil and place it on a paper towel-lined plate to drain any excess oil.
Serve the chicken fry hot with your choice of dipping sauce or as a main dish with rice or naan bread.
This chicken fry recipe is a delightful combination of tender, juicy chicken and a flavorful crispy coating. The marination process ensures that each bite is bursting with aromatic spices and tangy notes from the yogurt and lemon juice. The frying technique results in a perfectly crispy exterior that contrasts beautifully with the succulent chicken inside.
Whether you’re enjoying it as an appetizer or a main course, this chicken fry is sure to satisfy your taste buds with its irresistible flavors and textures. So go ahead, grab your apron, and get ready to indulge in this delicious chicken fry recipe.
Step 2: Marinating the Chicken
Start by thoroughly mixing the marinade ingredients in a bowl and coating the chicken pieces, allowing them to marinate in the refrigerator for at least 30 minutes. Marinating the chicken is a crucial step in this recipe, as it helps to infuse the meat with flavor and tenderize it. The marinade is made up of a combination of spices, herbs, and other ingredients that work together to enhance the taste of the chicken. You can experiment with different marinating techniques to suit your preferences, such as using yogurt or buttermilk to add a tangy flavor, or adding citrus juices for a refreshing twist. The marination time is important, as it allows the flavors to penetrate the meat and make it more delicious.
Once the chicken has marinated, it will be ready for the next step: coating it with spices.
Next, coat the marinated chicken with a mixture of spices to give it a flavorful and aromatic crust.
Step 3: Coating the Chicken With Spices
Now, carefully and evenly sprinkle the chicken with the aromatic spice mixture, ensuring that each piece is well-coated and bursting with flavor. This step is crucial in enhancing the taste of the chicken fry.
You can use the traditional method of coating the chicken with a flour-based mixture or experiment with alternative coating methods, such as using crushed cornflakes or breadcrumbs for added crunch. Whichever method you choose, make sure to press the spices onto the chicken to ensure they adhere properly.
The spices won’t only add depth and complexity to the dish but also create a beautiful golden brown crust when fried. As you sprinkle the spices, take a moment to appreciate the fragrant aroma that fills the air, a tantalizing preview of the delicious meal to come.
Step 4: Frying the Chicken to Perfection
Take your time and carefully place the well-coated chicken into the hot oil, ensuring that it’s submerged and cooked evenly. Here’s how to fry your chicken to perfection:
-
Traditional Deep Frying: This method involves fully submerging the chicken in hot oil, resulting in a crispy exterior and juicy interior.
-
Air Frying: For a healthier alternative, use an air fryer to achieve the same crispy texture with less oil.
-
Oven Frying: Coat the chicken with breadcrumbs and bake it in the oven for a healthier yet equally delicious option.
Resting the chicken before frying is crucial for a tender and juicy result. Allow the coated chicken to sit at room temperature for about 15 minutes. This allows the coating to adhere well and prevents it from falling off during frying.
Now that your chicken is perfectly fried, it’s time to move on to step 5: draining excess oil.
Step 5: Draining Excess Oil
Once the chicken has been fried to a golden brown, it’s important to drain off any excess oil.
Carefully remove the chicken pieces from the hot oil and place them on a wire rack or paper towels to drain.
This step not only helps to reduce the greasiness of the chicken, but also ensures that it stays crispy and delicious.
Oil Temperature Control
Make sure your oil temperature control is precise to avoid overcooking or undercooking your chicken. When deep frying, maintaining the right temperature is crucial for achieving that perfect golden brown crust and juicy interior. Here’s how to do it:
-
Use a deep-fry thermometer: This handy tool will help you monitor the oil temperature accurately throughout the cooking process.
-
Preheat the oil: Heat the oil to the recommended temperature before adding the chicken. This ensures that the chicken cooks evenly and absorbs less oil.
-
Adjust the heat: If the oil temperature drops too much when you add the chicken, increase the heat slightly. Likewise, if it rises too high, lower the heat. Maintaining a consistent temperature is key.
By following these steps, you’ll have perfectly cooked chicken every time.
Now, let’s move on to alternative draining methods to ensure your chicken stays crispy without excess oil.
Alternative Draining Methods
You can either use a wire rack or a paper towel to drain the excess oil from your fried chicken. Both methods have their advantages and it ultimately comes down to personal preference.
If you choose to use a wire rack, place the fried chicken on top of it, allowing the oil to drip down and collect at the bottom. This method ensures that the chicken remains crispy, as the oil is able to fully drain off.
On the other hand, if you prefer using a paper towel, simply place the fried chicken on it and gently press down to absorb the excess oil. This method is convenient and requires minimal cleanup.
Whichever method you choose, it’s important to properly drain the excess oil to achieve a crispy and delicious end result.
Importance of Proper Draining
To achieve a crispy and delicious end result, it’s crucial to properly drain the excess oil from your fried chicken. Here are three reasons why it’s important:
-
Retaining Crispiness: When you remove the chicken from the fryer, it’s essential to let the excess oil drain off. This ensures that the breading remains crispy and doesn’t become soggy.
-
Enhancing Flavor: By draining the excess oil, you allow the flavors of the chicken and seasonings to shine through. Removing the excess oil prevents it from overpowering the taste of the chicken.
-
Reducing Greasiness: Properly draining the fried chicken helps to eliminate excess grease, resulting in a lighter and more enjoyable eating experience. It also makes the chicken healthier by reducing the amount of oil consumed.
To drain your fried chicken effectively, place it on a wire rack or paper towels to allow the oil to drip off. Be sure to check the oil temperature before frying and adjust as needed. Remember, alternative draining methods may not yield the same crispy and delicious results.
Enjoy your perfectly drained fried chicken!
Step 6: Serving and Garnishing the Chicken Fry
Now, go ahead and sprinkle some freshly chopped parsley on top of your perfectly fried chicken. The vibrant green color of the parsley will add a pop of freshness to your dish, while also providing a subtle herbaceous flavor.
Not only does parsley make for a beautiful garnish, but it also offers some health benefits, as it’s rich in vitamins A, C, and K. If you want to get creative with your garnishing, you can try using other herbs like cilantro or dill, or even add a squeeze of lemon juice for a tangy twist.
Different serving styles could include placing the chicken fry on a bed of mixed greens for a light and refreshing meal, or serving it alongside some creamy mashed potatoes for a comforting and satisfying dinner.
As we move on to the next section, let’s explore some tips for achieving a crispy crust on your chicken fry.
Tips for Achieving a Crispy Crust
To achieve a crispy crust on your fried chicken, start by using a breading technique that involves dipping the chicken in flour, then egg, and finally breadcrumbs. This triple coating helps create a crunchy texture.
Additionally, make sure to maintain the oil temperature at around 350°F (175°C) throughout the frying process, as a lower temperature can result in a greasy crust.
Lastly, choose an oil with a high smoke point, such as vegetable or peanut oil, to ensure a crispy and golden exterior.
Breading Techniques for Crunch
Add a generous amount of flour to the breading mixture for maximum crunchiness. When it comes to breading techniques, achieving a satisfying crunch is key. Here are three tips to help you achieve that perfect crispy crust:
-
Double Dredging: Dip your chicken in flour, then into an egg wash, and back into the flour again. This double coating creates a thick and crunchy breading that locks in moisture and flavor.
-
Panko Bread Crumbs: Swap regular bread crumbs for panko, a Japanese variety known for its light and airy texture. Panko creates a delicate and extra crispy crust that will elevate your chicken fry to new heights.
-
Deep-Frying: Deep-frying is the ultimate technique for achieving maximum crunchiness. Make sure to heat your oil to the right temperature and fry your chicken in small batches to ensure even cooking and a golden brown crust.
Temperature Control for Crispiness
If you want to achieve a crispy crust, make sure to adjust the temperature of your frying oil accordingly. Temperature monitoring is key to achieving that perfect golden brown color on your fried chicken. Here’s a simple guide to help you achieve that crispy, flavorful crust:
| Step | Temperature | Time |
|---|---|---|
| 1 | Preheat oil | 350°F |
| 2 | Add chicken | 325°F |
| 3 | Increase heat | 375°F |
| 4 | Remove chicken | 165°F |
Start by preheating your oil to 350°F. This ensures that the chicken cooks evenly and creates a crispy texture. Once you add the chicken, lower the temperature to 325°F to maintain a steady heat. After a few minutes, increase the heat to 375°F to achieve that golden brown color. Finally, remove the chicken from the oil when it reaches an internal temperature of 165°F to ensure it’s fully cooked.
By carefully monitoring the temperature, you’ll be able to achieve that irresistible crispy crust. Now, let’s move on to the importance of oil choice.
To transition into the next section, it’s important to note that the choice of oil is crucial in determining the final flavor and texture of your fried chicken.
Importance of Oil Choice
Choosing the right oil plays a significant role in achieving a crispy crust for your fried chicken. It not only affects the texture and flavor but also has health benefits. Here are three oil types to consider:
-
Canola oil: It has a high smoke point and a neutral flavor, making it perfect for frying. It’s low in saturated fats and rich in heart-healthy omega-3 fatty acids.
-
Peanut oil: With a high smoke point and a distinct nutty flavor, it adds a delicious taste to your fried chicken. It’s also low in saturated fats and contains vitamin E, which is good for your skin.
-
Grapeseed oil: This oil has a mild, clean taste and a high smoke point. It’s rich in antioxidants and has anti-inflammatory properties, promoting heart health.
By choosing the right oil, you can achieve a crispy and flavorful fried chicken while reaping the health benefits.
Now, let’s explore some variations and additional seasonings to try.
Variations and Additional Seasonings to Try
Experimenting with different herbs and spices can enhance the flavor of your chicken fry. To take your dish to the next level, try out unique seasoning combinations that will tantalize your taste buds.
Start by marinating your chicken pieces with a blend of paprika, garlic powder, and cayenne pepper for a spicy kick. If you prefer a milder flavor, opt for a combination of thyme, rosemary, and lemon zest for a refreshing twist.
When it comes to cooking methods, there are various options to explore. Deep-frying will give you a crispy exterior, while baking in the oven will result in a healthier version. For a smoky flavor, try grilling your chicken fry over charcoal.
Whichever method you choose, remember to cook the chicken until it reaches an internal temperature of 165°F for a juicy and delicious outcome.
Serve your chicken fry with a side of creamy coleslaw and freshly baked cornbread for a complete and satisfying meal.
Get creative with your seasonings and cooking techniques, and enjoy the freedom to experiment with different flavors!
Pairing Suggestions for Your Chicken Fry Meal
For a flavorful and satisfying meal, always consider pairing your chicken fry with a side of tangy barbecue sauce or zesty ranch dressing. These delicious sauces complement the crispy exterior and juicy interior of the chicken, adding an extra layer of flavor to every bite.
Here are three pairing ideas to elevate your chicken fry experience:
-
Spicy Sriracha Mayo: Kick up the heat with a creamy and spicy Sriracha mayo. The combination of the tangy mayo and fiery Sriracha sauce adds a bold and exciting twist to your chicken fry.
-
Honey Mustard: For a sweet and tangy flavor profile, drizzle your chicken fry with some honey mustard. The smooth honey perfectly balances the tanginess of the mustard, creating a mouthwatering combination.
-
Garlic Parmesan Dip: Indulge in the rich and savory flavors of garlic and Parmesan cheese. This creamy dip adds a luxurious touch to your chicken fry, making every bite an absolute delight.
Experiment with these pairing ideas to find your favorite combination. Remember to dip generously and savor every bite!
Nutritional Facts:-
- Calories: Approximately 300-400 calories
- Protein: About 20-30 grams
- Carbohydrates: Around 10-20 grams (mostly from the breading)
- Dietary Fiber: 0-1 gram
- Sugars: 0-1 gram (if no sugar is added to the breading)
- Fat: Approximately 20-30 grams
- Saturated Fat: 4-7 grams
- Cholesterol: 70-100 milligrams
- Sodium: 500-800 milligrams (or more, depending on seasoning and breading)
- Vitamins and Minerals: Chicken is a good source of protein, and it provides essential nutrients such as B vitamins (especially niacin and B6), selenium, and phosphorus.
Frequently Asked Questions
How Long Should I Marinate the Chicken For?
To achieve maximum flavor, you should marinate the chicken for at least 2 hours. This will allow the marinade to penetrate the meat, infusing it with deliciousness.
However, if you’re short on time, you can marinate for as little as 30 minutes and still get decent results.
Don’t limit yourself to just chicken though! This marinating technique works wonders with other meats like beef and pork, giving you endless options for a mouthwatering meal.
Can I Use a Different Type of Meat Instead of Chicken?
Sure, you can definitely use a different type of meat instead of chicken for your fry.
Alternative meats like pork, beef, or even fish can work well. Just keep in mind that the cooking time may vary depending on the type and thickness of the meat.
It’s important to adjust the cooking time accordingly to ensure that the meat is cooked through and safe to eat.
Happy frying!
What Spices Should I Use in the Coating for a Spicy Flavor?
For a spicy kick in your coating, you’ll want to use a combination of flavorful spices. Start with a generous amount of paprika, cayenne pepper, and chili powder. Add a pinch of garlic powder, onion powder, and black pepper for some extra depth.
If you’re feeling adventurous, throw in a dash of cumin or smoked paprika for a smoky twist. Don’t be afraid to experiment and adjust the spice levels to your liking.
How Do I Prevent the Chicken From Becoming Too Oily While Frying?
To prevent your chicken from becoming too oily while frying, there are a few simple steps you can follow.
First, make sure your oil is at the correct temperature before adding the chicken. This will help create a crispy exterior without excessive oil absorption.
Additionally, you can try using alternative meats for frying, such as turkey or fish, which tend to be less oily.
Can I Bake the Chicken Instead of Frying It?
If you’re wondering about baking the chicken instead of frying it, the answer is yes, you can absolutely do that! Baking is a healthier alternative to frying, as it requires less oil.
Simply marinate the chicken in your favorite spices and herbs, then place it on a baking sheet and pop it in the oven. The result? Juicy and tender chicken with a crispy outer layer.
Plus, it’s a hands-off method, so you can multitask while it bakes to perfection.
What are the Differences Between Chicken Adana and Chicken Fry Recipes?
When comparing the delicious chicken adana recipe with the classic chicken fry recipe, there are notable differences. Chicken Adana is a traditional Turkish dish made with ground chicken mixed with spices and grilled, while chicken fry involves marinating chicken pieces, coating them in breadcrumbs, and deep-frying. Both dishes offer unique flavors and textures, making them delightful choices for poultry enthusiasts.
Conclusion
In the final step of this chicken fry recipe, you’ll achieve a crispy crust that will make your taste buds dance with delight.
With precise measurements and detailed techniques, you’ll fry the chicken to perfection.
The flavors, textures, and appearance of this dish will transport you to a culinary paradise.
So gather your ingredients, follow the steps, and get ready to savor the deliciousness of this mouthwatering chicken fry.


