Chicken Panini Recipe
Sink your teeth into a delectable Chicken Panini Recipe! Grill seasoned chicken to juicy perfection, then layer it with mozzarella, tomatoes, arugula, and zesty pesto between ciabatta. Press until golden and enjoy the melty goodness. Elevate with bell peppers, caramelized onions, or aioli. Pair with a side salad, crispy fries, or a cold drink. For more tips on storage and reheating, discover additional ways to amp up this classic recipe. Happy cooking!
Contents
Key Takeaways
- Grill seasoned chicken for 6-7 mins per side for flavor.
- Choose ciabatta or focaccia bread for the Panini.
- Add mozzarella, arugula, and zesty pesto for layers.
- Press sandwich for golden crispiness and melted cheese.
- Serve with salad, soup, or fries for a complete meal.
Ingredients Needed
To make a delicious Chicken Panini, you’ll need a handful of fresh ingredients that will elevate the flavors in every bite. When it comes to flavor combinations, think about using ingredients like juicy grilled chicken, ripe tomatoes, creamy mozzarella cheese, peppery arugula, and a zesty pesto spread. These elements come together to create a taste sensation that will leave your taste buds dancing.
In terms of cooking techniques, grilling the chicken to perfection is key. Season the chicken breasts with a blend of herbs and spices before grilling them until they’re cooked through and have those beautiful grill marks. This not only adds a smoky flavor but also locks in the juices, ensuring your Chicken Panini is moist and flavorful.
Grilling the Chicken
For perfectly grilled chicken in your Chicken Panini, start by seasoning the chicken breasts with a delicious blend of herbs and spices before firing up the grill. The marinating process is key to infusing the chicken with flavor. Allow the seasoned chicken to marinate for at least 30 minutes to let the flavors penetrate the meat thoroughly.
When it comes to cooking techniques, preheat your grill to medium-high heat. Oil the grates lightly to prevent sticking. Place the marinated chicken breasts on the grill and cook for about 6-7 minutes per side, or until the internal temperature reaches 165°F (74°C).
To achieve beautiful grill marks, avoid moving the chicken around too much while it cooks. The caramelization that occurs during grilling adds a depth of flavor that will elevate your Chicken Panini to the next level.
Once the chicken is grilled to perfection, remove it from the heat and let it rest for a few minutes before slicing it thinly for your panini. The succulent, flavorful grilled chicken will be the star of your delicious Chicken Panini.
Assembling the Panini
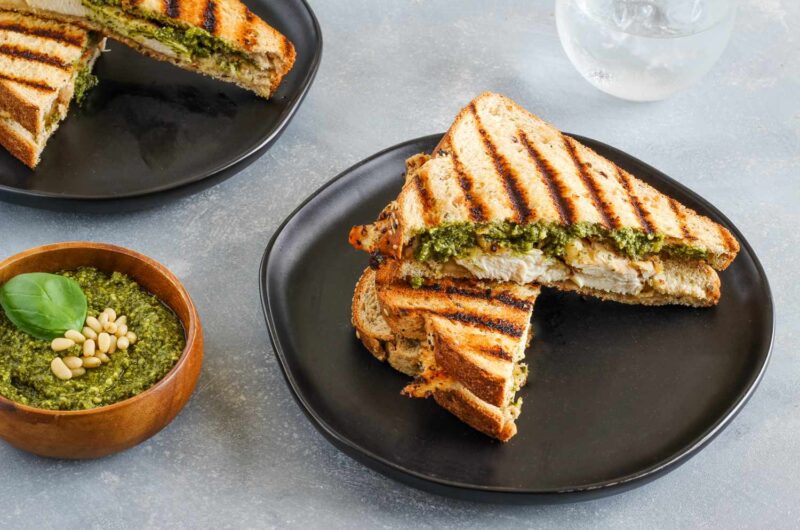
When assembling your Chicken Panini, layer the grilled chicken slices generously with your favorite cheese and flavorful toppings between two slices of crusty bread. The magic happens when these ingredients come together and get pressed to perfection in the Panini press. Here are some exciting options to explore for your Panini creation:
Bread Selection: Choose from a variety of bread like ciabatta, focaccia, or sourdough to add a unique texture and flavor to your Panini.
Cheese Options: Explore cheeses like mozzarella, provolone, or gouda to create that perfect gooey melt in every bite.
Sauce Variations: Elevate your Panini with sauces such as pesto, aioli, or a tangy barbecue sauce to enhance the overall taste profile.
Fresh Greens: Add freshness and crunch with a handful of arugula, spinach, or thinly sliced cucumbers
Vegetable Medley: Amp up the nutritional value with roasted bell peppers, caramelized onions, or grilled zucchini to introduce a medley of flavors.
Get creative, mix and match, and let your taste buds revel in the delight of your custom-made Chicken Panini masterpiece.
Pressing the Sandwich
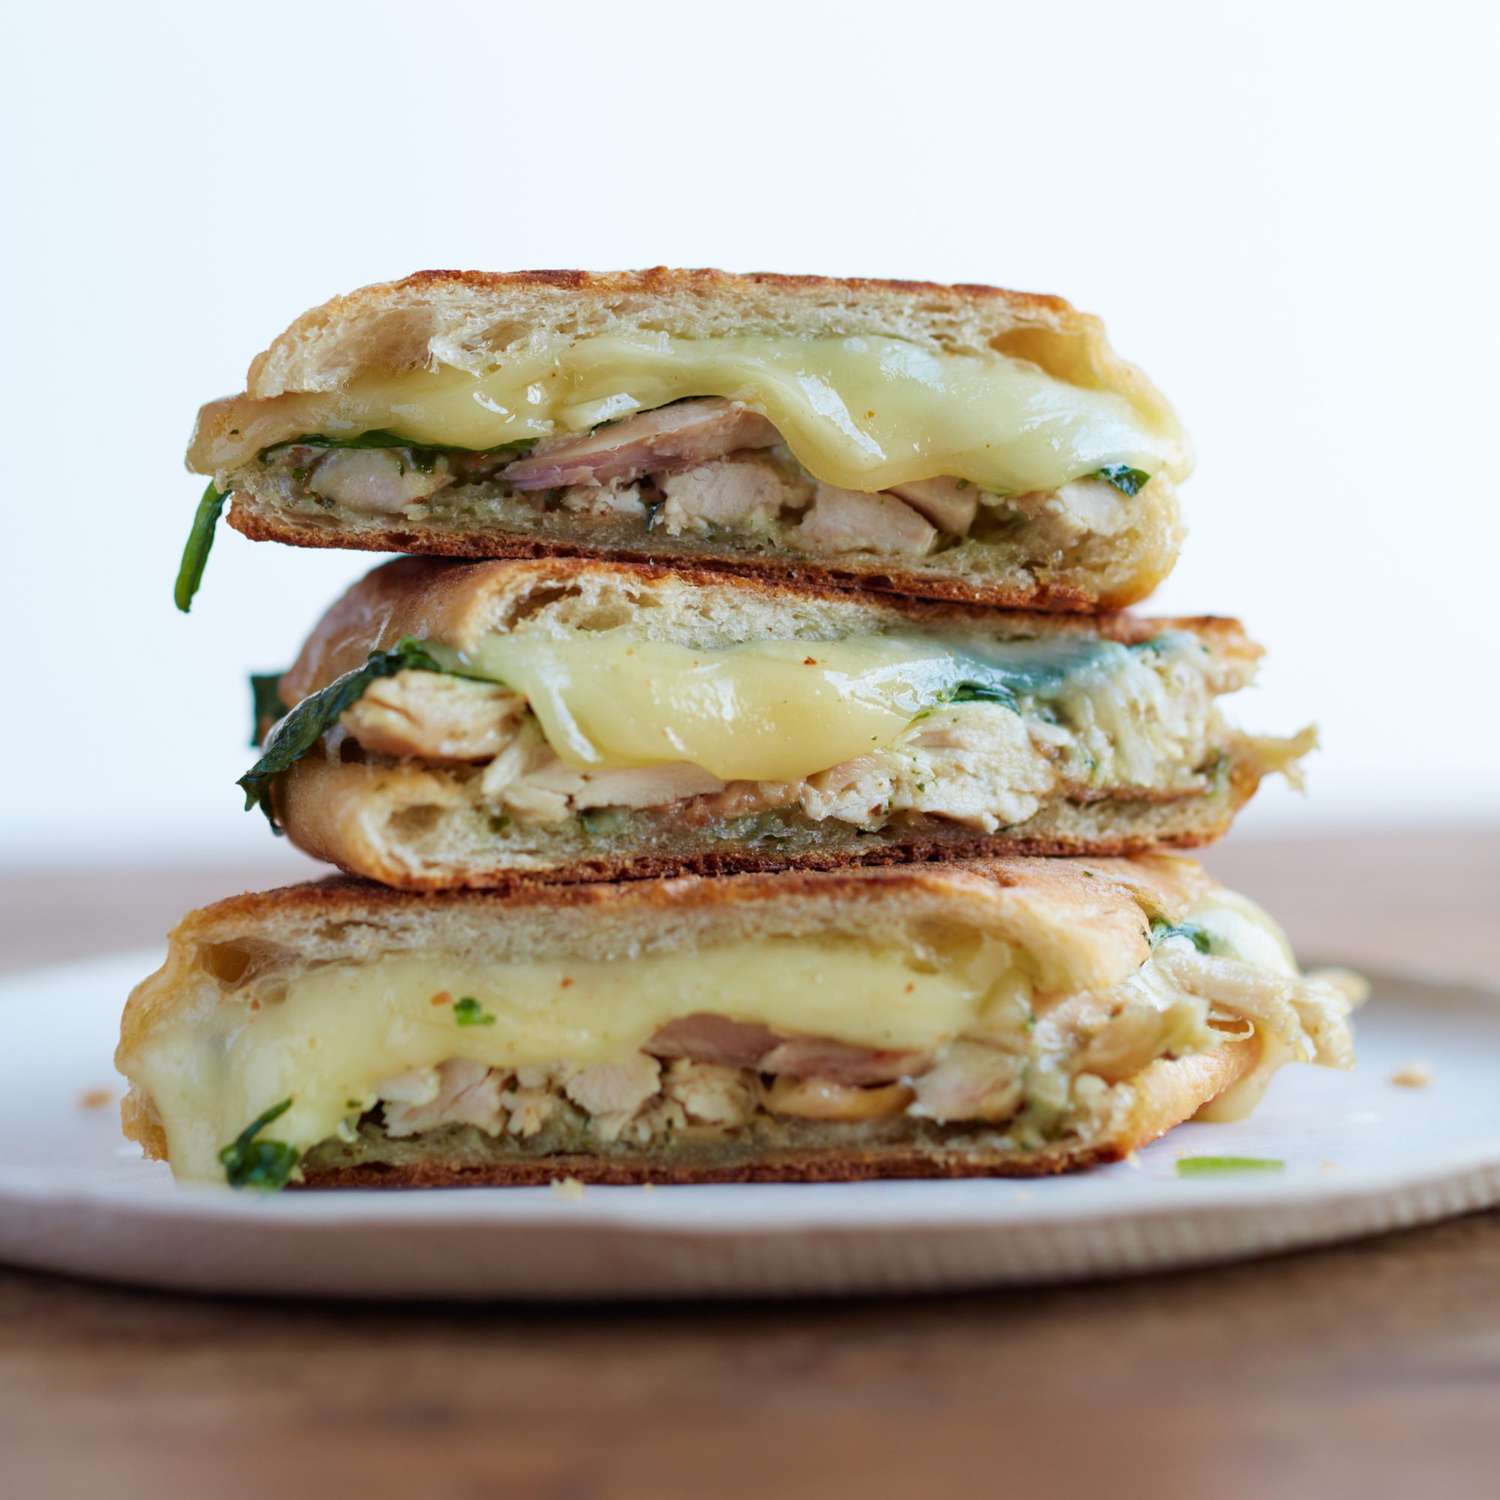
Gently place your assembled Chicken Panini into the preheated Panini press, allowing the ingredients to meld together while achieving that golden crispiness on the outside. The pressing is where the magic happens – the flavors intensify, the cheese melts, and the bread gets that perfect crunch. When it comes to pressing techniques, apply gentle pressure; you want to compress the sandwich, not flatten it completely. Let the press do its work for about 3-5 minutes, keeping an eye on it to make sure it reaches your desired level of crispiness.
Now, let’s talk about bread options. The type of bread you choose can make or break your Chicken Panini experience. Opt for a sturdy bread like ciabatta or focaccia; they hold up well to the pressing process and won’t become soggy. These bread options also provide a deliciously crunchy exterior that contrasts beautifully with the tender chicken and melty cheese inside. Experiment with different bread varieties to find your perfect match and elevate your Chicken Panini game to the next level.

Serving Suggestions
When serving your delicious Chicken Panini, consider the POINTS: Side Dish Pairings to complement the flavors, Beverage Recommendations for an invigorating drink, and Presentation Ideas to impress your guests.
Pair your panini with a crisp salad, a warm soup, or a side of crispy fries for a complete meal experience.
Don’t forget to serve it with a cold glass of lemonade, an invigorating soda, or a chilled glass of white wine for a delightful beverage pairing.
Enhance the visual appeal by garnishing your plate with fresh herbs, a drizzle of balsamic glaze, or a sprinkle of grated Parmesan cheese.
Side Dish Pairings
To elevate your dining experience with the Chicken Panini, consider pairing it with a revitalizing mixed green salad drizzled with balsamic vinaigrette. Here are some delightful side dish options that will complement your meal perfectly:
Crispy Parmesan Garlic Roasted Potatoes: A savory and crispy side that adds a delightful crunch to your meal.
Caprese Salad: Fresh tomatoes, mozzarella cheese, and basil drizzled with olive oil – a classic Italian pairing for your panini.
Sweet Potato Fries: A healthier alternative with a touch of sweetness that balances the savory flavors of the panini.
Caesar Salad: Crisp romaine lettuce, parmesan cheese, croutons, and Caesar dressing – a timeless side dish choice.
Loaded Baked Potato: A hearty option with all your favorite toppings like bacon, cheese, and sour cream to round out your meal.
Beverage Recommendations
For an invigorating accompaniment to your Chicken Panini, consider these beverage recommendations that will enhance your dining experience.
When it comes to wine pairings, a light and crisp Sauvignon Blanc complements the flavors of the grilled chicken and veggies in your panini perfectly. If you prefer red wine, a Pinot Noir with its fruity notes can also be a delightful choice.
For those looking for a non-alcoholic option, try some revitalizing mocktail ideas like a sparkling cranberry spritzer or a zesty ginger lemon mocktail. These mocktails can provide a burst of flavor that balances well with the savory taste of your Chicken Panini.
Cheers to a delightful meal!
Chicken Panini Recipe
Course: Lunch, DinnerCuisine: Italian, AmericanDifficulty: Easy2
servings10
minutes10
minutes350
kcalEnjoy a flavorful Chicken Panini with this easy recipe. Grilled chicken, melted cheese, and your favorite veggies all pressed between crispy bread slices make for a satisfying meal. Perfect for a quick lunch or dinner option that's both delicious and filling.
Ingredients
2 boneless, skinless chicken breasts
4 slices of bread (ciabatta or sourdough recommended)
4 slices of cheese (mozzarella or provolone recommended)
1 tomato, thinly sliced
1/2 red onion, thinly sliced
Handful of fresh spinach leaves
Salt and pepper to taste
Olive oil or butter for grilling
Directions
- Season the chicken breasts with salt and pepper on both sides.
- Heat a grill pan or skillet over medium heat. Add a drizzle of olive oil or a pat of butter.
- Cook the chicken breasts for 4-5 minutes on each side, or until fully cooked through.
- While the chicken is cooking, assemble the sandwiches. Layer cheese, tomato slices, onion slices, spinach leaves, and cooked chicken onto two slices of bread.
- Top each sandwich with the remaining bread slices.
- Lightly brush the outsides of the sandwiches with olive oil or butter.
- Place the sandwiches on the grill pan or skillet and press down with a spatula or panini press.
- Cook for 3-4 minutes on each side, or until the bread is golden brown and crispy, and the cheese is melted.
- Remove from the heat and let cool slightly before serving.
- Slice the paninis in half and serve hot. Enjoy your delicious Chicken Panini!
Presentation Ideas
Enhance your Chicken Panini experience with creative serving suggestions that elevate the presentation of your meal. Here are some ideas to make your dish visually appealing and appetizing:
Colorful Garnishes: Sprinkle some chopped fresh herbs like parsley or basil on the plate for a burst of flavor.
Stacked Presentation: Serve your Chicken Panini slices in a stacked formation for a modern and sophisticated look.
Creative Plating: Arrange the Panini diagonally on the plate for a stylish touch.
Side Salad: Pair your Panini with a side salad drizzled with balsamic vinaigrette for a balanced and attractive plate.
Fruit Skewers: Accompany your Panini with fruit skewers for a revitalizing and eye-catching addition to your meal.
Storage and Reheating Tips
When storing your delicious Chicken Panini leftovers, remember to refrigerate them promptly to maintain their freshness and flavor. For long-term storage strategies, consider freezing individual portions in airtight containers or heavy-duty freezer bags. This will help preserve the panini’s taste and texture for up to three months.
When you’re ready to enjoy your leftover Chicken Panini, there are a few reheating techniques you can use to guarantee it tastes as delicious as when it was first made. One option is to reheat it in a preheated oven at 350°F for about 10-15 minutes until it’s heated through. Another quick method is to use a panini press or a skillet on the stovetop to warm it up and get that crispy exterior back.
Frequently Asked Questions
Can I Use a Different Type of Bread for the Panini?
You can definitely switch up the bread for your panini. Try using ciabatta or sourdough for a different twist. Experimenting with various bread alternatives can lead to exciting flavor variations in your sandwiches.
How Can I Make the Panini Spicy for More Flavor?
You can crank up the flavor by exploring spicy condiment options like sriracha or harissa. Experiment with flavorful marinades or get creative with spice blends. Adjust the heat level to your liking for a fiery kick!
Is It Necessary to Marinate the Chicken Before Grilling?
When grilling chicken, marinating is not crucial but can enhance flavors. Experiment with different seasonings like garlic, herbs, or citrus for tasty results. Adjust cooking time based on thickness to guarantee juicy, flavorful chicken.
Can I Substitute Chicken With Another Protein in the Recipe?
You can absolutely substitute chicken with another protein in the recipe. Consider beef, turkey, or even tofu for variety. Each choice brings unique flavors and textures, catering to your preferences and dietary needs. Enjoy experimenting!
What Is the Best Way to Clean a Panini Press After Use?
To maintain your panini press spotless, unplug it and let it cool. Wipe down the plates with a damp cloth or sponge. For stubborn residue, use a soft brush. Avoid immersing in water. Regular cleaning guarantees longevity.
Conclusion-Chicken Panini Recipe
In just a few simple steps, you can whip up a delicious chicken panini that will have your taste buds dancing with joy.
The crispy grilled chicken, melty cheese, and flavorful toppings all come together in a perfect harmony of flavors.
So next time you’re craving a satisfying sandwich, give this recipe a try and transport yourself to a cozy café in Italy with every bite.
Buon appetito!
